When working in Revit, incorporating images into your projects can add significant visual value. However, sometimes those images might not fit perfectly within your design or need adjustments for clarity and focus. Cropping images in Revit helps you refine your visuals by removing unwanted portions, allowing you to highlight important details. This process not only improves the appearance of your model but also helps in maintaining a clean and professional presentation. In this guide, we’ll walk you through the reasons for cropping images and how to do it effectively in Revit.
Understanding the Importance of Cropping Images in Revit

Images are a powerful tool in Revit, but they can also be distracting or overwhelming if not properly managed. Cropping an image allows you to focus on the most relevant parts, ensuring that the image supports the design without taking attention away from key elements. Here's why cropping images is essential in Revit:
- Improved Clarity: By removing unnecessary parts of the image, you can highlight the details that matter most to your project.
- Better Design Layout: Cropped images can help maintain a balanced layout, ensuring that the image complements the surrounding elements rather than cluttering the workspace.
- Enhanced Presentation: A clean, cropped image is more professional and polished, making your designs stand out in client presentations or collaborative meetings.
- File Size Reduction: Cropping unnecessary parts of an image reduces its file size, which can help improve the performance of your Revit model.
By understanding these benefits, you'll be better equipped to use cropping as a tool to enhance the visual integrity of your Revit projects.
Also Read This: How to Make an Image 1024 by 576 Pixels
How to Crop an Image in Revit: Step-by-Step Guide
Cropping an image in Revit is a straightforward process once you know the tools and commands. Follow these steps to crop your image efficiently:
- Step 1: Insert the Image
First, insert the image you want to crop into your Revit project. Go to the "Insert" tab, click "Image," and choose the file you want to add. Place the image on your desired location in the drawing area. - Step 2: Select the Image
Click on the image you just inserted. Once the image is selected, you’ll see a boundary box around it, indicating that it’s ready for editing. - Step 3: Activate the Crop Tool
With the image selected, go to the "Modify" tab and click on the "Crop" tool. This tool allows you to adjust the boundaries of the image. - Step 4: Adjust the Crop Region
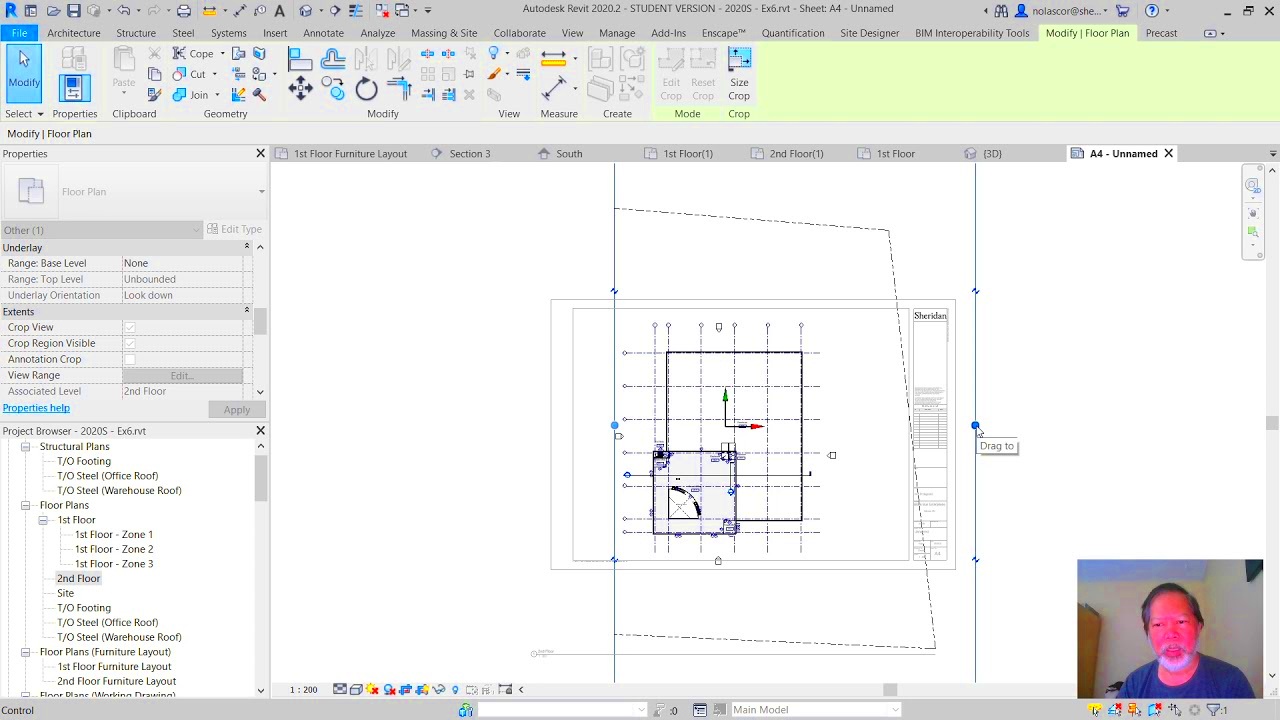
Once the Crop tool is active, a crop region will appear around the image. You can click and drag the handles of this region to adjust the area you want to keep. Move the corners or edges inward to remove unwanted portions. - Step 5: Apply the Crop
After adjusting the crop region to your desired size, click “Finish Edit Mode” in the options bar to apply the crop. The image will now appear cropped in your project.
This simple yet effective method ensures your images fit seamlessly into your Revit model, enhancing both the design and presentation.
Also Read This: Creative DIY Net Flower Craft Ideas
Using the Crop Region Tool to Crop an Image
In Revit, the Crop Region tool is one of the most effective ways to crop an image to the desired size. It allows you to define the portion of the image that you want to keep, giving you full control over how the
- Step 1: Select the Image
Click on the image you want to crop. This will highlight the image, and a bounding box will appear around it. - Step 2: Activate the Crop Tool
Go to the "Modify" tab on the top menu and select "Crop." The Crop Region tool will appear as a rectangular box surrounding your image. - Step 3: Adjust the Crop Region
Click on the corners or edges of the crop region to resize it. Drag these handles to define the area you want to keep. The areas outside the crop region will be hidden. - Step 4: Finalize the Crop
Once you’re happy with the size and position of the crop region, click “Finish Edit Mode” in the options bar to apply the changes. The image will now be cropped to the boundaries you set.
The Crop Region tool is particularly useful for images that are too large or need to be focused on specific details. It offers a precise way to remove unwanted parts of the image while keeping the most important sections intact.
Also Read This: How to Get GIF Covers to Work on Behance
Adjusting the Image After Cropping in Revit
After cropping an image in Revit, you may need to make further adjustments to ensure that it aligns perfectly with your design. Adjusting the image after cropping is essential for fine-tuning the appearance and placement. Here are some common adjustments you can make:
- Reposition the Image: If the cropped image needs to be moved to a new location within the drawing, simply select the image and drag it to the desired position.
- Resize the Image: You can resize the cropped image by selecting it and using the resize handles. Hold the Shift key while resizing to maintain the aspect ratio.
- Rotate the Image: Sometimes, after cropping, you might want to rotate the image for better alignment. Select the image, click on the rotate tool, and adjust the angle as needed.
- Adjust Image Transparency: In some cases, you might want to adjust the transparency of the image to make it blend better with the background or other design elements. This can be done by selecting the image and adjusting its transparency settings in the properties bar.
These adjustments allow you to fine-tune your image after cropping to ensure it fits perfectly within your project’s layout and design goals.
Also Read This: How to Buy Adobe Stock: A Step-by-Step Guide
Common Issues When Cropping Images in Revit and How to Fix Them
While cropping images in Revit is a relatively simple process, there are some common issues that users encounter. Fortunately, most of these issues can be easily resolved with a few adjustments. Here’s a look at some of the most frequent problems and how to fix them:
| Issue | Solution |
|---|---|
| Image Doesn’t Crop Properly | Ensure the Crop Region tool is activated. If the image isn’t cropping as expected, check that the crop region is correctly adjusted and that you’ve finished the edit mode. |
| Image Quality Decreases After Cropping | Revit sometimes reduces image quality when cropping large images. Try resizing the image before cropping or using a higher-quality image file for better results. |
| Unable to Resize Image After Cropping | If the image is locked or constrained, you may not be able to resize it. Right-click on the image and check its properties to unlock any constraints that might be preventing resizing. |
| Image Does Not Display Correctly in Views | If the image is cropped but doesn’t display correctly in certain views, ensure that the view’s visibility settings are configured to display images. You might also need to adjust the scale of the image to match the view scale. |
By recognizing and addressing these common issues, you can avoid frustration and ensure that your images are cropped and displayed properly in your Revit projects.
Also Read This: how to print an image onto a shirt
Best Practices for Cropping Images in Revit
Cropping images in Revit can enhance your project’s visual appeal, but doing it correctly is key to getting the best results. There are a few best practices you should follow to ensure your cropped images look professional and integrate seamlessly into your design. Here’s a rundown of the most important tips:
- Use the Crop Region Tool: The Crop Region tool is the most precise way to crop images in Revit. Always use this tool to ensure you’re cropping images exactly where you need them without affecting the rest of your project.
- Maintain Image Quality: When cropping an image, it’s important to keep the resolution high. Avoid cropping images too tightly, as this can cause pixelation. Consider resizing the image before cropping if needed.
- Align Images with Design Elements: After cropping, make sure the image aligns properly with other design elements like walls, furniture, or annotations. Images should complement your design, not disrupt it.
- Keep File Sizes Manageable: Large image files can slow down your Revit project, so try to crop images to the necessary size and save them in a compressed format (like JPG or PNG) without sacrificing too much quality.
- Use Layers for Image Organization: If you have multiple images in your project, organize them on separate layers for better control. This makes it easier to manage and adjust images later on.
- Check Image Placement in Different Views: Ensure your cropped images display correctly in all views (floor plans, elevations, 3D views). Sometimes, cropped images can get distorted in certain perspectives, so check them thoroughly.
By following these best practices, you can ensure that cropped images add value to your Revit project rather than cause unnecessary distractions or performance issues.
Also Read This: How to Sell Stock Photos to Getty Images as a Beginner
Frequently Asked Questions (FAQ)
If you’re new to cropping images in Revit, you may have a few questions. Here are some of the most common ones, along with their answers:
| Question | Answer |
|---|---|
| Can I crop an image without affecting the original file? | Yes, cropping an image in Revit doesn’t alter the original image file. The crop only applies within the Revit project, so you can always return to the original file if needed. |
| How can I resize an image after cropping it? | After cropping the image, you can select the image and use the resize handles to adjust its size. Hold the Shift key to maintain the aspect ratio while resizing. |
| Why is my image not displaying correctly after cropping? | Check the view settings to make sure the image is visible. You may also need to adjust the scale of the image to fit the view properly. In some cases, visibility settings might be set to hide images. |
| Can I crop an image in 3D views? | Yes, you can crop images in 3D views. Just like in 2D views, use the Crop Region tool to adjust the image’s boundaries. Be sure to check how the image looks in the 3D perspective after cropping. |
| What file formats are best for images in Revit? | JPG, PNG, and TIFF are commonly used image formats in Revit. Use a format that maintains quality while keeping file sizes reasonable. PNG is a great choice for transparency, while JPG is ideal for photos. |
Conclusion
Cropping images in Revit is a simple yet powerful tool that can help you refine your project’s visual elements. By using the Crop Region tool, adjusting image placement, and following best practices, you can ensure that images enhance your design without causing performance issues. Remember to always check your images in different views and keep them properly aligned with other project components for a cohesive look. With the right approach, cropping images in Revit can improve both the aesthetics and functionality of your project. Keep these tips in mind, and you’ll be able to work with images like a pro!

 admin
admin


