Have you ever needed to crop an image, but didn’t want to deal with complicated photo editing software? If you're looking for a quick and easy way to crop images, Microsoft Paint is your go-to tool. Whether you're working with a screenshot, a photo, or any other image, Paint allows you to crop and edit in a few simple steps. It's a perfect solution for anyone who doesn't need all the advanced features of a professional photo editor but still wants to create polished, well-cropped images.
In this guide, we’ll show you how to crop an image in Paint. It's easy, fast, and requires no prior experience with image editing. So let’s dive in and get started!
Why Choose Paint for Cropping Images?
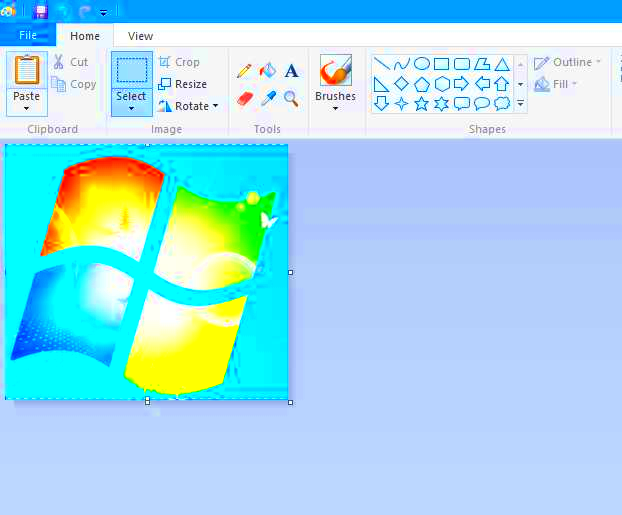
Paint might not be the most advanced photo editing software, but it certainly has its place when it comes to simple tasks like cropping images. One of the biggest advantages of using Paint for cropping is its accessibility. Paint comes pre-installed on Windows computers, so there’s no need to download any third-party apps or software. It’s quick, free, and doesn’t have a steep learning curve.
Here are some reasons why Paint is a great choice for cropping images:
- Easy to use: Paint offers a simple, user-friendly interface that even beginners can navigate with ease.
- Quick results: Cropping images in Paint is fast and doesn’t require any special skills or knowledge.
- Free and accessible: It’s already installed on most Windows PCs, so you won’t have to spend money on fancy software.
- Basic editing features: Along with cropping, Paint also lets you resize, rotate, and even add text or shapes to your image.
If you're looking for a straightforward, no-fuss way to crop an image without the complexity of more advanced programs, Paint is the perfect tool to use.
Also Read This: Can YouTubers See Who Unsubscribed
Step-by-Step Guide to Cropping an Image in Paint
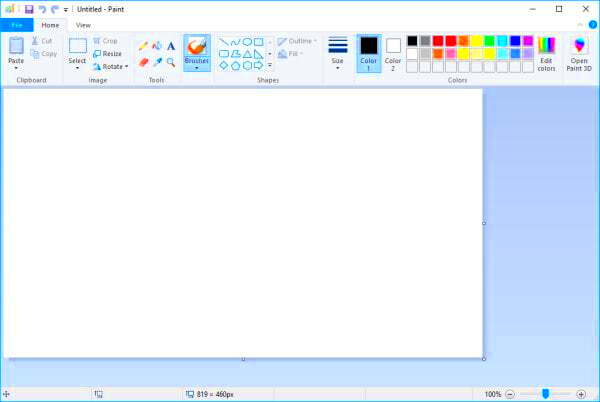
Now that you know why Paint is a good choice for cropping images, let's go through the steps to do it yourself. Whether you’re working on a photo or any other image, the process is pretty much the same. Follow these steps to crop your image in Paint:
- Open your image in Paint: Start by opening Paint. You can do this by typing “Paint” in the search bar of your Windows computer. Once Paint is open, click on “File” and then select “Open” to locate the image you want to crop.
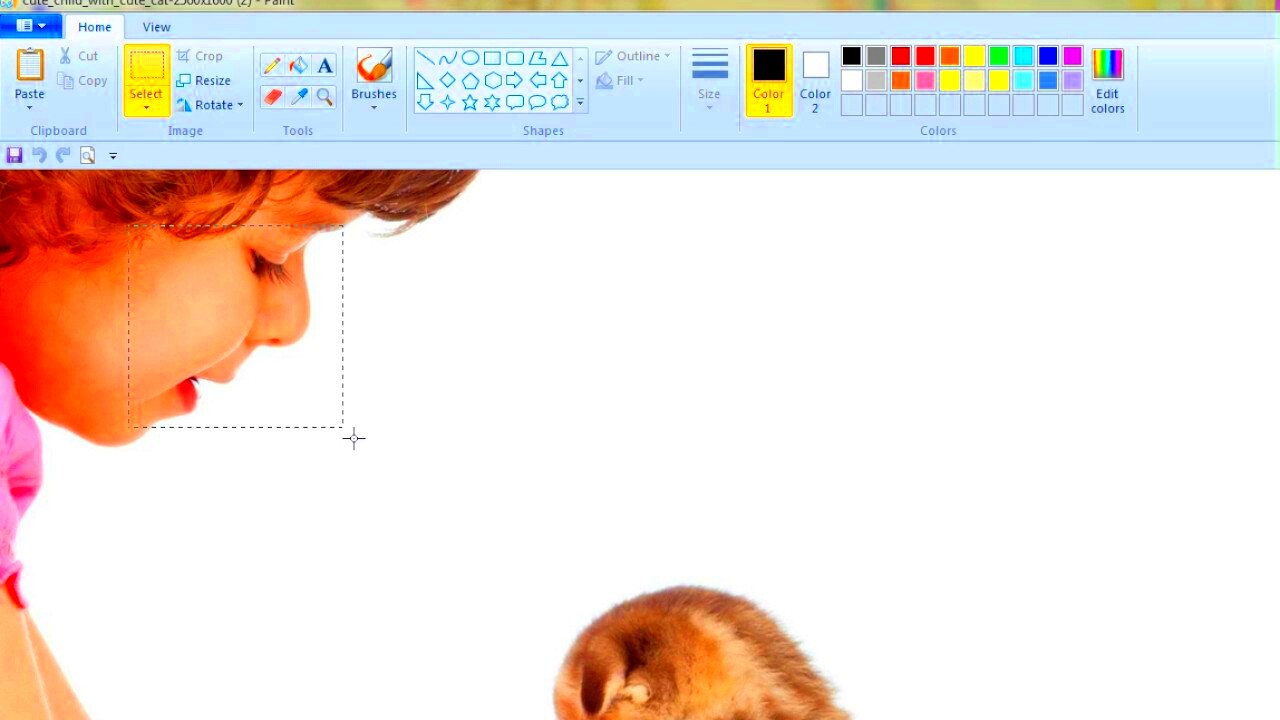
- Select the area you want to crop: On the toolbar, click the "Select" button. You can choose from two options: "Rectangular selection" or "Free-form selection." The rectangular option is the most common for cropping.
- Draw a selection box: Click and drag your mouse to draw a box around the area you want to keep. Once you have the area selected, you’ll see a dashed outline.
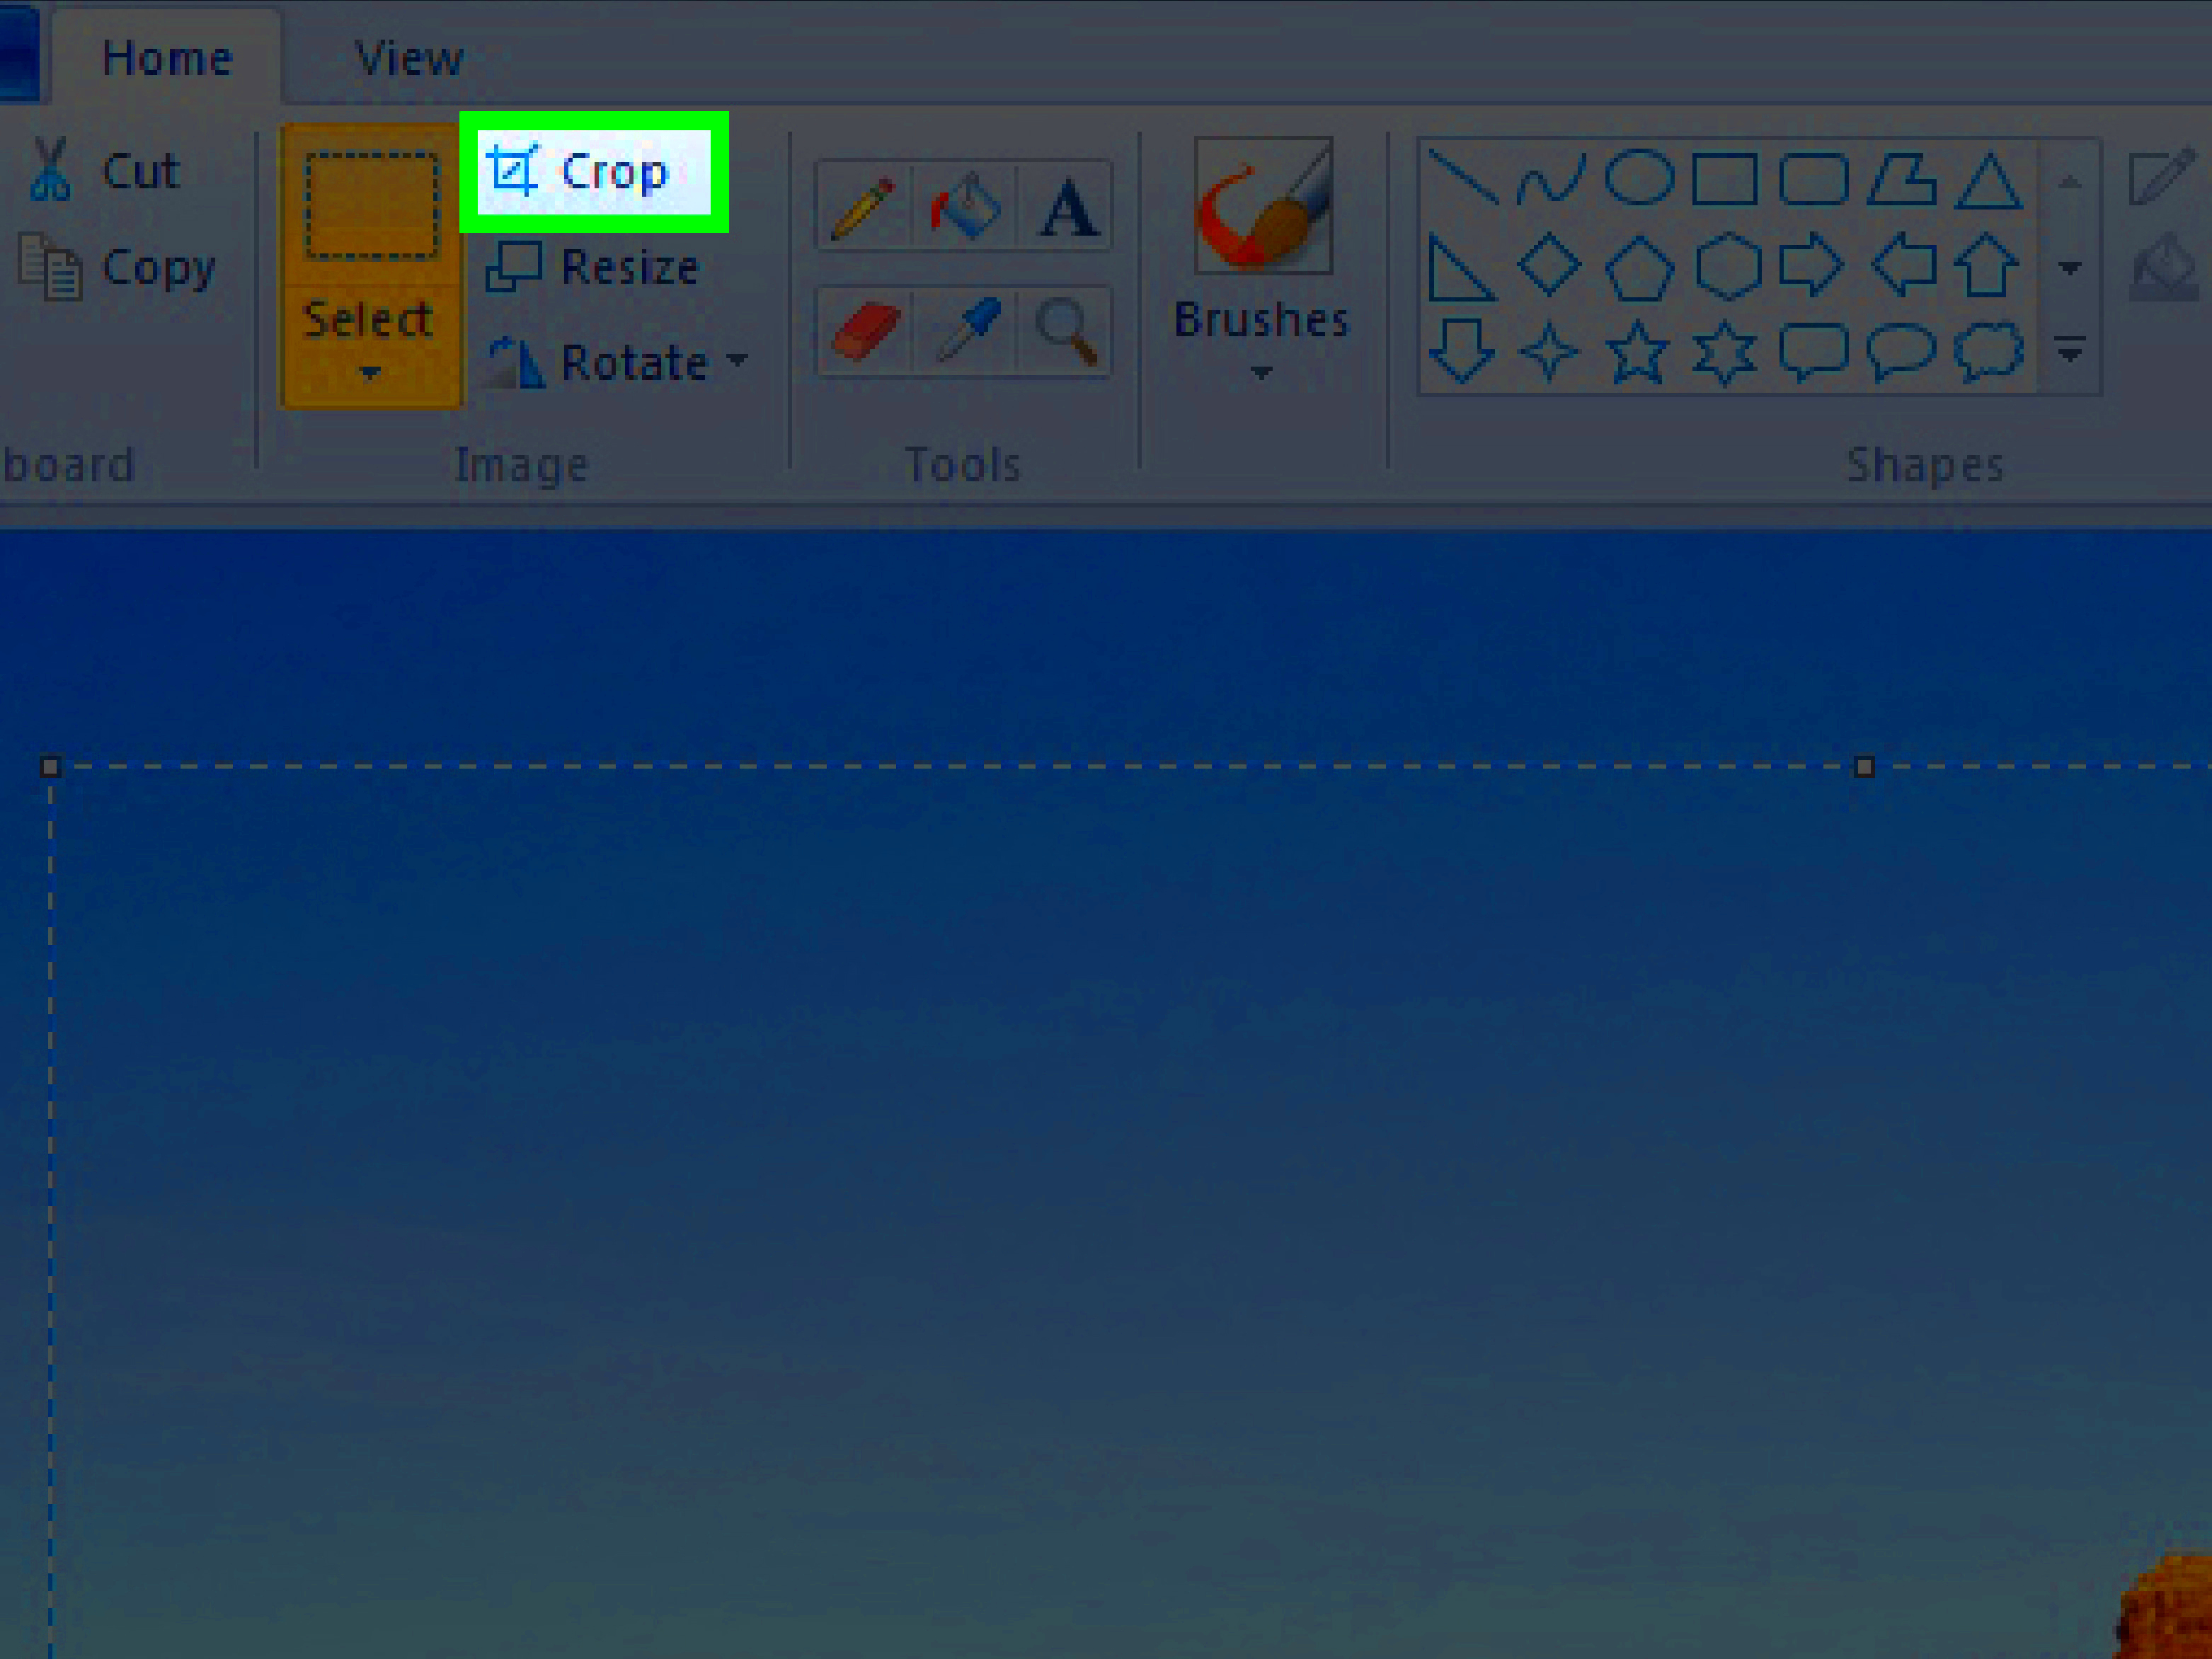
- Click the "Crop" button: Once your area is selected, click the “Crop” button on the toolbar. This will remove everything outside the selection and leave you with just the cropped portion of the image.
- Save the cropped image: After cropping, don’t forget to save your new image. Click “File” and then “Save As.” You can choose from different formats like PNG, JPG, or BMP.
That’s it! You’ve just cropped an image using Paint. It’s quick and simple, and the results are instantly visible. You can even use the editing tools in Paint to make further adjustments if needed, like resizing or adding text.
Also Read This: how to outline an image photoshop
Adjusting the Cropped Image in Paint
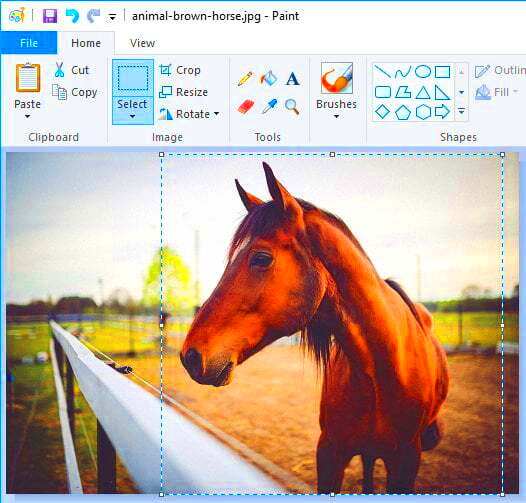
After cropping your image in Paint, you might want to make further adjustments to perfect it. Whether it’s resizing the image, rotating it, or even adding text, Paint has a variety of tools that can help you refine your cropped image. These adjustments can help you tailor the image to your needs, whether you’re preparing it for social media, a presentation, or just for personal use.
Here are some common adjustments you can make after cropping your image in Paint:
- Resizing the Image: To resize the cropped image, click on the “Resize” button in the toolbar. You can choose to resize by percentage or by pixels. This feature is helpful if you need to change the image size for different purposes, like uploading to a website or sharing on social media.
- Rotating the Image: If you need to change the orientation of your cropped image, Paint makes it easy. Simply click on the “Rotate” button and select whether you want to rotate your image 90 degrees clockwise or counterclockwise, or flip it horizontally or vertically.
- Adding Text or Shapes: Want to label your image or add a fun element? Click on the “Text” tool to add text or use the “Shapes” tool to draw basic shapes like rectangles, circles, or lines on your image.
- Adjusting Brightness and Color: Paint offers limited color adjustment options. You can tweak the color balance, brightness, and contrast to make your cropped image look more vibrant or match a particular aesthetic.
These simple adjustments can take your cropped image from basic to polished in just a few minutes. Play around with the tools to get a feel for how they work, and soon you’ll be able to make all kinds of edits quickly and easily.
Also Read This: How to Copy Images on a Chromebook
How to Save the Cropped Image
Once you've cropped and made any necessary adjustments to your image, it’s time to save it. Saving your image correctly ensures that you don’t lose all your hard work and that you can use your cropped image in the format you need. Luckily, Paint makes this part easy too!
Follow these steps to save your cropped image:
- Click on "File" in the top-left corner: This will open the menu where you can find the save options.
- Select "Save As": When you click on "Save As," you will see several format options for your image. The most common formats are PNG, JPEG, and BMP. Choose the one that best suits your needs.
- Name your file: Give your cropped image a name so you can easily find it later. Make sure to save it in a folder where you can locate it when needed.
- Choose the location: Select the location on your computer where you want to save the file. This can be your desktop, a specific folder, or an external drive.
- Click "Save": After selecting the location and format, click “Save,” and your image is ready to use!
By following these steps, you can save your cropped image in any format, allowing you to use it across various platforms and applications. Don’t forget to save often while editing to avoid losing your progress!
Also Read This: How to Sell Your Images to Magazines
Common Issues When Cropping Images in Paint
While cropping images in Paint is generally simple, there are a few common issues that users sometimes face. These problems are usually easy to fix once you know what to look for. Here are some of the most frequent issues and how to resolve them:
- Accidentally Cropping the Wrong Area: One of the most common mistakes is accidentally cropping the wrong part of the image. This usually happens if you don't carefully outline the selection area before clicking "Crop." To fix this, simply press "Ctrl + Z" to undo the crop, reselect the area, and try again.
- Lost Resolution After Cropping: Sometimes after cropping, you may notice a loss of image quality, such as pixelation. This can happen if you try to resize the image to a larger size after cropping. Always try to crop your image to the size you want and avoid resizing it too much, especially when enlarging.
- Image Doesn't Fit After Resizing: If you've cropped and resized an image but it no longer fits the desired space, you may need to resize it again. Make sure to keep the aspect ratio intact while resizing to avoid distorting the image.
- Saving Issues: Occasionally, Paint may have trouble saving your image if the file format is incompatible or if the image is too large. Try saving in a different format (like PNG or JPG) or reduce the image size if it’s too large to handle.
If you run into any of these issues, don’t worry. They’re easily fixable with a few simple steps. With a little practice, you’ll be able to crop and edit images in Paint without a hitch!
Also Read This: Flipping Images in PowerPoint
Frequently Asked Questions About Cropping Images in Paint
When it comes to cropping images in Paint, users often have some common questions. Whether you're new to image editing or just want to know more about the process, this section answers some frequently asked questions to help you get the most out of Paint’s cropping tools.
- How do I crop an image to a specific size?
To crop an image to a specific size, first select the area you want to crop using the "Select" tool. While Paint doesn’t have an option to specify exact pixel dimensions for cropping, you can manually adjust the selection box to match your desired size. For more precision, you may need to resize the image after cropping. - Can I crop a free-form shape in Paint?
Yes, you can crop a free-form shape in Paint! To do this, select the “Free-form selection” tool in the toolbar. This tool allows you to draw around the object or area you want to keep, creating a custom shape for cropping. - What do I do if I accidentally crop the wrong part of the image?
If you make a mistake, simply click “Undo” (or press “Ctrl + Z”) to revert to the previous version of the image. You can then select the correct area and crop again. - How do I crop multiple images in Paint at once?
Unfortunately, Paint doesn’t have the ability to batch crop images. You will need to crop each image individually. If you need to crop multiple images in bulk, you might consider using a more advanced photo editing tool. - Can I crop an image without changing its quality?
Cropping an image in Paint does not affect its quality. However, if you resize the image to a much larger size after cropping, you may see a decrease in image quality. It’s best to crop the image to the size you need before resizing. - How do I crop a screenshot in Paint?
To crop a screenshot in Paint, paste the screenshot into Paint by pressing “Ctrl + V.” Then, use the "Select" tool to outline the area you want to crop and click the “Crop” button. Your screenshot will be cropped to the selected area.
Conclusion: Mastering Image Cropping in Paint
By now, you should feel confident in your ability to crop and edit images in Paint. The process is simple and quick, and with the tips shared here, you can take full advantage of the tool’s features. Whether you’re resizing, rotating, or adding text to your cropped image, Paint offers everything you need for basic image editing. Keep practicing and experimenting to improve your skills, and soon cropping images in Paint will feel second nature!
 admin
admin


