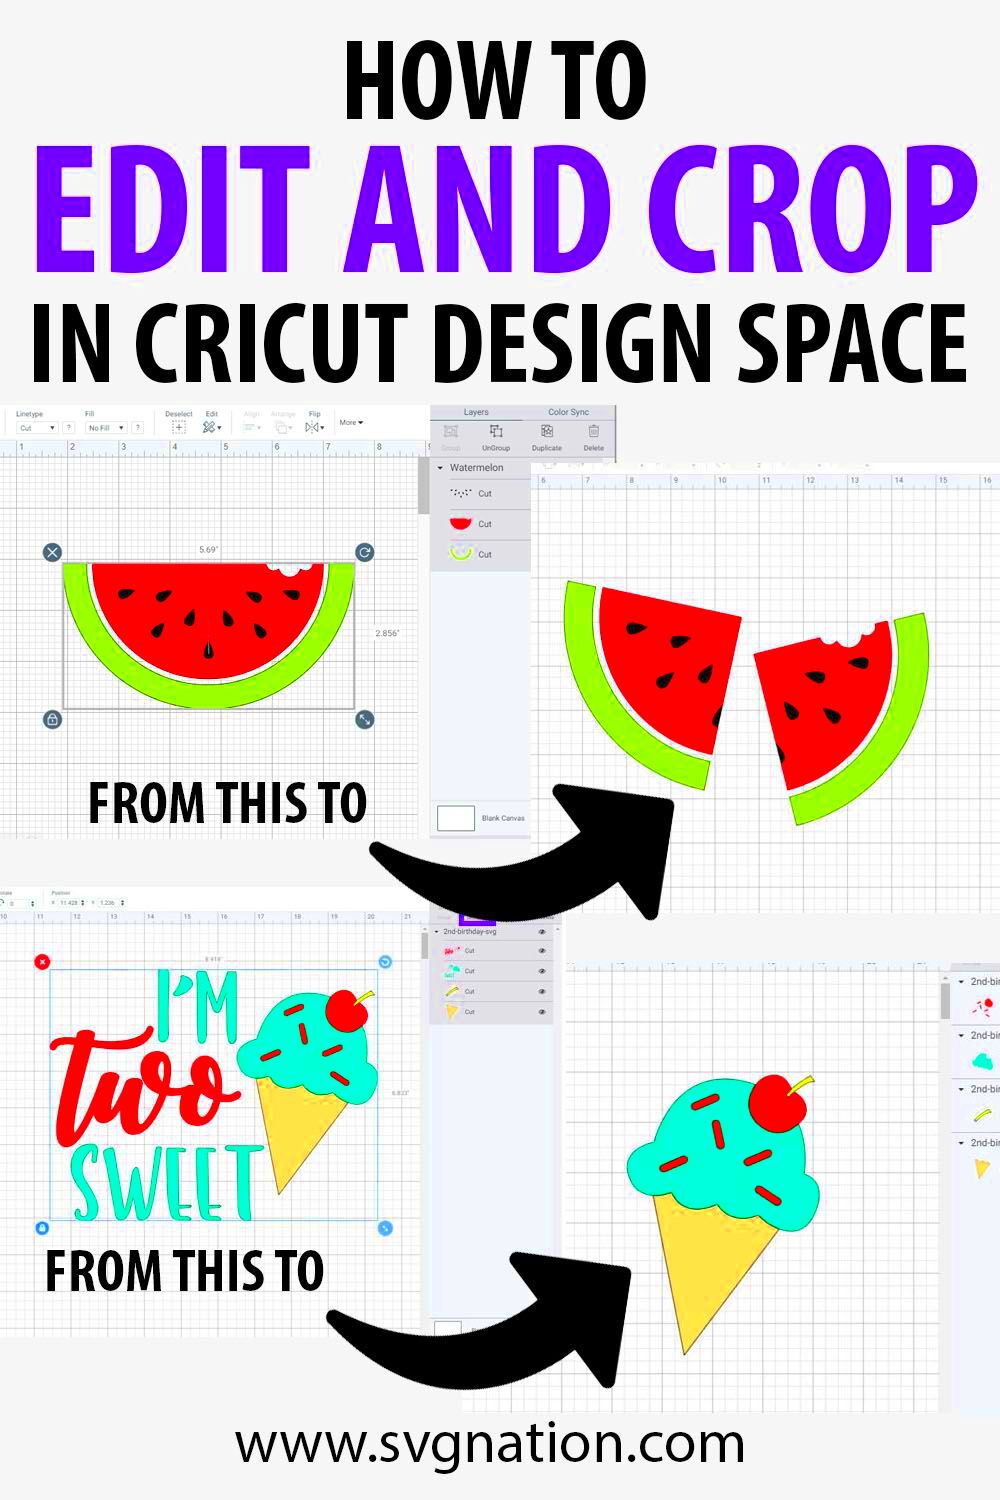
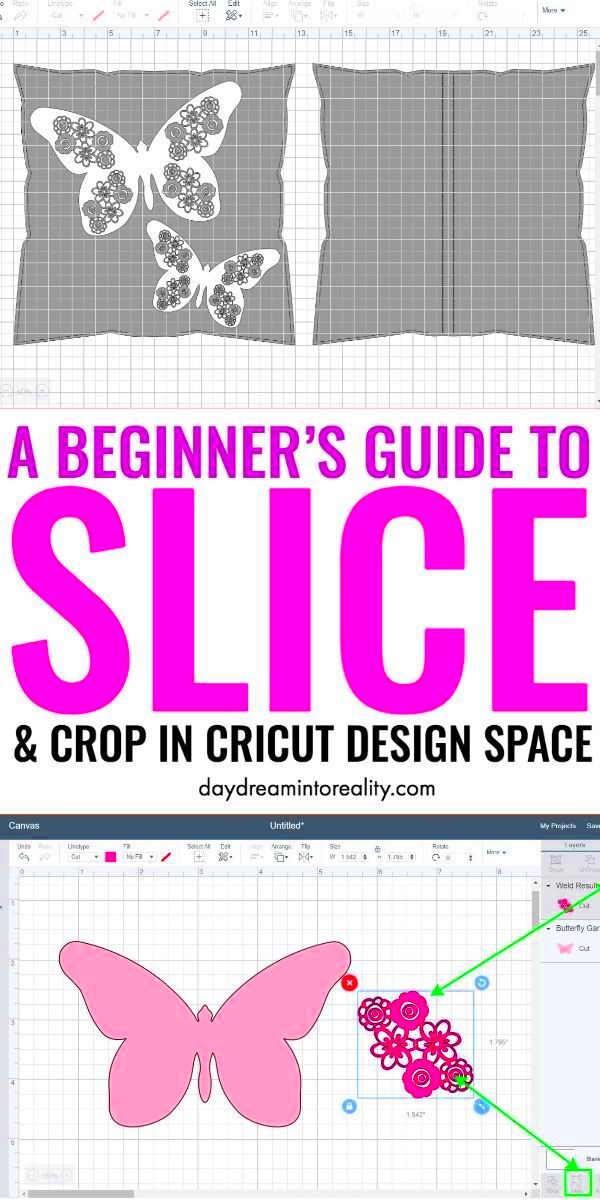
When it comes to working on Cricut projects, cropping images is a crucial step in getting the perfect result. Whether you're creating custom cards, t-shirts, or home décor, having an image that's the right size and shape can make all the difference. Cropping allows you to focus on the part of the image you want to use while removing any unnecessary areas. It’s an easy yet effective way to improve your designs and save time in the long run. In this guide, we’ll walk you through the process of cropping an
Why Cropping is Important for Cricut Projects

Cropping an image plays a significant role in Cricut projects for several reasons. It helps streamline your design, ensuring that only the essential parts of the image are used. Here are some of the main benefits:
- Focus on key elements: Cropping allows you to zoom in on the important details of the image, removing distractions.
- Better fitting for your project: Whether it's for a card, vinyl decal, or a scrapbook page, cropping ensures your image fits the desired space perfectly.
- Save materials: By cropping away unnecessary parts of an image, you can make better use of your materials and avoid wasting supplies.
- Faster designs: Cropping lets you simplify your workflow, speeding up the design process and making it more efficient.
Also Read This: How to Place Adobe Stock Photos in Illustrator
How to Crop an Image Using Cricut Design Space

Getting started with cropping an image in Cricut Design Space is simple, and you don’t need advanced skills to do it. Here’s a step-by-step guide:
- Upload your image: First, upload the image you want to crop into Cricut Design Space. You can do this by clicking the "Upload" button and selecting your file from your computer.
- Select the image: Once the image is uploaded, click on it to select it. You'll see a bounding box around the image, indicating that it’s ready for editing.
- Click on the crop tool: With your image selected, click the "Crop" button in the toolbar. This will allow you to adjust the size of the image.
- Resize the image: Drag the corners of the bounding box to resize the image. You can remove unwanted parts by adjusting the box around the area you want to keep.
- Apply the crop: Once you’re happy with the selected area, click "Apply" to finalize the crop. You can now see your cropped image in Cricut Design Space, ready to be used in your project.
That’s it! Cropping an image in Cricut Design Space is quick and easy, and you’ll soon be able to refine your designs with ease.
Also Read This: Understanding Earnings Potential on Adobe Stock
Step-by-Step Guide to Cropping Your Image in Cricut Design Space
Now that you understand why cropping is essential for your Cricut projects, let's dive into a simple, step-by-step guide on how to crop an image in Cricut Design Space. Whether you're working with a photo, graphic, or any other image, this process is user-friendly and will make your projects look polished and professional. Follow these easy steps:
- Open Cricut Design Space: Launch the Cricut Design Space application on your computer or mobile device and sign in to your Cricut account.
- Upload your image: Click the "Upload" button in the left toolbar. Choose the image file you want to crop from your computer. Cricut supports a variety of file formats, including PNG, JPG, and SVG.
- Select the image: Once the image is uploaded, click on it to add it to your project canvas. You'll see the image appear on your design space.
- Activate the crop tool: With your image selected, click on the “Edit” button located in the top toolbar. Then, click on the "Crop" button to enter cropping mode.
- Adjust the cropping area: Use the handles around the image to resize the crop box. Drag them inward or outward to include only the parts of the image you want. The cropped areas will be automatically hidden.
- Finalize the crop: Once you're happy with your selection, click "Apply" to confirm the crop. The remaining image is now cropped, and you can move on to the next steps in your project.
It's that simple! Cropping an image in Cricut Design Space allows you to customize your designs with just a few clicks. Keep practicing, and soon, cropping will become second nature.
Also Read This: How to Split an Image in Half
Adjusting the Crop Settings for the Perfect Fit
After cropping an image, you may need to make a few adjustments to ensure that it fits perfectly within your project. Cricut Design Space offers several tools to fine-tune your cropped image for the best results. Here’s how to adjust the crop settings:
- Resize the image: If you need to adjust the size after cropping, select the image and drag the corner handles. Hold down the Shift key to maintain the image’s proportions as you resize it.
- Change the aspect ratio: If you want to change the shape of the cropped area, use the "Unlock" button in the corner of the image to free the aspect ratio. This allows you to stretch or shrink the image as needed.
- Position the image: Move your cropped image around the canvas to place it exactly where you want it. Use the arrow keys on your keyboard for precise placement.
- Fine-tune with the "Layers" panel: You can make additional adjustments by selecting your image from the "Layers" panel. Here, you can adjust the cut settings, including whether to cut the image as a shape, print, or score.
These settings help you get the perfect fit for your project, whether you're making a vinyl decal, scrapbook page, or custom t-shirt. Taking a little time to adjust these settings ensures that your design looks professional and polished.
Also Read This: how to insert image in instagram comment
Common Issues When Cropping and How to Solve Them
While cropping images in Cricut Design Space is straightforward, you might run into a few issues along the way. Don't worry! Here are some common problems you might face and tips on how to solve them:
- Problem: Cropped image appears pixelated.
Solution: This usually happens when the image resolution is too low. Try uploading a higher-resolution image to prevent this. If that’s not possible, you can try using a vector image (SVG format) instead of a raster image (JPG or PNG). - Problem: I can't select the area I want to crop.
Solution: Make sure the crop box is active. If you’re unable to move or adjust it, click on the image again to make sure it’s selected, then try cropping again. - Problem: Parts of the image are cut off.
Solution: If you're cutting off essential parts of the image, make sure to zoom in and adjust the crop box more precisely. Use the handles to include all the areas you want before finalizing the crop. - Problem: The image won’t fit the project properly after cropping.
Solution: Resize the image once it's cropped. If necessary, use the "Unlock" option to change the aspect ratio and fit the image into your project area. - Problem: My cropped image looks stretched.
Solution: This may happen if you stretched the image while resizing. To fix it, press "Ctrl + Z" (or "Cmd + Z" on Mac) to undo the stretch and resize it again while holding the Shift key to maintain proportions.
By keeping these tips in mind, you'll be able to avoid the common pitfalls that beginners face when cropping images in Cricut Design Space. With practice, you’ll be able to crop images like a pro, ensuring your projects come out exactly how you envision them.
Also Read This: how to download high resolution images
Tips for Better Image Cropping in Cricut Design Space
Getting the best results when cropping images in Cricut Design Space isn’t just about selecting the right area—it’s also about making smart adjustments to ensure your design looks professional. Here are some helpful tips for perfecting your image crops:
- Use high-quality images: The better the image quality, the cleaner your crop will be. Avoid pixelated or blurry images, as they may look distorted when cropped.
- Keep the image in proportion: When cropping, try to maintain the original aspect ratio of the image. This prevents your image from looking stretched or squished. Use the "lock" button to keep the proportions locked while resizing.
- Zoom in for accuracy: Zooming in on your image allows you to crop more precisely, ensuring that important details aren't lost. This is especially useful for intricate designs or detailed graphics.
- Focus on the focal points: Make sure the key elements of the image are well-centered or positioned within the crop box. This ensures that your design looks balanced and visually appealing.
- Test your crop: After cropping, take a moment to preview your design in the Cricut workspace. Make sure the cropped image fits well with the rest of your project and adjust as needed before finalizing it.
By following these tips, you can improve your cropping skills and ensure that your images always look great when used in Cricut projects.
Also Read This: Sonic Surge: Strategies to Blow Up on SoundCloud – Boost Your Musical Presence
How to Save and Use Your Cropped Image in Cricut Projects
Once you’ve cropped your image to perfection, the next step is saving it and using it in your Cricut projects. Here’s how to do that:
- Save your cropped image: After cropping, click "Make It" in Cricut Design Space to preview your design. Then, save your project by clicking the "Save" button. This saves your design as part of your Cricut project file.
- Choose your material settings: Depending on the type of project you're working on (like vinyl, cardstock, or fabric), make sure you choose the correct material settings in Cricut Design Space.
- Preview your design: Before cutting, always preview how the cropped image fits within your project. You can move or resize it as needed. Make sure the image is positioned exactly where you want it.
- Send to Cricut machine: Once everything is perfect, click “Continue” and follow the prompts to send your cropped image to your Cricut machine. The machine will cut the image based on the design you’ve created.
- Use for printing or cutting: Depending on your project, Cricut allows you to either print the image (for printed designs like stickers or greeting cards) or cut it (for vinyl decals, paper crafts, etc.).
Once your image is cropped, saved, and set up, you’re ready to start crafting! Cricut makes it easy to bring your vision to life with just a few clicks.
Also Read This: Effective Ways to Add Music to Your YouTube Shorts
FAQ
Q: What file formats are best for cropping images in Cricut Design Space?
A: The best file formats for Cricut Design Space are SVG, PNG, and JPG. SVG files are particularly useful because they maintain high-quality vector images, which won’t lose clarity when resized or cropped.
Q: Can I crop an image into a shape?
A: Yes! Cricut Design Space lets you crop images into any shape you choose. You can use the "Shapes" tool to add a shape, then use the "Slice" tool to crop your image into that shape.
Q: Will cropping an image affect its quality?
A: Cropping itself doesn’t affect the quality of the image, but if you crop too much of the image away, the remaining part may look pixelated if the resolution is too low. Always start with a high-quality image for the best results.
Q: Can I undo a crop if I make a mistake?
A: Yes, Cricut Design Space has an "Undo" button, which allows you to reverse any changes you make, including cropping. Simply click "Undo" to go back to the previous version of your design.
Q: How do I adjust my cropped image after applying the crop?
A: After cropping, you can resize and reposition the image as needed by selecting it and dragging the corners to resize, or using the toolbar options for more precision.
Conclusion
Cropping images in Cricut Design Space is an essential skill for creating high-quality, personalized designs. By learning how to crop images effectively, you can make sure that your projects look polished and professional. The step-by-step guide provided will help you navigate the cropping process with ease, while the tips for better cropping ensure that your images are always the perfect fit for your Cricut projects. Whether you’re creating custom decals, scrapbooks, or home décor, mastering the cropping tool gives you greater control over your designs. Keep practicing, and soon, cropping will become second nature, helping you craft with confidence and precision!

 admin
admin


