Baking a castle cake is not just about whipping up a dessert; it's about creating a whimsical experience that transports you and your guests into a fairy tale. Whether you're marking a child's birthday or simply indulging your love for baking, this creative journey involves more than just mixing flour and sugar. So grab your apron and let’s dive into the enchanting world of castle cake baking! In this guide, we'll cover everything from the ingredients you'll need to the tricks for decorating your masterpiece. Get ready to impress everyone with a cake that’s a true work of art!
Gathering Your Ingredients

Before you embark on your castle cake adventure, it’s vital to gather all the necessary ingredients. Here’s a handy list to ensure you have everything you need on hand:
- Flour: 2-3 cups of all-purpose flour will do the trick.
- Sugar: 1-2 cups—depending on how sweet you want your cake.
- Baking Powder: 1 tablespoon to help your cake rise.
- Salt: A pinch to enhance the flavors.
- Butter: 1 cup of unsalted butter for a rich taste.
- Eggs: 3 to 4 large eggs to bind your ingredients together.
- Milk: 1 cup for moisture—feel free to substitute with almond or soy milk for a dairy-free option.
- Vanilla Extract: 1 tablespoon to add a lovely fragrance.
In addition to your basic cake components, you'll need some exciting decorations to transform your cake into a castle!
| Decoration Item | Purpose |
|---|---|
| Fondant: | To create smooth castle walls and magical elements. |
| Piping Gel: | For adding details and shiny features. |
| Edible Glitter: | To give your cake that enchanting sparkle. |
| Gumdrops or Candy Turrets: | To form the castle turrets. |
| Colored Sprinkles: | To resemble flowers or embellishments around the castle. |
Having these ingredients at your disposal will set you up for success as you begin creating your whimsical castle cake. Ready to put your creative hat on? Let’s get baking!
Choosing the Right Cake Recipe

When it comes to building your very own castle cake, the first and most important step is choosing the right cake recipe. The flavor and texture of your cake will set the foundation for your castle, both visually and taste-wise!
Here are some points to consider when selecting your cake recipe:
- Flavor: Opt for flavors that resonate with your theme or personal preferences. Classic options like vanilla, chocolate, or even a whimsical lemon or raspberry can work wonders.
- Texture: A sturdy cake is essential for supporting the weight of decorations. Consider recipes for sponge cakes or pound cakes—they're denser and provide a solid base.
- Number of Layers: Depending on how elaborate you want your castle to be, think about how many layers you'll need. A three-layer cake can make a great backdrop for smaller turrets.
- Allergies: Keep in mind any dietary restrictions. Don't hesitate to explore gluten-free or dairy-free options that don’t compromise on taste.
- Experimentation: If you’re feeling adventurous, blending different flavors or inserting fillings like fruit preserves or creams between layers can spice things up!
A good rule of thumb is to bake a test cake before the big day. This helps you perfect your recipe and fine-tune the flavors.
Preparing the Cake Layers
Once you've chosen your cake recipe, it’s time to roll up your sleeves and prepare those cake layers. This part of the process is crucial, as it will directly affect how well your castle holds up.
Here's how to go about it:
- Gather Your Ingredients: Ensure you have all the necessary ingredients on hand. This typically includes flour, sugar, eggs, butter, and baking powder—plus anything special for flavorings!
- Preheat Your Oven: Set your oven to the appropriate temperature as per your cake recipe. Preheating ensures your cake rises beautifully.
- Grease and Line Your Pans: Use a generous amount of butter or cooking spray, and don’t forget to line the bottom with parchment paper for easy release.
- Mix Your Batter: Follow the instructions for mixing your batter. Make sure to avoid overmixing to keep the texture light and fluffy.
- Pour and Bake: Divide your batter between the pans and pop them into the oven. Keep an eye on them and use a toothpick to check for doneness.
- Cool Completely: After baking, let your layers cool in the pans for about ten minutes before transferring them to wire racks. This ensures they’re easier to handle and less likely to crumble.
Once your layers are cooled, they’re ready for frosting and decorating, which is where the castle magic really begins! Happy baking!
5. Constructing the Castle Structure
Building the castle structure for your cake is where the magic truly begins! This step is all about creativity and making your vision come to life. Here’s how you can nail this stage:
- Choose Your Base: Start with a sturdy cake as the base. A rectangular or square cake is ideal for the castle floor. You might want to opt for a cake board beneath for stability.
- Layering: If you want a taller castle, stack multiple layers of cake. Use a buttercream or ganache frosting in between layers for support.
- Shape the Towers: For towers, you can bake smaller round or square cakes. Alternatively, use a cake mold to achieve a perfect cylindrical shape. Place them on top of the base cake.
- Using Cones: Ice cream cones can be a quick way to create turret-like structures. Just place them upside down on top of your cake for an instant castle look!
- Stabilization: Be sure to insert wooden dowels or straws into the tiers of the cake for added support, especially if you’re stacking multiple layers.
Finally, don’t forget that each castle may have its own unique flair! You can carve windows or doors from the cake itself. Think about how you want your castle to stand proud and majestic. And remember, practice makes perfect - don’t hesitate to experiment!
6. Decorating Your Castle Cake
Now comes the fun part – decorating your castle cake! This is where you can really let your imagination run wild. Let’s delve into some delightful decoration ideas:
- Frosting: Start with a base coat of frosting to create a smooth surface. Use colors like pastel shades or vibrant tones to convey a fairy tale vibe.
- Edible Glitter: Adding some sparkle gives your castle an enchanting touch. A sprinkle of edible glitter can make your structure shine!
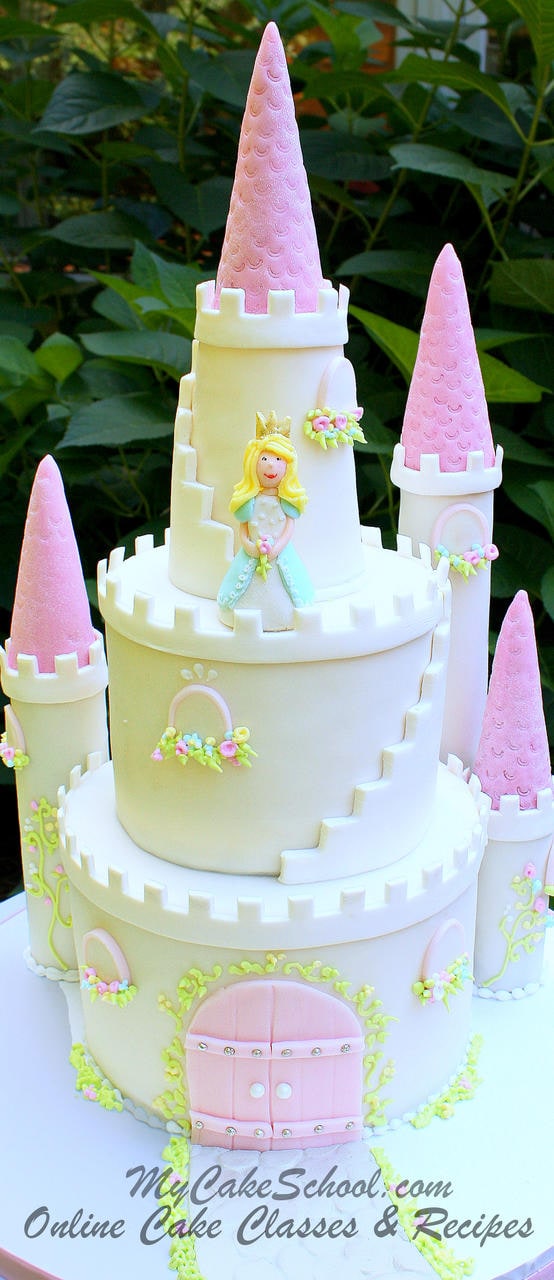
- Fondant Decorations: For a polished look, consider using fondant to mold shapes like flags, windows, and even a drawbridge. Roll it out and create your desired decorations.
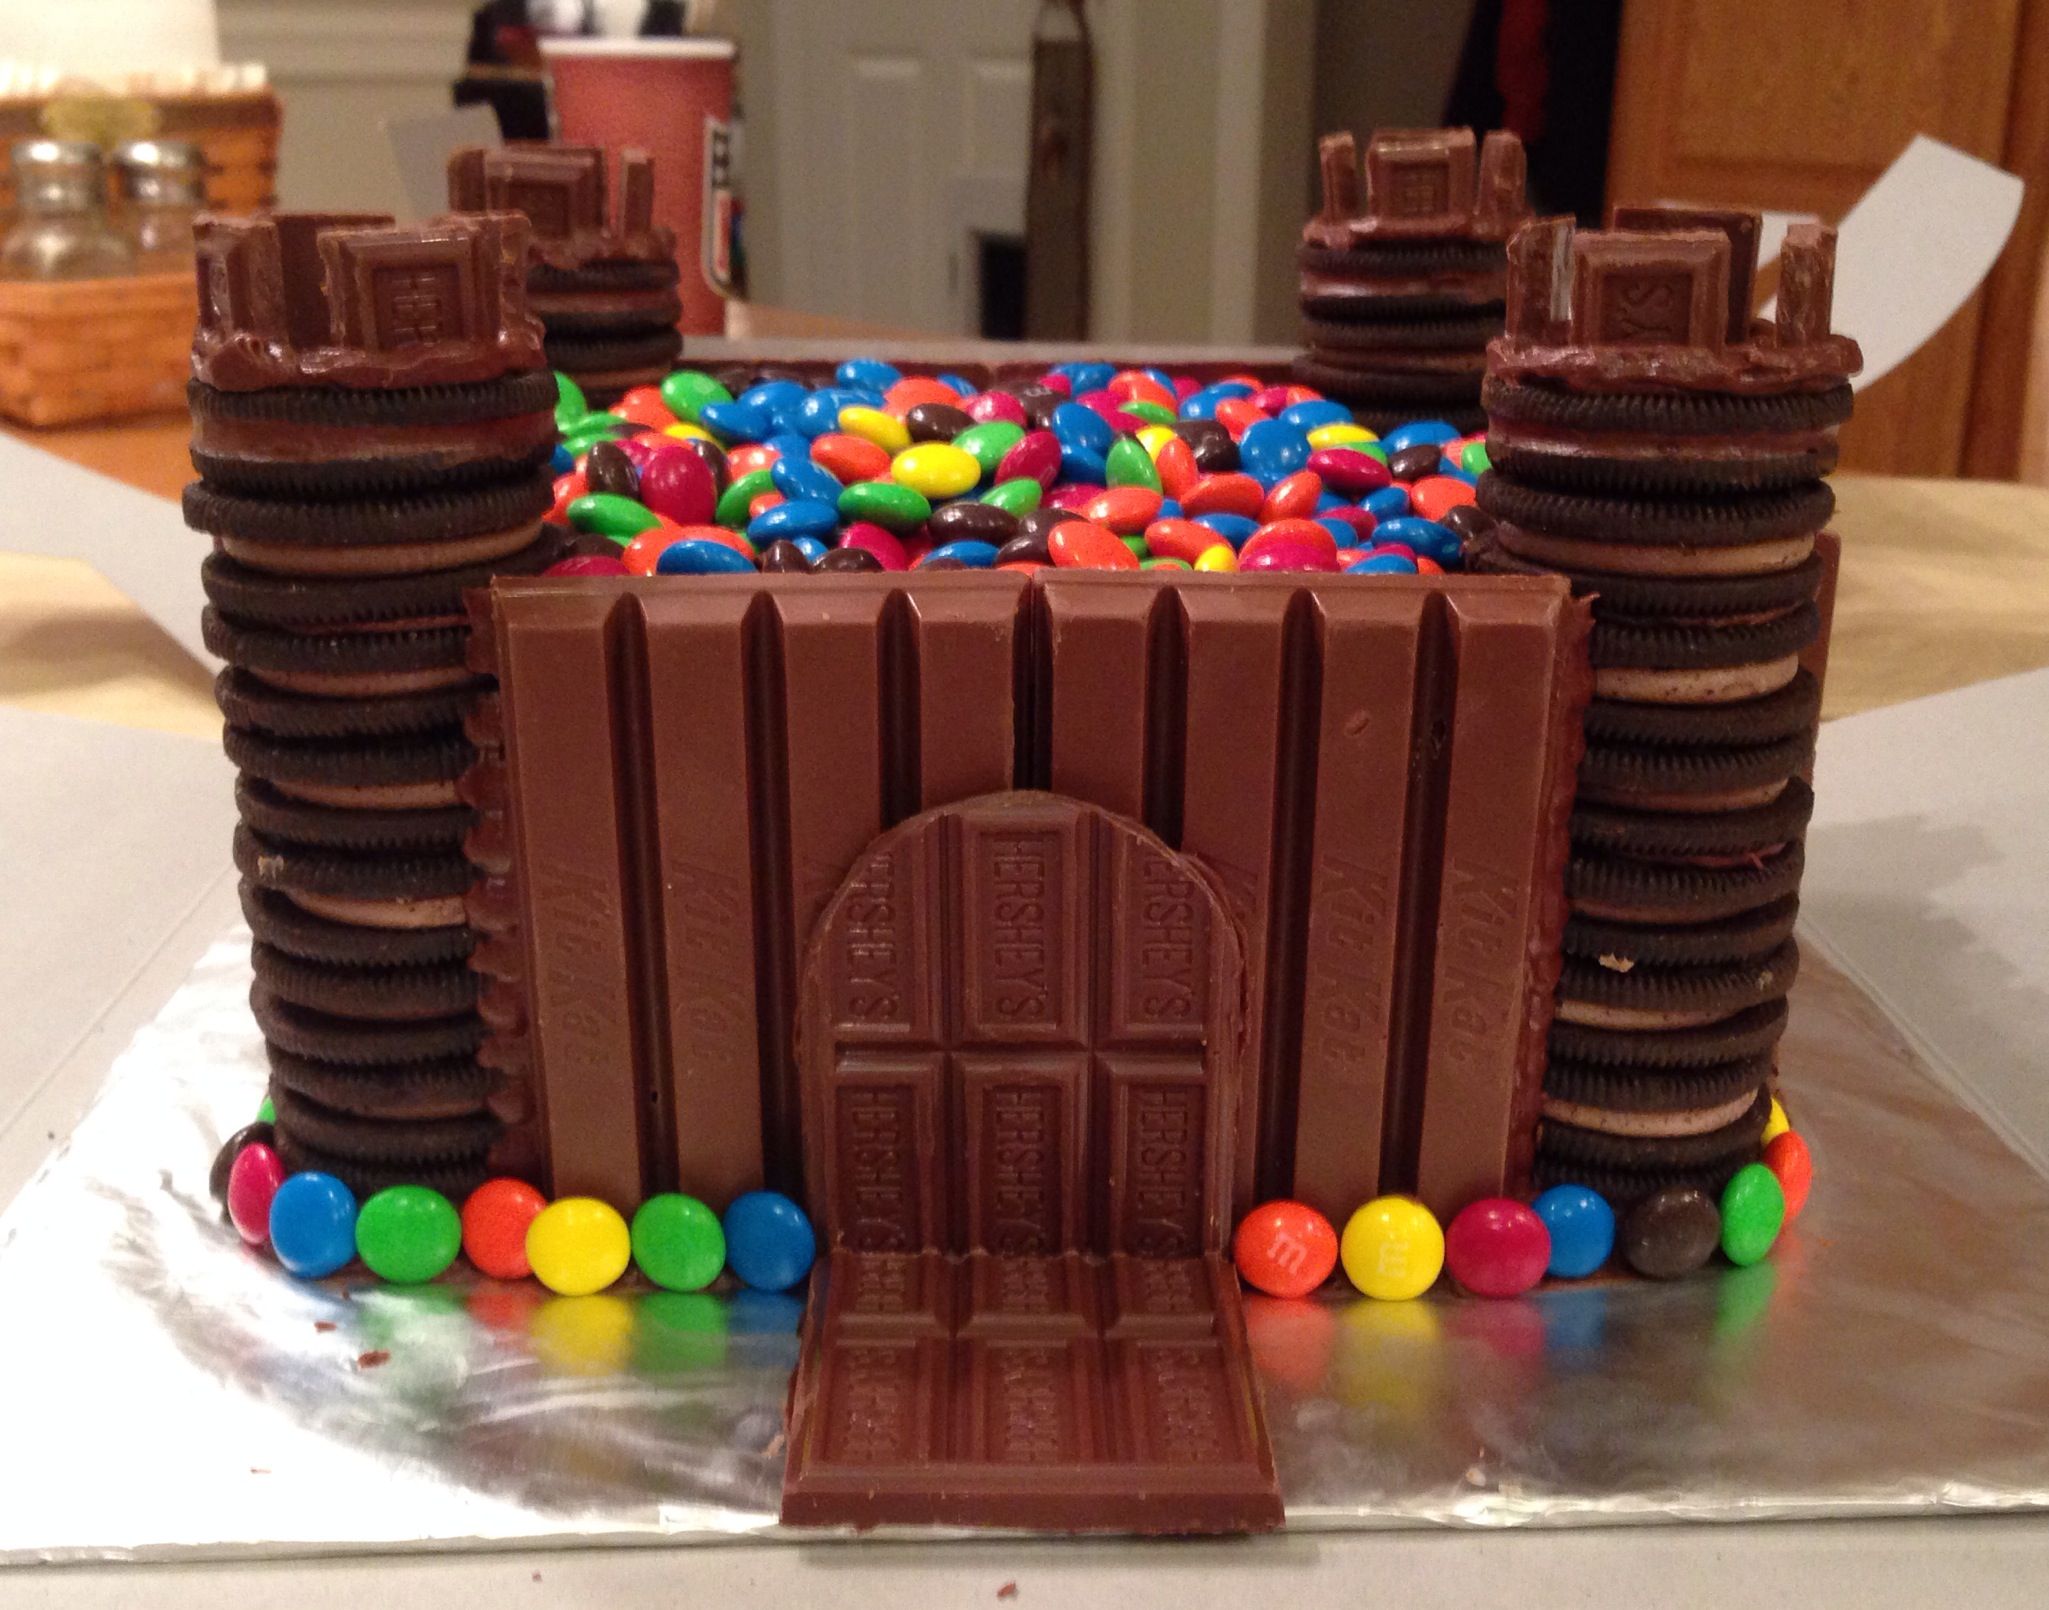
- Candy Features: Use sweets like chocolate bars for walls, gumdrops for trees, or licorice for fencing. This not only flavors your cake but also enhances the castle theme.
Don’t shy away from using your artistic skills! You can paint with food coloring or pipe decorations with different nozzles to add intricate details. Remember, the castle is a representation of your creativity, so let it reflect your unique style. Have fun with it, and you’ll end up with a whimsical piece that not only looks good but tastes delicious, too!
7. Finishing Touches and Presentation
Once you've assembled the main components of your castle cake, it’s time to focus on the finishing touches that will make your creation truly stand out. Presentation is key when it comes to a cake that’s as whimsical as a castle! Here are some ideas to elevate your cake's aesthetic:
- Colorful Buttercream: Use various shades of buttercream to create a gradient effect on the towers and walls. This can give a dreamy look, reminiscent of a fairy tale castle.
- Edible Glitter: Sprinkle some edible glitter on the towers and surrounding area. This shimmering touch can simulate a magical atmosphere, especially under good lighting.
- Decorative Fondant Elements: Consider using fondant to craft small decorative pieces like flags, flowers, or even miniature figures of knights and princesses.
- Drawbridges and Moats: If you want to take it a step further, create a small moat using blue jelly around the base of the cake or make a drawbridge out of chocolate or cookie pieces.
- Use Cake Stands: Elevate your presentation by placing the cake on a decorative cake stand that complements the theme. Think of colors and styles that channel a royal feel.
Finally, don’t forget about your serving platter! A beautiful board or a themed dish can make your cake pop even more. Whichever elements you choose to incorporate, let your creativity soar as you finish off your stunning castle cake!
8. Tips for a Successful Castle Cake
Baking a castle cake can be a delightful yet challenging endeavor. To help you navigate through this whimsical baking journey, here are some essential tips for success:
- Plan Your Design: Sketch out your castle cake design before you begin baking. Having a solid plan can help you visualize the end product and make the construction easier.
- Coordinate Flavors: Choose cake flavors that complement each other. Consider using classic combinations like vanilla and strawberry or chocolate and hazelnut.
- Proper Baking: Ensure that your cakes are baked evenly by adjusting the oven temperature as necessary. It’s also crucial to let your cakes cool completely before frosting to avoid melting your icing.
- Use Sturdy Supports: If your cake is multi-layered or has tall structures, use cake dowels for extra support. This can prevent any collapse during transportation or cutting.
- Be Patient with Decorating: Decorating can take time, especially with intricate designs. Don't rush—take your time and enjoy the process. If you make mistakes, remember that creativity often emerges from imperfection!
Lastly, don’t forget to have fun! Baking should be an enjoyable and rewarding experience. Now, go ahead and let the art of castle cake creation bring out the inner pastry chef in you! 🎂✨
Creative Guide to Baking a Castle Cake
Baking a castle cake can be an enchanting project for any celebration, whether it’s a birthday, wedding, or just a whimsical gathering. This step-by-step guide will help you create a stunning castle cake that is sure to impress your guests and become the highlight of the event.
Ingredients Needed
- 2 boxes of cake mix (flavor of your choice)
- 5 cups of frosting (buttercream is recommended)
- Marzipan or fondant for decoration
- Food coloring (optional)
- Candy or chocolate decorations (e.g., chocolate rocks, gummies)
- Cake boards for support
Tools Required
- Mixed baking pans (various sizes)
- Offset spatula
- Turntable
- Piping bags and tips
- Sharp knife
- Ruler for precision
Baking Instructions
Follow these steps to create your castle cake base:
- Preheat your oven according to the cake mix instructions.
- Prepare your baking pans by greasing and flouring them.
- Mix the cake batter and pour it into the pans. Bake as directed.
- Once baked, let the cakes cool completely before stacking.
Building Your Castle
Assemble your cake with these design elements:
- Stack layers of cake to create the towers and walls.
- Use frosting to secure the layers and create a smooth surface.
- Using marzipan or fondant, create battlements and turrets for decoration.
- Decorate with edible glitter, candies, and other embellishments.
Finishing touches can include edible flowers, flags, and other themed decorations that reflect your vision. Let your imagination run wild!
Conclusion
Baking a castle cake is not just about the final product; it's an opportunity to express creativity and bring joy to any occasion. With careful planning and execution, anyone can create a magical edible masterpiece.
 admin
admin


