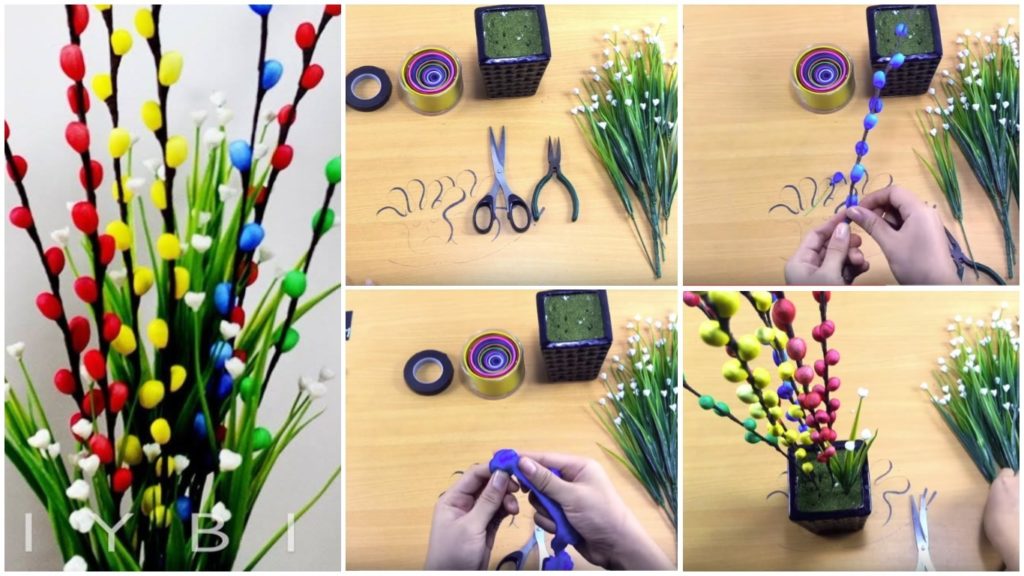
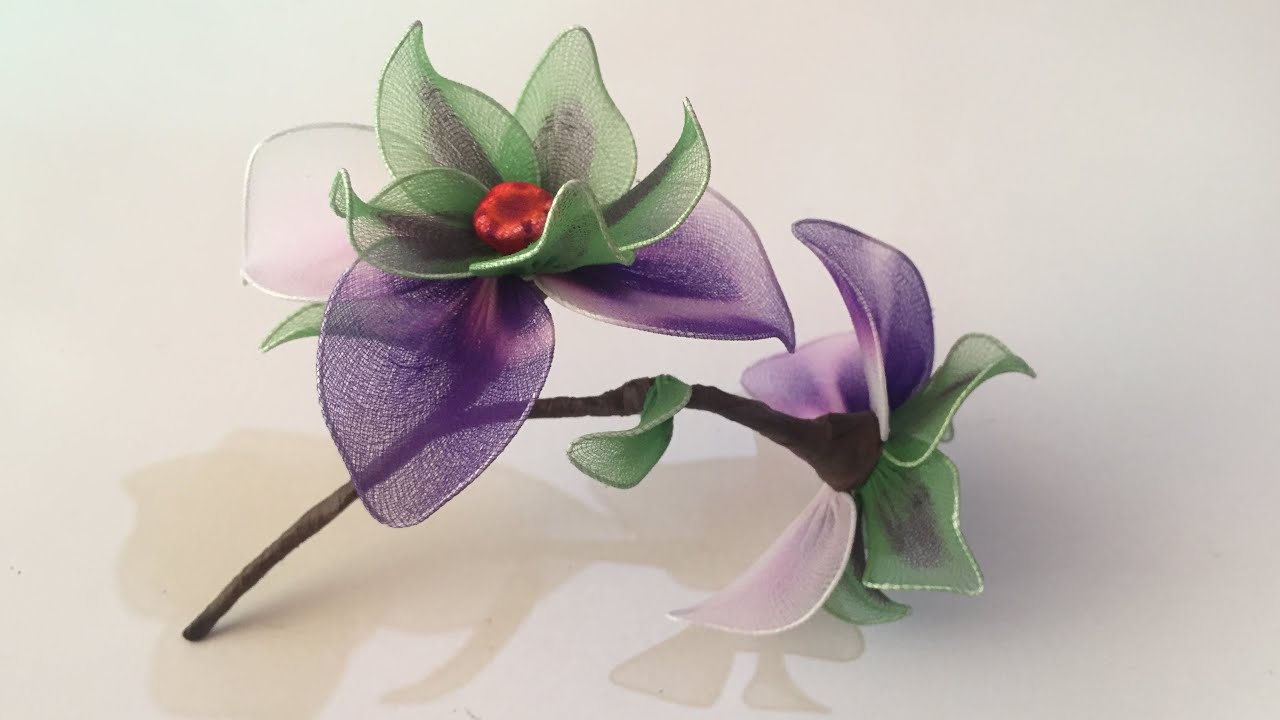
Welcome to our delightful DIY craft tutorial where creativity blossoms! In this post, we’ll show you how to transform ordinary stockings into beautiful, eye-catching flowers that will add a whimsical touch to your home or make for a perfect gift. It’s an easy and fun project that you can enjoy alone or with friends and family, and it’s a fantastic way to repurpose materials you might already have at home. So, grab your stockings and get ready to bring a splash of color and creativity into your life!
Materials Needed

Before you dive into crafting your stocking flowers, let’s make sure you have everything you need! Here’s a comprehensive list of materials that will help you create stunning floral designs:
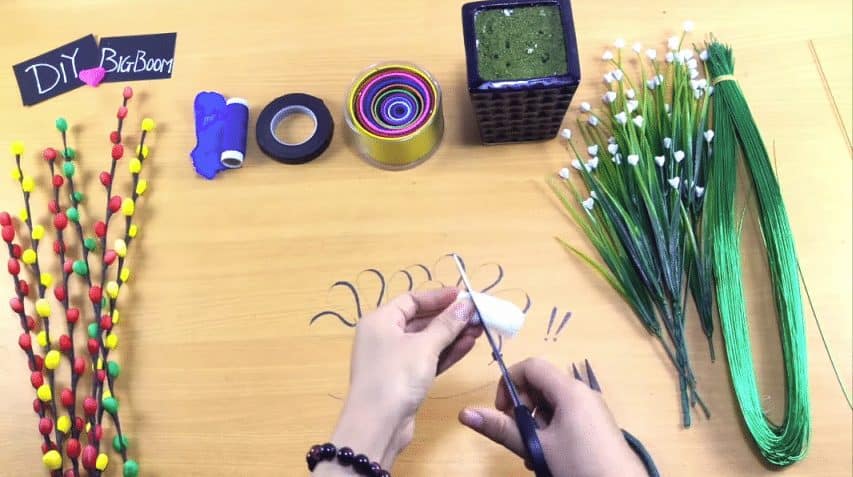
- Old Stockings or Pantyhose: Choose vibrant colors to make your flowers pop. You can use mismatched or old pairs that you no longer wear.
- Scissors: A trusty pair of scissors will help you cut your materials to the right sizes.
- Wire or Floral Stems: These will serve as the backbone of your flowers, providing structure and support.
- Floral Tape or Adhesive: Use these to secure your flowers and create a finished look. Floral tape is particularly handy for wrapping around the stems.
- Filler Material: You can use cotton balls, tissue paper, or even shredded newspaper to give your flowers a little volume and shape.
- Optional Decorative Elements: Think beads, buttons, or even glitter to add a personal touch to your flowers.
- Hot Glue Gun (optional): If you'd like to attach some embellishments, this will make the process quick and easy.
Now that we have our supplies, we’re all set to get started on this fun and creative journey! Don’t worry if you don’t have everything mentioned here; the beauty of DIY crafts is that you can always improvise. Let your creativity lead the way!
Step-by-Step Instructions

Creating your own stocking flowers can be a fun and rewarding experience! Follow these easy-to-follow steps to craft your beautiful stocking flower design. Grab your supplies and let's dive in!
- Gather Supplies: You'll need an old stocking (or pantyhose), scissors, a wire stem, floral tape, and any embellishments like buttons, beads, or ribbons.
- Cut the Stocking: Take your stocking and cut it into pieces. Each piece should be around 6-8 inches long. This length will give your flower a nice, full bloom.
- Form the Petals: Take one piece of the stocking and stretch it slightly. This action allows it to become more pliable. Fold it in half to create a petal shape. You can create additional petals by repeating this step with other pieces.
- Assemble the Flower: Once you have your petals ready, start layering them one on top of the other, forming a flower shape. You can alternate colors or patterns if your stockings feature different designs.
- Secure the Base: Using a wire stem, thread it through the center of the flower and twist it to secure it tightly. This will ensure your flower holds its shape.
- Wrap with Floral Tape: Take your floral tape and begin wrapping it around the base of the flower where it meets the stem. This not only secures your flower but also adds a polished look.
- Add Embellishments: Finally, jazz up your flower with buttons, beads, or ribbons. Hot glue can be used to attach these decorations, giving your flower a unique touch.
And voilà! You now have a stunning stocking flower that you can use for decorations, gifts, or just to brighten up your home.
Tips for Personalization

Making your stocking flowers is already a fun endeavor, but personalizing them adds that extra charm. Here are some creative tips to help you make your flowers truly unique:
- Color Coordination: Choose stockings in colors that match your home décor or seasonal themes. For instance, festive reds and greens for Christmas!
- Mix Patterns: Don't shy away from mixing different patterned stockings. Polka dots and stripes can create eye-catching combinations that are sure to stand out.
- Use Different Shapes: Experiment with various petal shapes. Instead of standard round petals, try cutting them into wavy or pointed forms for a more whimsical look.
- Accessorize: Get creative with your embellishments. Use leftover craft materials like feathers, sequins, or even fabric scraps to add depth and character.
- Add Scent: If you're feeling adventurous, consider adding dried lavender or scented oils to the center of the flower for an aromatic touch.
Lastly, remember that the best part about DIY projects is that there are no strict rules! Feel free to let your imagination run wild and make your stocking flowers a true reflection of your style.
Common Mistakes to Avoid
When diving into your creative DIY stocking flowers project, it’s easy to get caught up in the excitement and overlook some important details. Here are some common missteps to steer clear of ensuring your crafting experience is smooth and successful:
- Skipping the Planning Stage: One of the biggest mistakes is jumping right in without a clear plan. Take a moment to sketch out your design or list the materials you’ll need. This helps keep your project organized and minimizes waste.
- Poor Material Choices: Not all fabrics or decorations work equally well. Opt for materials that are durable and easy to work with. For example, lightweight felt or cotton can be great choices for stocking flowers.
- Ignoring the Scale: Ensure that your flowers are proportionate to the size of your stockings. A flower that’s too big or too small can throw off the whole aesthetic. Pay attention to how they’ll look together before you finalize your design.
- Neglecting to Secure Components: If you’re using glue or thread, make sure everything is securely attached. There’s nothing worse than investing time into a project only for it to fall apart later. Double-check each flower before decorating your stockings.
- Rushing the Drying Process: If you're using glue or paint, take the necessary time for everything to dry completely. Rushing this can lead to smudges and mess-ups that marring your hard work.
- Forgetting to Personalize: Remember, this DIY project is about expressing yourself! Avoid the pitfall of copying someone else's style completely. Infuse your personality into your design, whether through color selection or unique flower shapes.
Conclusion
As we wrap up this delightful journey into the world of DIY stocking flowers, it’s clear that creativity knows no bounds. This project not only results in stunning decorations but also offers a fantastic way to bond with family and friends while working together on a fun craft. Here’s a little recap of what you’ve learned:
- How to gather your materials and set up your crafting space.
- The step-by-step process for creating beautiful flowers from stockings.
- Tips and tricks to enhance your floral design.
- Key mistakes to avoid, ensuring a hassle-free experience.
DIY stocking flowers are perfect for festive occasions and also make for thoughtful gifts. They bring warmth and creativity into home decoration and are a wonderful way to showcase your artistic flair. So, gather your supplies, invite some friends over, and let those creative juices flow!
Remember, the key to any craft is to have fun and inspire others with your work. We can’t wait to see what amazing designs you come up with. Happy crafting!
Where to Share Your Creations
Once you've crafted your beautiful DIY stocking flowers, it's time to showcase your creative efforts to the world! Sharing your creations not only allows you to celebrate your handiwork but also inspires others to bring their artistic visions to life. Here are some great platforms and ideas on where to share your delightful stocking flowers:
- Social Media: Platforms like Instagram, Pinterest, and Facebook are excellent for sharing photos of your DIY projects. Use relevant hashtags such as #DIYflowers, #StockingCrafts, and #CreativeDIY to reach a wider audience.
- Crafting Forums: Websites like Reddit and specific crafting forums allow you to share your project in communities of like-minded individuals who appreciate DIY crafts. Check out subreddits such as r/DIY and r/crafts.
- Your Own Blog: If you have a blog, create a dedicated post showcasing your step-by-step process, along with pictures of the final result. This not only showcases your work but can also help others learn how to make their own.
- Online Marketplaces: If you're considering selling your stocking flowers, consider platforms like Etsy or Shopify to showcase and sell your handmade goods.
- Crafting Events: Local craft fairs, workshops, or community centers often welcome crafters to display their work. Participating in these events can connect you with other enthusiasts.
Remember, sharing your DIY projects not only showcases your hard work but also fosters a sense of community among crafters and inspires others to unleash their creativity. Happy crafting!
 admin
admin


