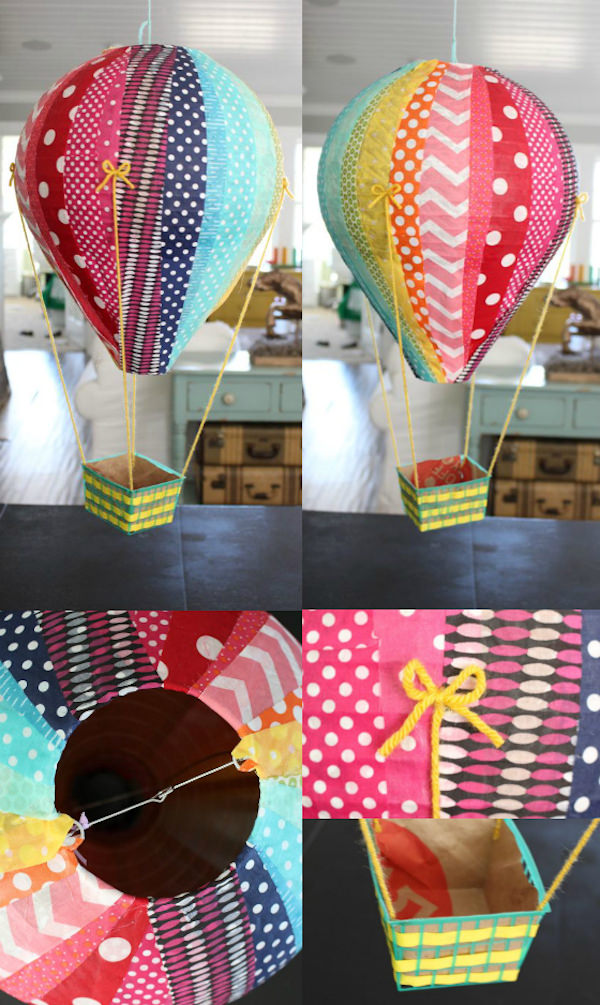
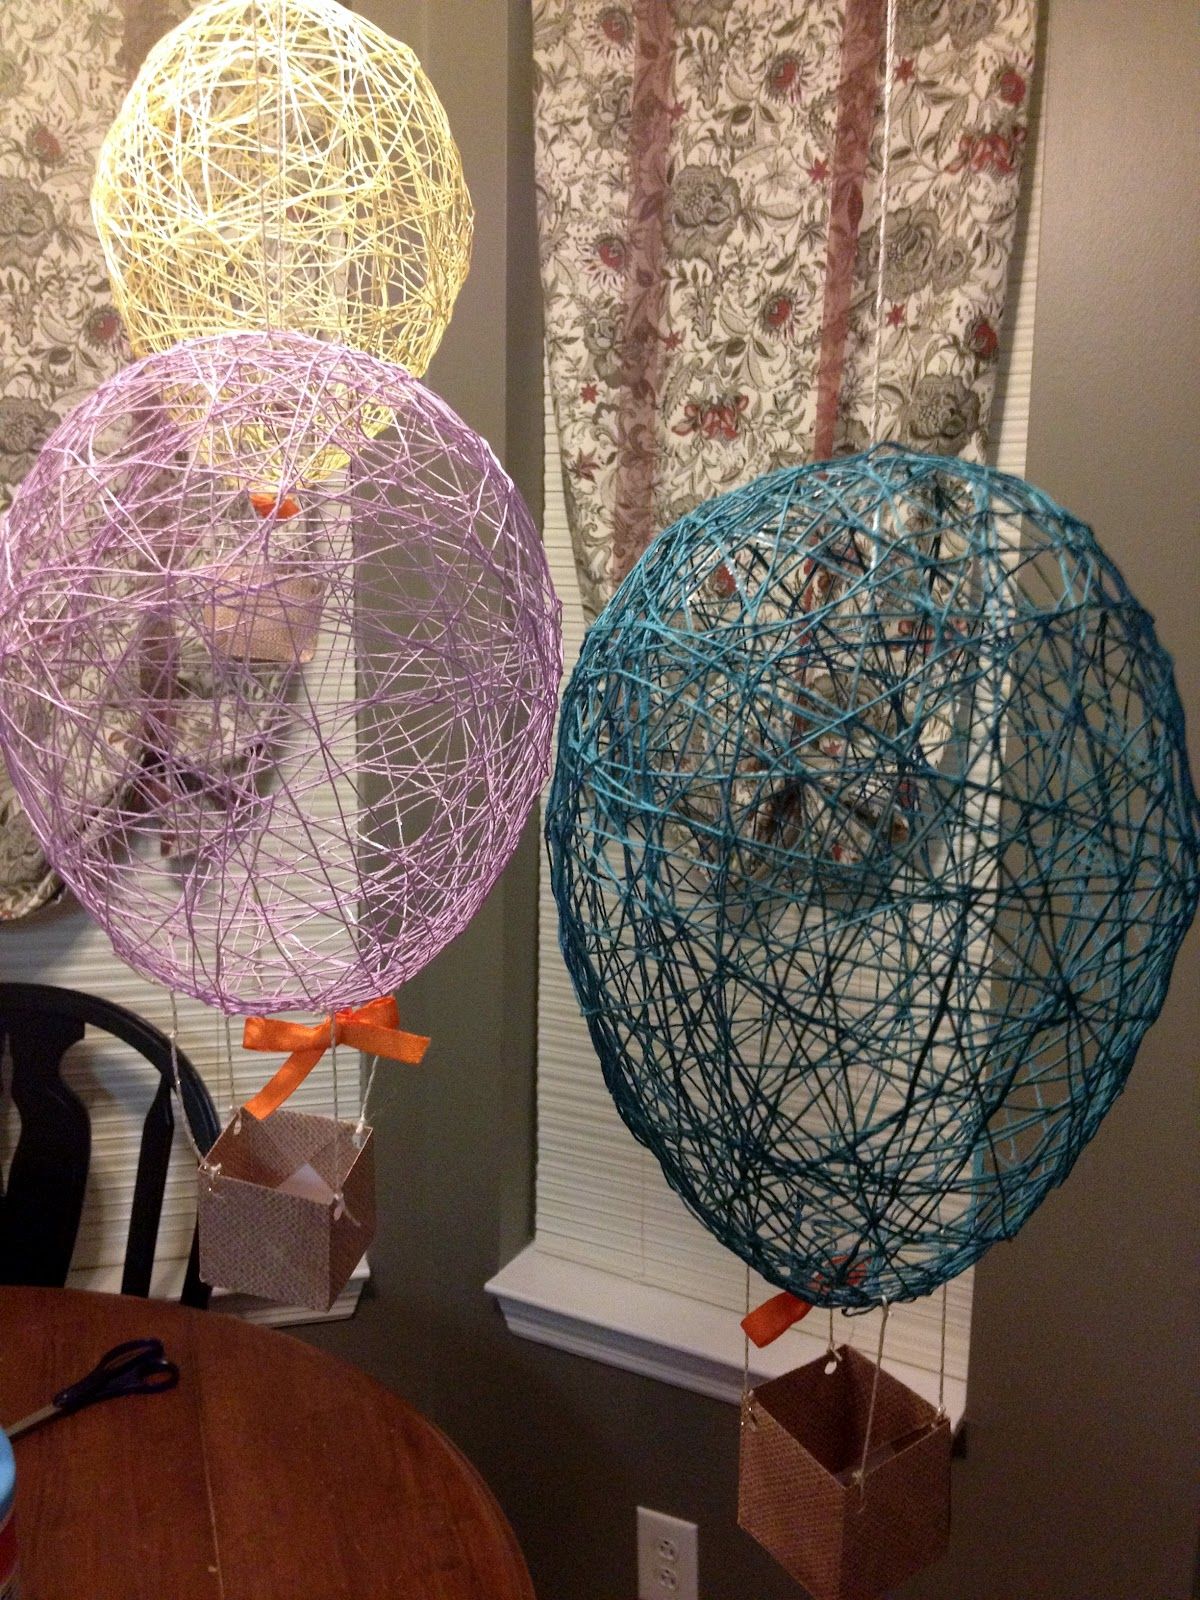
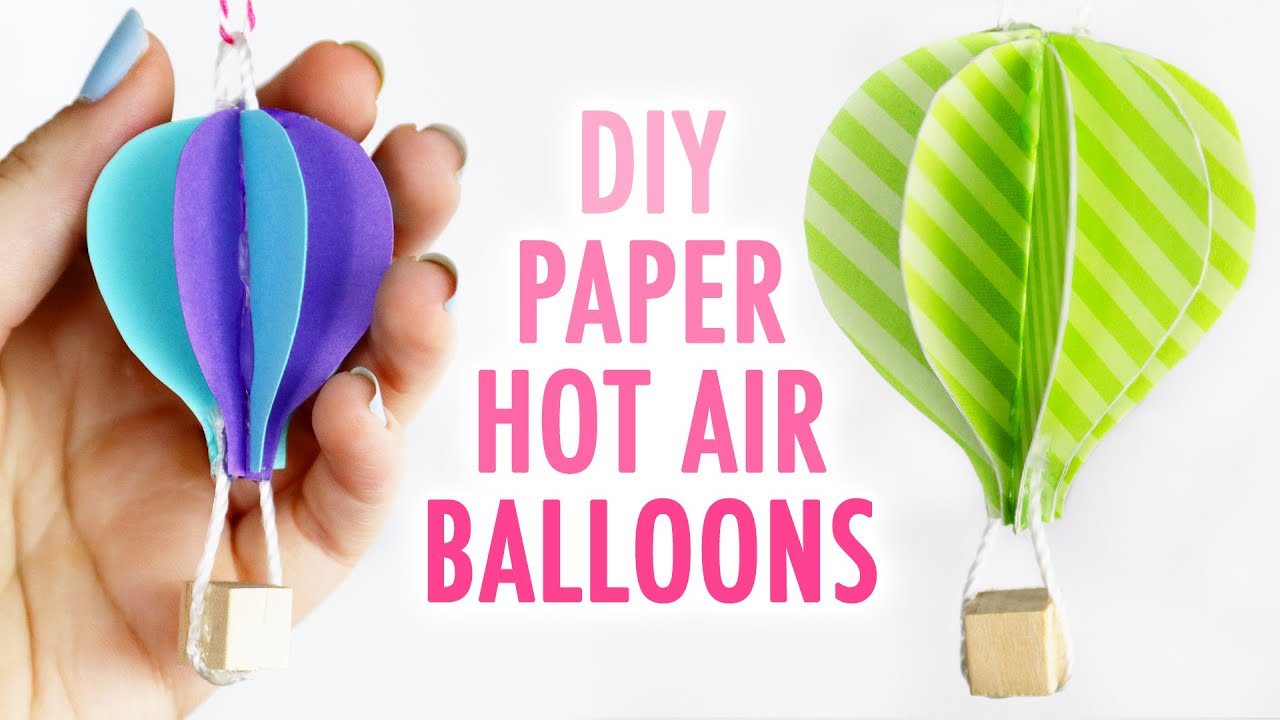
Are you ready to soar to new heights? Building a hot air balloon at home might sound like an ambitious project, but with some creativity and a sprinkle of determination, it's totally achievable! Whether you're looking to ignite your child's imagination, create a unique educational experience, or simply want to embark on a fun craft project, this DIY guide will help you every step of the way. So, buckle up and get ready to float your way through this exciting adventure!
Materials Needed

Before you start crafting your very own hot air balloon, you’ll need to gather some specific materials. Below is a handy list that breaks down everything you’ll need, plus a few optional items for those looking to get a little more adventurous!
- Plastic Trash Bags: These will serve as the main body of your balloon. Choose large, sturdy bags for better performance.
- Lightweight Tape: Duct tape or packing tape is perfect for sealing the bags together and ensuring they’re airtight.
- String or Twine: This will be used to create the basket and connect it to the envelope of the balloon. Strong, lightweight options work best.
- Small Basket or Container: This is where your passengers (usually small toys) will sit. An open weave basket works great!
- Burner (optional): If you want to take your balloon to the next level, look into a small portable propane burner or a candle altar. Safety first - always supervise!
And there you have it! Simple materials that are easy to find or already in your home. With these items on hand, you'll be well on your way to crafting an eye-catching hot air balloon that’s sure to bring smiles and spark curiosity. Let’s keep the creativity flowing as we take our next steps!
Preparing the Balloon Fabric

When it comes to crafting your very own hot air balloon, one of the most crucial steps is preparing the balloon fabric. The fabric is what will catch the hot air, so it’s got to be lightweight yet strong enough to hold everything together. Let's dive into the essentials!
First things first, you’ll want to choose the right material. *Nylon or polyester are the common choices because they are durable and can handle the heat generated by your burner. These fabrics are available at most fabric or sewing supply stores. Aim for a thin, lightweight fabric, as heavier materials can hinder the balloon’s ability to rise.
Here’s a simple checklist to get you started:
- Materials: Nylon or polyester fabric (1-2 yards depending on balloon size)
- Tools: Scissors, sewing machine or needle and thread, fabric glue (optional)
- Safety Gear: Gloves and goggles to protect yourself when handling tools
Once you have your fabric, it’s time to cut it into sections. You can create a pattern by drawing a template on cardboard first, then using that to cut the fabric. Make sure to leave an extra inch around the edges for seams. Then, sew the pieces together, ensuring to use a reinforced stitch to prevent any leaks when the air fills up!
After sewing, inspect your work for any holes or weak spots; you want your balloon to lift off confidently. A good practice is to use fabric glue to seal seams if you’re concerned about durability. Once your fabric is prepped and sewn, your hot air balloon is one step closer to taking flight!
Constructing the Balloon Frame

Now that you’ve got your balloon fabric ready, it’s time to move on to the next exciting phase: constructing the balloon frame. This part is essential for ensuring your hot air balloon is stable and can withstand the heat while keeping the fabric taut.
Generally, hot air balloon frames are made of lightweight materials like PVC pipes or aluminum, depending on the size and intended use of your balloon. For a beginner’s hot air balloon project, PVC is often the go-to material because it’s affordable and easy to work with. Here’s what you’ll need:
| Material | Quantity |
|---|---|
| PVC Pipe (¾ inch) | 8 pieces (4 long, 4 short) |
| PVC Connectors | 4 corners + 4 joints (varies) |
| Drill or screwdriver | 1 |
| Sandpaper | 1 piece (for smoothing edges) |
Start by cutting your PVC pipes to the appropriate lengths based on your desired balloon dimensions. For example, a standard diameter might be 6-8 feet. Using your connectors, assemble the frame into a square or rectangular base. Ensure that every connection is tight and secure; you don’t want any wobbling while airborne!
Once your frame is standing sturdy, you can attach the fabric to it. This is usually done by sewing the fabric hem to the frame edges, but you can also use strong adhesives if sewing isn't an option. Make sure the fabric is stretched out evenly as you attach it to ensure proper inflation.
After ensuring everything is held together well, take a step back and check your creation! With your balloon fabric and frame prepared, you’re ready to move on to the next steps—adding the burner and ensuring everything is flight-ready. You're getting closer to your hot air adventure!
5. Assembling the Burner
Building a hot air balloon is an exhilarating project, and assembling the burner is a crucial step in this adventure. The burner is responsible for heating the air inside the balloon, making it rise. Let’s break down the process so it feels manageable and fun!
First things first, make sure you gather all the necessary materials. Here’s a quick checklist:
- Propane tank
- Burner nozzle (you can find these at hardware stores or online)
- Heat-resistant tubing
- Metal brackets for support
- Hoses for gas connection
- A flame control valve
Now, onto the assembly:
- Attach the Burner Nozzle: Secure the burner nozzle to the top area of your balloon's envelope. This part will direct the flame into the balloon.
- Connect the Propane Tank: Using the hoses, connect the propane tank to your burner. Ensure all connections are tight to prevent gas leaks.
- Install the Flame Control Valve: This valve will help you maintain control over the flame's intensity, so make sure it’s easily accessible.
- Support Your Setup: Use the metal brackets to provide extra support for your burner. This is especially important when the burner is in use.
After assembling everything, double-check that all connections are secure. Safety is paramount when you’re working with gas and flames!
6. Testing Your Hot Air Balloon
So, your DIY hot air balloon is assembled and looking fabulous! But before you take to the skies, it’s essential to conduct some testing to ensure everything operates smoothly. This is the safety check that every responsible balloonist should do.
First, find a suitable testing location—a vast open area away from buildings, trees, and people will do the trick. Here’s what you’ll want to do:
- Check the Burner: Before you inflate the balloon, ignite the burner briefly to make sure it functions correctly. Stand at a safe distance and observe that the flame is stable and directed properly.
- Inflate the Balloon: Turn on the burner and watch as the hot air fills the envelope. It should begin to rise. If it struggles, you may need to adjust the flame control or check for leaks.
- Monitor Stability: As the balloon inflates, pay attention to how well it holds the air. Make sure there are no significant gaps or holes that could cause a problem.
- Test Lift: If everything seems to be working fine, you can attempt small test lifts. Use a safety harness to secure the balloon and someone to help you monitor it. Keep it low to the ground for safety!
After completing the tests, always review your setup. If any issues arise, it’s better to troubleshoot them on the ground than up in the air!
7. Safety Precautions
When embarking on your DIY hot air balloon adventure, safety should be your top priority. Even though flying a homemade balloon sounds exciting, it comes with inherent risks. Here’s a friendly reminder of crucial safety precautions to consider:
- Use Fire-Resistant Materials: Ensure that the fabric used for your balloon is fire-resistant. This is crucial since the heat source could present fire hazards.
- Secure the Heat Source: Make sure the burner is properly installed and securely attached to prevent any disconnection or failure during flight.
- Conduct Pre-Flight Checks: Before each flight, double-check all components of the balloon. This includes inspecting the envelope, burner, and lines for wear and tear.
- Choose Open Spaces: Launch your balloon in a wide, open area away from buildings, trees, and power lines. This minimizes the risk of collisions.
- Check the Weather: Windy days can be particularly dangerous for hot air ballooning. Always fly in calm weather conditions.
- Have a First Aid Kit Ready: Accidents happen. Keep a basic first aid kit on hand, just in case of minor injuries.
- Have an Emergency Plan: Always prepare for the unexpected. Inform someone about your launch area and estimated duration of the flight.
By following these precautions, you’ll not only enhance your safety but also enjoy a more relaxing and fun experience while creating your sky-high masterpiece.
8. Troubleshooting Common Issues
Even with the best preparation, things don’t always go as planned, right? Here are some common issues you might encounter when building or flying your hot air balloon, along with helpful troubleshooting tips:
| Issue | Possible Causes | Solutions |
|---|---|---|
| Poor Inflation |
|
|
| Bouncing on Landing |
|
|
| Drifting Too Much |
|
|
Remember, a little patience goes a long way. By addressing these issues calmly and methodically, you’ll be soaring high in no time! Happy flying!
Creative DIY Guide to Building a Hot Air Balloon at Home
Building a hot air balloon at home can be an exciting and rewarding project. Not only does it allow you to harness the principles of physics, but it also provides a unique opportunity for creativity and hands-on learning. In this guide, we will walk you through essential materials, step-by-step instructions, and safety tips to ensure a successful build.
Materials Needed
- Balloon Fabric: Lightweight nylon or polyester
- Hot Air Balloon Burner: Can be homemade or purchased
- Fuel Source: Propane or lighter fluid
- Basket: Willow or wicker with secure attachments
- Wiring and Ropes: Durable and heat-resistant
- Heat Source: Hand-held propane torch or lighter
- Fireproof gloves: For safety when handling the burner
Steps to Build Your Hot Air Balloon
- Design the Balloon: Create a sketch of the balloon and its components.
- Cut the Fabric: Measure and cut the nylon or polyester fabric into the desired shape.
- Assemble the Frame: Use wires and ropes to create a sturdy frame for the balloon.
- Attach the Burner: Securely attach the burner to the frame ensuring it is aligned centrally.
- Prepare the Basket: Create and attach the basket where passengers will sit.
- Test the Heat Source: Conduct a fiery test with caution, ensuring you have ample space.
- Launch:* Choose a calm day, and follow safety protocols to launch your balloon.
Safety Tips
- Always wear protective gloves when handling the burner.
- Test the balloon in a wide-open area free from obstructions.
- Have a fire extinguisher on hand during the testing phase.
By following this creative DIY guide, you can embark on an adventurous project that culminates in a delightful hot air balloon experience. Remember to prioritize safety throughout the process and embrace the joy of building and flying your very own hot air balloon.


