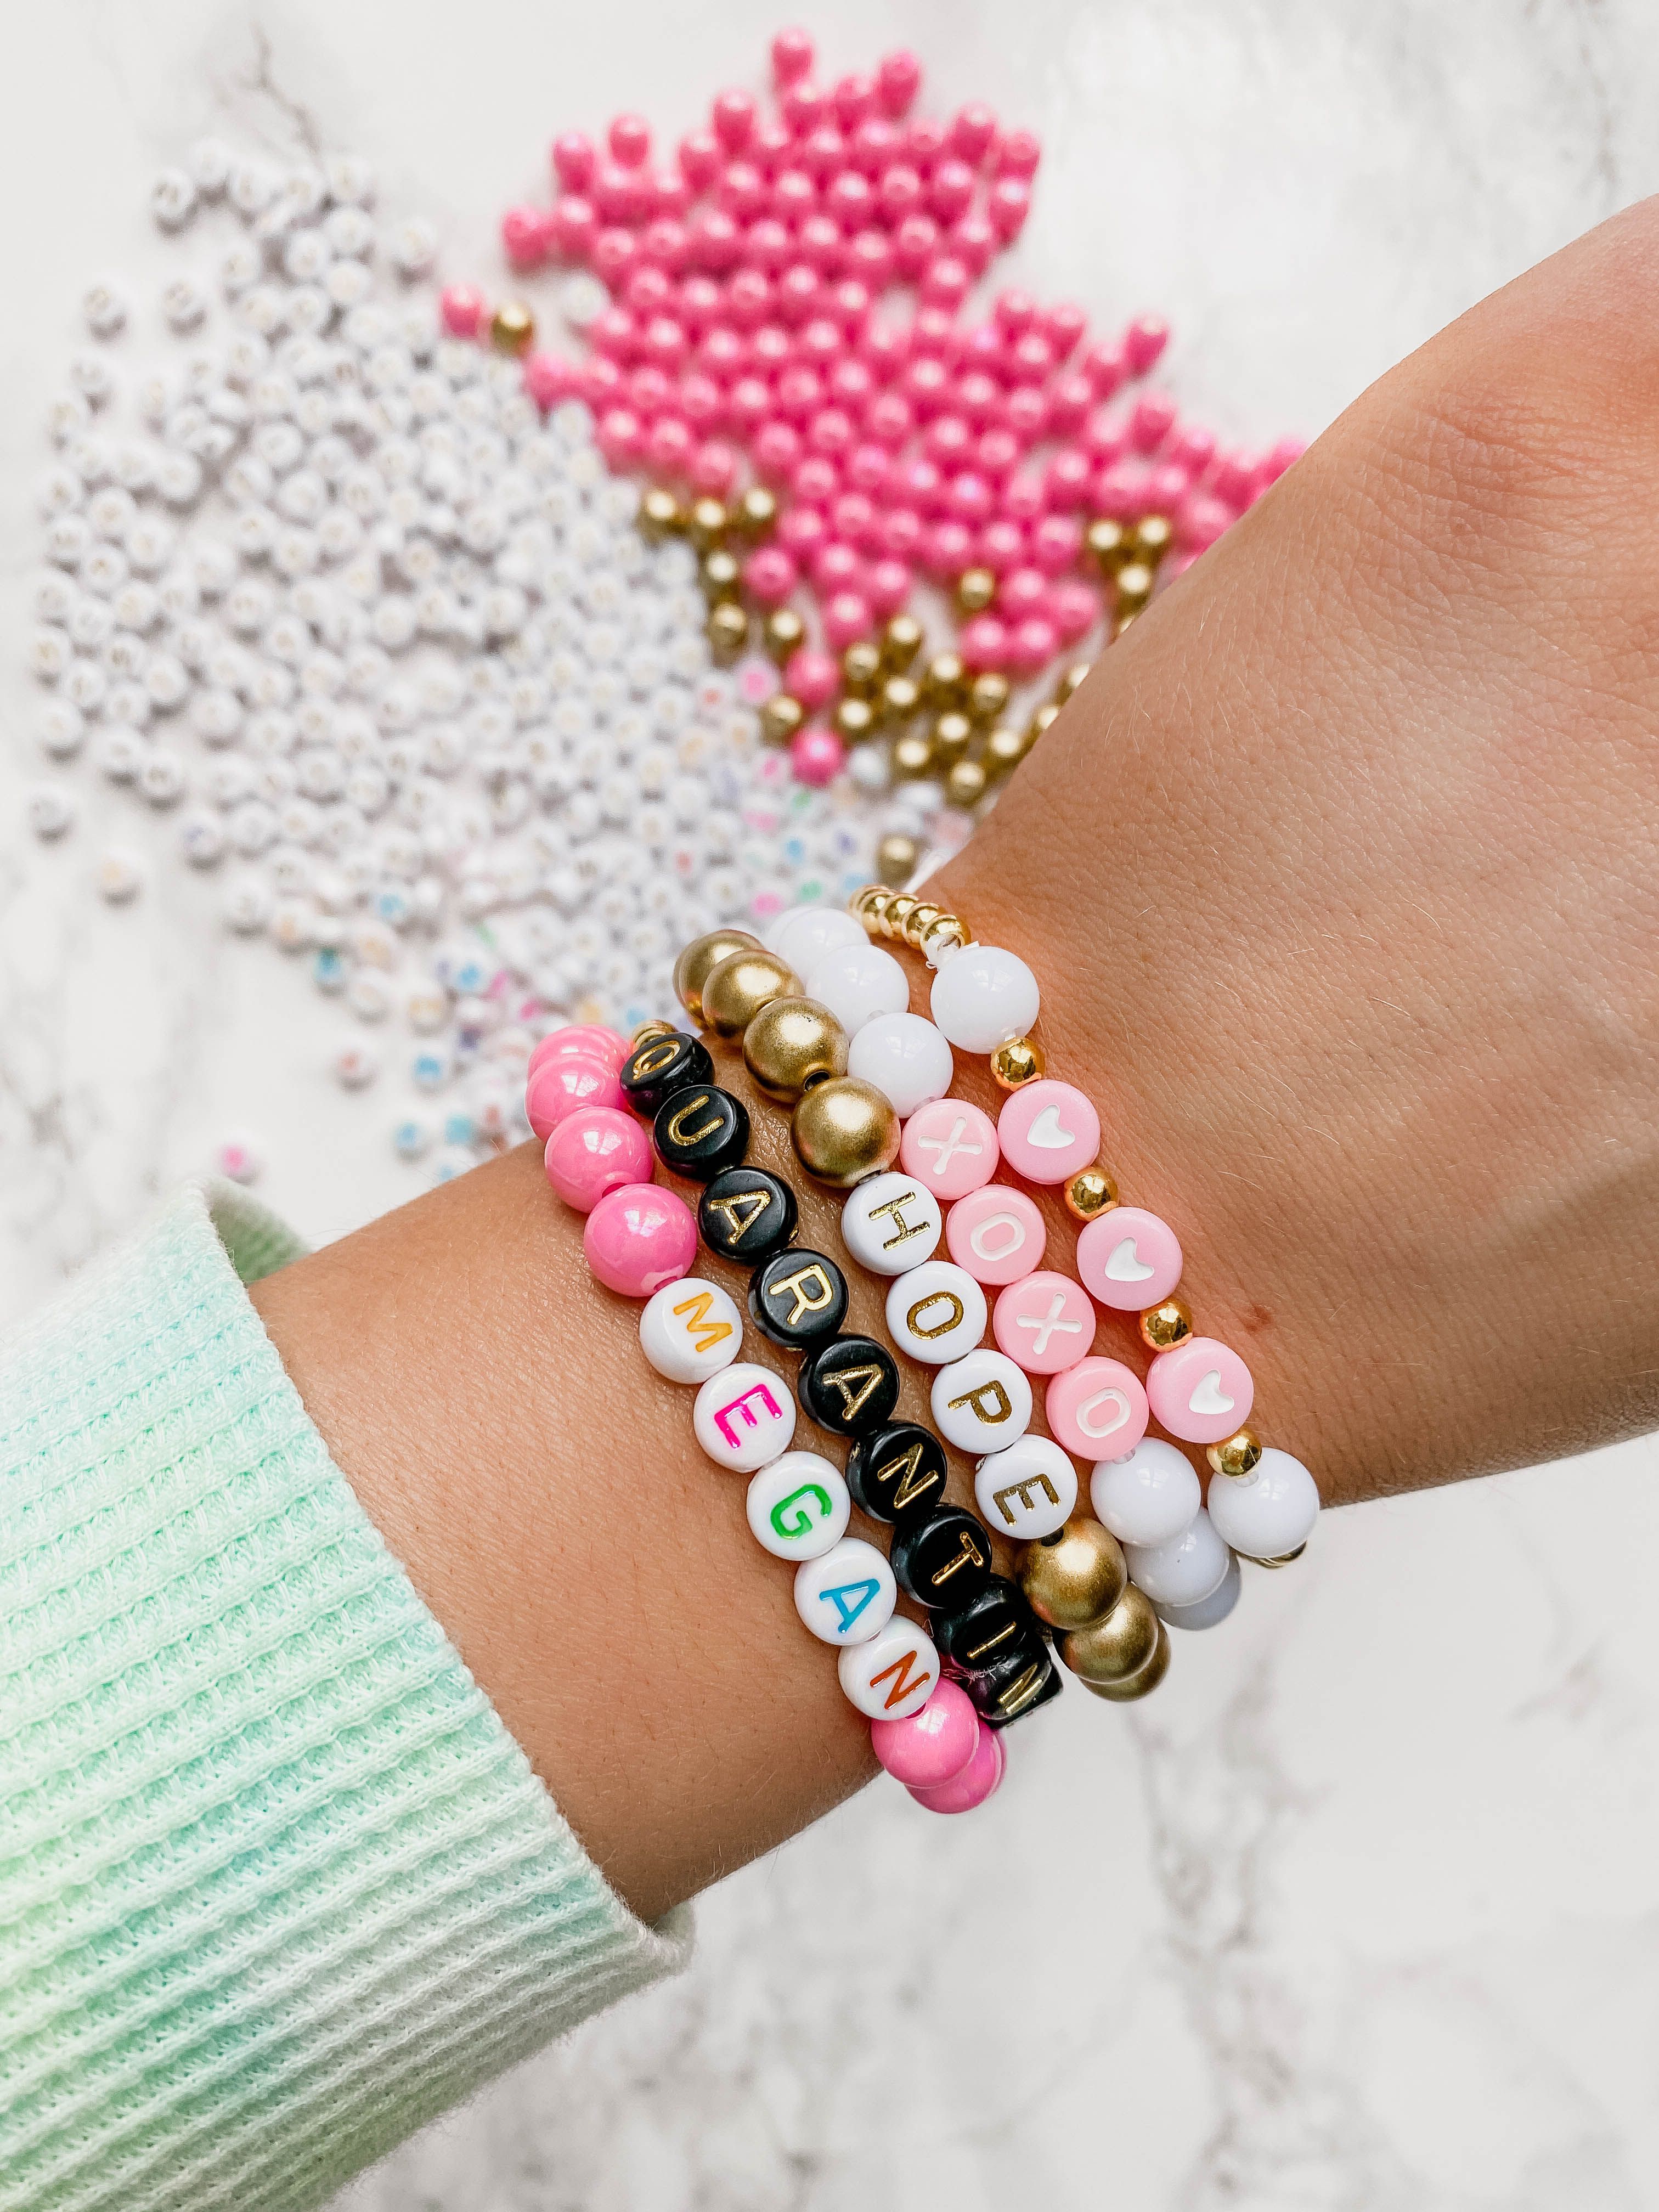
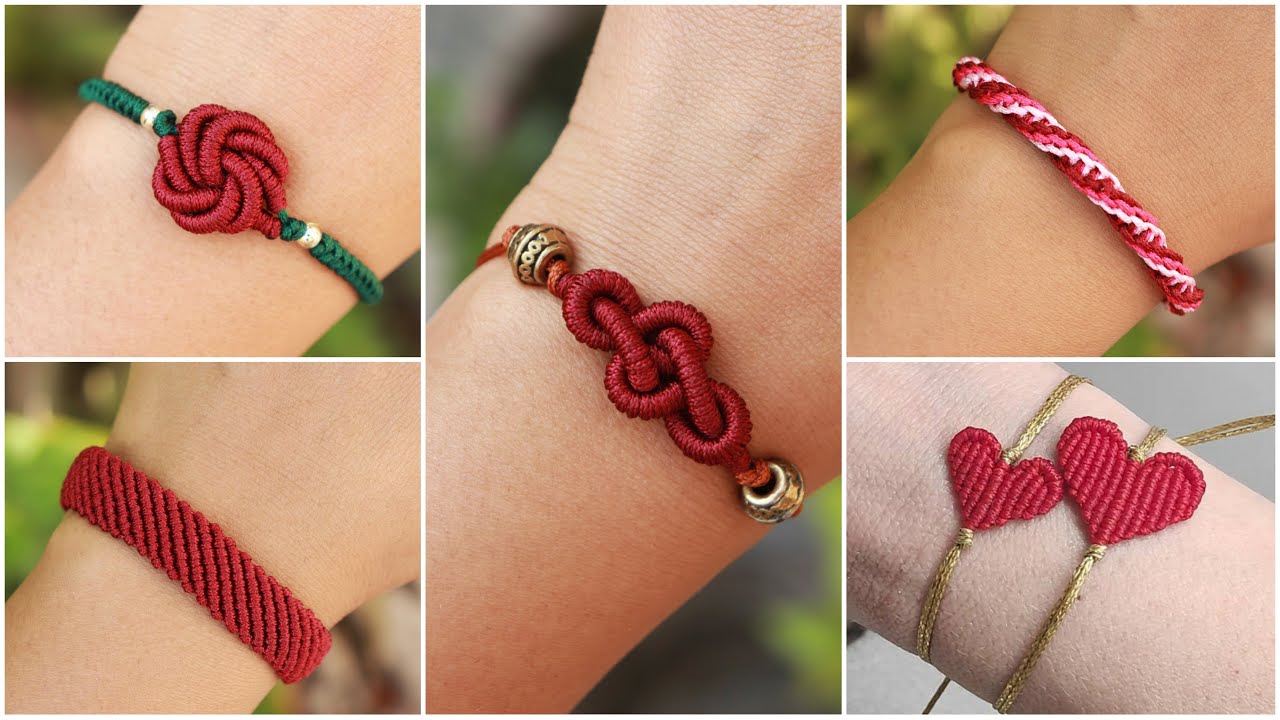
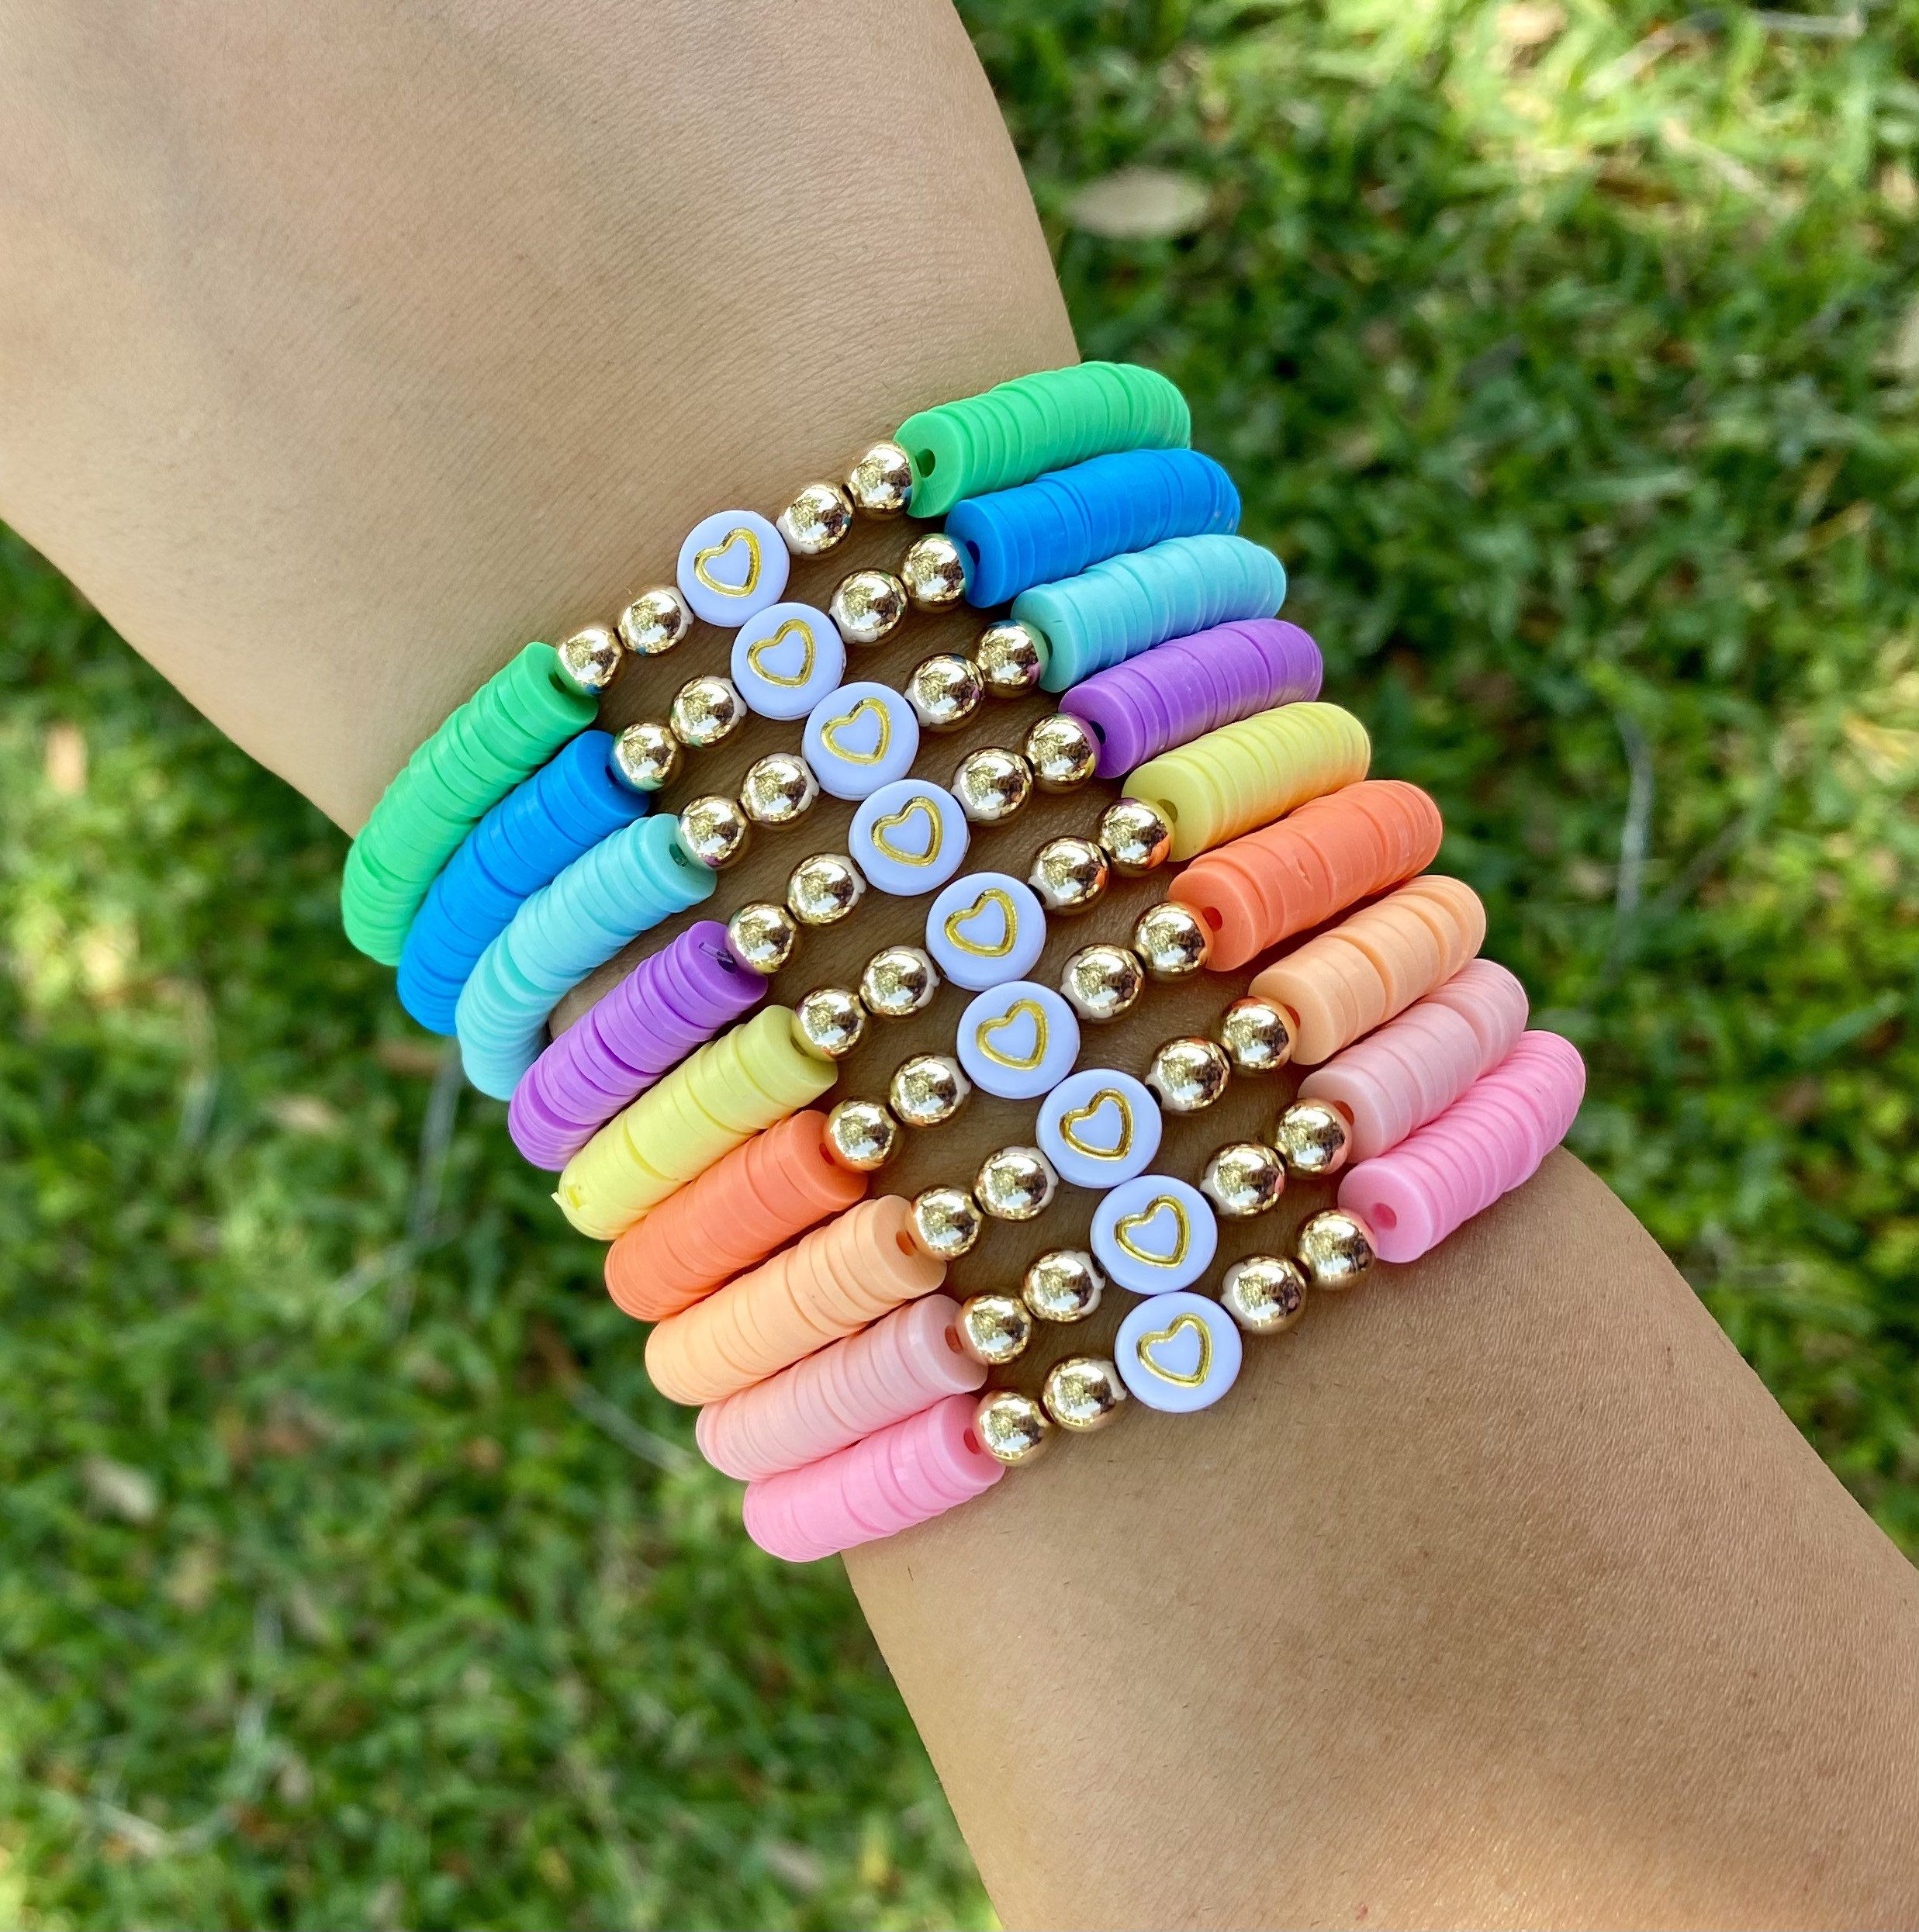
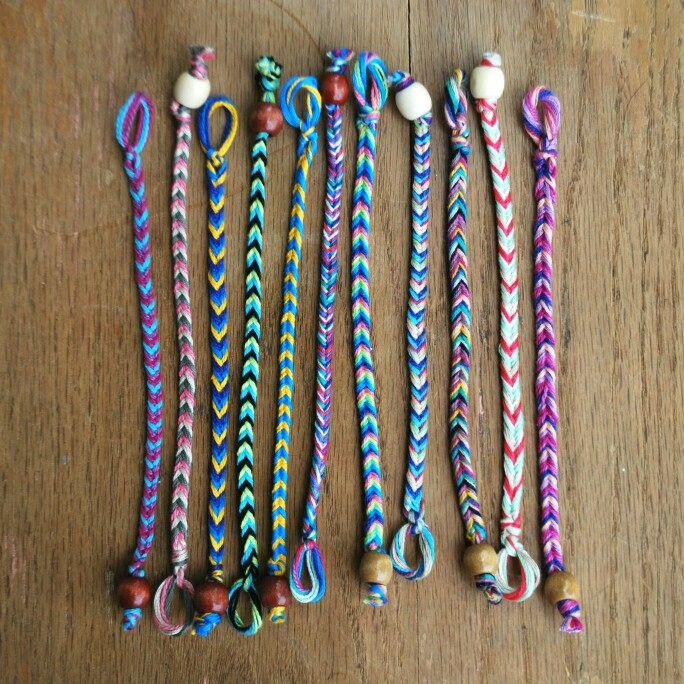
If you're looking to tap into your creative side, making DIY bracelets is a fantastic way to do just that! Not only is it a fun pastime, but it also allows you to express yourself through unique designs that reflect your style. The beauty of DIY bracelets lies in their versatility; you can use various materials, colors, and techniques to create something truly one-of-a-kind. Whether you're crafting for yourself, as a gift, or even for a market stall, the potential is limitless!
In this blog post, we’ll explore several creative DIY bracelet ideas that cater to both beginners and seasoned crafters alike. We'll also go over the essential materials you’ll need to get started on your bracelet-making journey. So, roll up those sleeves, grab your supplies, and let’s get crafting!
Essential Materials for Bracelet Making

Before you dive into the world of DIY bracelet making, it's important to have the right materials at your disposal. Each bracelet design might require different supplies, but here are some fundamental essentials that will get you started:
- Beads: They come in various shapes, sizes, and colors. You can choose from glass, plastic, wooden, or even gemstone beads to create a stunning effect.
- Cord or Wire: This is what you'll use as the base of your bracelet. Elastic cord is a popular choice for stretch bracelets, while nylon or copper wire is great for more structured designs.
- Clasps: These are essential for bracelets that don’t use stretchy materials. Lobster clasps, toggle clasps, and magnetic clasps are popular options.
- Tools: A pair of scissors, pliers (for wire-based designs), and a bead threader can make your crafting process much smoother.
- Thread: If you’re into weaving or knotting techniques, be sure to have a strong thread suitable for your design.
With these essential materials on hand, you'll be well on your way to creating beautiful DIY bracelets that showcase your skills and creativity!
Also Read This: How to Get VectorStock for Free: A Step-by-Step Guide
Basic Techniques for Crafting Bracelets

When diving into the world of bracelet crafting, mastering a few basic techniques can save you a lot of time and frustration while allowing your creativity to shine through. Let’s explore some fundamental methods that will set the foundation for your bracelet-making journey!
- Knotting: This is one of the simplest techniques used in bracelet making. It involves tying knots in threads or cords to create patterns and secure beads in place. A popular knot is the square knot, which is both strong and visually appealing.
- Beading: Beading is all about threading beads onto a string or wire. You can create stunning designs by mixing colors, shapes, and sizes. Just remember to use crimp beads on metal wire to secure them properly!
- Weaving: This technique involves intertwining threads or cords to create intricate patterns. Techniques like macramé fall under weaving, allowing you to create everything from simple knots to elaborate designs.
- Kumihimo: Originating from Japan, kumihimo is a traditional braiding technique that can be used to make beautiful bracelets. It involves using a kumihimo disk to guide the braiding process, leading to unique and professional-looking results.
- Wire Wrapping: For those looking to add a little flair, wire wrapping is an art! Use wire to wrap around beads or stones, creating decorative elements that can be incorporated into your bracelet design.
By becoming familiar with these techniques, you’ll be well on your way to creating stunning DIY bracelets that showcase your personality and style!
Also Read This: How to Download Free Fonts on Behance
Unique Ideas for Handmade Bracelets

If you’re feeling adventurous and want to take your bracelet-making skills to the next level, here are some unique ideas to inspire your next project!
- Memory Wire Bracelets: Memory wire holds its shape, so you can create wrap-around bracelets. Add various beads and charms for a playful touch!
- Leather and Metal Combo: Combine leather straps and metal components for a rugged and stylish look. Use metal clasps or rings for added sophistication.
- Nature-Inspired Bracelets: Use natural elements like seashells, wooden beads, or dried flowers for an earthy vibe. This is perfect for those who love the outdoors!
- Bangle Stacking: Create a series of bangles using different materials and textures. Mix metals with fabric or acrylic for an eye-catching stacked look.
- Charm Bracelets: Personalize your bracelet with charms that reflect your interests or milestones. This adds a heartfelt touch to your creations!
- Friendship Bracelets: Get crafty with your friends by making matching friendship bracelets. Use colorful threads to add a playful element and symbolize your bond.
These unique ideas can help you unleash your creativity while crafting bracelets that are not just accessories, but pieces of art that tell your story. So, grab your supplies and let your imagination run wild!
Also Read This: How to Create My Portfolio in Behance – A Step-by-Step Guide to Building Your Portfolio
Step-by-Step Guide to Popular Bracelet Styles

Making bracelets can be a fun and rewarding experience! Below, we'll break down some popular styles, along with simple step-by-step guides to help you create your very own cherished pieces.
1. Friendship Bracelets
These colorful woven wonders are great for expressing your bond with friends. Here’s how to make one:
- Gather Supplies: You'll need embroidery floss in various colors, scissors, and tape or a clipboard.
- Cut the Floss: Cut strands of floss about 24 inches long in your chosen colors. Four strands work well!
- Tie & Secure: Tie the strands together in a knot and secure the top with tape or a clipboard.
- Start Weaving: Using the forward knot technique, create your patterns by tying knots around adjacent strands. Keep it tight and even for best results.
- Finish: Once you've reached your desired length, tie a knot at the end and trim any excess floss.
2. Beaded Bracelets
Beaded bracelets are versatile and can be customized with your favorite beads.
- Choose Your Beads: Select a variety of beads, including glass, wood, or plastic, based on your theme.
- Measure & Cut Wire: Cut a length of stretch cord or wire that's approximately 10 inches longer than your wrist size.
- String Beads: Start stringing your beads onto the wire, creating your desired pattern.
- Secure the Ends: If using wire, crimp the ends or tie a knot in stretch cord to finish.
- Enjoy! Your custom beaded bracelet is ready to wear!
3. Leather Wrap Bracelets
These stylish bracelets give a rugged, yet chic look. Follow these steps:
- Gather Materials: You'll need leather strips, beads, and a button.
- Measure Leather: Cut a strip of leather about 3 feet long.
- Add Beads: String your chosen beads along the leather, leaving space before the button end.
- Wrap: Wrap the leather around your wrist several times, securing with a knot.
- Add a Button: Attach a button at the end to secure the wrap.
With these step-by-step guides, you can easily dive into making these popular bracelet styles!
Also Read This: Understanding How Behance Operates with a Comprehensive Look at Its Features and Functionality
Tips for Personalizing Your DIY Bracelets
Personalization is what makes your DIY bracelets unique! Here are some fantastic tips to add your special touch:
1. Use Meaningful Colors
Colors often carry meanings. Pick shades that resonate with your personality or represent significant events in your life. For instance:
- Red: Love and passion
- Blue: Calmness and stability
- Green: Growth and renewal
2. Add Charms and Pendants
Charms can tell a story! Here’s how you can incorporate them:
- Choose charms that reflect your hobbies, interests, or milestones.
- Mix different shapes—hearts, stars, or initials—to add variety.
- Attach them securely to your bracelet using jump rings.
3. Experiment with Textures
Combining different materials can create visual interest. Try mixing:
- Leather with beads for a rugged look
- Fabric with metal for a chic appearance
- Silk and cord for elegance
4. Handwriting or Messages
Consider creating bracelets that showcase words or phrases. You can:
- Use letter beads to spell out a name or mantra
- Stamp metal blanks with meaningful words.
- Include dates or coordinates of significant locations.
5. Layering Techniques
Don’t shy away from layering! Here are some ideas:
- Mix and match different styles—like beaded with leather.
- Vary your bracelet widths and lengths for contrast.
- Add bracelets from different DIY projects to showcase your creativity.
By incorporating these personal touches, you'll create bracelets that are not only beautiful but meaningful and representative of you!
Also Read This: Does Getty Images Accept iPhone Photos? Guidelines for Mobile Photography Submissions
7. Sharing Your Creations: Documenting Your Craft Journey
Let’s be honest: one of the most rewarding parts of crafting is sharing your creations with others. Documenting your craft journey not only allows you to celebrate your accomplishments but also inspires fellow craft enthusiasts. Here are some fun ways to do just that!
- Social Media Presence: Platforms like Instagram and Pinterest are perfect for showcasing your bracelets. Create a dedicated account or use hashtags like #DIYBracelets or #CraftJourney to connect with others.
- Craft Blogs and Vlogs: If you prefer writing or talking about your projects, why not start a blog or YouTube channel? Document each step of your DIY bracelets, share tips, and offer tutorials.
- Create an Online Portfolio: Use websites like Behance or Wix to showcase a collection of your best pieces over time. This portfolio can also serve as a great way to keep track of your progression as a crafter.
- Join Craft Communities: Online forums, Facebook groups, and local craft clubs are fantastic places to share your work and receive feedback. Consider starting a challenge where members can document their craft journeys together!
- Craft Fairs and Exhibitions: Take your creations offline and showcase them at local craft fairs. This not only allows you to share your work but also helps you interact with like-minded individuals.
Documenting your craft journey allows you to reflect on your growth and creativity, reminding you of the joy that crafting brings. Plus, it’s an excellent opportunity to connect with others who share your passion!
8. Conclusion and Encouragement to Get Crafting
As we wrap up this creative journey through DIY bracelets, I hope you’re feeling inspired to dive into your craft supplies and let your imagination run wild. Remember, the beauty of crafting lies not just in the finished product but in the process itself.
Whether you’re a seasoned crafter or a complete beginner, here are some encouraging thoughts to keep in mind:
- Embrace Imperfection: Not every bracelet will be a masterpiece, and that’s perfectly okay! Each project teaches you something new.
- Experiment Freely: Don’t be afraid to mix materials and styles. Your unique creations are what make crafting so exciting!
- Set Aside Time: Make crafting a regular part of your life, even if it’s just a few minutes each week. It can be a wonderful stress relief and a creative outlet.
- Share and Celebrate: Once you’ve created your masterpiece, don’t forget to share it! Join the vibrant crafting community to inspire and be inspired.
- Have Fun: The most important rule in crafting? Enjoy yourself! Let your creativity flow and have fun with it.
So grab your beads, threads, and tools, and start crafting! Who knows? Your next DIY bracelet could be the one that sparks a new trend or inspires someone else on their crafting journey. Happy crafting!
 admin
admin


