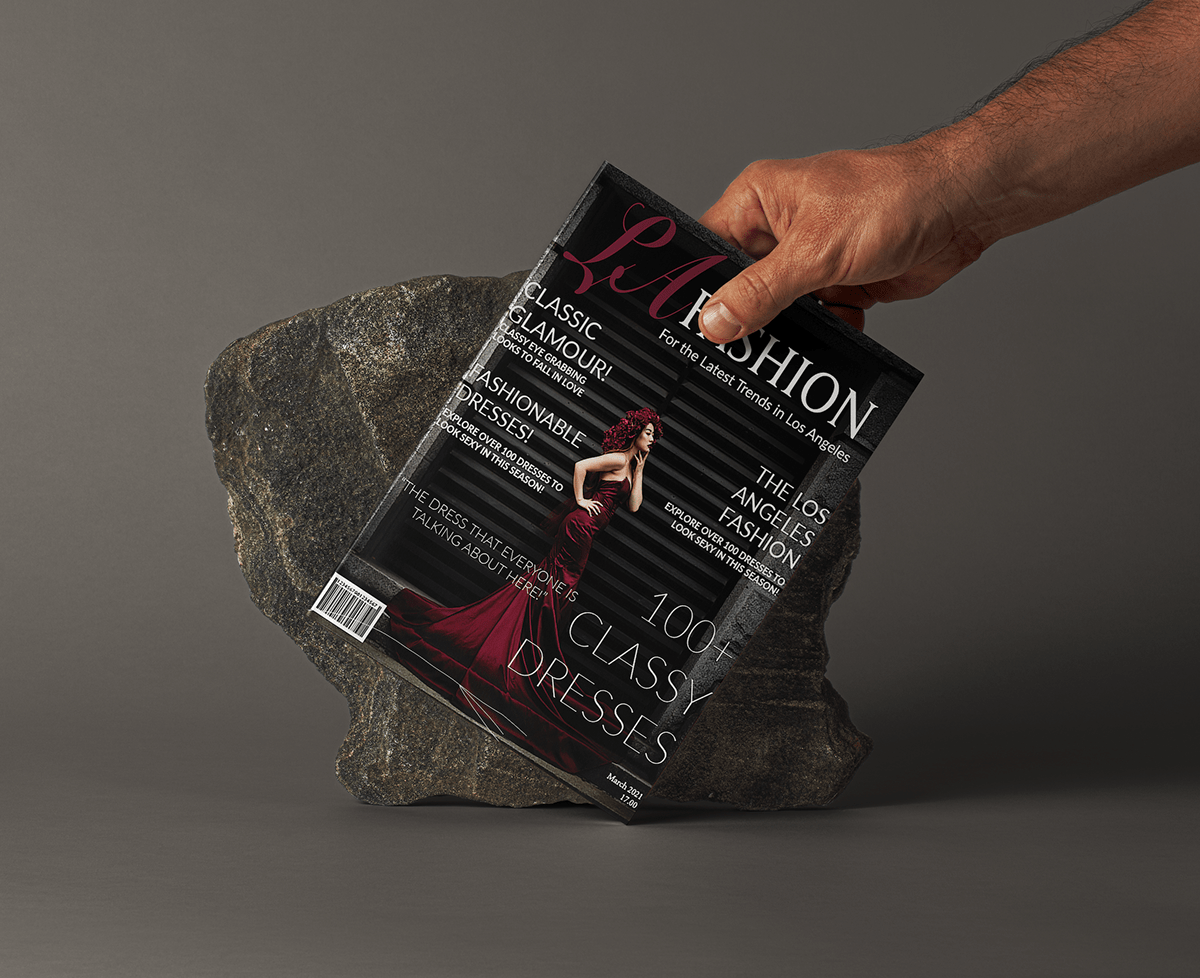
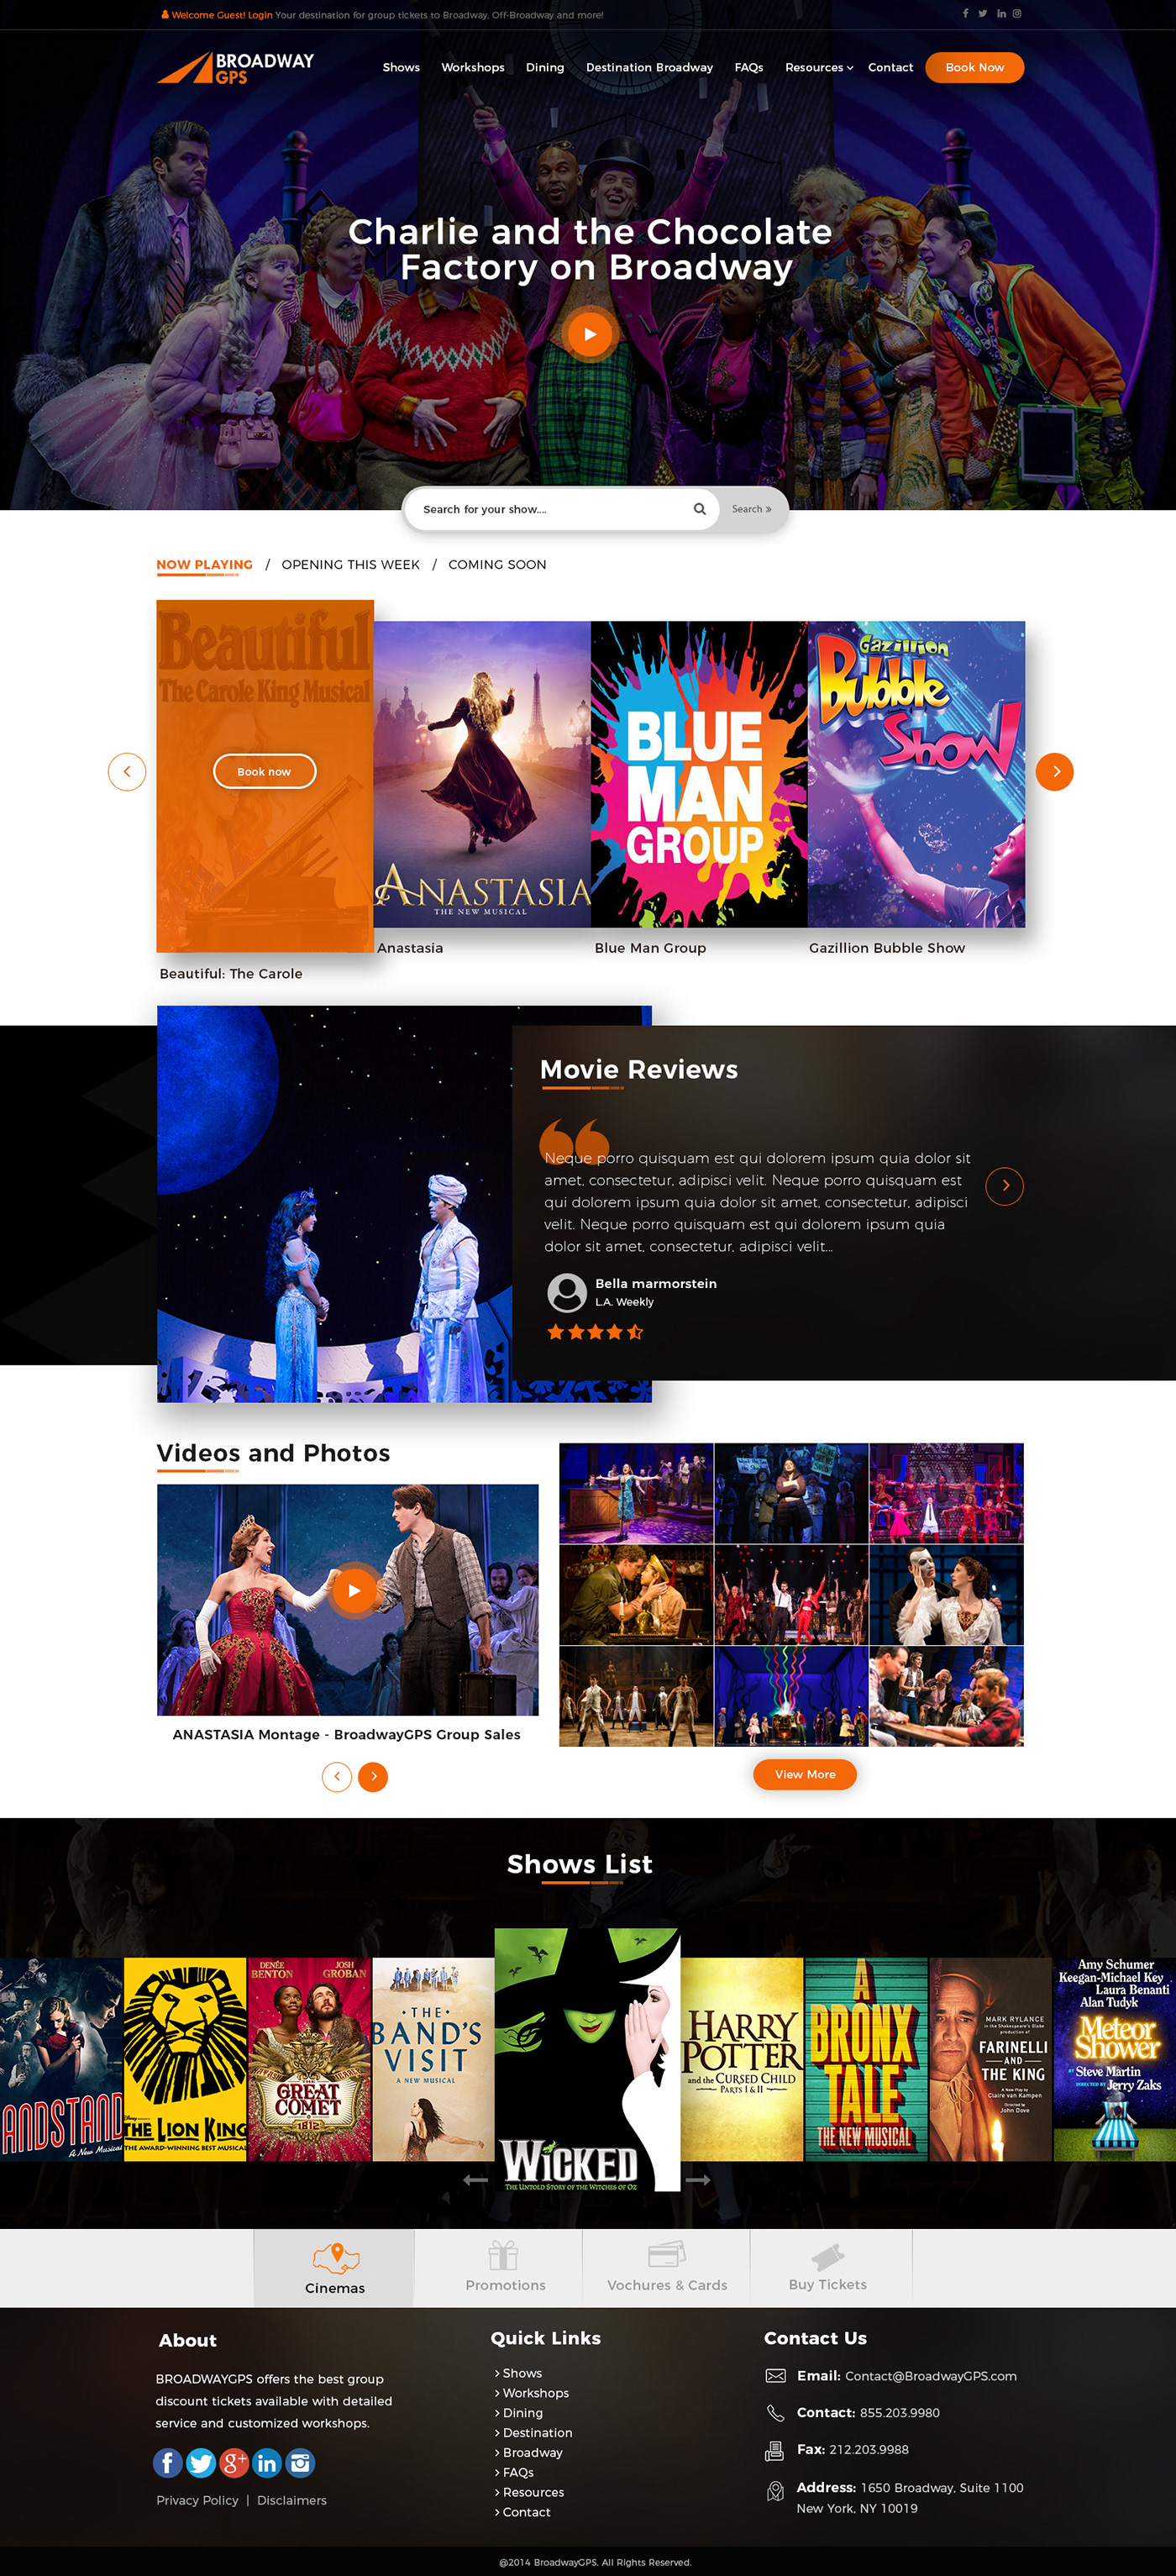
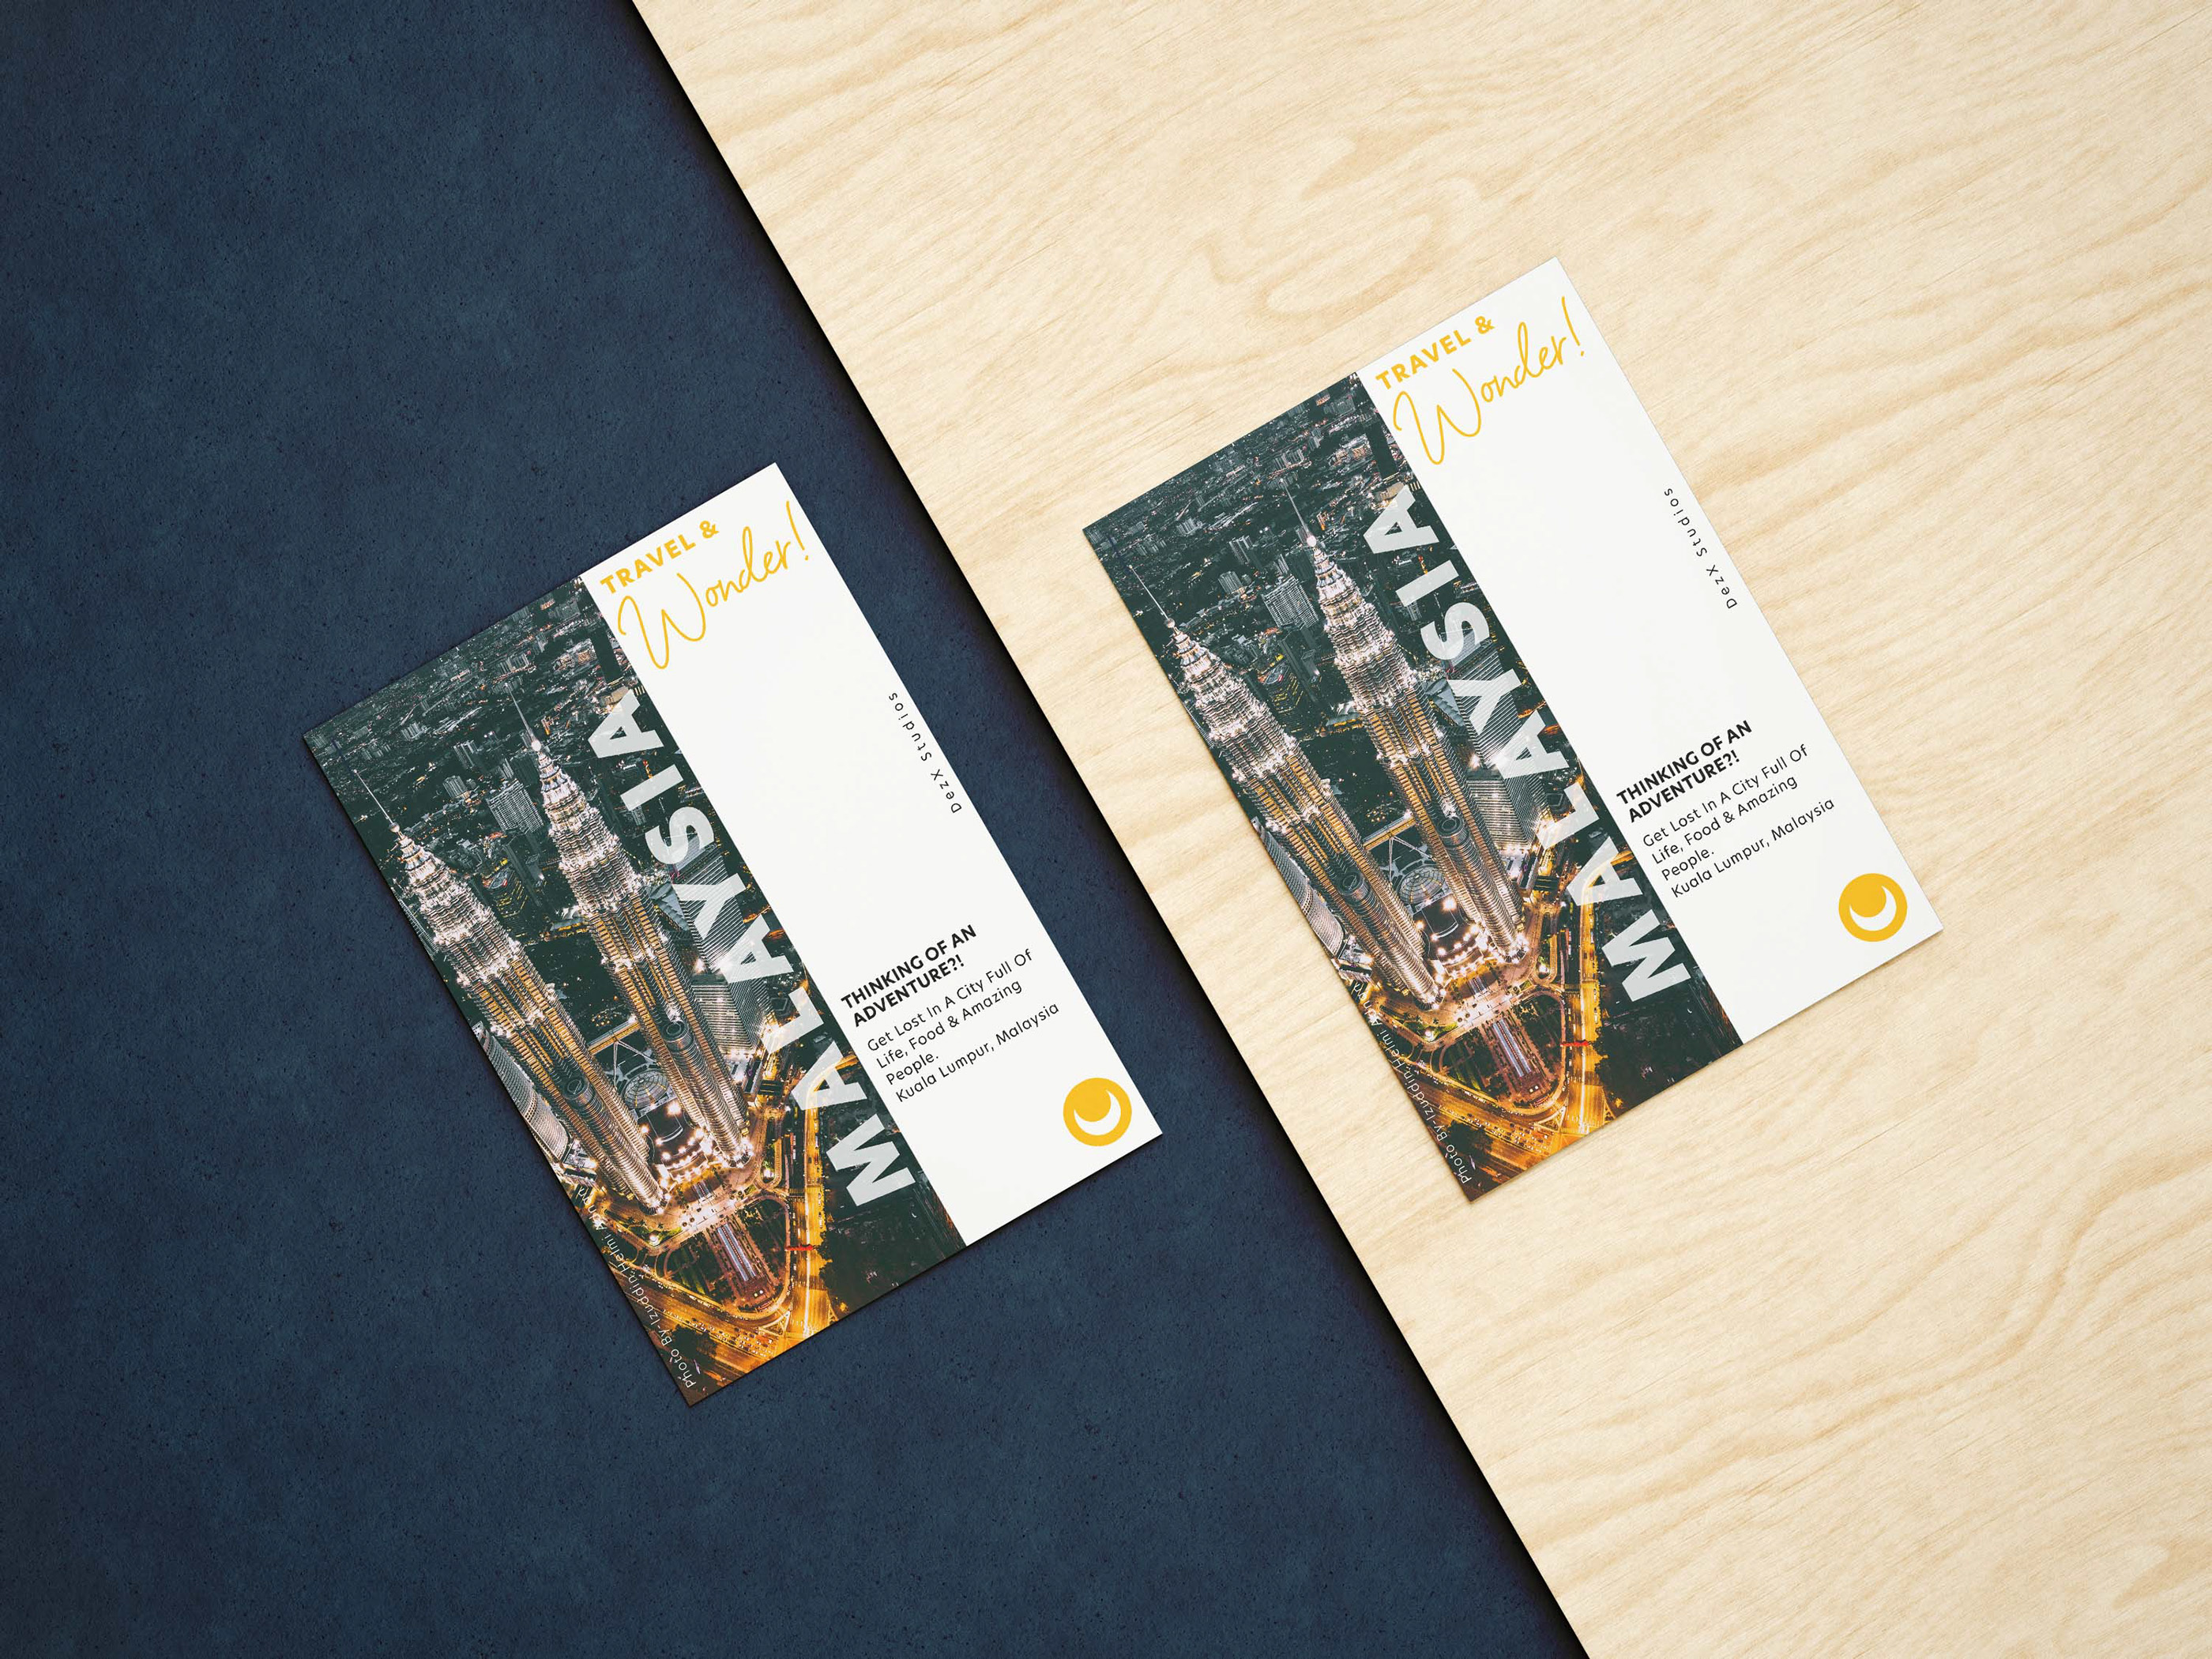
Mockups are essentially visual representations of your designs that allow you to present your work in a realistic context. Imagine you've just created an incredible logo or a sleek website layout—mockups let you show these creations off in an eye-catching way. Whether it's a product in a real-life setting or a digital design displayed on a device, mockups help turn your concepts into tangible experiences. They serve as powerful tools for visualization, giving potential clients, employers, or collaborators a taste of how your designs will function in the real world.
Why Use Mockups for Your Designs?

Utilizing mockups can significantly change the way your designs are perceived. Here’s why they should be part of your design arsenal:
- Enhanced Visualization: Mockups allow viewers to see how your design fits into everyday life. Instead of just a flat image, a mockup showcases your work within a more relatable context.
- Professional Appeal: Presenting your work in a mockup makes your portfolio appear more polished and professional, which can be a game-changer when attracting clients or employers.
- Improves Communication: Mockups facilitate better communication with clients by providing a clearer idea of what to expect. They help bridge the gap between conceptual designs and the final product.
- Increases Engagement: Visually compelling mockups often generate more interest and engagement on platforms like Behance. Potential clients are more likely to stop and appreciate your work if it’s presented in an aesthetically pleasing format.
- Versatility: Whether you’re designing apparel, websites, packaging, or any other product, mockups can be tailored to fit a multitude of use cases.
Incorporating mockups into your design presentation can elevate your work, making it not just look good but also feel good to your audience. So, if you’re ready to showcase your designs effectively, embracing mockups is a step in the right direction!
Also Read This: Creating a Safe and Entertaining YouTube Channel for Kids
3. Step-by-Step Guide to Creating Mockups on Behance

Creating stunning mockups on Behance is both an art and a science. Whether you're a seasoned designer or just starting, having a clear guide can streamline your process. Here’s a step-by-step approach to help you craft eye-catching mockups that will surely impress your audience:
- Research & Inspiration: Before starting your mockup, take time to explore Behance. Look for projects that resonate with your style and the message you want to convey.
- Choose the Right Mockup Template: Find or create a mockup template that suits your design project. Websites like Freepik and GraphicBurger offer plenty of options.
- Customize the Mockup: Using tools like Adobe Photoshop or Illustrator, place your design elements into the chosen mockup template. Ensure that your design looks natural within the context of the mockup.
- Focus on Details: Pay attention to shadows, reflections, and dimensions. Adjust the scale of your design according to the mockup's perspective to make it more realistic.
- Add Background and Finishing Touches: A well-chosen background can elevate your mockup. Consider using a color or texture that complements your design. Don't forget to include your logo if applicable!
- Export & Upload: Once you’re satisfied with your mockup, export it in a high-resolution format and upload it to your Behance portfolio.
Remember, practice makes perfect! The more you experiment, the better your mockups will become.
Also Read This: Step-by-Step Guide to Editing Raw Images in Lightroom
4. Choosing the Right Tools for Mockup Creation

When it comes to mockup creation, the right tools can make all the difference. Here’s a list of tools that will help you design stunning mockups effortlessly:
| Tool | Description | Best For |
|---|---|---|
| Adobe Photoshop | The gold standard in graphic design software, offering extensive features for editing and creating mockups. | Advanced Users |
| Canva | A user-friendly, web-based design tool that’s great for quick and easy mockup creation. | Beginners |
| Figma | A powerful, collaborative design tool perfect for interface mockups and web design. | UI/UX Designers |
| Smartmockups | A simple online tool that enables you to drag and drop designs into various mockup templates. | Quick Solutions |
| Placeit | A practical tool for generating realistic mockups in a matter of minutes, thanks to its extensive library. | Time Savers |
Each tool has its unique strengths, so consider what blends best with your workflow. For those just starting, tools like Canva or Placeit might be the easiest to manage, while seasoned pros may prefer the flexibility of Photoshop or Figma. Happy designing!
Also Read This: How to Find the Image ID of an Image for Identification Purposes
Tips for Creating Realistic Mockups
Creating realistic mockups can elevate your design showcase to an entirely new level. Here are some handy tips to ensure your mockups not only look good but also serve their purpose effectively:
- Use High-Quality Images: Start with high-resolution images for your backgrounds and products. A blurry or pixelated image can detract from the professionalism of your mockup.
- Consider Lighting: Light plays a crucial role in creating depth and realism. Pay attention to shadows and highlights. Use software tools to match lighting from the object to the natural light in your background.
- Scale and Proportion: Ensure that your designs are appropriately scaled to fit the mockup. A large logo on a tiny product can look amateurish, while realistic proportions create a sense of believability.
- Incorporate Textures: Adding subtle textures can breathe life into your mockups. This means using fabrics for clothing, paper for stationery designs, or even wood grain to make your mockup feel more tactile.
- Experiment with Angles: Don’t just stick to standard views. Try experimenting with different angles and perspectives to make your design stand out and add interest.
- Prototype Interaction: If your design is meant for screens, consider adding elements that showcase it in action. For instance, screen animations or interactive buttons can give viewers a clearer idea of your design’s functionality.
These tips can help you craft mockups that are not only visually appealing but genuinely capture the essence of your designs, making them more relatable to potential clients or employers.
Also Read This: How to Obtain Untagged Getty Images for Your Portfolio or Website
Uploading Your Mockup to Behance
Once you’ve created your stunning mockups, the next step is sharing them on Behance to garner attention and feedback. Here’s how you can efficiently upload your mockup to Behance:
- Create a Behance Account: If you don’t have an account yet, sign up for free. You’ll get to personalize your profile and showcase your work to a global audience.
- Select the Right Project Type: When you’re ready to upload, choose a project type that aligns with your mockup. Behance allows you to create a project to highlight various aspects of your design.
- Upload Your Images: Add your images by dragging them into the project editor. Make sure to select the high-quality versions of your mockups to maintain clarity.
- Add Descriptions and Details: This is crucial! Use engaging text to describe your design process, the inspiration behind your mockups, and any challenges you overcame. This can include:
- The concept behind your design
- The tools and techniques you used
- Your thought process and iterations
With these steps, you can present your mockups in a way that attracts attention and opens doors for professional opportunities. Happy uploading!
Also Read This: A Complete Guide to Purchasing Photos on Alamy for Personal or Commercial Use
7. Promoting Your Work on Behance
Promoting your work on Behance is just as crucial as creating stunning projects. It’s all about getting eyes on your designs and building a network that can help elevate your career. Let’s dive into some effective strategies to promote your work effectively.
- Engage with the Community: Networking goes a long way. Spend time exploring other projects, leaving constructive comments, and following fellow creatives. The more engaged you are, the more likely others will return the favor and check out your work.
- Use Relevant Tags: When you upload your projects, use tags that accurately describe your work. This makes it easier for others to discover your projects when searching for specific styles, themes, or techniques.
- Share on Social Media: Don’t limit your audience to Behance alone! Share your projects on platforms like Instagram, Twitter, and Pinterest. Create eye-catching graphics or snippets of your work to entice people to view the full project.
- Join Creative Challenges: Participating in challenges hosted by Behance can help to increase your visibility. Not only do you get to flex your creative muscle, but you also position yourself among other talented professionals.
- Collaborate with Others: Partnering with other designers can open doors to new audiences. Whether it’s co-creating a project or promoting each other’s work, collaboration can significantly widen your reach.
By implementing these strategies, you can boost the visibility of your projects and attract the right audience who appreciates your artistry.
8. Conclusion
In wrapping up, creating stunning mockups on Behance is not just about the design; it’s also about presentation and promotion. With the right techniques and strategies, you can make your work shine on this platform. Remember, every successful project stems from a mix of creativity, technical skill, and effective marketing.
Here’s a quick recap of what we discussed:
| Key Takeaways |
|---|
| 1. Create High-Quality Mockups |
| 2. Utilize Behance Features to Your Advantage |
| 3. Promote Your Work Actively |
As you continue to hone your design skills, keep experimenting with mockups and techniques. Always remember to share your journey on Behance, because every step counts towards building your creative identity. Happy designing!
 admin
admin


