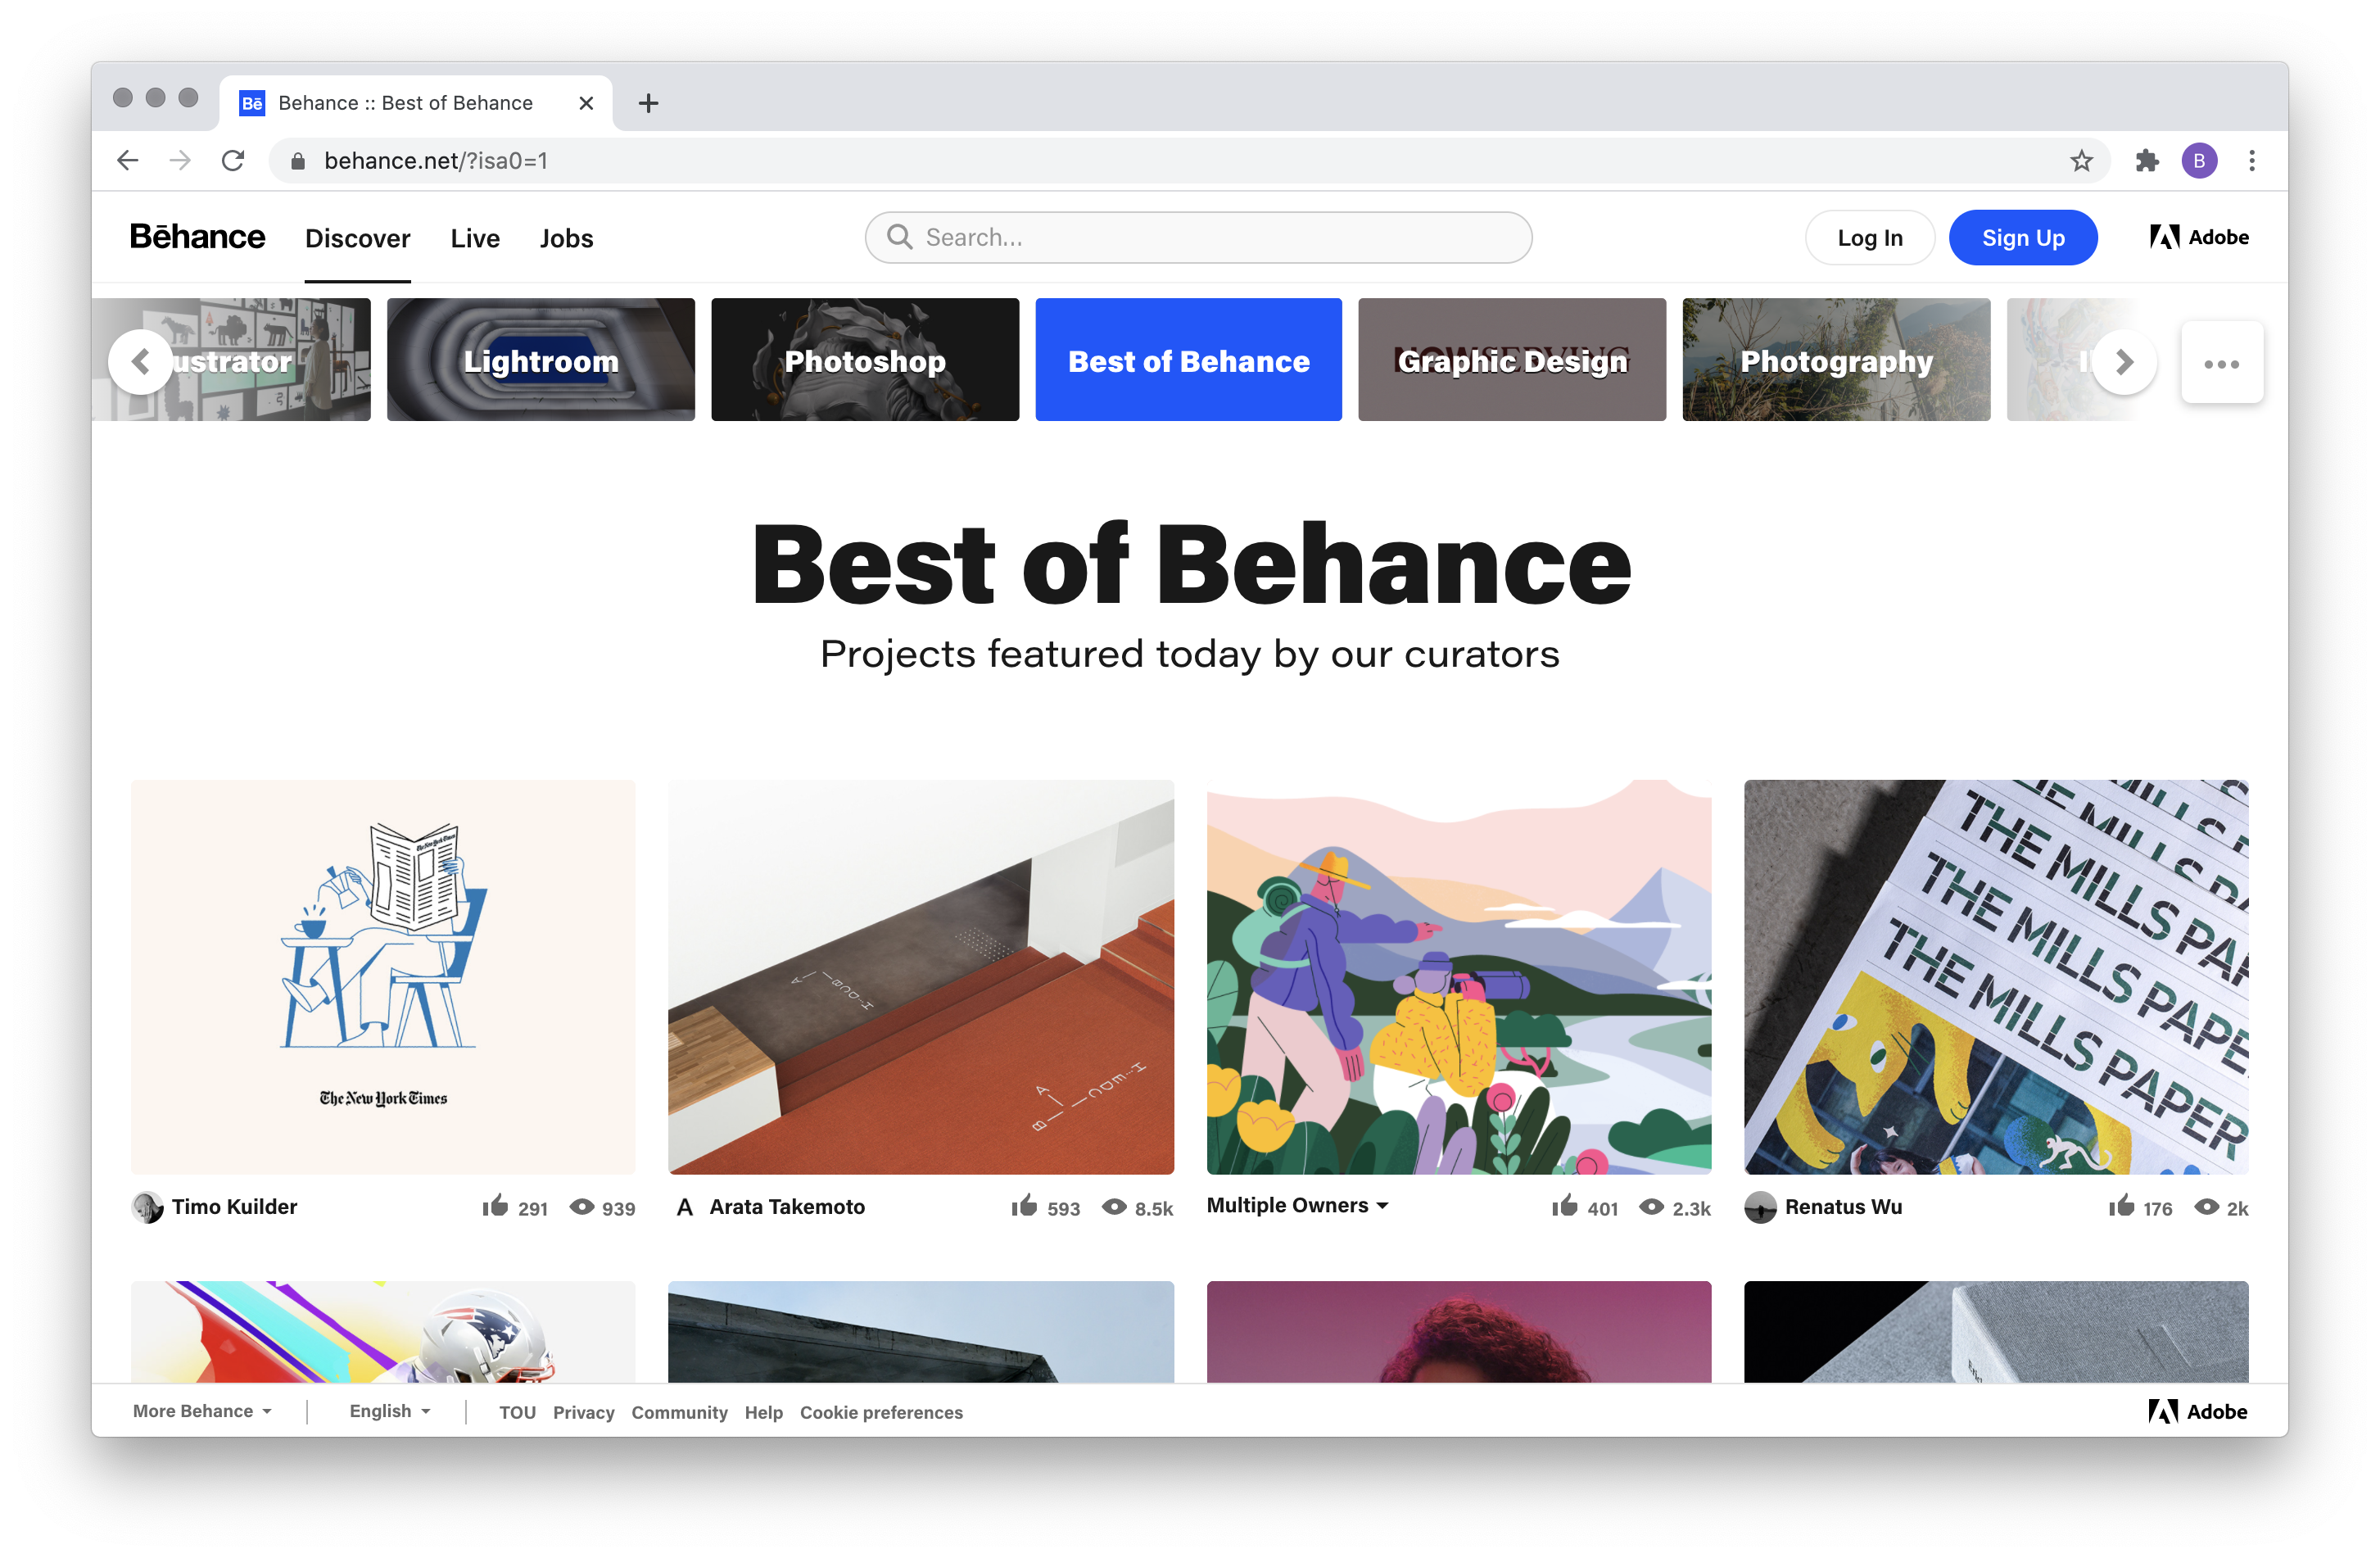
In today’s digital world, showcasing your creative work is more important than ever. Behance is a fantastic platform that allows designers, artists, and other creative professionals to display their portfolios and connect with potential clients or collaborators. This guide aims to walk you through the process of creating standout projects on Behance, ensuring your work doesn’t just get seen but truly stands out in a crowded space.
Understanding Behance and Its Importance for Creatives

Behance is much more than just an online portfolio; it’s a community where creatives come together to share and inspire. Owned by Adobe, it serves as a hub for various disciplines, including graphic design, illustration, photography, and even fashion design. So why should you consider investing your time and energy into this platform? Let’s break it down.
- Global Reach: With millions of users worldwide, Behance enables you to showcase your work to a vast audience. This can lead to opportunities that you might not find locally.
- Networking Opportunities: Behance fosters connections between creatives. You can easily follow your peers, engage with their projects, and even collaborate, which can further enhance your visibility.
- Feedback and Learning: The platform encourages constructive criticism, giving you a chance to improve and evolve your skills. It’s a fantastic way to gain insights from other experienced professionals.
- Accessibility: Behance is user-friendly and accessible on multiple devices. You can update your portfolio anytime and anywhere, making it convenient for busy creatives.
- Job Opportunities: Many companies scout for talent directly on Behance. By having a well-curated portfolio, you increase your chances of getting noticed by potential employers.
In a nutshell, Behance provides a platform for sharing your work, connecting with like-minded individuals, and enhancing your career potential. So, whether you're a graphic designer looking to land your next gig or an illustrator wanting to showcase your best pieces, mastering Behance is a worthwhile endeavor that can yield tangible benefits.
Also Read This: How to Copy an Image from a PDF
Choosing the Right Project Type

When it comes to showcasing your work on Behance, selecting the right project type is essential. The type of project you choose will not only affect how you present your work but also the audience it attracts. Here’s a breakdown of the most common project types, so you can make an informed decision:
- Design Projects: These are ideal if you're in graphic design, UI/UX, or product design. They often include mood boards, wireframes, and final outputs.
- Photography Projects: If you're a photographer, create a dedicated project for a series or a themed shoot. This can include behind-the-scenes shots and editing processes.
- Illustrations: For artists who specialize in illustrations, gather your best pieces, perhaps focusing on a theme or style, and showcase them together.
- Creative Writing: If your talents lie in words, compile your writings into a single project, with excerpts that capture the essence of your work.
- Product Demos: If you design products, consider creating a case study that outlines the design process from conception to execution, complete with images and narratives.
Ultimately, the project type you choose should reflect your skill set and the message you want to convey. Consider what kind of projects resonate with your target audience and let that guide your choice!
Also Read This: The Ultimate Guide on What it Means to Be a Digital Creator on Facebook
Planning Your Project

Planning is the backbone of a successful Behance project. It's not just about gathering images or text; it's about telling a story and engaging your audience. Here’s a handy roadmap to help you get started:
- Define Your Objective: What do you want to achieve? Is it to attract clients, share your process, or simply showcase your creativity?
- Research Your Audience: Who will be viewing your project? Understanding your audience will help you tailor your content to meet their interests.
- Gather Your Materials: Collect everything you need, including images, sketches, and written content. Aim for high-quality visuals—these can make or break your project!
- Organize Your Content: Decide on the flow of information. Create an outline that includes key sections like introduction, process, and final results.
- Draft a Narrative: Write captions or descriptions for each element. Think of them as mini-stories that add context to your visuals.
- Review and Edit: Go over your project multiple times, looking for clarity and visual appeal. Enlist a friend or colleague to provide feedback.
By dedicating time to plan effectively, you'll create a polished Behance project that not only highlights your talent but also leaves a lasting impact on your audience!
Also Read This: List of Top Linkedin Companies in 2023
5. Gathering and Organizing Your Materials
Before diving into the design phase of your Behance project, it’s crucial to gather and organize all your materials. This step not only streamlines your workflow but also ensures that you don’t miss any key elements that make your project pop.
Start by collecting the following:
- Visual Assets: This includes images, illustrations, or any graphics that are part of your project. Make sure they’re high-resolution and relevant.
- Text Content: Jot down any descriptions, titles, or commentary that will accompany the visuals. Be concise, yet descriptive!
- Reference Materials: If you drew inspiration from other works, gather those links or screenshots. They can give context to your own project.
- Branding Elements: If applicable, include logos, color palettes, and fonts that relate to a specific brand.
Once you have everything collected, turn your attention to organization. Consider creating a dedicated folder on your computer to keep all materials in one place. You might also want to categorize them by type—images in one folder, text in another, and so on.
Don’t forget about file naming! Use descriptive names that make it easy to identify what each file is. This will save you a lot of time when you start assembling your project.
In short, effective organization sets the tone for a smooth project creation process!
Also Read This: Understanding the Worth of a YouTube Play Button
6. Designing Your Project Layout
Now that you have all your materials organized and ready to go, it's time to design your project layout! This is where the magic happens and where you get to showcase your creativity and professionalism.
Begin by considering the flow of your project. You want your audience to easily navigate through what you’ve created. Here are a few vital tips:
- Start with a Strong Cover: Your first image should be captivating. A clean, eye-catching cover photo can create a strong first impression.
- Maintain Consistency: Use a cohesive color scheme and typography throughout the project. This makes your work look polished and intentional.
- Utilize Grids: A grid can help you maintain alignment and spacing. Whether you're using images or text, grids will ensure everything is neatly arranged.
- Use White Space Effectively: Don’t be afraid to use white space. It can make your layout feel less cluttered and allow your visuals and text to breathe.
It can be helpful to sketch out your layout on paper or use design software freely, initially. This pre-planning stage will give you a clearer picture of how everything fits together. Once you feel confident in your layout, start assembling your project in Behance.
Creating a visually appealing layout is crucial—it enhances user experience and showcases your work in the best light. So take your time, experiment, and let your creativity shine!
Also Read This: How to Change Picture Background in Adobe Photoshop 7.0
7. Writing Captivating Descriptions
When it comes to showcasing your projects on Behance, writing captivating descriptions is key to engaging your audience. Your description isn’t just a placeholder; it’s a narrative that brings your work to life. Here’s how to craft descriptions that truly resonate:
- Start with a Hook: Begin with a sentence that grabs attention. You might even pose a question or share a surprising fact related to your project.
- Tell a Story: Every project has a story behind it. Discuss your inspiration, the challenges you faced, or your creative process. This personal touch makes your work more relatable.
- Be Clear and Concise: While storytelling is important, make sure you don’t ramble. Focus on key points and use clear language that everyone can understand.
- Highlight Key Features: What makes your project unique? Discuss specific elements that set it apart, such as innovative design choices or functionality.
- Include the Process: Share insights about your design process. This could involve the tools you used, sketches, or iterations that led to the final product.
For a clear structure, you could use bullet points or subheadings within your description to break up the text. Aim for a friendly tone that reflects your personality. Authenticity goes a long way in making a meaningful connection with your audience.
Also Read This: Guide to Creating Pregnancy Videos Available on Dailymotion
8. Using High-Quality Images and Media
Visuals are at the heart of any Behance project. High-quality images and media can make or break your presentation, so it's essential to showcase your work effectively. Here are some tips to ensure your visuals stand out:
- Use High Resolution: Always opt for images with a high resolution. Blurry or pixelated images can turn viewers away. Aim for at least 300 DPI for print-worthy quality.
- Variety of Angles: Show your project from multiple viewpoints. A mix of close-ups, wide shots, and detail images helps viewers appreciate the craftsmanship.
- Incorporate Process Images: Consider including behind-the-scenes photos or time-lapse videos. This adds depth and shows the effort behind the final product.
- Consistency is Key: Maintain a consistent style in your images. Use similar lighting, color palettes, and compositions to create a cohesive look.
- Optimize for Web: Compress images for faster loading times without sacrificing quality. This ensures a smooth viewing experience for your audience.
Don’t forget to consider the layout of your images as well! A well-organized grid or strategic placement can enhance the storytelling aspect of your project. Remember, a picture is worth a thousand words, so let your visuals do the talking!
Also Read This: Viewing Your Saved Adobe Stock Images
9. Finalizing and Reviewing Your Project
Alright, it’s the moment where you put on your final touches. Finalizing your project on Behance is a crucial step to ensure everything looks just right before you hit that publish button. Here’s what you need to keep in mind:
- Check for Consistency: Make sure your project's elements—like colors, fonts, and imagery—are consistent throughout. This not only creates a cohesive look but also enhances the professional feel of your project.
- Proofread Your Content: Typos and grammatical errors can distract from your work. Read through your descriptions and titles carefully, or even better, have someone else take a look at it. Fresh eyes can spot things you might have missed.
- Optimize Images: Before you finalize everything, ensure your images are well-optimized. High-quality images will make your project stand out, but if they’re too large, they could slow down loading times.
- Seek Feedback: Share your project with friends or colleagues for feedback. A second opinion can provide valuable insights that could enhance your presentation.
- Consider the Layout: Arranging your content in an appealing manner is essential. Consider using grids to make your work easier to digest. Make sure your flow tells a story and guides the viewer's eye.
Once you’ve gone through these steps, take a deep breath and give it a final review. Trust your instincts—if it feels right, you’re likely ready to publish!
Also Read This: how to curve images in cricut design space
10. Publishing on Behance
Now that you’ve finalized your project, it's showtime! Publishing on Behance is a straightforward process, but there are a few key things to keep in mind to maximize your exposure and impact:
- Set a Catchy Title: Think about what will make someone pause and take a look. Use keywords that are relevant to your project while keeping it engaging.
- Write a Descriptive Summary: When you go to publish, you’ll need to enter a summary. This is your elevator pitch! Make it concise and informative—explain what the project is about and what inspired you.
- Utilize Tags Wisely: Tags help others find your work. Use relevant keywords that describe your project but don't overload it with tags. Aim for around five to ten that accurately represent your work.
- Select the Right Tools and Services: During the publishing process, you can choose to highlight the tools and services you used for your project. This can inspire others and may attract fellow users who are interested in similar techniques.
- Choose Categories Wisely: Categorizing your project correctly ensures it reaches the right audience. Whether it’s graphic design, photography, or illustration, pick the category that best fits your project.
After you’ve done all this, click the publish button and share your masterpiece with the world! Don’t forget to promote it on your social media to gain more visibility. You’ve put in the hard work—now it’s time to relish the results!
Also Read This: Guide to Changing the Height and Width of an Image
11. Promoting Your Project
So, you’ve crafted a stunning project on Behance, showcasing your creativity and skills. But now what? The real challenge lies in promoting your project to ensure it gets the attention it deserves! Here’s a step-by-step guide to effectively promote your work:
- Leverage Social Media: Share your project across various social media platforms, such as Instagram, Twitter, and LinkedIn. Create eye-catching visuals and captions that invite your audience to check out your full project on Behance.
- Engage with Design Communities: Join platforms like Dribbble, Designer Hangout, or Reddit’s design subreddits. Share your project and engage with the community, offering feedback and showcasing your expertise.
- Networking: Reach out to fellow creatives and industry professionals. Send personalized messages, showing genuine interest in their work, while subtly introducing your project.
- Use Hashtags: When you share your project on social media, make use of relevant hashtags to increase discoverability. Think of popular tags like #DesignInspiration, #CreativeProcess, and #Behance.
- Cross-Promotion: Collaborate with other artists or brands. You can create joint projects or feature each other’s work, which broadens your audience base.
- Email Newsletters: If you have a mailing list, don’t hesitate to share your Behance project with your subscribers. Provide them with insights and invite them to engage with your work.
- Direct Links: Make sure to prominently feature your Behance project link in your online portfolios and business cards!
Remember, consistent promotion can help your work gain visibility, leading to more opportunities for exposure and growth!
12. Conclusion
Creating a professional project for Behance is more than just sharing your work; it’s about telling your story and engaging with a community of creatives. From the initial concept to the final presentation, every detail matters!
As you embark on this journey:
- Plan Your Project: Take time to brainstorm and outline your project. This will provide a roadmap to guide you through the creative process.
- Focus on Quality: Always prioritize quality over quantity. An impressive project, even if it’s a single piece, can have a greater impact than multiple mediocre submissions.
- Gather Feedback: Don’t shy away from constructive criticism. Seek feedback from peers or mentors to refine your work and make it even better.
- Stay Engaged: Regularly engage with the Behance community, appreciating others’ work and sharing insights. This will help to build connections and gain visibility for your own projects.
In the end, remember that your unique perspective and creative flair set you apart. Stay true to your vision, keep experimenting, and who knows; your next Behance project could open doors to amazing opportunities!
 admin
admin


