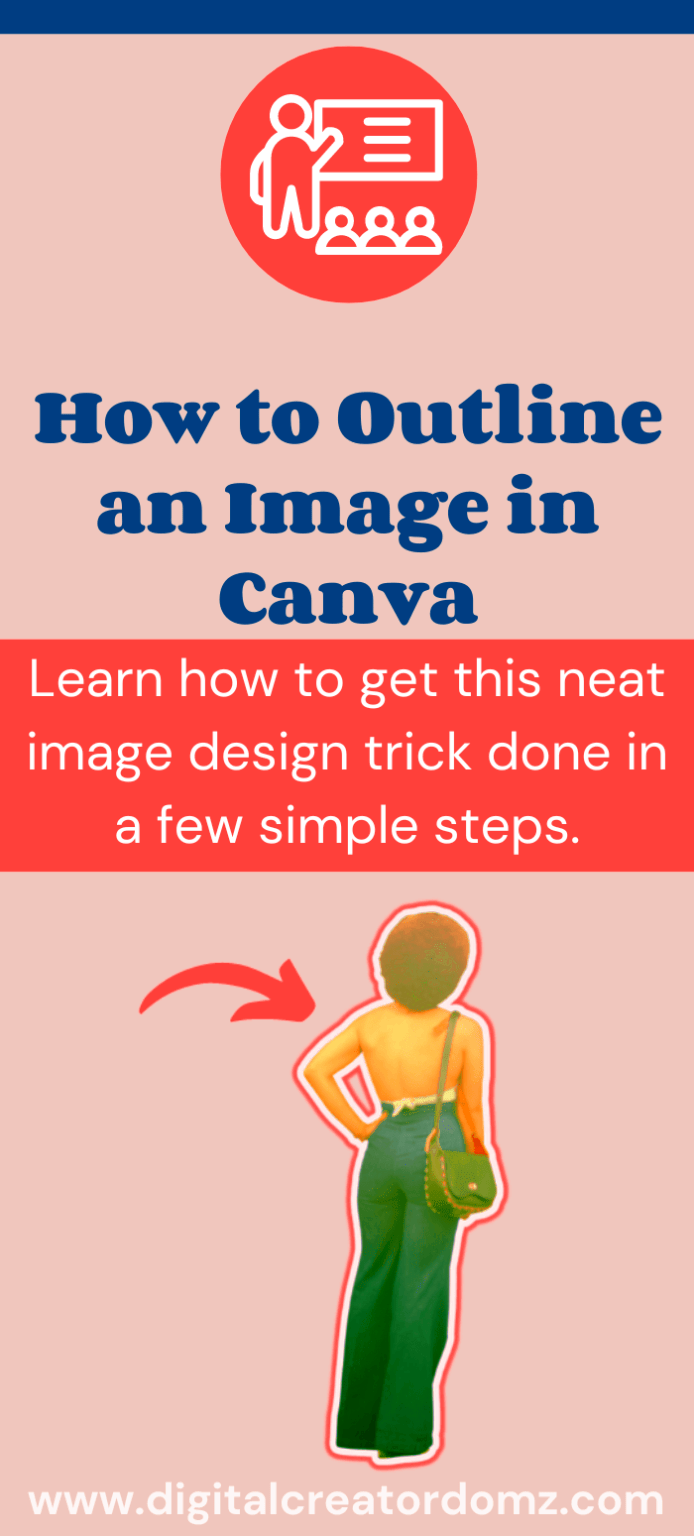
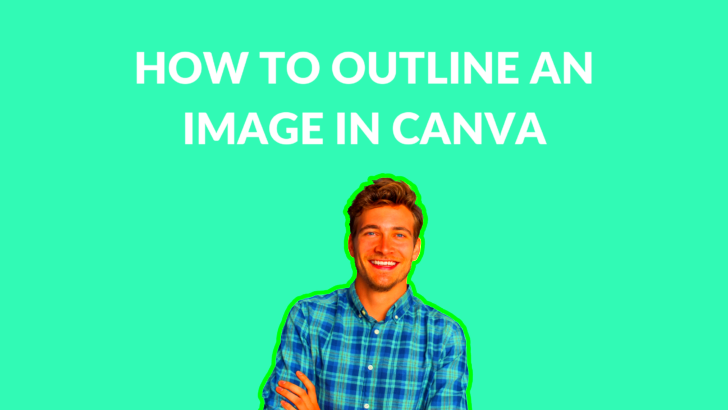
Because of outlined images, graphic designers can focus on their work as well as communicate effectively with the audience. In this way, outlined images attract attention and make people focus on major parts. There are many applications for these kinds of images such as marketing materials or posters or slide shows for presentations among others.
Below are a few reasons why outlined visuals are fundamental:
- Enhanced Visibility: Outlined images can make your content more noticeable in a crowded space.
- Professional Appearance: Using outlines gives your images a polished look, which can enhance your brand's image.
- Better Storytelling: Outlined images can help emphasize key points in your narrative.
- Consistency in Design: They create a uniform style across your visuals, helping with brand recognition.
Getting Started with Canva for Outlined Images

Canva is a simple to use design software that helps in making outlined images very easy for everyone including the beginners. To get started, all you need do is to create a free account on the Canvas website. Once logged in, you will be able to access different templates and designing components. Below is how to get started:
- Go to the Canva website and log in or create a free account.
- Explore the dashboard to familiarize yourself with the interface.
- Use the search bar to find templates specifically for outlined images.
- Choose a template that fits your needs, or start from scratch.
The advantage of drag and drop in canva allows me to manipulate elements and images with ease which makes it easy to create amazing outlined images even if I don’t know anything about design.
Also Read This: How to Trace an Image onto a Canvas for Perfect Drawing Replication
Choosing the Right Template for Your Design
Deciding on a correct outline is crucial for the accomplishment of your depicted images. A proper template would be the basis that can greatly influence your design. Here are some tricks to assist you select:
- Consider Your Purpose: What is the goal of your design? Whether it's for social media, a presentation, or marketing material, select a template that aligns with your purpose.
- Match Your Brand Aesthetic: Look for templates that reflect your brand's colors, fonts, and overall style. Consistency is key!
- Focus on Layout: Choose a template with a layout that allows for clear visibility of your outlined images. Avoid cluttered designs that can distract from your message.
- Look for Customizability: Opt for templates that allow you to easily modify elements. This will help you create a unique design tailored to your needs.
After you make a choice about the template, you can begin to modify it according to your ideals. Be reminded that an appropriately selected template sets the trend for effective design!
Also Read This: how to fill text with an image in canva
Steps to Create Outlined Images in Canva
Canva is a user-friendly platform which makes outlined images easy to create with tremendous outcomes. When working on social media designs or marketing materials, these simple steps can help you arrive at your desired effect. Here’s what we should do in order:
- Open Canva and Start a New Project: Log in to your Canva account and click on “Create a design.” Select your preferred dimensions or choose from predefined sizes based on your project.
- Add an Image: Upload your own image or choose one from Canva’s extensive library. To upload, click on “Uploads” in the sidebar, then drag and drop your image into the workspace.
- Create an Outline: Select the image, then click on “Effects” in the toolbar. Choose the “Outline” effect to create a border around your image. Adjust the thickness and color of the outline to fit your design.
- Customize Background: Add a background color or texture that complements your outlined image. This step can enhance visibility and overall aesthetics.
- Add Text and Other Elements: Use the text tool to add any necessary information or branding. You can also include icons or graphics to enrich your design.
- Final Adjustments: Make sure everything aligns properly and looks balanced. Adjust colors, fonts, and positions as needed.
When you have previously completed these processes, you will own a beautiful sketched photograph instantly available!
Also Read This: How to Sharpen an Image in GIMP
Tips for Customizing Your Outlined Images
In customizing your outlined images is wherein you can truly express your creativity. Although there are many templates and tools available on Canva, it is important to make your design unique. Here are some tips that may help you customize your images:
- Experiment with Colors: Use colors that represent your brand or theme. Consider using contrasting colors for the outline to make your image pop.
- Play with Font Styles: Choose fonts that enhance your message and match your design. Don’t be afraid to mix different font styles, but keep it readable!
- Add Shapes and Icons: Incorporating shapes can create more interest. Use them as backgrounds for text or as decorative elements around your image.
- Maintain Consistency: If you’re creating multiple images, ensure they have a cohesive look. This helps with brand recognition and creates a professional feel.
- Seek Feedback: Don’t hesitate to ask others for their opinion. Fresh eyes can offer insights that help improve your design.
Bear in mind that there are an infinite number of ways to customize it, so go ahead and try out different options until you get your own perfect design!
Also Read This: Can LinkedIn Create a Professional Resume
How to Export Your Outlined Images
When your outlined image is ready, you can start exporting it. The application is designed for easy exporting thus making sure that users’ artworks are always appealing regardless of whether they upload them digitally or print them out. Just follow these few steps to export images:
- Click on the Share Button: In the top right corner of the Canva interface, find and click the “Share” button.
- Select Download: A dropdown menu will appear. Choose “Download” to proceed to the export settings.
- Choose the File Type: Canva offers several formats, including PNG, JPG, PDF, and more. For web use, PNG is often the best choice due to its quality.
- Adjust Settings: Depending on your file type, you might have options to adjust the quality or add a transparent background. Select the settings that best suit your needs.
- Click Download: Finally, click the “Download” button. Your outlined image will be saved to your device, ready for use.
And now you have it! The image that you drew out is ready to be put on markting materials, shared in social sites or go anywhere else it is needed.
Also Read This: How to Get a Transparent Image on Google Slides for Layered Effects
Common Mistakes to Avoid When Creating Outlined Images
Creating outlined images within Canva is quite exhilarating and creative, but sometimes people tend to make frequent errors. However, this can easily be avoided by being aware of them and thus improving your design instead of feeling disappointed. Here’s a guide on the mistakes to be on the lookout for:
- Overusing Outlines: While outlines can enhance visibility, too many can make your image look cluttered. Stick to one outline per element to maintain clarity.
- Poor Color Choices: Using colors that clash can distract viewers. Make sure your outline colors complement the main image and background.
- Ignoring Image Quality: Low-resolution images can appear pixelated, especially when outlined. Always start with high-quality images to maintain a professional look.
- Neglecting Alignment: Misaligned elements can make your design look sloppy. Use Canva's alignment tools to ensure everything is positioned correctly.
- Skipping Background Considerations: A busy background can take focus away from your outlined image. Choose backgrounds that are simple and enhance your design.
- Not Testing Variations: Failing to explore different designs can limit your creativity. Don’t hesitate to try different styles, colors, and layouts before settling on a final design.
Thus, you’ll be on your quest of producing attractive images that express your purpose by eschewing these blunders!
Also Read This: Try This Free Shutterstock Image Downloader Online
Frequently Asked Questions about Outlined Images in Canva
In connection with the creation of outlined images in Canva, you could have some questions. Here are a few frequently asked questions that can help you better understand the process:
- Can I change the outline color after creating it? Yes! Simply select the outlined image, go to the “Effects” option, and adjust the outline color as needed.
- What file format is best for saving outlined images? For web use, PNG is often preferred due to its high quality and support for transparency. For print, consider using PDF.
- Is there a way to create outlines without using the effect tool? Absolutely! You can duplicate an image, change the color of the bottom layer, and then adjust the size to create a manual outline effect.
- Can I create outlined images for videos? Yes! Outlined images can be used as thumbnails or graphics in video content, helping to catch viewers' attention.
- Do I need design experience to use Canva? Not at all! Canva is designed for users of all skill levels, making it easy to create professional-looking designs.
Here are some frequently asked questions that may assist you in your coordination with Canva’s outlined images. For further questions, feel free to check out other help resources available in Canva!
Conclusion on Mastering Outlined Images in Canva
Canva outlined image making is a fulfilling endeavor that can improve your graphics. Knowing what outlines mean, observing the necessary steps and avoiding general errors can help you create remarkable designs that draw attention. Do not forget that customization counts - take time to play with colors, fonts, and arrangements to have truly one-of-a-kind images.
With time and more effort put into it, you will become more confident with your designing abilities. One thing that you should do is to use various templates and tools available on Canva as they could help you generate new ideas. Outlined images can help you take visual storytelling to the next level whether for social media, marketing materials or personal projects.
Therefore get into Canva, set your imagination free and begin to create the images that shall leave them in amazement!

 admin
admin


