If you're a writer or content creator looking to organize your ideas visually, Scrivener offers an excellent way to do so. One of the best features Scrivener provides is the ability to create and use image cards. These cards allow you to integrate visual elements, making it easier to structure and plan your projects. Whether you're drafting a novel, preparing a blog post, or organizing research, image cards can bring a whole new level of clarity and creativity to your work.
In this section, we will explore how to create and use image cards in Scrivener. From adding your first image to customizing your cards, you’ll learn how to make the most of this feature to stay organized and efficient.
Why Use Scrivener for Image Cards?

Scrivener is more than just a writing tool; it’s a complete project management system that caters to both text and visuals. When it comes to creating image cards, Scrivener stands out for several reasons:
- Visual Organization: Image cards help you visually organize your thoughts and ideas, giving you a clear picture of your project structure.
- Flexibility: You can add images, text, and even color-code your cards, offering a variety of ways to organize your content.
- Ease of Use: The drag-and-drop feature allows you to rearrange cards quickly, making your workflow more efficient.
- Comprehensive Workspace: Scrivener’s layout allows you to view your image cards alongside your writing, giving you a comprehensive view of your project.
In short, Scrivener provides a versatile and user-friendly way to incorporate images into your projects. By using image cards, you can enhance your workflow, spark creativity, and better organize your content.
Also Read This: Top 10 Designer Linkedin Profiles
Getting Started with Scrivener

Before you can dive into creating image cards, it's essential to set up your Scrivener project properly. Here’s how to get started:
- Step 1: Create a New Project
Open Scrivener and click on "File" then "New Project". Choose the type of project that fits your needs, whether it’s a novel, screenplay, or other formats. - Step 2: Set Up Your Binder
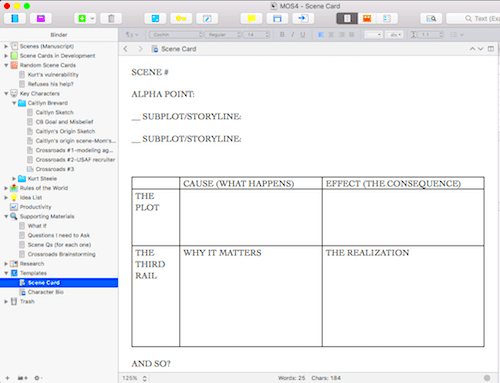
Scrivener uses a binder to help you organize different parts of your project. Create folders and subfolders to categorize your image cards based on the structure of your work. - Step 3: Add a New Image Card
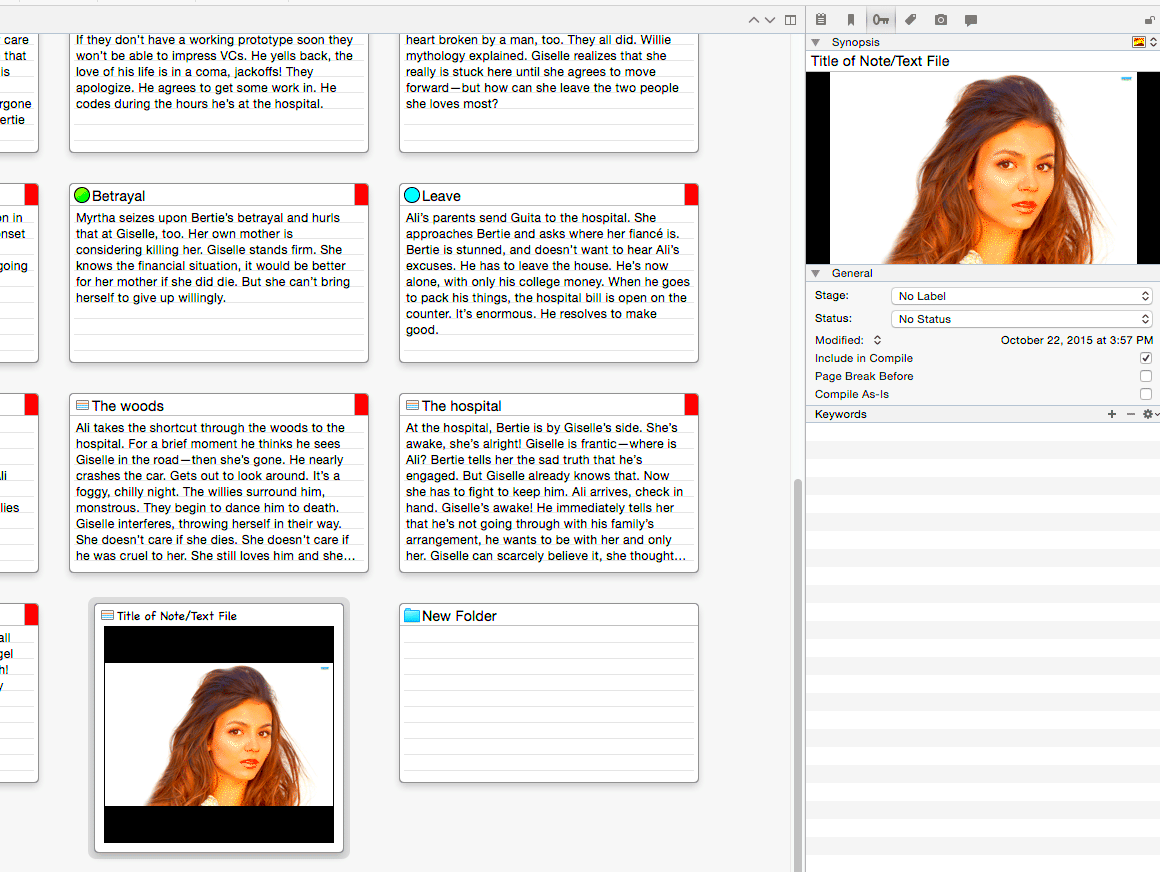
In your binder, select a folder where you'd like to add an image card. Right-click and choose "Add New Image Card". This creates a new card where you can upload your image and add related notes. - Step 4: Customize Your Cards
Once you’ve added an image, you can resize it, add annotations, or change the background color. You can also add text notes that explain the image or how it fits into your project.
By following these simple steps, you’ll be able to set up your project in Scrivener and start using image cards right away. With a little practice, you’ll quickly see how image cards can transform your writing and planning process.
Also Read This: Discovering Ancient Britain Through Dailymotion Videos
Adding Images to Your Image Cards
Adding images to your image cards in Scrivener is a simple process that can bring your ideas to life. Whether you're working on a novel, blog post, or any creative project, visual elements help to clarify and enhance your content. In Scrivener, you can easily add images to your image cards, which can be incredibly useful for organizing research, creating mood boards, or simply providing visual context for your writing.
Here’s how to add images to your image cards in Scrivener:
- Step 1: Open Your Project
Launch Scrivener and open the project where you want to add images to your image cards. - Step 2: Select the Image Card
In your Binder, navigate to the folder where you want to add an image. Right-click on the folder and choose “Add New Image Card.” - Step 3: Insert Your Image
Once your image card is created, click on the card. From there, you can drag and drop an image from your file explorer directly into the card. Alternatively, you can click the "Import" button to browse your files and select an image. - Step 4: Resize and Adjust
After inserting the image, you can resize it by clicking and dragging the corners. You can also add text annotations below the image to describe its significance or context.
By following these steps, you'll be able to seamlessly add images to your image cards, helping to make your project more visually engaging and easier to navigate.
Also Read This: How to Block YouTube Access From a Browser for Parents and Employers
Customizing Image Cards for Your Needs
Customizing your image cards in Scrivener allows you to tailor them to your specific needs, making your project not only organized but visually appealing as well. Whether you want to change the background color, resize images, or add detailed notes, Scrivener offers plenty of customization options. Here’s how to adjust your image cards so they fit your unique workflow:
- Step 1: Change the Background Color
Right-click on an image card and select "Card Settings". From here, you can change the background color of the card to help categorize your images or make them visually distinct. - Step 2: Adjust the Image Layout
Scrivener allows you to adjust the way your images appear. You can resize the image, rotate it, or even add a border around the image if desired. This helps the image blend seamlessly with your project’s theme. - Step 3: Add Text Notes
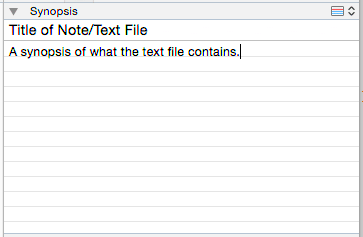
If you want to add extra details, click below the image and type your notes. These can be short descriptions, quotes, or your thoughts about how the image fits into the larger project. - Step 4: Organize Your Cards
To keep your image cards neat, you can create custom labels for each card. For example, label cards as "Research," "Inspiration," or "Draft Ideas" to make finding them easier later on.
These customization options help you organize your image cards in a way that suits your creative process, making your workflow smoother and more intuitive.
Also Read This: BBC America Quest: Exploring How to Access It
Managing Image Cards in Scrivener
Once you’ve added and customized your image cards in Scrivener, it’s time to manage them. Efficient management of your image cards is essential to keeping your project organized and ensuring you can easily find the images and notes you need. Scrivener offers several features that help you arrange, view, and access your image cards without any hassle.
Here are some tips for managing your image cards effectively:
- Rearrange Cards: Scrivener makes it easy to rearrange your image cards. Simply drag and drop the cards in your Binder to reorder them based on your needs. This is especially useful when you want to reorganize your content as you go.
- Use Labels and Folders: Organizing your image cards into folders is a great way to keep related images grouped together. For example, you can create folders for different sections of your project, such as "Research," "Concepts," or "Visual Inspiration." You can also label your cards for further organization.
- View Options: Scrivener offers different ways to view your image cards. You can switch between a grid view, list view, or corkboard view, depending on what’s easiest for you. The corkboard view, in particular, allows you to see your image cards as virtual “pins” on a board, which can be visually helpful when brainstorming or planning.
- Search and Filter: Scrivener allows you to search and filter through your image cards based on keywords, labels, or specific details. This is helpful when you have a large number of cards and need to quickly find a particular image or note.
Managing your image cards effectively ensures that your project stays on track and that you can quickly access the visual elements that are crucial to your work. By using these strategies, you’ll be able to keep everything organized and improve your productivity in Scrivener.
Also Read This: What Channels Are Missing From YouTube TV and Notable Gaps in Its Offerings
Best Practices for Using Image Cards
Using image cards effectively in Scrivener can make your workflow smoother and more organized. To maximize the potential of this tool, it's important to follow some best practices that help keep your images and ideas clearly defined. With the right approach, image cards can serve as a powerful tool for brainstorming, visual planning, and organizing your project. Here are some best practices to consider when using image cards in Scrivener:
- Keep It Organized: Create folders for different categories of images, such as research, inspiration, or drafts. This helps you easily find what you need and prevents your workspace from becoming cluttered.
- Use Descriptive Text: Along with each image, add descriptive text that explains how it fits into your project. This will make it easier to recall the purpose of the image later on. Use short but clear notes.
- Color Code for Clarity: Scrivener allows you to customize the color of your image cards. Consider using different colors to represent different themes or stages in your project. For example, use one color for research and another for inspiration.
- Review and Update Regularly: As your project progresses, take time to review and update your image cards. Remove irrelevant images and adjust text notes as your ideas evolve.
- Utilize the Corkboard View: The corkboard view is perfect for visualizing your image cards. Use it to get an overview of your project, rearrange images easily, and maintain a logical flow of ideas.
By following these best practices, you can make the most out of image cards in Scrivener and keep your creative process organized, efficient, and visually engaging.
Also Read This: Remembering Meat Loaf: A BBC Exploration into His Passing
Frequently Asked Questions
Here are some common questions that users have when it comes to using image cards in Scrivener. Hopefully, these answers will clear up any confusion and help you get the most out of this feature.
- Can I add multiple images to a single card?
Unfortunately, Scrivener only allows one image per image card. However, you can use multiple cards to represent different images or stages of your project. - Can I resize images on the cards?
Yes, you can resize images within your image cards by clicking and dragging the corners. This allows you to adjust the images according to your needs. - Can I export my image cards with my project?
Scrivener allows you to export both text and images, but the images are typically saved separately. You can create a PDF or compile your project and include the images as part of the export process. - Can I customize the background of the cards?
Yes, Scrivener allows you to customize the background color of your image cards. This can help with organization or simply add a personal touch to your project. - How do I search for an image card?
You can search for image cards by their titles, labels, or keywords. Scrivener's search function is comprehensive and helps you locate cards quickly.
If you have more questions or need further assistance, the Scrivener help section is a great resource to explore additional features and troubleshooting tips.
Conclusion
Creating and using image cards in Scrivener can be a game-changer when it comes to organizing and managing your projects. By adding visual elements to your writing, you can break down complex ideas and create a clear structure for your work. Scrivener’s image card feature offers a flexible and intuitive way to keep your content organized, inspire creativity, and improve productivity.
By following the tips and best practices outlined above, you can make the most of this feature and create a more streamlined workflow for your projects. Whether you're a novelist, blogger, or content creator, integrating image cards into your process can help you see your ideas in new ways and stay organized throughout your journey.
Take the time to experiment with image cards in Scrivener, and you’ll soon find that they are an invaluable tool for your creative projects.

 admin
admin


