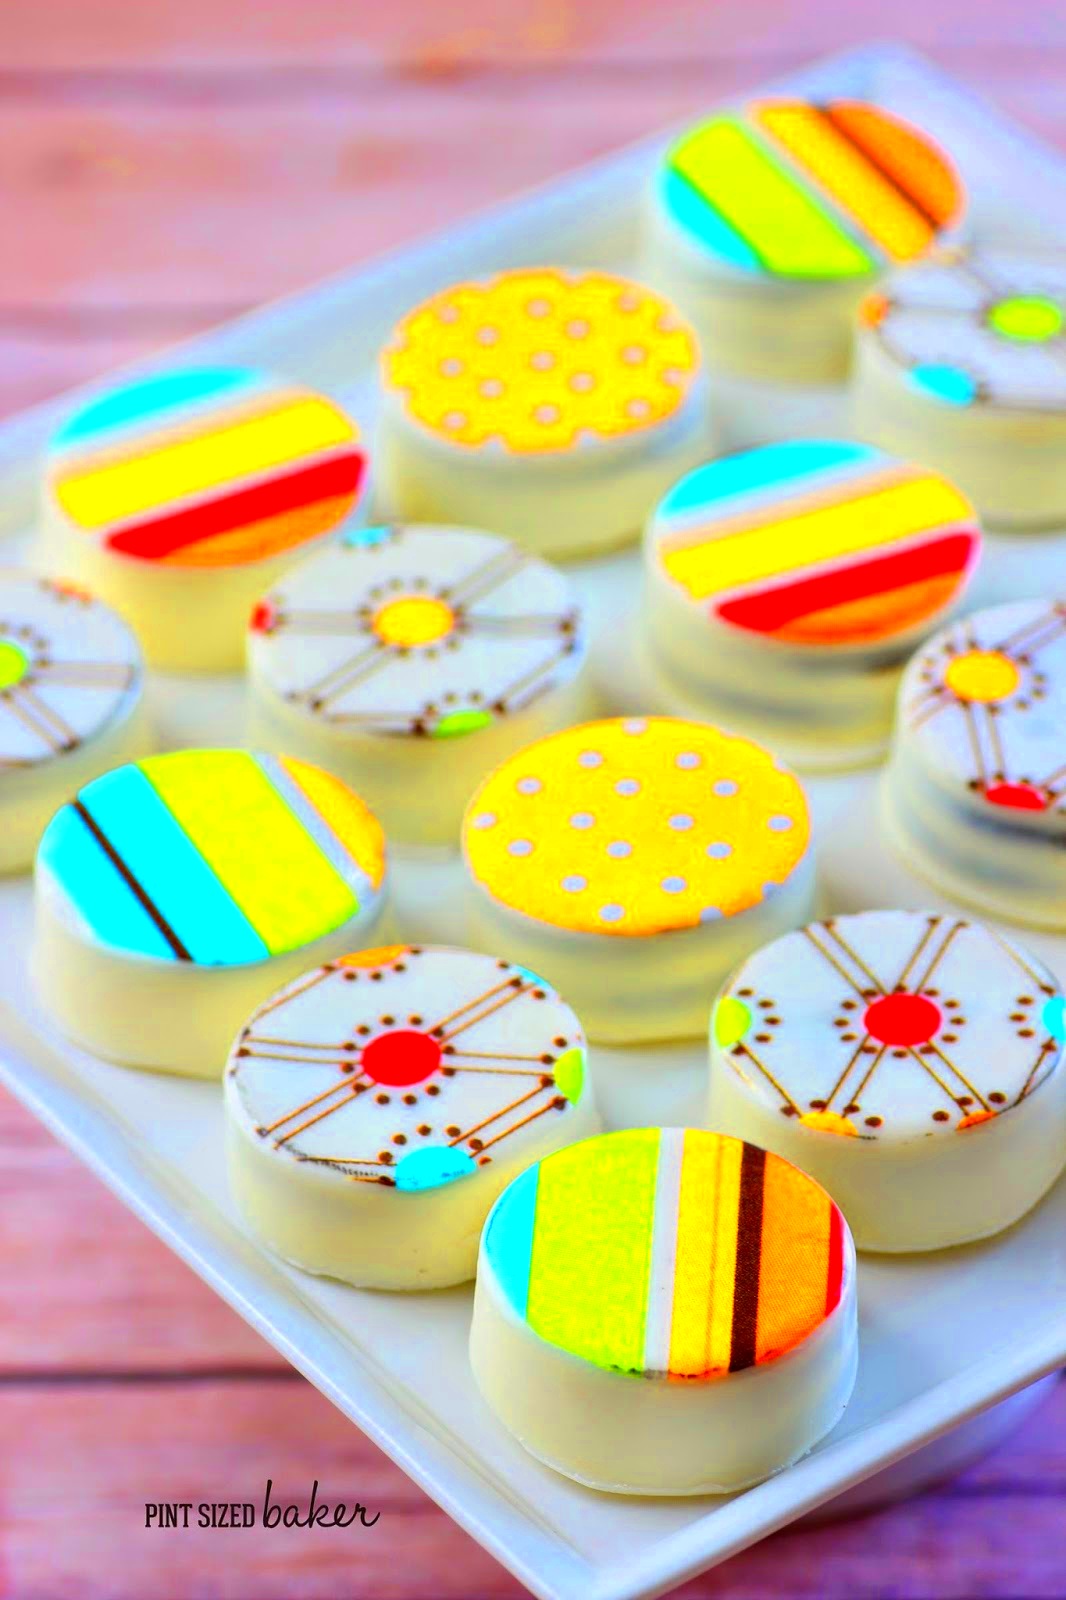
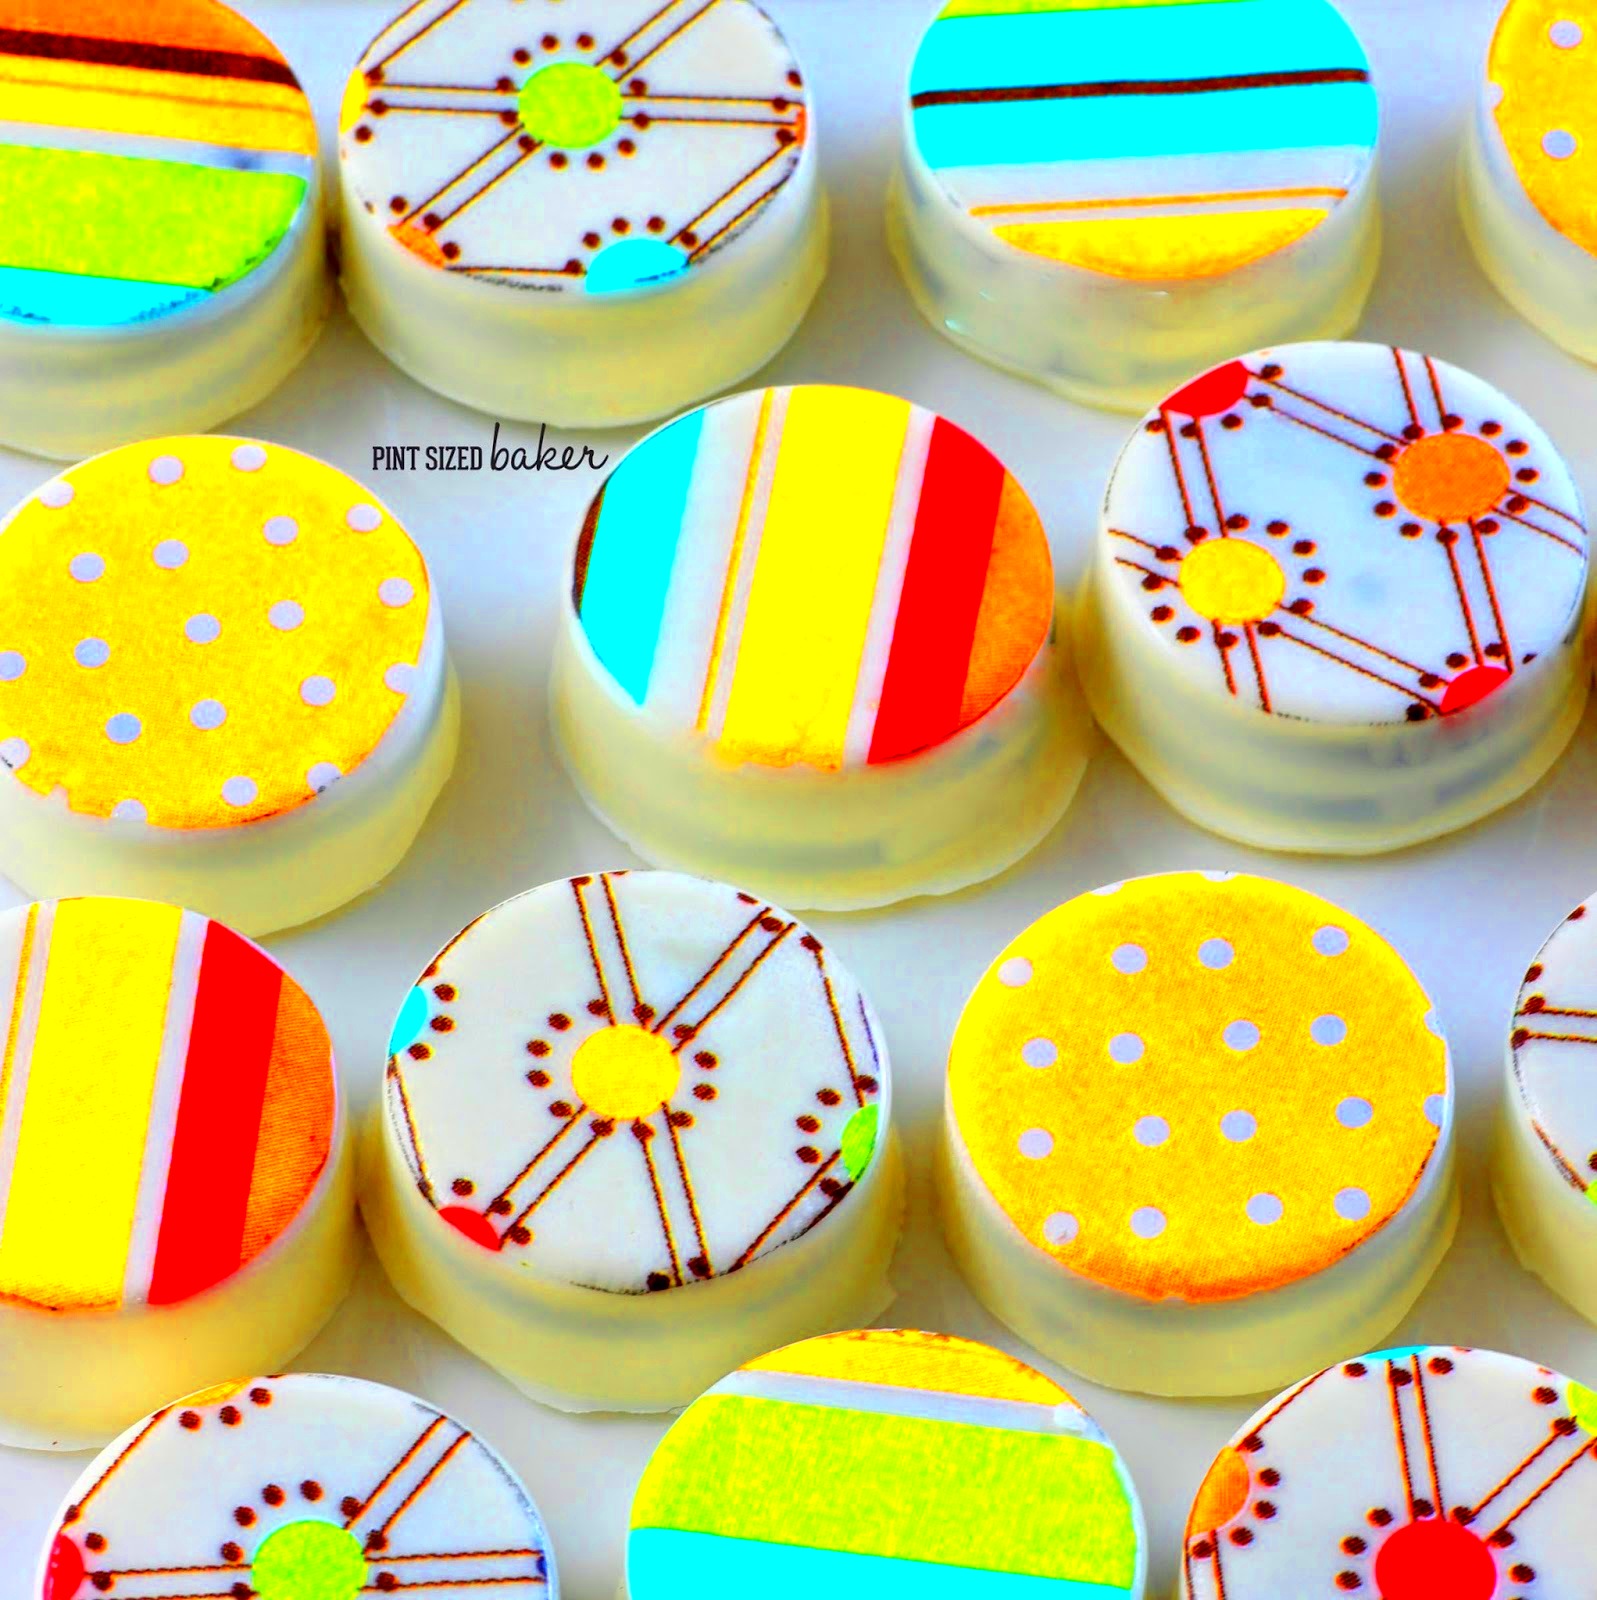
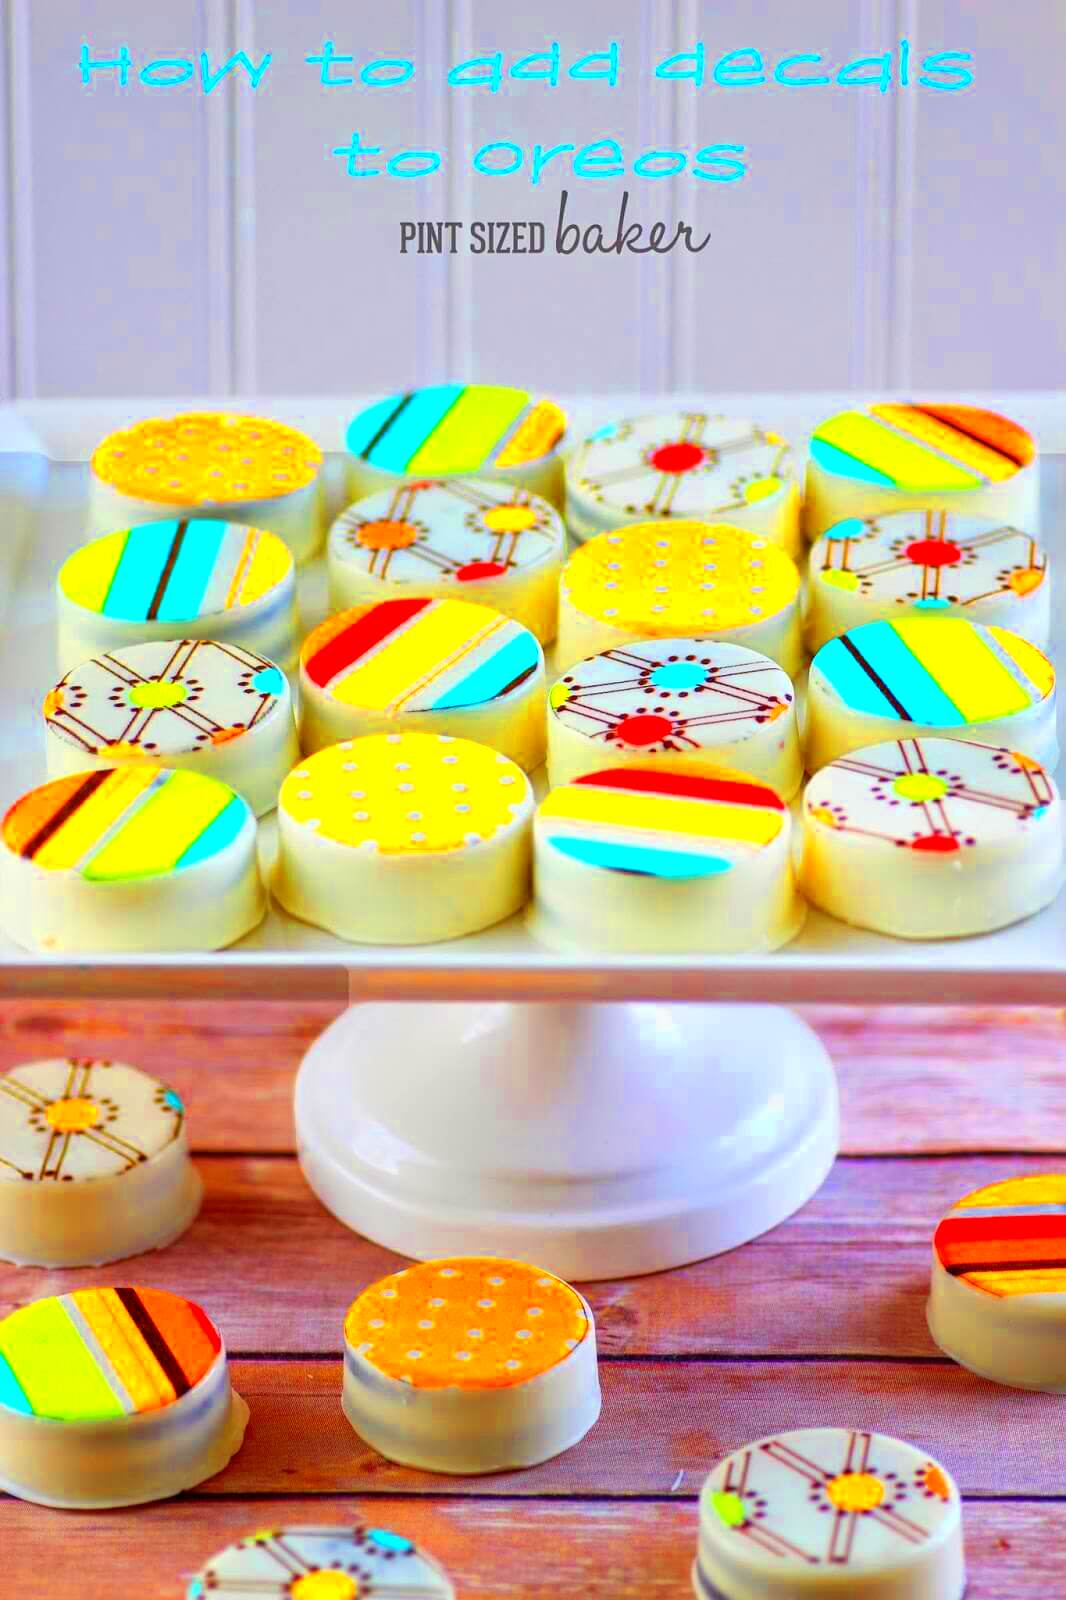
Creating edible images for Oreos is a fun and unique way to customize these popular cookies for any occasion. Whether you're planning a birthday party, a corporate event, or simply want to add a personal touch to your treats, edible images offer an easy solution. With a little creativity and the right equipment, you can transform a standard Oreo into a memorable and visually appealing dessert.
Edible images can be printed with any design or logo, making them highly versatile. From fun characters to intricate designs, these images can be printed directly onto edible paper and applied to the surface of the cookies. The result? A professional-looking cookie that tastes just as good as it looks.
Choosing the Right Edible Printer for Oreos

When creating edible images for Oreos, choosing the right edible printer is essential for achieving high-quality results. A good printer ensures that your images are vibrant, clear, and crisp, enhancing the overall appearance of the cookies.
Here are some factors to consider when selecting an edible printer:
- Printer Type: Make sure the printer is designed specifically for edible printing. Standard printers are not compatible with edible inks and papers.
- Ink Quality: The quality of the edible ink affects the final print. Look for printers that use FDA-approved edible inks to ensure food safety and vibrant colors.
- Print Resolution: Higher resolution printers provide sharper, more detailed prints, which are crucial for creating detailed designs on small surfaces like Oreos.
- Size Compatibility: Ensure the printer supports the size of edible paper needed for Oreos. Typically, 8.5" x 11" edible papers work well, but check if your printer supports smaller sheets for easy handling.
Popular choices for edible printers include the Canon PIXMA series and Epson EcoTank series, both of which are known for their reliability and ease of use. Keep in mind that a higher price tag often means better quality and more features, so choose based on your needs and budget.
Also Read This: How Much Does a Standard License on Adobe Stock Cost?
Selecting the Best Edible Paper for Oreos

Not all edible papers are created equal, so choosing the right one is key to getting the best results when creating edible images for Oreos. The type of edible paper you use can affect the print quality and the texture of the cookie. Here are some key points to consider when selecting edible paper:
- Type of Paper: There are two main types of edible papers: wafer paper and frosting sheets. Wafer paper is thin and a bit crunchy, while frosting sheets are more flexible and have a smooth, cake-like texture. For Oreos, frosting sheets are often the better choice because they maintain their texture and taste while being easy to apply.
- Thickness: Opt for thin sheets that are easy to work with but not too fragile to tear during application. The paper should be thin enough to fit comfortably on the surface of the Oreo without overpowering it.
- Printability: Not all edible papers are compatible with edible ink. Look for frosting sheets or wafer paper specifically designed for use with edible ink printers to ensure smooth and vibrant printing.
- Storage: Edible paper should be stored properly to prevent it from drying out or becoming brittle. Always keep it sealed in its original packaging or in an airtight container to preserve its quality.
Some recommended edible papers include brands like Kopykake and Icing Images, which offer high-quality frosting sheets that work well with most edible printers. Consider trying a few different options to see which works best with your printer and gives the results you want for your custom Oreo designs.
Also Read This: Creating Stunning Mockups on Behance to Showcase Your Designs
Designing Your Edible Image for Oreos
Designing the perfect edible image for your Oreos is an exciting step in the process. Your design will be the main feature of the cookie, so it’s important to choose a design that works well on the small, round surface of an Oreo. Whether you're creating a simple text design or an intricate image, it’s essential to consider the shape, size, and resolution for the best result.
Here are some tips to help you create an ideal edible image for Oreos:
- Consider the Size: The surface of an Oreo is about 1.5 inches in diameter, so it’s important to create a design that fits comfortably within that space. Keep your design simple and avoid adding too much detail that could become lost or unclear when printed.
- Resolution Matters: Ensure your design is high resolution (at least 300 dpi) to prevent pixelation. This is especially important for logos or detailed images. A higher resolution ensures that your design looks sharp and clean on the cookie.
- Use Software That Supports Printing: Programs like Adobe Illustrator, Photoshop, or even free tools like Canva can help you create a design. When designing, ensure that the file is in a format that your edible printer can read, such as JPEG or PNG.
- Choose Vibrant Colors: Edible ink tends to print with slightly muted colors compared to standard printing inks, so using vibrant colors in your design will help it pop. Bright colors like red, blue, or green stand out well on Oreos.
Once you've created your design, it’s time to move on to printing. Remember to test your designs on regular paper first to ensure everything looks great before you print on your edible paper.
Also Read This: How to Change the Column on Behance for Better Visual Balance
Printing Your Edible Image for Oreos
Once your design is ready, the next step is printing it on edible paper. Printing edible images for Oreos requires a compatible edible printer and edible ink, so it’s essential to have the right equipment to get the best results.
Here’s a simple guide to printing your edible image for Oreos:
- Set Up Your Printer: Ensure your edible printer is properly loaded with edible ink and that the correct edible paper is in place. Check the printer settings to make sure it’s set to the highest resolution for the best print quality.
- Print a Test Design: Before printing on edible paper, it’s a good idea to test your design on regular paper. This helps you check alignment and ensure that the print looks as expected.
- Print on Edible Paper: Once you’re satisfied with your test print, load your edible paper into the printer and print your design. Be sure to follow the manufacturer’s guidelines for loading edible paper and printing settings.
- Let the Ink Dry: After printing, allow the ink to dry for a few minutes. The edible ink tends to be a bit wet initially, and letting it dry ensures it doesn’t smudge when applying to the Oreo.
Be patient during this process. The better your print, the better the final result will be. Once your image is printed and dry, it’s ready for application on the Oreo!
Also Read This: How to Unlicense Photos on Adobe Stock
How to Apply the Edible Image to Oreos
Applying an edible image to an Oreo requires care and precision to ensure the image sticks properly and looks professional. This step is crucial to make sure the final product is neat and visually appealing.
Follow these steps to apply the edible image to your Oreos:
- Cut the Edible Image: Once your edible image is dry, carefully cut out the design. It’s best to use a small, sharp pair of scissors to ensure you get a clean cut around the edges. Make sure to cut as close to the design as possible for a smooth finish.
- Prepare the Oreo: Before applying the image, lightly dampen the surface of the Oreo with a damp sponge or brush. This helps the edible image adhere better without slipping.
- Apply the Image: Gently place the edible image on top of the Oreo. Press down lightly to ensure it sticks without damaging the image. Be careful not to tear the paper or smudge the design.
- Smooth and Set: Once the image is in place, use a clean tool or your fingers to gently smooth out any air bubbles or wrinkles. Allow the Oreo to sit for a few minutes to ensure the image is securely attached.
For best results, serve your decorated Oreos soon after application to prevent the image from becoming too soft or the colors from fading. If you’re planning to store them, keep them in an airtight container to maintain freshness.
Also Read This: How to Change Background in Adobe Photoshop 7.0
Common Issues When Creating Edible Images for Oreos
Creating edible images for Oreos can be a fun and rewarding process, but it’s not without its challenges. From printer issues to design mishaps, there are a few common problems that you may encounter along the way. Being aware of these issues can help you troubleshoot and get better results.
Here are some of the most common issues and how to avoid them:
- Smudging or Blurry Prints: Smudging usually happens if the ink is still wet when you handle the edible paper. To avoid this, let the ink dry thoroughly before touching the printed surface. Additionally, check your printer settings to ensure you're using the correct resolution (300 dpi) for sharp, clear prints.
- Misaligned Images: Misalignment can occur if the paper is not loaded properly into the printer or if the design is not centered in the print layout. Always double-check that your edible paper is aligned correctly in the printer, and use the printer’s alignment tool if needed.
- Edible Paper Not Sticking: If the edible image doesn’t stick to the Oreo, it might be because the cookie’s surface is too dry or oily. Lightly dampening the surface with a small amount of water or using a thin layer of edible glue can help the image adhere better.
- Colors Not Printing Correctly: Edible inks sometimes produce slightly different colors than what you see on the screen. To minimize this issue, calibrate your printer and use high-quality edible ink for more vibrant results. Additionally, be mindful that pastel colors may not appear as vibrant as darker shades.
By paying attention to these common issues, you can ensure your edible images turn out just right, giving you perfect, customized Oreos every time.
Also Read This: how to size images for sublimation tumblers
How to Store Oreos with Edible Images
Storing Oreos with edible images requires a bit of care to keep the cookies fresh and the images intact. Edible images are generally delicate and can degrade if not stored properly. To maintain both the flavor and appearance of your decorated cookies, it's important to follow the right storage practices.
Here are some tips on how to store Oreos with edible images:
- Store in an Airtight Container: The best way to keep your Oreos fresh and prevent the edible images from fading or becoming brittle is by storing them in an airtight container. This will protect the cookies from humidity and air exposure, which can cause the images to warp or discolor.
- Avoid Direct Sunlight: Heat and sunlight can cause edible images to fade or become damaged. Store your cookies in a cool, dry place away from sunlight. A cupboard or pantry is often the ideal location.
- Keep Them at Room Temperature: Ideally, Oreos with edible images should be stored at room temperature. Do not refrigerate or freeze them, as this can cause the edible images to become soft and lose their texture.
- Use Parchment Paper for Layers: If you need to stack your decorated Oreos, place a piece of parchment paper between the layers to prevent the edible images from sticking to each other or getting damaged.
By following these simple storage guidelines, your Oreos will stay fresh, and the edible images will remain in excellent condition for a longer period. If stored properly, they can last for up to a week without compromising quality.
Also Read This: How to Record Music from YouTube as a Beginner
FAQ
Here are some frequently asked questions (FAQ) to help you with creating, applying, and storing edible images for Oreos:
- How long do edible images last on Oreos? Edible images typically last about a week if stored correctly. However, it’s best to use them within a few days to ensure the image stays vibrant and intact.
- Can I use any printer to print edible images for Oreos? No, you need a printer that’s specifically designed for edible printing. Standard printers cannot handle edible ink or paper, so you need a printer that is compatible with edible ink cartridges.
- Do I need to use a specific type of edible paper for Oreos? Yes, it’s important to use edible paper designed for cookies. Frosting sheets are the most popular choice for Oreos because they are flexible and easy to apply, while wafer paper is more brittle and less suitable for cookies.
- What should I do if the edible image doesn’t stick to the Oreo? If the edible image doesn’t stick, you can lightly dampen the surface of the Oreo with a small amount of water or use edible glue. Be careful not to use too much moisture, as this can cause the cookie to become soggy.
- Can I refrigerate Oreos with edible images? It’s not recommended to refrigerate Oreos with edible images, as the moisture and cold can affect the image’s texture and appearance. Store them at room temperature in an airtight container instead.
These FAQs should help clear up any doubts you may have when creating your edible images for Oreos. If you have any other questions, don’t hesitate to reach out to professionals or do some additional research to ensure you get the best results.
Conclusion
Creating edible images for Oreos is a fun and creative process that allows you to customize cookies for any occasion. By following the steps outlined in this guide—from choosing the right edible printer and paper to designing, printing, and applying your edible image—you can easily create professional-looking treats. Whether you're making cookies for a party, a business event, or just as a special treat for loved ones, the possibilities are endless when it comes to designing and decorating Oreos. Remember to store your decorated cookies properly to maintain their freshness and appearance. With a little practice and attention to detail, you’ll be able to create beautiful, edible works of art that taste as good as they look. Enjoy the process and have fun making your customized Oreos!

 admin
admin


