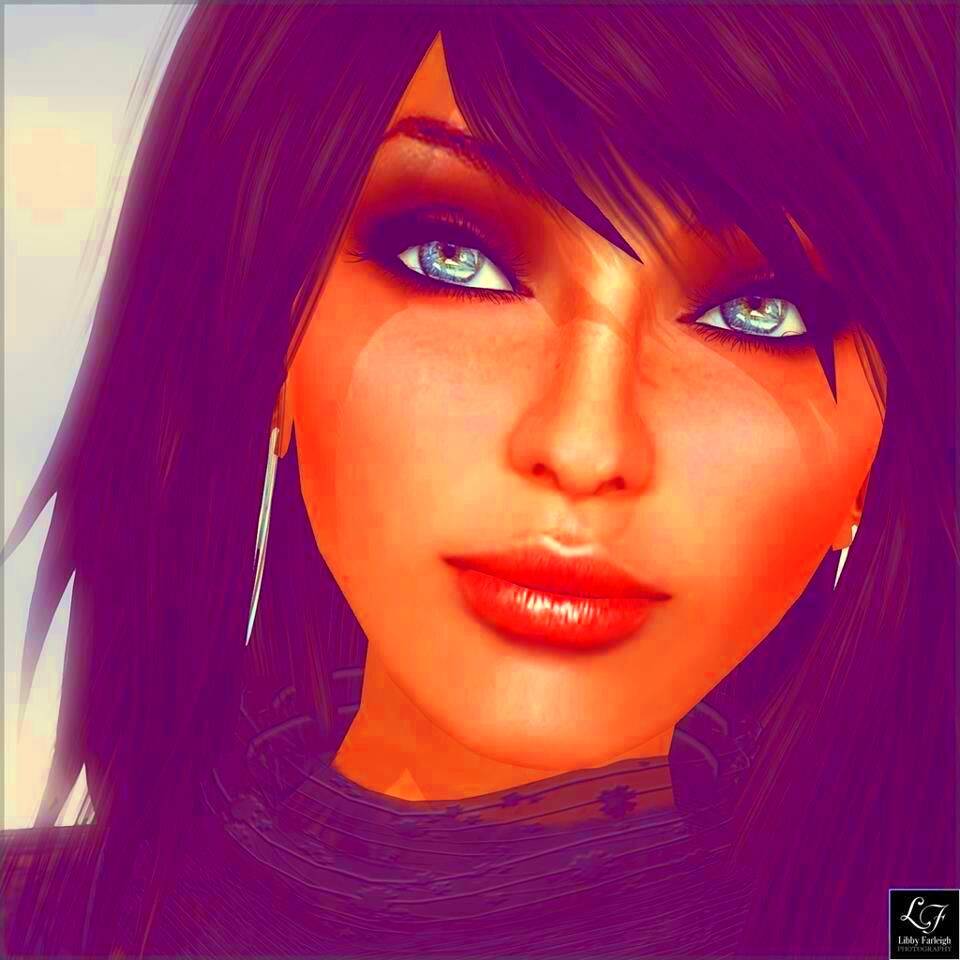
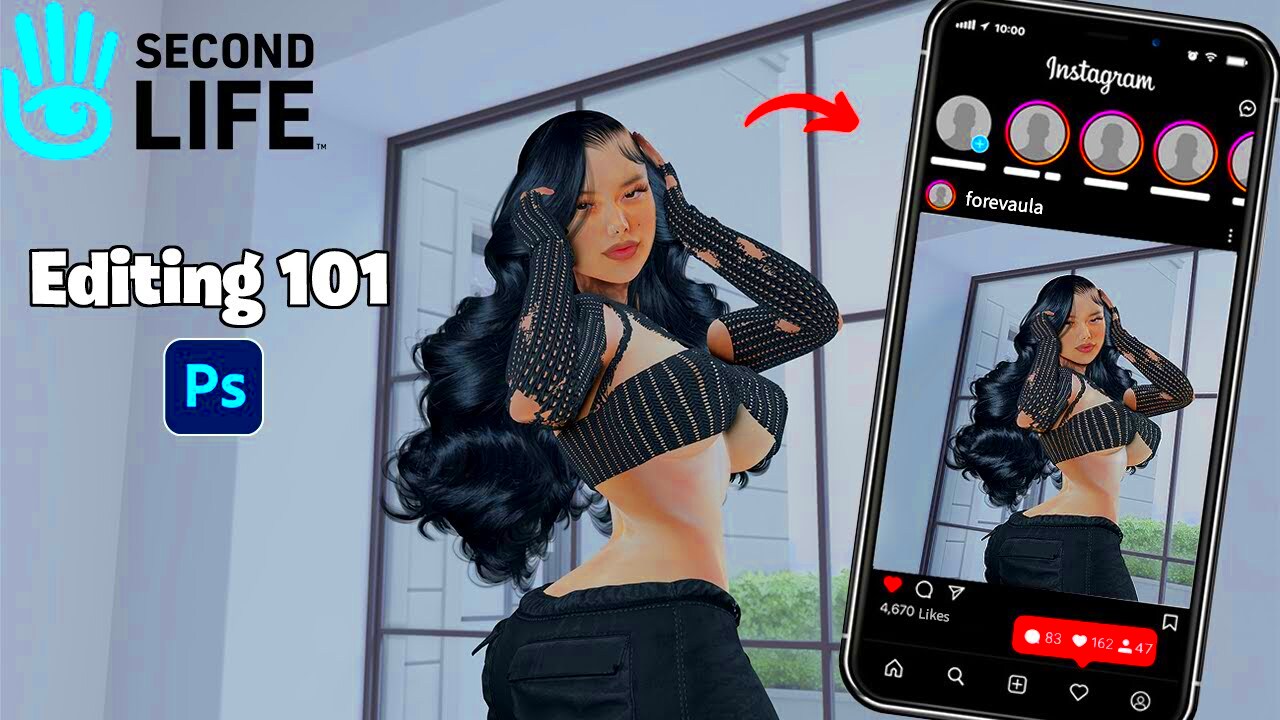
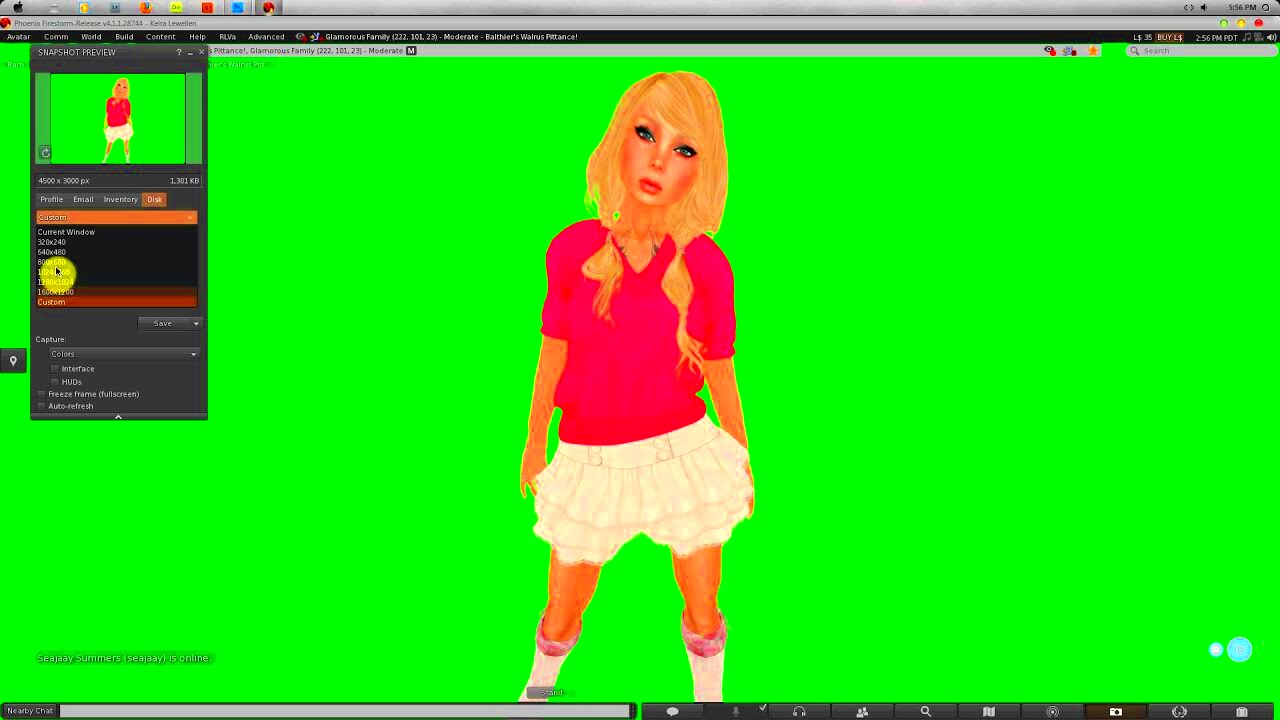
Custom images can significantly enhance your Second Life experience, giving you the opportunity to personalize your virtual presence. Whether you're creating a unique look for your avatar or designing custom textures for objects, images are at the heart of making your virtual world more expressive. By creating custom images, you can stand out in a crowd, show off your creativity, and even make a name for yourself within the Second Life community.
But how do you get started? What tools do you need? And how can you ensure your images turn out just right? In this guide, we'll walk through everything you need to know about creating custom images for Second Life. From understanding why they matter to learning how to make the most of your designs, we’ve got you covered.
Understanding the Importance of Custom Images in Second Life

Custom images play a huge role in making Second Life more personal and unique. Here’s why:
- Personalization: Custom images let you show off your unique style. Whether it's a custom outfit, avatar skin, or house decoration, images let you put your personality into your virtual world.
- Branding: If you're a creator or designer in Second Life, custom images are essential for building your brand. From logos to product textures, high-quality images help promote your business.
- Enhanced Visual Appeal: Custom textures and images make your Second Life environment more vibrant and visually appealing. They help bring your creations to life, making them stand out from the generic textures used by others.
- Creative Freedom: You are not limited to what’s available in Second Life. Custom images allow you to create anything you can imagine, opening up endless possibilities for customization.
In short, custom images are essential for expressing yourself, creating stunning environments, and enhancing your Second Life experience. Whether you’re designing objects, landscapes, or just want a unique look for your avatar, custom images are the key.
Also Read This: Learn How to Add 9GAG Watermark to Your Videos
Getting Started with Second Life Custom Image Creation

Creating custom images for Second Life is easier than it sounds, even if you’re new to graphic design. Here’s what you need to know to get started:
Step 1: Choose Your Software
There are a number of software options available for creating custom images. Popular choices include:
- Photoshop: Industry-standard for photo editing and graphic design.
- GIMP: A free, open-source alternative to Photoshop.
- Paint.NET: A lightweight image editor that’s great for beginners.
Step 2: Learn the Basics of Image Editing
To make the most of your custom images, it's important to understand some basic image editing techniques. These include:
- Resizing: Images need to be the right size to display properly in Second Life. Too large, and they may load slowly; too small, and they may appear pixelated.
- Layering: Using layers allows you to edit different elements of your image separately, making it easier to adjust and fine-tune your designs.
- Transparency: Many Second Life images, such as textures, require transparency to seamlessly blend into the virtual world. Learn how to remove or adjust backgrounds for a clean look.
Step 3: Understand Second Life’s Image Requirements
Different parts of Second Life require different types of images. For example, the textures used on avatars might have different resolution requirements compared to those used for objects or clothing. Make sure you’re aware of the following:
- File Formats: JPEG and PNG are commonly used for Second Life images. PNG is preferred for transparent images.
- Resolution: Use the right resolution for your image. Higher resolution means better quality, but also larger file sizes, so find the balance that works for your design.
- Compression: Compress images to reduce their file size without losing too much quality. This helps them load faster in Second Life.
Step 4: Test Your Images
Once you’ve created your custom images, upload them to Second Life and test how they look in the virtual world. You might need to make adjustments to ensure they fit perfectly and look as expected.
By following these simple steps, you’ll be well on your way to creating custom images for Second Life that will help you stand out and make the most of your virtual experience.
Also Read This: How to Cancel Adobe Stock Subscription: A Step-by-Step Guide
Best Tools for Designing Custom Images

When it comes to designing custom images for Second Life, having the right tools can make a huge difference in the quality and efficiency of your work. There are many image design programs available, from professional-grade software to free alternatives. Let’s explore some of the best tools that can help you create stunning images:
1. Adobe Photoshop
Photoshop is the most popular and widely-used image design software for professionals. It offers a range of powerful features for editing, texturing, and creating high-quality custom images. Although it’s a paid tool, it provides excellent options for creating detailed images, such as custom textures and backgrounds for your Second Life creations.
2. GIMP (GNU Image Manipulation Program)
GIMP is a free and open-source alternative to Photoshop, perfect for users who want advanced image editing tools without paying for software. It’s great for tasks like photo manipulation, texturing, and creating transparent images, which are common in Second Life design.
3. Paint.NET
If you’re looking for a lightweight, easy-to-use option, Paint.NET is a fantastic choice. It’s simpler than Photoshop and GIMP, but still powerful enough for basic image editing, resizing, and texturing tasks. Plus, it’s free to download!
4. Canva
For beginners who may not be familiar with complex design software, Canva is an online tool that’s easy to use and offers templates for creating custom images. While it might not be as advanced as Photoshop or GIMP, it’s still a great option for creating quick designs for Second Life.
Whichever tool you choose, ensure you are familiar with its features and settings so you can make the most of your image design process. Practice makes perfect!
Also Read This: Overview of the Monthly Subscription Cost for Adobe Stock
How to Edit and Customize Your Images for Second Life

Once you’ve chosen your design software, it’s time to dive into editing and customizing your images for Second Life. The key is to ensure your images look good, load efficiently, and fit seamlessly into the virtual world. Here’s how to edit and customize your images:
1. Resize Your Images
One of the first steps in customizing your image for Second Life is ensuring it’s the correct size. Second Life has specific size limitations for textures, avatars, and other assets. Make sure to:
- Adjust the resolution: Depending on where your image will be used, aim for resolutions like 512x512 or 1024x1024 pixels. Larger images might look sharper but could slow down load times.
- Keep file size in mind: Try to reduce file sizes for faster loading. You don’t want to use unnecessarily large files.
2. Adjust the Image’s Quality
Sometimes, you might need to tweak the quality of the image to get the perfect look. Use the following tips:
- Sharpen your images: Increase the sharpness if the image looks blurry after resizing.
- Enhance colors: Adjust brightness, contrast, and saturation to make your images stand out in Second Life.
3. Work with Layers
Most design programs, like Photoshop and GIMP, allow you to work with layers. This feature lets you keep different elements of your image separate for easier editing. For example, if you’re creating a custom texture for a piece of clothing, you can work on the design and background separately. Once everything looks good, you can merge the layers for the final product.
4. Use Transparency
Many Second Life assets, especially clothing and textures, require transparency. Learn how to remove backgrounds or make areas of your image transparent so it will seamlessly blend in with your virtual world.
5. Export and Save Your Image
After editing and customizing your image, you’ll need to export it in the correct file format. Typically, PNG or JPEG works best for Second Life. PNG is especially good if your image has transparency.
With these steps, you can edit and customize your images to make them perfect for Second Life, ensuring they look great and function well in the virtual environment.
Also Read This: How to Get Images with Full Discoverability on Alamy: Tips and Tricks for Success
Where to Use Custom Images in Second Life
Custom images in Second Life can be used in a variety of ways to enhance your virtual experience. Whether you’re creating assets for yourself or for others, here are some of the most popular areas where custom images can make a big impact:
1. Avatar Customization
One of the most common uses of custom images is for personalizing your avatar. You can create custom skins, clothing, hairstyles, and accessories. These images help define your avatar’s appearance and can make you stand out in the virtual world. Custom textures and tattoos are also popular for creating a unique look.
2. Textures for Objects and Environments
Custom images are also widely used to add textures to objects within Second Life. From furniture and buildings to vehicles and landscape features, custom textures make everything more realistic and personalized. For instance, you can design your own wallpapers, flooring, or exterior textures for houses.
3. Custom Clothing and Accessories
Second Life allows users to create their own clothing and accessories, and custom images are crucial for this. You can design t-shirts, dresses, hats, shoes, and much more. Once you have your custom image ready, it’s applied as a texture to the clothing item. This is where your creativity really comes into play!
4. Marketing and Branding
If you’re a creator or designer within Second Life, custom images are essential for marketing and branding your products. You can create logos, banners, product textures, and promotional material. High-quality custom images can help attract buyers and make your brand look more professional.
5. Building and Sculpting
For those into building or sculpting, custom images can be applied to 3D models and sculptures. Adding textures to these creations helps give them depth and realism, making your work stand out among the millions of other items in Second Life.
6. Profile and Social Media
Custom images can even be used for your Second Life profile or social media accounts associated with your virtual life. Whether it's profile pictures, cover photos, or posts, custom images allow you to express yourself outside the virtual world as well.
Overall, custom images play a major role in making Second Life more personalized and creative. They help users build, express, and represent themselves in endless ways, from avatar design to environment creation. The possibilities are nearly limitless!
Also Read This: How to Credit Adobe Stock Images
Tips for High-Quality Custom Images
Creating high-quality custom images for Second Life isn’t just about picking the right design tool. It also involves knowing how to handle your images effectively to ensure they look great in the virtual world. Here are some tips to help you create the best custom images possible:
1. Focus on the Resolution
Image resolution plays a big role in how clear and crisp your custom images will appear in Second Life. While high-resolution images look great, they can also make the file sizes larger. It's important to find the right balance:
- For textures, a resolution of 512x512 or 1024x1024 pixels is usually ideal.
- Make sure the resolution matches where the image will be used—avatars, objects, or clothing might require different resolutions.
2. Optimize Your Images
While high-resolution images are important, you also need to make sure they are optimized for fast loading. Large file sizes can slow down your Second Life experience, so reduce the image size without sacrificing too much quality. Here are some tips:
- Use image compression tools to decrease file sizes.
- Choose the appropriate file format: JPEG for photos and PNG for images that need transparency.
3. Keep Your Colors Consistent
Color consistency is key to ensuring your custom images look smooth and cohesive. Use tools like Photoshop or GIMP to adjust brightness, contrast, and saturation so the colors in your design pop without looking washed out or too harsh.
4. Test Your Images
Before you finalize any custom image, it’s crucial to test it in Second Life. Upload your image, view it in-world, and make sure it looks as you expect. Sometimes, things can look different once they’re in the virtual environment.
By following these tips, you can ensure your custom images are both high-quality and optimized for a smooth Second Life experience. With a little practice, you’ll be able to create stunning visuals that truly stand out.
Also Read This: How to Print a Receipt for Adobe Stock
FAQ
What is the best file format for custom images in Second Life?
The best file formats for custom images in Second Life are typically PNG (for transparent images) and JPEG (for photographs). PNG is ideal for textures and logos because it supports transparency, while JPEG works well for regular images where transparency isn’t necessary.
How do I create a custom avatar texture for Second Life?
To create a custom avatar texture, first take a base texture or create your own using an image editor. Once you've designed the texture, upload it to Second Life and apply it to your avatar using the editing tools in-world. Be sure to follow the correct size and format requirements for a seamless fit.
Can I use third-party software to create custom images for Second Life?
Yes, you can use third-party software like Adobe Photoshop, GIMP, or Paint.NET to create custom images. These tools allow you to design and edit images, including textures and avatars, that are compatible with Second Life.
How can I ensure my custom images don’t appear blurry in Second Life?
To avoid blurry images, make sure you're using the correct resolution for your intended use. Too low a resolution will cause blurring, while excessively high resolutions can slow down performance. Also, test your images in Second Life to ensure they display correctly.
Are there any image size limitations in Second Life?
Yes, Second Life has image size limitations, which can vary depending on where the image will be used. For example, texture sizes are generally limited to 1024x1024 pixels, but for avatars, smaller sizes may be better for faster performance.
Conclusion
Creating custom images for Second Life opens up a world of possibilities for self-expression, branding, and creativity. Whether you're designing avatars, custom textures, or clothing, high-quality images can make a significant impact on how you’re perceived in the virtual world. By following the tips and guidelines mentioned in this guide, you’ll be able to create images that look great and perform well within Second Life.
Remember, practice and experimentation are key. The more you work with different tools and techniques, the better your designs will become. Don’t be afraid to test new ideas and see how your images look in-world. With time, you'll find your unique style and develop a skill set that allows you to create images that truly stand out in the Second Life universe.

 admin
admin


