Welcome to the wonderful world of crafting! If you're looking for a fun, creative project that adds a personal touch to your accessories, you've come to the right place. Today, we’re diving into the delightful art of creating beautiful fabric flowers for headbands. Not only do these flowers make charming additions to your hair accessories, but they also offer a fantastic way to showcase your unique style. Plus, whether you're a seasoned crafter or a total newbie, making fabric flowers is a surprisingly easy and rewarding endeavor. So, let’s roll up our sleeves and get started!
Materials Needed

To make your lovely fabric flowers for headbands, you’ll need a few essential materials. Gathering your supplies ahead of time will help you stay organized and make the crafting process smoother. Here's a handy list of what you’ll need:
- Fabric: Choose cotton, silk, or felt in your favorite colors. Each type will give your flowers a different look.
- Scissors: A sturdy pair of fabric scissors is vital for neat cutting.
- Hot glue gun and glue sticks: This will be your best friend in holding everything together.
- Headband: A plain, flexible headband serves as a perfect base for your floral creation.
- Needle and thread: While not always necessary, a needle and thread can add extra security to your flowers.
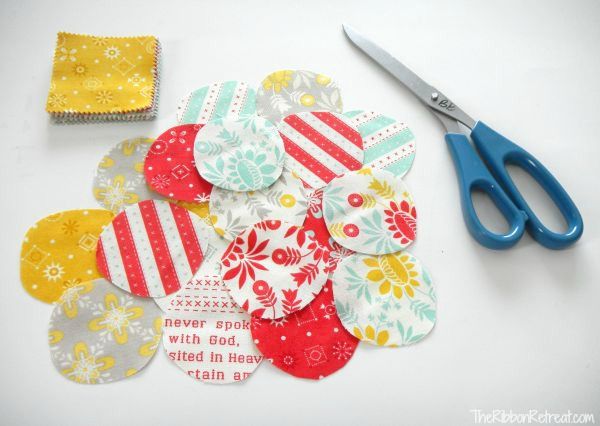
- Flower templates: You can find these online or make your own. Use them to cut out your flower shapes!
- Embellishments: Buttons, beads, or rhinestones can add a personalized touch to your flowers.
- Iron (Optional): If you’re working with fabric, a quick iron can help smooth out wrinkles.
Once you have gathered all these materials, you are well on your way to creating beautiful fabric flowers that shine on your headband! Happy crafting!
Step-by-Step Guide to Making Fabric Flowers

Creating fabric flowers is a fun and rewarding craft that anyone can master! Whether you're a seasoned DIY enthusiast or just starting out, follow these simple steps to make your own beautiful fabric flowers.
- Gather Your Materials: You'll need the following items:
- Fabric (cotton works well)
- Scissors
- Hot glue gun and glue sticks
- Buttons or beads for embellishments
- Flower templates (printable or drawn by hand)
- Needle and thread (optional)
And there you have it! Your handmade fabric flower is ready to shine.
Attaching Flowers to Headbands

You’ve crafted your gorgeous fabric flowers; now it’s time to attach them to a headband! This part is just as enjoyable and will give your flowers a new purpose as charming accessories.
- Choose Your Headband: Depending on your style, you can use:
- A plain elastic headband
- A fabric-covered headband
- A wire headband for added flexibility
With your fabric flowers beautifully attached, you’re all set to show off your vibrant headband! Enjoy wearing your unique creation or gifting it to a friend.
5. Tips for Customization and Personalization
When it comes to creating your fabric flowers for headbands, customization and personalization are key to making your design truly unique. Here are some handy tips to inspire your creativity:
- Choose Your Colors: Select fabrics that reflect your style or the recipient's personality. Consider their favorite colors, seasonal themes, or special occasions. For example, opt for pastels for a spring look or bold colors for summer fun.
- Mix Textures: Don’t be afraid to combine different types of fabric! Pair soft cotton with sparkly tulle or rich velvet to add depth and interest to your flowers.
- Experiment with Shapes: Traditional flower shapes are lovely, but why not try something different? Use circular cuts for simple blooms or experiment with petal shapes by tracing natural flowers as templates.
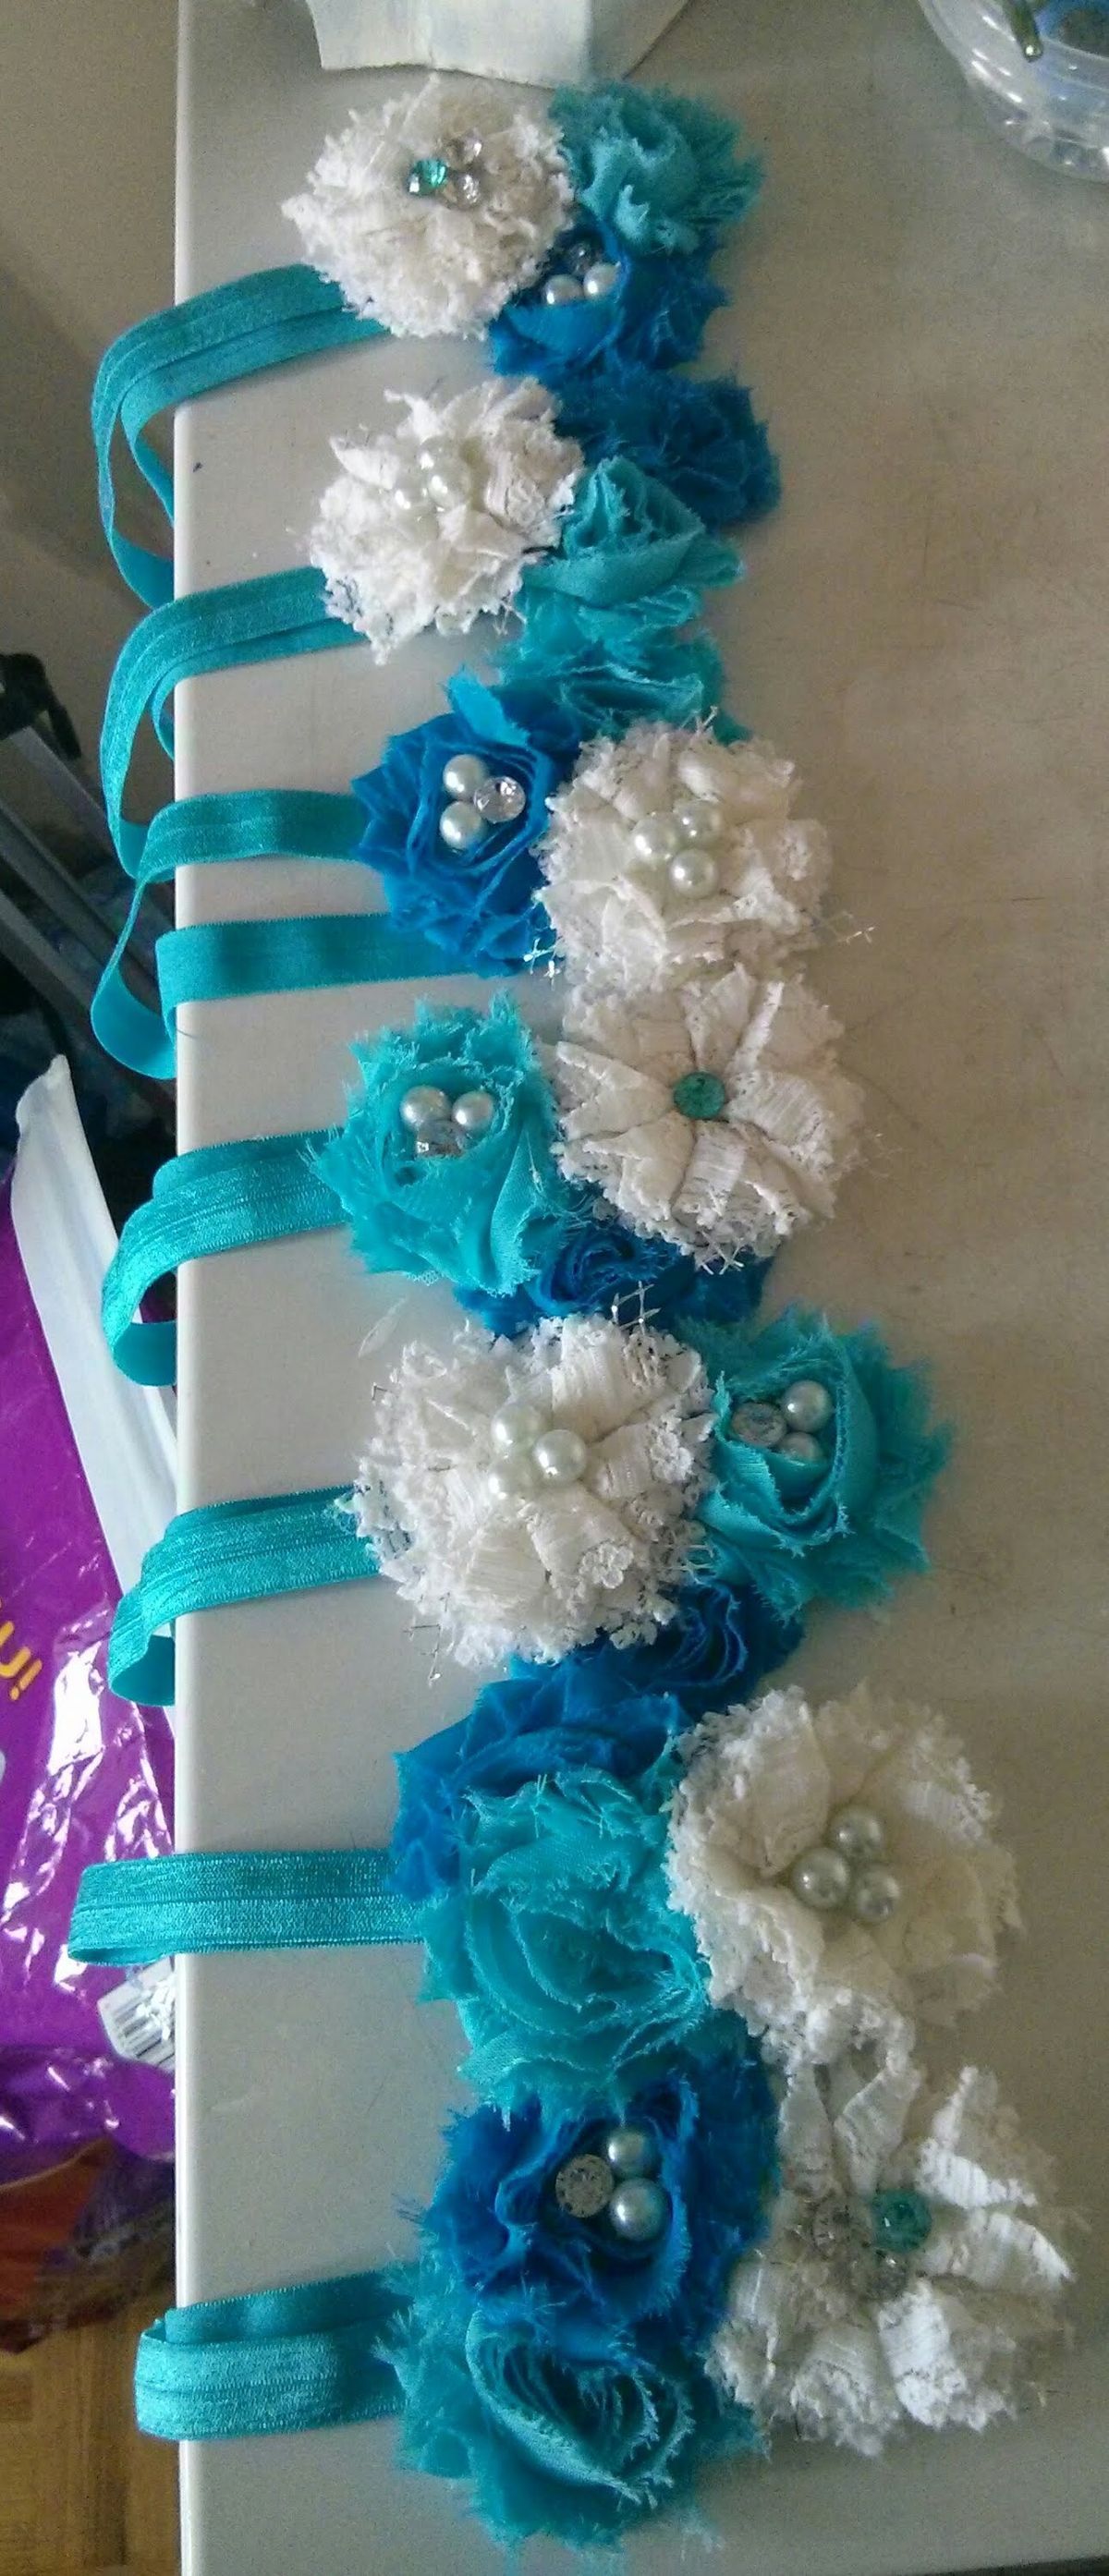
- Add Embellishments: Enhance your fabric flowers with buttons, beads, or rhinestones at the center. These little details can take your headband from ordinary to extraordinary!
- Personalize with Initials: Embroider or stitch the initials of whoever will be wearing the headband. This small touch makes it a thoughtful gift.
- Seasonal Themes: Create seasonal variations by changing colors, patterns, or embellishments. Think autumn leaves or winter snowflakes to fit specific seasons.
By using these tips, you can create one-of-a-kind headbands that reflect your style or make fantastic gifts that truly show you care!
6. Where to Find Inspiration and Tutorials
Feeling stuck or in need of fresh ideas? Don't worry; there are plenty of resources where you can find inspiration and step-by-step tutorials to enhance your fabric flower-making skills. Here are some great places to explore:
- Online Craft Communities: Websites like Pinterest and Instagram are fantastic for discovering creative projects. Search for hashtags like #fabricflowers or #headbandtutorials to see what others are making!
- YouTube Tutorials: There are countless video tutorials available on YouTube that walk you through the flower-making process. Try searching for “fabric flower headband tutorial” to find some great visual guidance.
- Craft Blogs: Many craft bloggers share their insights and tutorials. Consider visiting sites like Craftgawker or Better Homes & Gardens for DIY inspiration.
- Books and Magazines: Don’t underestimate the power of traditional print. Look for craft books focused on fabric flowers or DIY headbands at your local library or bookstore.
With these resources, you’ll be more than equipped to dive into your fabric flower creating journey. Whether you're looking to learn something new or want to connect with other enthusiasts, the world of crafting is at your fingertips!
Creating Beautiful Fabric Flowers for Headbands
Fabric flowers are a delightful and versatile accessory that can elevate any headband, making them perfect for special occasions, everyday wear, or even as gifts. Crafting fabric flowers for headbands not only allows for creativity but also provides a personal touch that store-bought items often lack. Below are some steps and tips for creating stunning fabric flowers to adorn your headbands.
Materials Needed:
- Fabric (cotton, felt, or any decorative fabric)
- Scissors
- Needle and thread
- Hot glue gun and glue sticks
- Headband base
- Button or bead (for the flower center)
- Fabric stiffener (optional)
Steps to Create Fabric Flowers:
- Choose Your Fabric: Select colorful and textured fabrics to make your flowers stand out.
- Cut Petals: Cut out multiple petal shapes from your fabric. Vary the sizes for a more dynamic look.
- Shape the Petals: Use a lighter or fabric stiffener to shape the petals for added dimension.
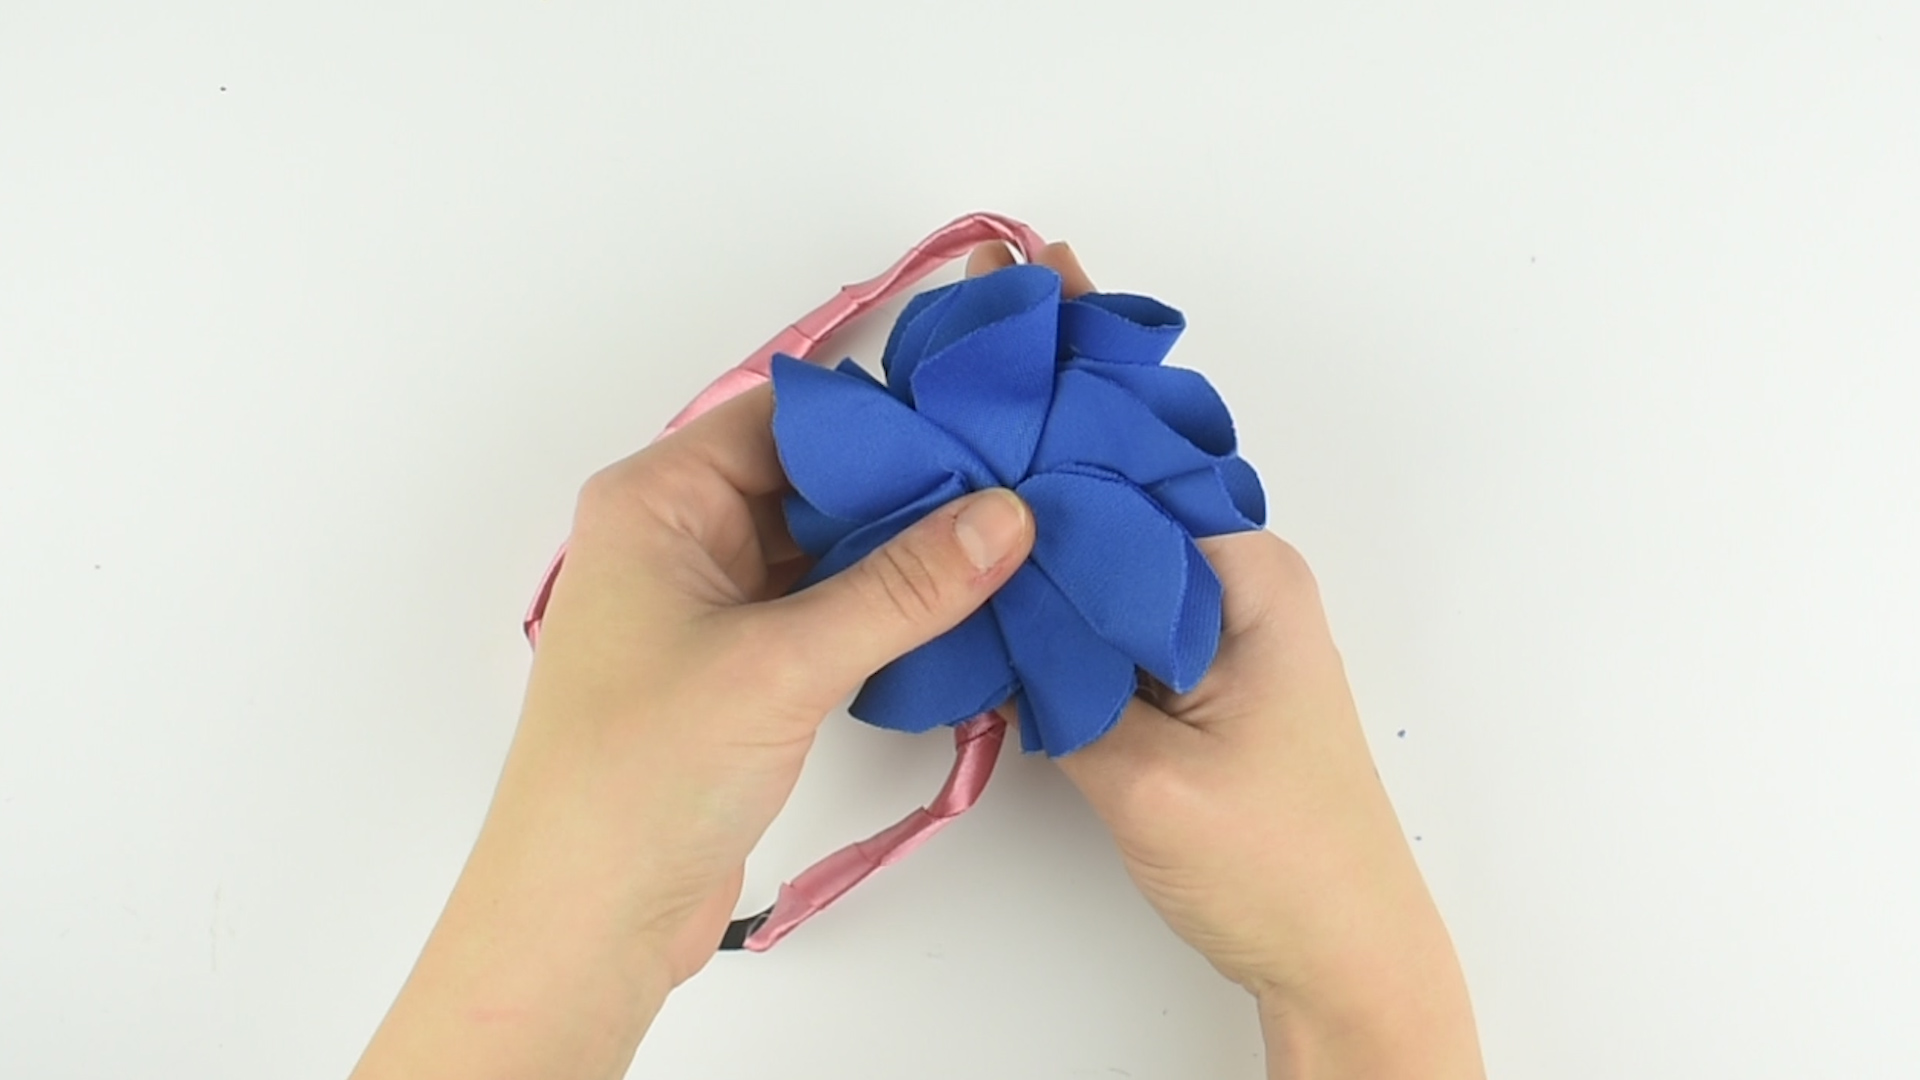
- Assemble the Flower: Layer the petals on top of each other and secure them with needle and thread or hot glue.
- Add the Center: Attach a button or bead to the center of the flower to complete it.
- Attach to Headband: Use hot glue to secure the flower to your headband.
Tips for Success:
| Tip | Description |
|---|---|
| Experiment with Textures | Combine different fabric textures for unique effects. |
| Color Coordination | Match your flower colors to outfits for a cohesive look. |
| Use Stencils | Create petal shapes with stencils for uniformity. |
Creating beautiful fabric flowers for headbands can be a rewarding craft that enhances your accessory collection. By following these steps and tips, you’ll not only enjoy the process of making these floral decorations but also end up with unique pieces that express your personality.
 admin
admin


