Creating a YouTube channel has never been easier, especially with the convenience of your iPad. Whether you want to share your passion for cooking, travel, gaming, or DIY projects, your iPad is a powerful tool at your fingertips. In this blog post, we’re going to guide you through the essential first steps to set up your YouTube channel on your iPad, turning your creative dreams into reality with just a few taps.
Step 1: Setting Up YouTube on Your iPad

Before diving into content creation, the first thing you need to do is get your YouTube app up and running on your iPad. Here’s a straightforward guide to help you with that:
- Download the YouTube App:
If you haven’t yet installed the YouTube app, head over to the App Store:
- Open the App Store app.
- Use the search bar to locate YouTube.
- Tap the Download icon to begin installation.
- Log In or Create an Account:
Once installed, you’ll need to either log in to your existing Google account (which is linked to YouTube) or create a new one:
- Open the YouTube app.
- Tap on the profile icon at the top right.
- Select Sign In or Create account.
- Access the Channel Creation Features:
After logging in, you can set up your channel:
- Tap on your profile icon again.
- Select Your Channel.
- Follow the prompts to create your channel name and add a brief description.
- Optimize Your Channel:
Make your channel stand out by tweaking the settings:
- Add a profile picture.
- Include a header image.
- Write a captivating About section that describes your channel's theme and content.
In just a few steps, you’re well on your way to setting up a fantastic YouTube channel using your iPad. Stay tuned for more tips on how to create and promote your content effectively!
Also Read This: Learn How to Create a Free AI Portrait with This Simple Tool
Step 2: Creating a Google Account

Alright, folks! Let’s dive into the process of creating a Google account. This is an essential step because your YouTube channel is linked to your Google account. Not to worry, though—it's super simple!
Here’s a step-by-step breakdown:
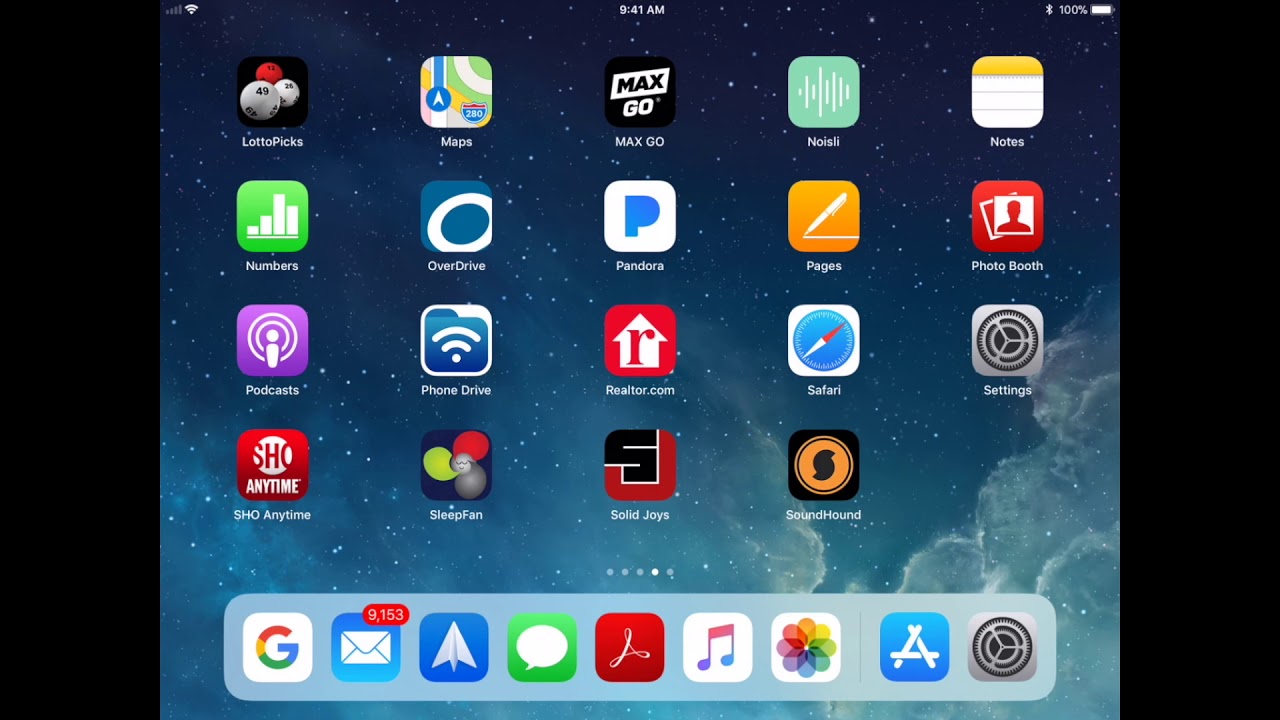
- Open Settings: Start by tapping on the “Settings” app on your iPad. This is where you’ll kick off your journey.
- Navigate to Accounts: Scroll down and select “Mail,” “Contacts,” or “Calendar” (whichever option appears in your version). Tap on “Accounts” at the top.
- Add Account: You’ll see an “Add Account” option. Tap on it and choose “Google” from the list of providers.
- Sign Up: Next, you’ll be prompted to sign in. If you don’t have an account, look for the option that says “Create Account.”
- Fill in Your Details: You’ll need to provide some basic info like your name, birthday, and preferred email address. Want a specific handle? Be creative with that username!
- Set a Password: Choose a secure password that’s easy for you to remember but hard for others to guess. A combination of letters, numbers, and symbols works great!
- Verify: Google will probably ask you to verify your account through a text or a call, depending on the information you provided. Do that to complete the process.
Once you’ve done this, voila! You now have a Google account. You're one step closer to shinning on YouTube!
Also Read This: Guide to Uploading High-Quality Videos on YouTube
Step 3: Accessing YouTube and Creating Your Channel
Now that you have your Google account set up, it’s time to get YouTube on your iPad and create your channel! This is where the fun begins, so let's break it down.
Here’s what you need to do:
- Launch YouTube: Open the YouTube app on your iPad. If you don’t have it installed yet, just head over to the App Store, search for YouTube, and hit that download button!
- Sign In: Once the app is open, look for the “Sign in” button, usually located at the top right corner. Tap it, and then enter the Google account you set up in Step 2.
- Create Your Channel: After signing in, tap on your profile icon in the right corner. You’ll see an option that says “Your Channel.” Click that to start the channel creation process.
- Customize Your Channel Name: Here’s your chance to let your personality shine! Choose a channel name that reflects what you’ll be sharing—whether it’s about cooking, tech, or daily vlogs.
- Add a Profile Picture: It’s a good idea to upload a profile picture. This could be your logo or a friendly selfie! Aim for something that resonates with your content.
- Write a Channel Description: In this section, give potential viewers a taste of what they can expect from you. Keep it engaging and straightforward. Consider adding keywords related to your content!
And there you have it! You’ve successfully created your YouTube channel using your iPad. Get ready to unleash your creativity and make some amazing videos!
Also Read This: A Step-by-step Guide on How to Post Carousel on LinkedIn
Step 4: Customizing Your Channel
Customizing your YouTube channel is like decorating your new home; it reflects who you are and what you want viewers to experience. Here's how to make your channel stand out!
First things first, let’s talk about the visuals. You can customize your channel's appearance through the following elements:
- Channel Art: This includes your banner and profile picture. Create eye-catching graphics that communicate what your channel is about. Use tools like Canva or Adobe Spark if you’re looking for something quick and stylish!
- Description: Grab the attention of your visitors by writing a compelling channel description. Mention what type of content you create and what viewers can expect. Keep it engaging; you want them to hit that subscribe button!
- Links: Add links to your social media accounts or website in the 'About' section. This way, your audience can connect with you on multiple platforms.
In addition to aesthetics, consider organizing your channel layout!
| Section | Purpose |
|---|---|
| Featured Channels | Highlight other creators you admire or collaborate with. |
| Playlists | Organize your videos into themed playlists for easy navigation. |
| Channel Trailer | Create a short video that introduces viewers to your channel. |
With these customizations done, you’re not just another channel; you’re creating a brand!
Also Read This: How to Record Music from YouTube for Personal Use
Step 5: Uploading Your First Video
Congratulations! You've made it to the exciting part—uploading your first video! This is where all your hard work starts to pay off. Let’s break down the uploading process step-by-step.
Start by opening the YouTube app on your iPad, and follow these simple steps:
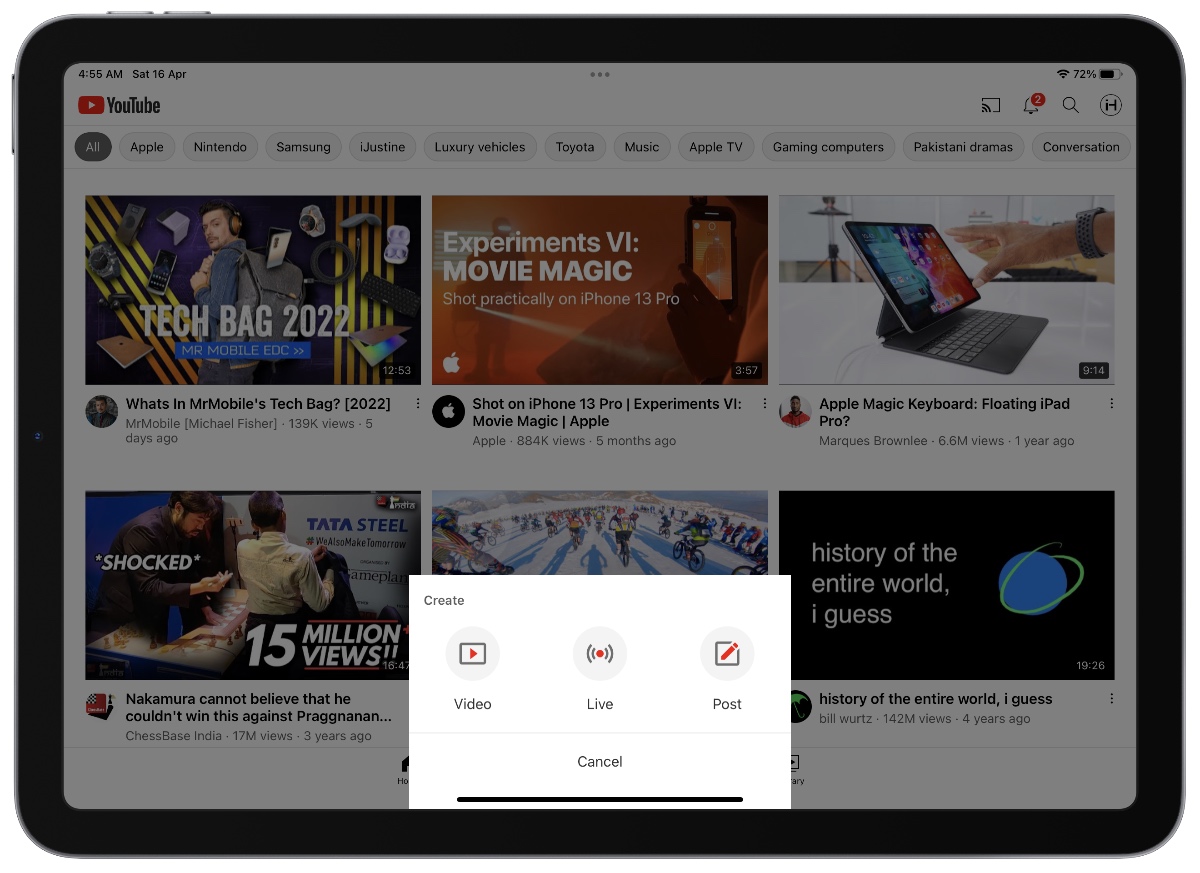
- Tap the "+" button: It's usually located at the bottom center of the screen. Once you hit that, you’ll see options to upload videos or create a live stream.
- Select Your Video: Choose the video file you want to upload from your camera roll. Make sure it’s ready to go—edited and high-quality!
- Add a Title: This is your chance to grab viewers’ attention. Make it engaging and relevant to the video's content.
- Write a Description: Describe what your video is about and include any important links. Keywords here can help your video get discovered.
- Select a Thumbnail: Choose an eye-catching thumbnail to entice people to click. You can pick a frame from your video or upload a custom image.
- Adjust Settings: Decide if your video will be public, unlisted, or private. You can also add tags to help people find your content more easily.
- Hit Publish! Once everything looks good, go ahead and hit that publish button. Celebrate—your first video is officially on YouTube!
After uploading, don’t forget to promote your video on social media and engage with your viewers in the comments. You’re officially a YouTuber now, so enjoy this exciting journey!
Also Read This: how to delete on adobe stock license
Step 6: Promoting Your Channel
So, you’ve created your awesome YouTube channel on your iPad, and now it’s time to get the word out! Promoting your channel is crucial for gaining viewers and growing your audience. Here are some effective strategies to get you started:
- Use Social Media: Share your videos on platforms like Facebook, Instagram, Twitter, and TikTok. Create eye-catching visuals and catchy captions to draw attention.
- Collaborate with Other YouTubers: Reach out to fellow creators for collaborations. This can give you access to their audience and introduce your content to new viewers.
- Participate in Communities: Join online forums and communities related to your content. Engage in conversations and subtly promote your videos where they fit naturally.
- Optimize Your Videos for SEO: Research keywords that are relevant to your niche and incorporate them in your video titles, descriptions, and tags. This helps people find your content easily.
- Leverage Your Network: Don’t forget your friends and family! Share your videos with them and encourage them to spread the word.
- Email Newsletters: If you have a website or blog with an audience, consider sending out newsletters. Inform your subscribers about new uploads and provide links directly to your videos.
Consistency is key. Promote your channel regularly and keep your content fresh to encourage viewers to come back for more!
Conclusion
Starting a YouTube channel on your iPad is just the beginning of your digital adventure. By following the steps we’ve discussed, from content creation to promotion, you’re setting yourself up for success. Remember that patience and persistence are your best friends in this journey. Growth won’t happen overnight, but with dedication, your audience will grow.
So, what are you waiting for? Grab that iPad, get creative, and start filming! Share your passion with the world, and don’t forget to enjoy the process. Your unique voice and perspective deserve to be heard. Happy vlogging!
 admin
admin


