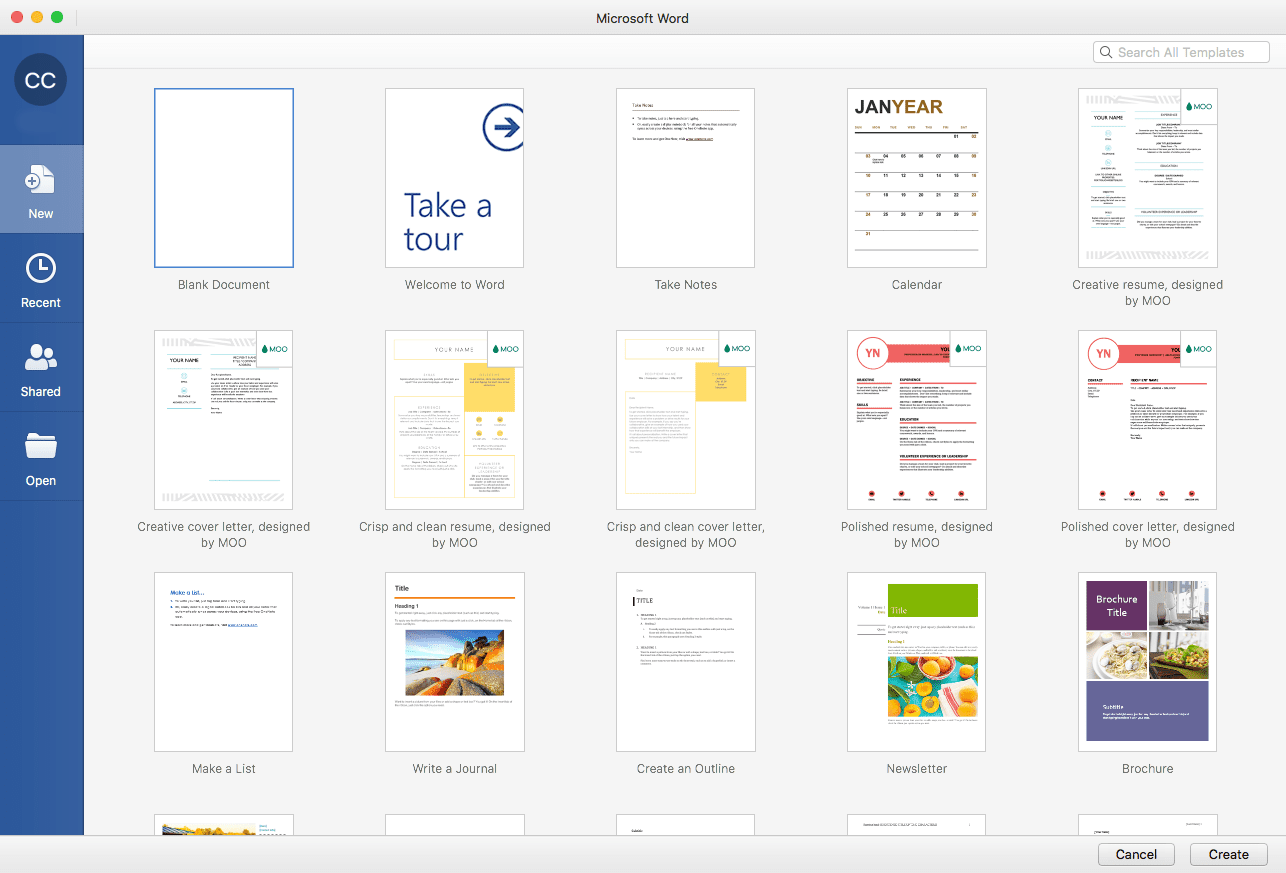
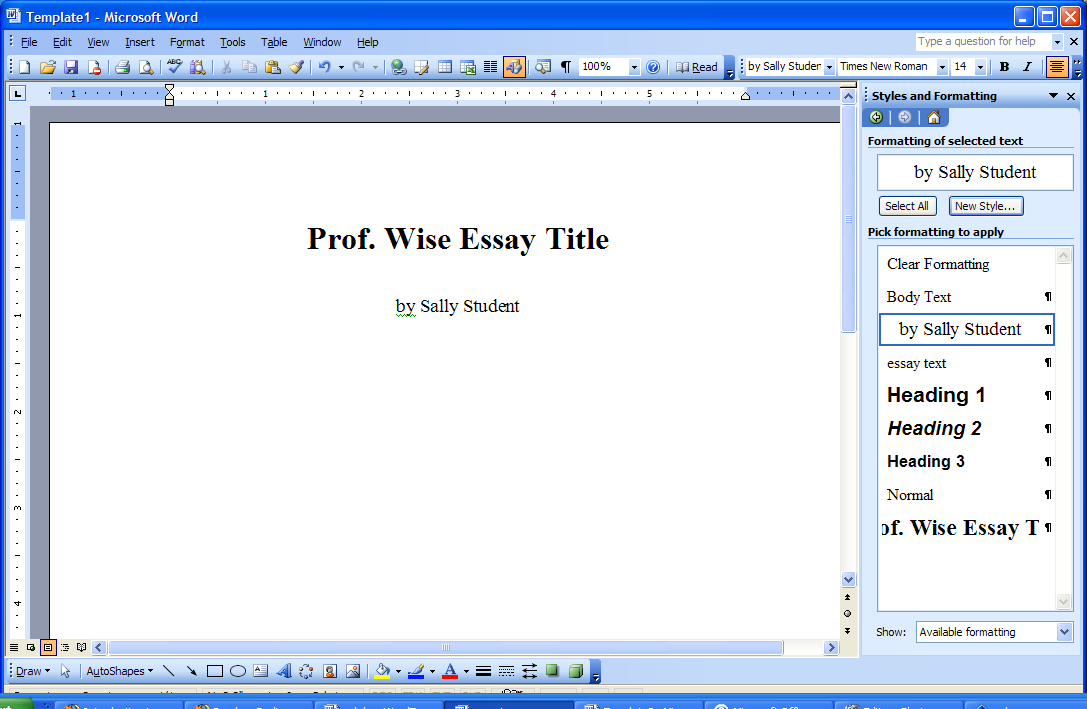
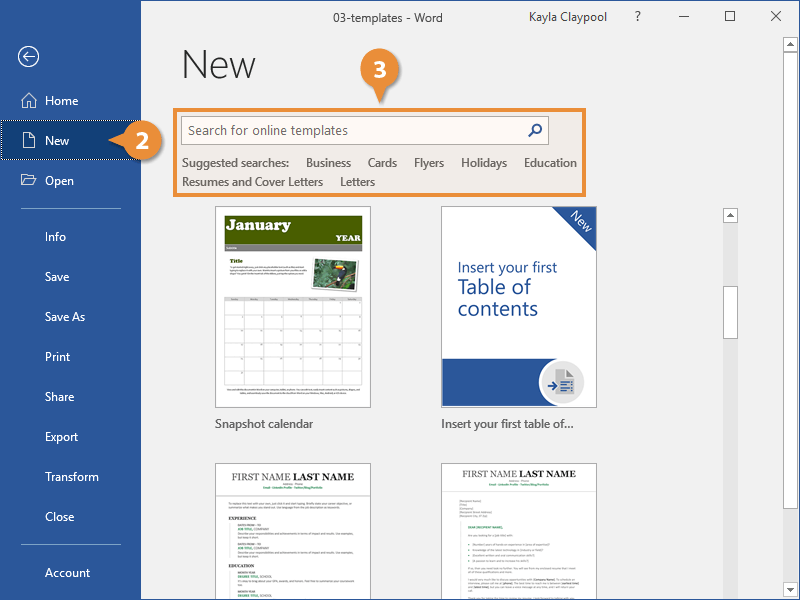
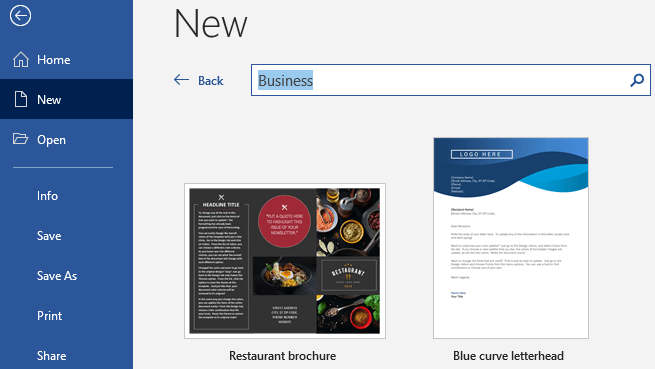
Creating a Word template with images can significantly enhance your document's appearance and make it more engaging for readers. Whether you're designing a report, a newsletter, or any other type of document, incorporating visuals can help convey your message more effectively. In this blog post, we will explore the step-by-step process of creating a Word template embedded with images. Plus, we'll discuss the numerous benefits of using templates in Word, so you can maximize your efficiency and creativity!
Benefits of Using Templates in Word

Using templates in Microsoft Word offers a multitude of advantages that can streamline your workflow and elevate your documents. Here are some key benefits:
- Time-Saving: Templates are pre-designed, allowing you to skip the formatting and layout stages. This means you can focus on the content rather than the design.
- Consistency: A well-designed template ensures that your documents maintain a uniform look and feel. This is especially useful for branding purposes, as it reinforces your organizational identity.
- Ease of Use: Even if you’re not a design expert, templates provide a user-friendly design framework. Simply plug in your text and images, and you’ll have a professional-looking document in no time!
- Customization Options: While templates provide a solid foundation, they are entirely customizable. You can rearrange layouts, change colors, or swap out images to better suit your needs.
- Reduced Errors: Templates help eliminate formatting errors, ensuring a polished and professional-looking final product.
In summary, using templates in Word not only enhances efficiency but also improves the overall quality of your documents. With the right template, you can present your information clearly and beautifully, making a lasting impression on your audience.
Also Read This: Learn How to Add Credits to IMDB with This Simple Method
Step-by-Step Guide to Creating a Template

Creating a Word template is a straightforward process that can enhance your productivity and ensure consistency in your documents. Whether you’re designing a template for a report, letter, or even a newsletter, following a few simple steps can yield great results. Here’s how to do it:
- Open Microsoft Word: Start by launching Microsoft Word on your computer. You can create a new document or open an existing one that you’d like to save as a template.
- Set Up Your Document: Adjust the page size, margins, fonts, and styles. Go to the "Layout" tab to tweak these settings until everything looks just right.
- Design the Header and Footer: Click on the “Insert” tab, then choose “Header” or “Footer” to personalize them with logos, titles, or page numbers.
- Add Placeholder Text: Insert text boxes, tables, or placeholders where you’d like content to be entered in the future. This helps guide users on where to input information.
- Customize Styles: In the "Home" tab, utilize the Styles section to set consistent font styles and sizes throughout your document. This will make it easy for anyone using the template to maintain uniformity.
- Save as a Template: Click on “File,” choose “Save As,” and in the dropdown menu, select “Word Template (.dotx).” Name your template and save it to a desired location.
And there you go! You’ve successfully created a Word template. By following these steps, you can save time and keep your documents looking professional.
Also Read This: How Family Guy Jokes Are Created – A Behind-the-Scenes Look on Dailymotion
Inserting Images into Your Template

Inserting images into your Word template can significantly enrich the visual appeal and convey information effectively. Here’s a simple guide to help you integrate images seamlessly:
- Place Your Cursor: Open your template and click on the location where you want the image to be inserted. This could be in the header, footer, or anywhere in the main body.
- Insert Image: Go to the “Insert” tab on the top menu. Click on “Pictures.” You’ll have options to choose from:
- From Your Device – to upload an image saved on your computer.
- From Stock Images – access a library of free images provided by Microsoft.
- From Online Pictures – find images through online search functionality.
With these steps, you can enhance your Word template with images that captivate the audience. Remember, a well-placed image can say a thousand words!
Also Read This: Know About IMDB Long Form & How to Use it to Find Movies and Shows
5. Customizing Your Template

Customizing your Word template can feel like a creative adventure! Once you have the basic layout, images, and text in place, it’s time to add your personal touch. Here’s how you can do that:
- Add Colors: Use colors that reflect your brand or personal style. You can change the text color or background color by navigating to the Design tab and selecting Colors.
- Include Fonts: Select fonts that are legible yet stylish. You can change the font by highlighting the text and choosing a different font from the dropdown menu in the Home tab.
- Incorporate Shapes: Visual elements can make your template stand out! Go to Insert > Shapes to add shapes that complement your text and images.
- Adjust Layout: Don’t be afraid to play around with margins and alignments. Use the Layout Options to arrange how your text aligns with your images for a polished look.
- Personalized Graphics: Perhaps you want to add logos or watermarks? You can do this by inserting pictures and then using the Format tab to adjust their size and positioning.
Once you've added those finishing touches, be sure to review everything. Look for alignment issues, color contrasts, and overall aesthetics. The goal is to create a cohesive and visually appealing template that resonates with your audience.
Also Read This: IMDB Full Name – What Does It Mean?
6. Saving and Using Your Template
Now that your Word template is all set, it's crucial to save it correctly so you can use it seamlessly in the future. Here’s a step-by-step guide on how to do that:
- Save As Template: Click on File > Save As. Choose a location where you want to save the file. Instead of the standard Word document format, select the template format - .dotx.
- Name Your Template: Give your template a memorable name that reflects its purpose. This makes it easier to find later.
- Using Your Template: To use your template, just double-click on it. This action will create a new document based on your template, preserving the original.
- Share Your Template: If you want to share your template with others, simply send them the .dotx file. They can use it just like you do!
Incorporating this template into your workflow means you’ll save time and maintain consistency. Plus, it’s pretty satisfying to see your creations come to life every time you open it!
Creating a Word Template with Images
Creating a Word template that incorporates images can streamline your document creation process and enhance the visual appeal of your content. A well-designed template not only saves time but also ensures consistency across your documents. Follow the steps below to create an effective Word template with images.
Step-by-Step Guide:
To create a Word template with images, follow these steps:
- Open Microsoft Word:
Launch Microsoft Word and start with a blank document.
- Set Up Page Layout:
Go to Layout on the top menu to choose your margins, orientation, and size. Make adjustments according to your needs.
- Add Images:
Insert images in your template by navigating to Insert > Pictures and choosing your desired images. Consider using:
- Logos
- Backgrounds
- Icons
- Format Images:
Select the image and use the Format tab to adjust its size, position, and text wrapping style.
- Save as a Template:
Once you’re satisfied with your layout, navigate to File > Save As and choose Word Template (.dotx) from the file format options.
Tips for Using Images Effectively:
| Tip | Description |
|---|---|
| Use High-Quality Images | Ensure images are clear and professionally presented. |
| Maintain Consistency | Stick to a consistent color scheme and style throughout the template. |
| Limit the Number of Images | Don’t overcrowd the document; focus on key visuals. |
Creating a Word template with images helps maintain a professional appearance while also making your documents more engaging. By following these steps, you can enhance your productivity and ensure every document is aligned with your branding.
 admin
admin


