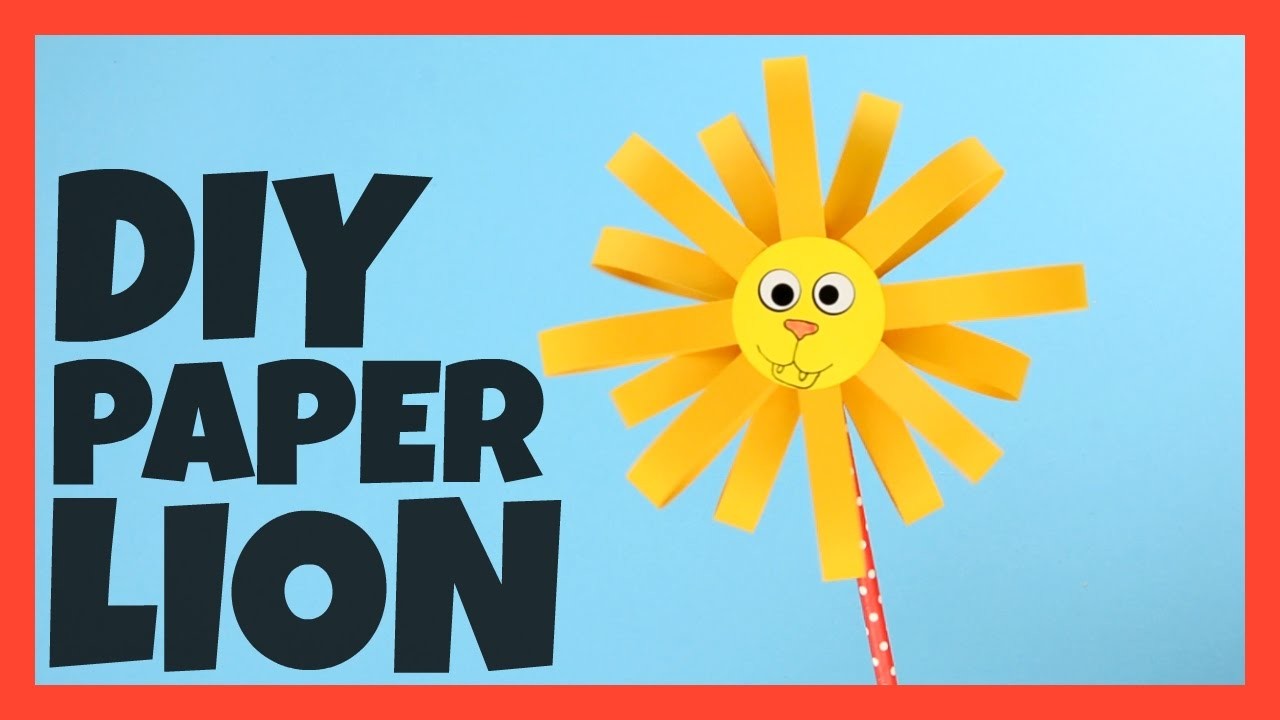
Creating a Paper Lion is a delightful DIY craft project that invites creativity while allowing you to explore the magical world of paper art. Whether you’re a kid or just a kid at heart, this step-by-step guide will walk you through making an adorable and colorful paper lion. It’s a fantastic way to spend time with family or friends, and the results can brighten up any corner of your home. Let's unleash your inner artist with this fun and engaging crafting project!
Materials Needed

Before diving into the fun of creating your Paper Lion, let’s gather everything you'll need. Here’s a comprehensive list of materials for your crafting adventure:
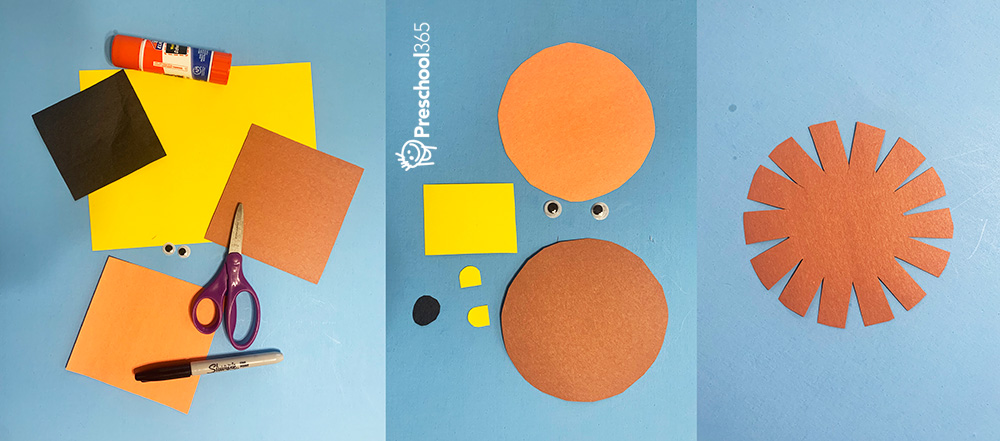
- Colored Paper: Choose vibrant shades like yellow, orange, and pink for the lion's mane and body.
- Scissors: A good pair of scissors is essential for cutting paper shapes with precision.
- Glue Stick or Liquid Glue: To attach different parts of your lion, a glue stick or liquid glue works best.
- Pencil: You’ll use it to sketch and outline your lion before cutting any shapes.
- Black Marker or Pen: For adding details such as the eyes, nose, and mouth.
- Googly Eyes (optional): These can make your lion extra fun and bring it to life!
- Paper Plates (optional): You can use them as a base for a 3D lion face.
Once you've gathered these materials, you're all set to embark on your crafting journey. Don't forget to clear a workspace where you can spread out and get creative!
Step-by-Step Instructions

Creating your very own Paper Lion is an exciting DIY crafting project! It’s both fun and easy, perfect for all ages. Let’s break down the process into simple steps so you can enjoy every moment of crafting your lion!
- Gather Your Materials: Before you start, make sure you have everything you need. You will require:
- Colored paper (yellow, orange, and any other colors for decoration)
- Scissors
- Glue or tape
- Markers or crayons
- Google eyes (optional)
- Cut Out Lion Parts: Start by cutting out various shapes from the colored paper:
- A large circle for the lion's face.
- Smaller circles for the cheeks.
- Shapes for the mane (think of spiky lines or petal shapes).
- Cut out ears from the yellow paper and inner ear shapes from pink paper.
- Assemble the Face: Glue or tape the cheeks, ears, and face onto a larger piece of paper. Position the ears at the top corners of the face.
- Add Details: Now, give your lion some personality! Use markers or crayons to draw the nose, mouth, and whiskers. If you have them, stick on the googly eyes for extra fun.
- Create the Mane: Attach your paper mane pieces around the lion’s face using glue. Layer them for a full effect!
- Final Touches: Once everything is dry, step back and admire your Paper Lion! Feel free to add extra decorations like a crown or additional colors to make it uniquely yours.
Tips and Tricks
Ready to make your Paper Lion a masterpiece? Here are some handy tips and tricks to ensure a smooth crafting experience!
- Use Sturdy Paper: While regular paper works, using cardstock can make your lion sturdier and more colorful, especially for the mane!
- Play with Colors: Don’t hesitate to use non-traditional lion colors. Your lion can be blue, pink, or even multi-colored – it’s all about your creativity!
- Get Creative with the Mane: Instead of straight spikes, try curling the strips of paper to create a 3D effect. You can use a pencil to wrap the paper around for curls.
- Involve Others: This project is fantastic for group crafting sessions! Invite friends or family to join, making it a fun social activity.
- Make It a Learning Experience: While crafting, share interesting facts about lions or their habitats. It’s a great way to combine education with creative fun!
- Take Breaks: If younger kids are participating, make sure to take breaks. This will help keep their little hands fresh and their attention focused.
With these tips and instructions, you’re all set to create a delightful Paper Lion that adds a touch of whimsy to your space. Happy crafting!
Creating a Paper Lion Fun DIY Crafting Project
Crafting can be a delightful way to express creativity, and creating a paper lion is an enjoyable project suitable for both children and adults. This DIY crafting project will not only ignite your imagination but also enhance fine motor skills.
Here’s a list of the materials you will need:
- Colored paper (yellow, orange, pink, and black)
- Scissors
- Glue stick
- Pencil
- Markers or crayons
- Googly eyes (optional)
Follow these simple steps to make your own paper lion:
- Create the Lion's Face: Start by cutting a large circle out of yellow paper for the lion's face.
- Add the Mane: Cut out strips of orange or yellow paper and frill them to create the lion's mane. Glue them around the edges of the face circle.
- Eyes and Nose: Use black paper to cut out small circles for the nose and two larger circles for the eyes. You can also add googly eyes for a fun effect!
- Ears: Cut out two ear shapes from the colored paper and glue them on the sides of the head.
- Facial Features: Use markers to draw the mouth and whiskers on your lion.
Optional: For an interactive element, consider adding a lion tail using a long paper strip.
This paper lion crafting project is an excellent way to boost creativity and enjoy quality time with family and friends. It encourages imaginative play and enhances crafting skills through a fun and engaging process.
Conclusion
Creating a paper lion is not only a simple and enjoyable DIY project, but it also serves as a wonderful way to bond with family while sparking creativity and expression. Grab your materials and start crafting today!
 admin
admin


