Creating a fan using a motor is a fun and educational project that combines creativity with engineering principles. Whether you're looking to beat the heat or simply want to explore the mechanics of how a fan works, this endeavor is both practical and engaging. In this guide, we’ll walk through the materials you'll need and how to get started on your own fan project. Get ready to dive into the world of DIY and discover the satisfying process of building something with your own hands!
Materials Needed

Before you jump into building your fan, it’s essential to gather all the necessary materials. Here’s a comprehensive list to help you get started:
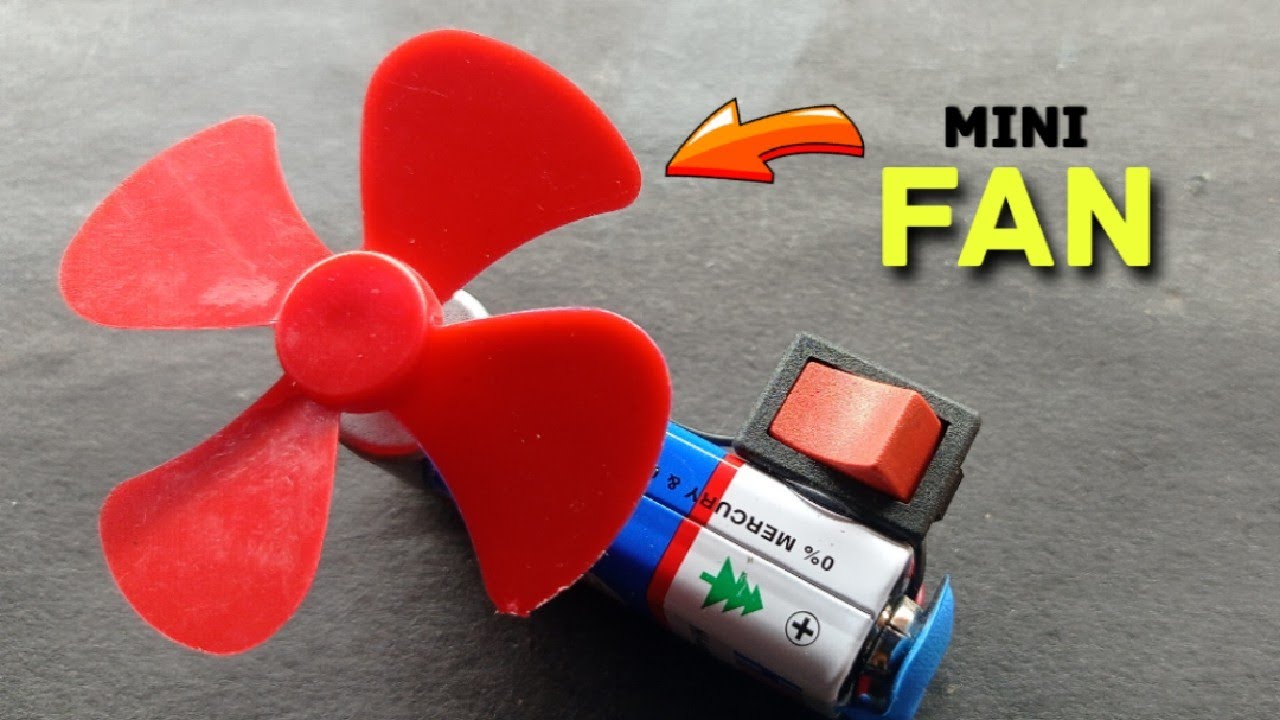
- DC Motor: A small DC motor is the heart of your fan. You can find one in old electronics or purchase one from a hardware store.
- Fan Blades: You can use plastic or cardboard to create your fan blades. If you're using cardboard, cut them into a circular shape.
- Power Source: A battery or a power adapter to supply power to your motor. Ensure it matches your motor’s voltage requirements.
- Switch: A basic toggle switch will allow you to turn your fan on and off conveniently.
- Wires: A few insulated copper wires to connect the motor to the power source and switch.
- Base: A sturdy base to mount your motor and fan blades. This could be made from wood, plastic, or even a repurposed box.
- Adhesive: Hot glue or super glue to secure the blades to the motor.
- Tools: You’ll need a screwdriver, scissors, and possibly a drill, depending on your design.
Gathering these materials will set the foundation for your DIY fan project. Once you have everything, you're ready to bring your creation to life!
Also Read This: How to Create Your Own Spiderman Web Shooters with a Fun DIY Video
3. Step-by-Step Guide to Assembling the Fan
Assembling your fan using a motor can be an exciting and rewarding project! Let’s break it down into simple steps to ensure a smooth process. Grab your materials, and let’s get started!
- Gather Your Materials:
- DC motor
- Fan blades (you can use plastic or wood)
- Battery pack or power supply
- Switch (for turning your fan on and off)
- Wires
- Glue or screws (for attaching the blades)
- Base (to support the fan)
- Attach the Fan Blades: Secure the fan blades to the motor’s shaft. If using screws, ensure they're tightened but don’t overtighten, as this can damage the blades.
- Connect the Wires: Use your wires to connect the motor to the battery pack. Make sure to connect the positive terminal of the battery to the positive wire of the motor and the negative to negative.
- Add the Switch: Integrate the switch into your wiring setup. This allows you to turn the fan on and off without disconnecting the battery.
- Secure Everything: Place your assembled fan on the base. Use glue or screws to ensure it’s stable and won’t tip over during operation.
- Test Your Fan: Once everything is connected, turn on the switch. Your fan should start spinning! If it doesn’t, check your connections.
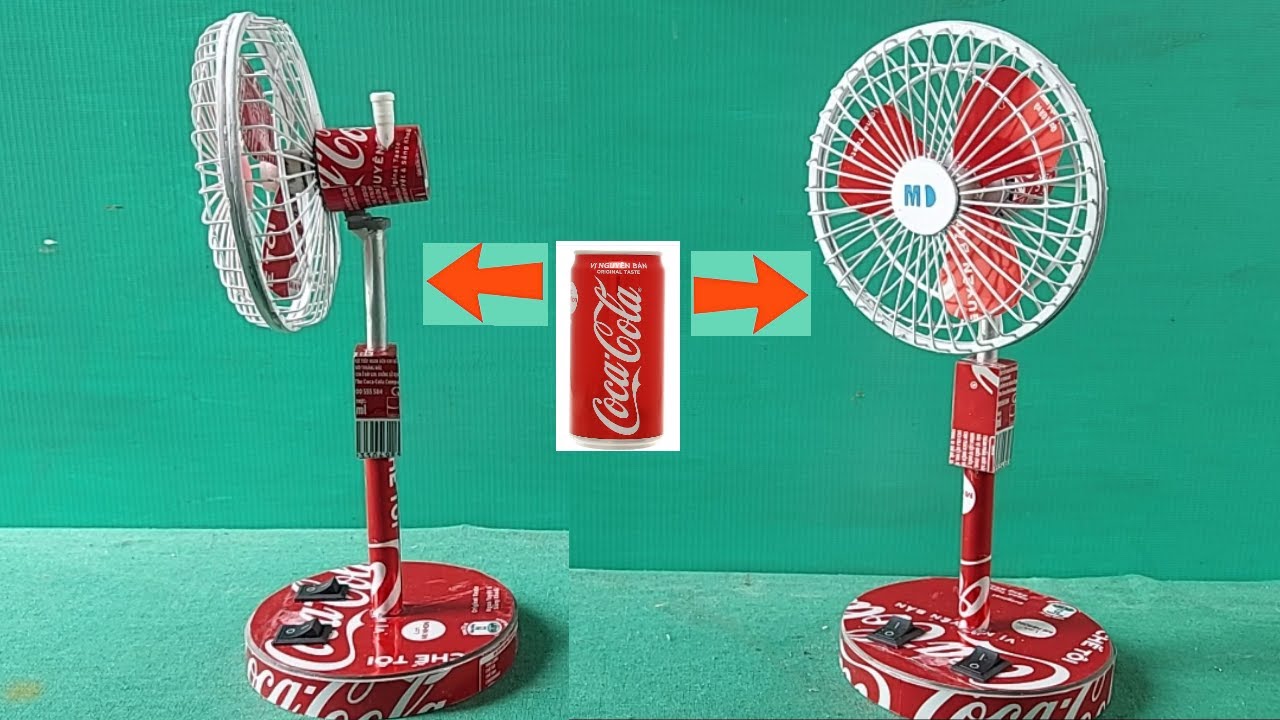
And voila! You have your very own motorized fan. Feel free to customize it with paint or decorations to make it uniquely yours!
Also Read This: How to Wear Hijab Fashionably on Dailymotion
4. Tips for Optimal Performance
To ensure your fan runs efficiently and lasts a long time, here are some handy tips to consider:
- Choose the Right Motor: Ensure your motor is strong enough to handle the size and weight of your fan blades. A motor rated for at least 6V is usually a good start.
- Balance is Key: Make sure your fan blades are evenly spaced and balanced to avoid wobbling, which can lead to noise and decreased performance.
- Regular Maintenance: Dust off your fan regularly and check connections to prevent wear and tear. This will keep your fan running smoothly.
- Power Options: Consider using rechargeable batteries instead of disposables. This is not only eco-friendly but can save you money in the long run.
- Experiment with Blade Designs: Try different blade shapes and sizes for varying airflow effects. Curved blades, for instance, can provide a more efficient airflow.
With these tips, you'll not only create a functional fan but also one that performs at its best. Enjoy your DIY project!
Creating a Fan Using a Motor on Dailymotion
Creating a fan using a motor can be an exciting and educational project, perfect for DIY enthusiasts and those looking to explore basic engineering concepts. In this guide, we'll walk you through the steps to build your own fan, how to source the materials, and tips on recording your process for Dailymotion.
To begin, here are the essential materials you'll need:
- DC Motor (5V or 12V recommended)
- Fan Blades (plastic or cardboard)
- Battery or Power Supply
- Wires (preferably insulated)
- Switch (optional, for easy control)
- Base for mounting (wood or sturdy plastic)
- Tools (screwdriver, pliers, hot glue gun)
Now, follow these steps to assemble your fan:
- Attach the Fan Blades: Securely attach your fan blades to the motor shaft. Ensure they are evenly balanced to avoid wobbling.
- Mount the Motor: Fix the motor onto your base using screws or a hot glue gun. This ensures stability while the fan is operational.
- Connect the Power Supply: Use insulated wires to connect the motor to the battery or power supply. If using a switch, integrate it into the circuit for easy on/off control.
- Test the Fan: Power on the fan to ensure it operates smoothly. Adjust blade angles if necessary for optimal airflow.
While creating your fan, consider recording each step for your Dailymotion channel. Use clear angles, proper lighting, and an engaging narration to connect with your audience. Editing software can help enhance your video with captions and highlights.
Conclusion: Building a fan using a motor is not only a fun project but also an opportunity to learn practical skills in electronics and mechanics. Share your journey on Dailymotion, and inspire others to explore the world of DIY projects!
 admin
admin


