Google Slides is a popular tool for creating presentations, and it allows you to easily manipulate images to fit your design needs. One of the creative features you might want to use is the ability to crop images into a circular shape. This can give your slides a modern, clean look and is great for profile pictures, logos, or any design that benefits from a round image. In this guide, we'll show you how to create circular images in Google Slides and explain why it's a great tool for the job.
Why Choose Google Slides for Circular Images?
Google Slides offers an easy, intuitive interface for creating and editing images. Here are a few reasons why you might want to use it to create circular images:
- Simple and Free: If you already have a Google account, you can use Google Slides for free, and there’s no software to install. You can access your slides from any device with internet access.
- Easy to Use: The image editing tools in Google Slides are straightforward. Cropping an image into a circle takes just a few clicks.
- Flexibility: Google Slides offers more than just cropping. You can adjust the size, add borders, shadows, and even apply other effects to make your circular image stand out.
- Compatibility: Google Slides is compatible with most image formats, so you can work with virtually any image you have on hand.
Unlike more advanced design software, which can be overwhelming for beginners, Google Slides keeps things simple while still giving you creative control. Whether you’re creating a professional presentation or just adding a personal touch to your slides, it’s an excellent choice for working with circular images.
Also Read This: Making Images Transparent in Google Slides
Steps to Create a Circular Image in Google Slides
Now, let's dive into the step-by-step process of creating a circular image in Google Slides. It's a quick and simple procedure that you can follow in just a few minutes:
- Open Google Slides: Start by opening Google Slides and selecting a blank presentation or an existing one where you want to insert the circular image.
- Insert the Image: Go to the menu at the top, click on Insert, then select Image. You can upload an image from your computer, use one from Google Drive, or search for an image directly from Google.
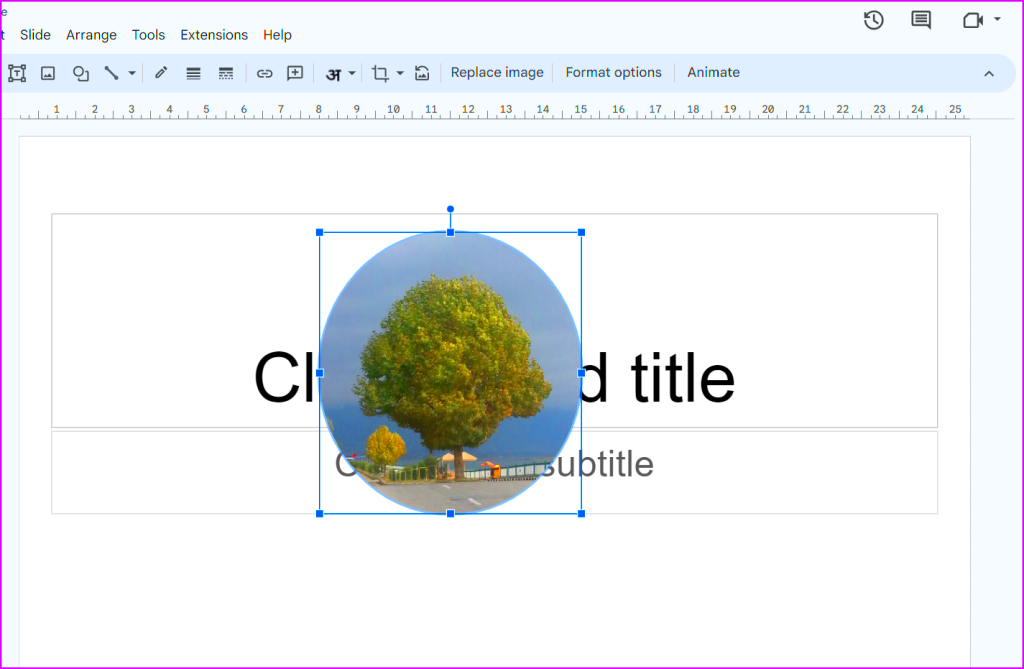
- Select the Image: Once your image is inserted, click on it to select it. You'll see a border appear around the image with small blue boxes at the corners and sides.
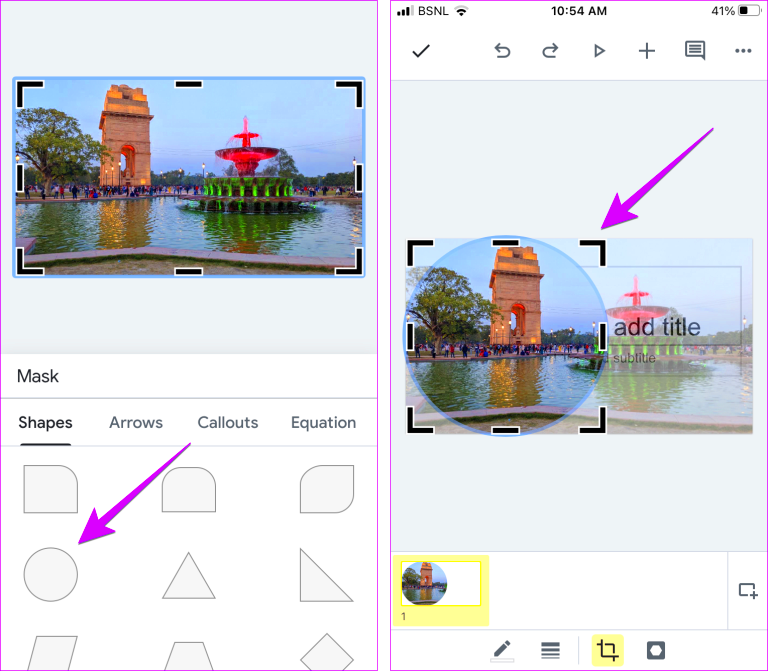
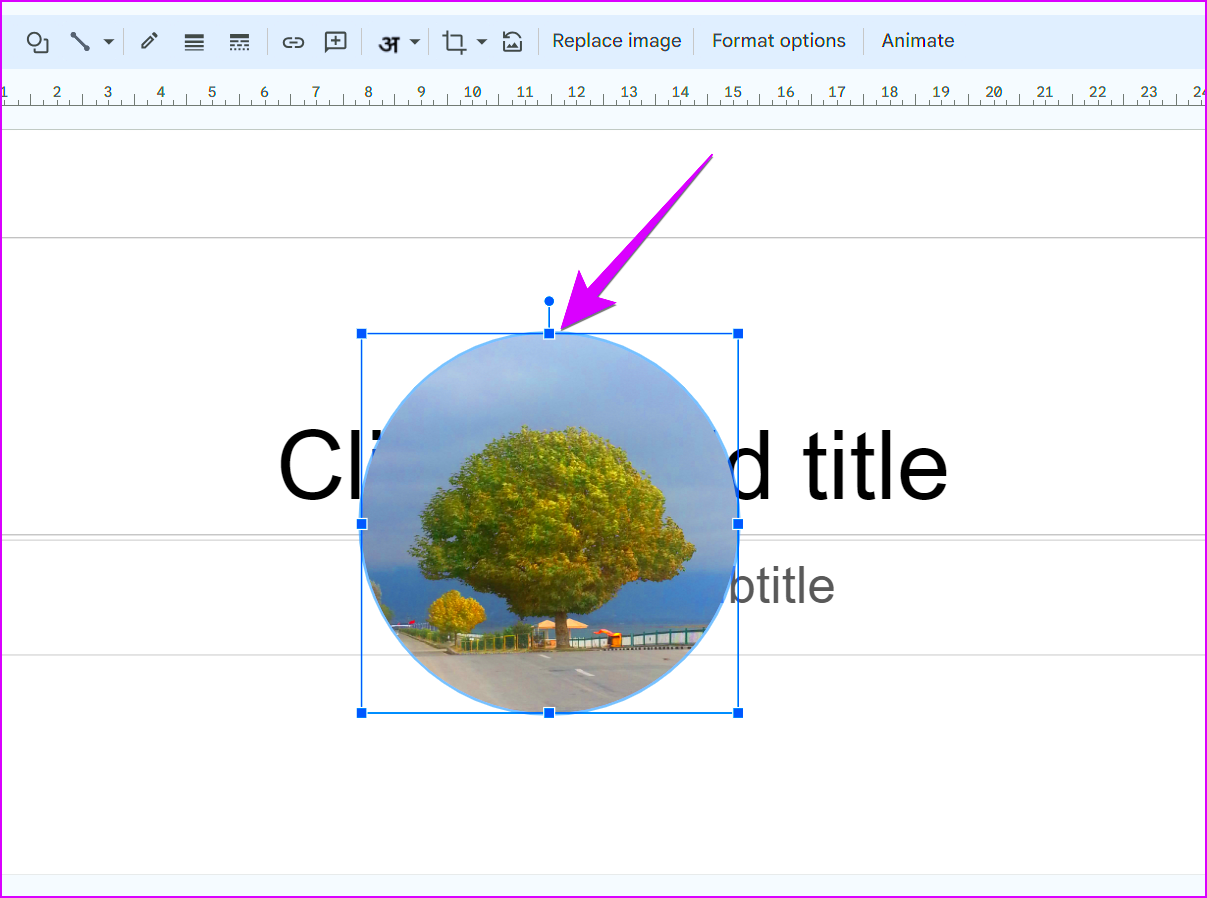
- Crop to Shape: Click on the Crop Image button in the toolbar (it looks like a crop icon). Then, click the drop-down arrow next to it and choose Shape, followed by Oval under the "Basic Shapes" section.
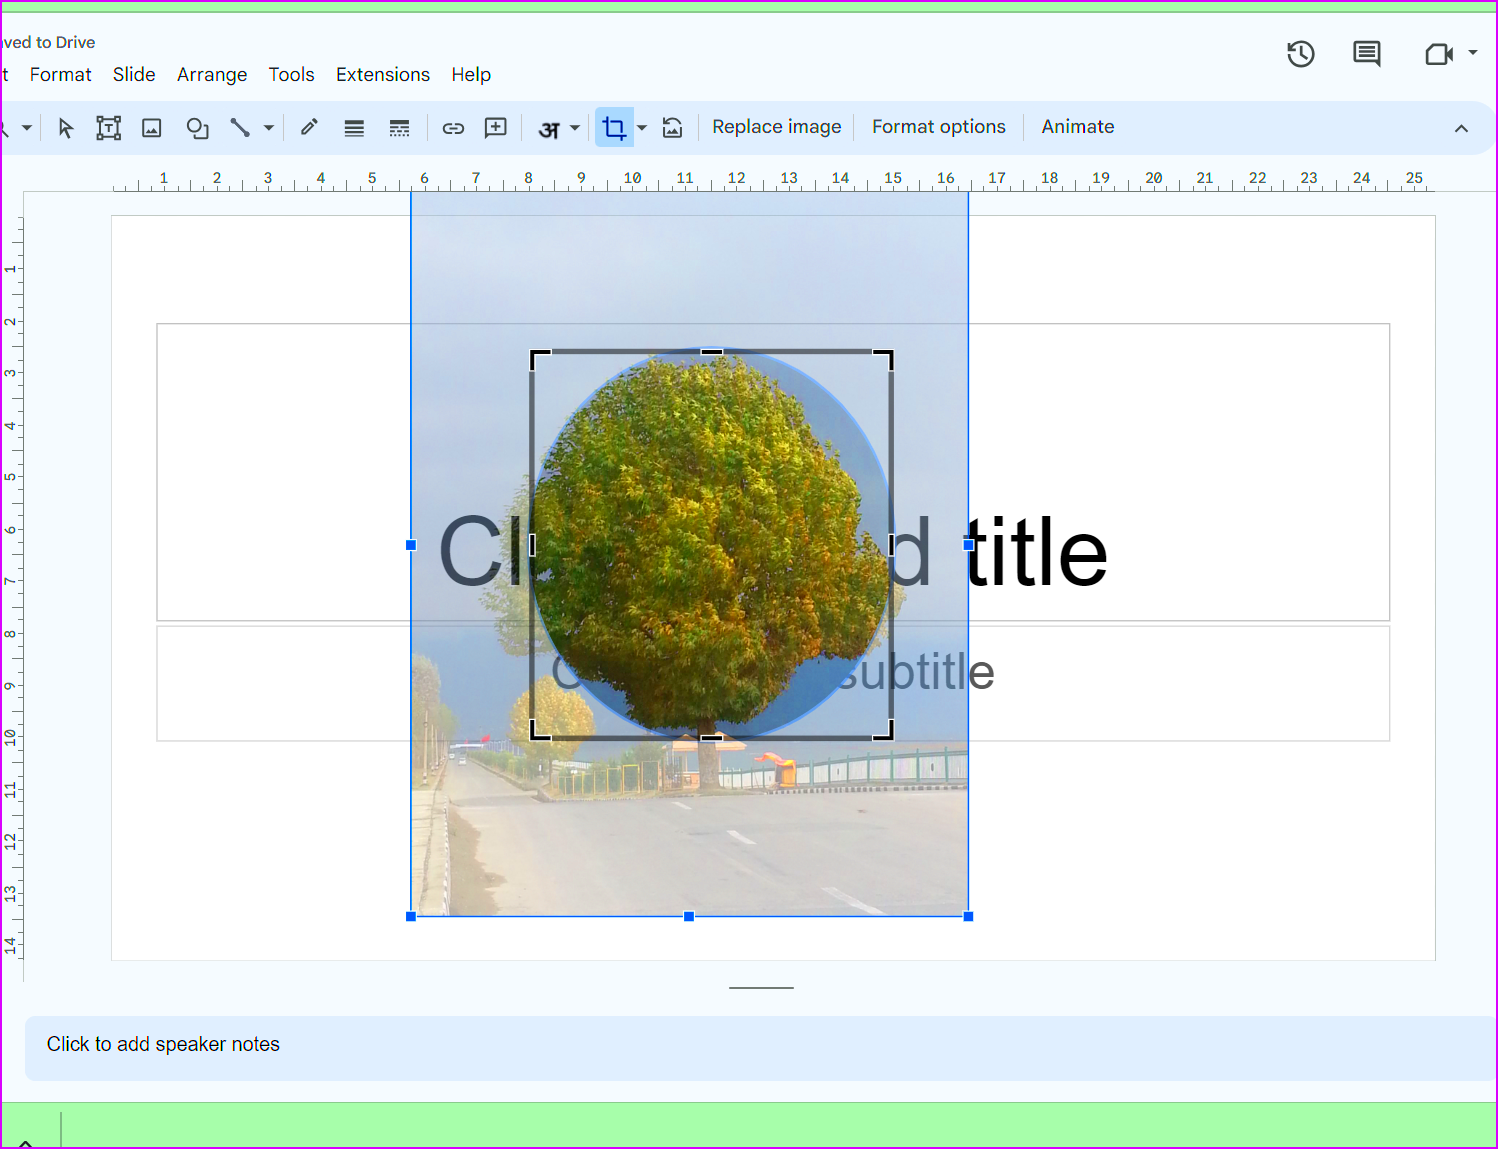
- Adjust the Image: After selecting the circular shape, your image will automatically crop into a circle. You can adjust the image inside the circle by clicking and dragging the image to reposition it or resize it using the blue boxes.
- Final Adjustments: You can further customize your image by adding a border, changing the image size, or applying a shadow for an extra effect. To add a border, click on the image, select the Border Color button in the toolbar, and choose your preferred color.
And that's it! With just a few steps, you’ve created a perfectly cropped circular image in Google Slides. You can now use this image for your presentation or download it for other projects.
Also Read This: A Step-by-Step Guide on Uploading Photos to Flickr from iPhone
How to Adjust Image Size and Position
Once you've cropped your image into a circle, the next step is to adjust its size and position to fit perfectly within your Google Slides presentation. Whether you want your circular image to be larger for emphasis or smaller to fit in a corner, Google Slides offers simple tools to make these adjustments. In this section, we will walk you through the process of resizing and repositioning your circular
Here’s how to adjust the size and position of your circular image:
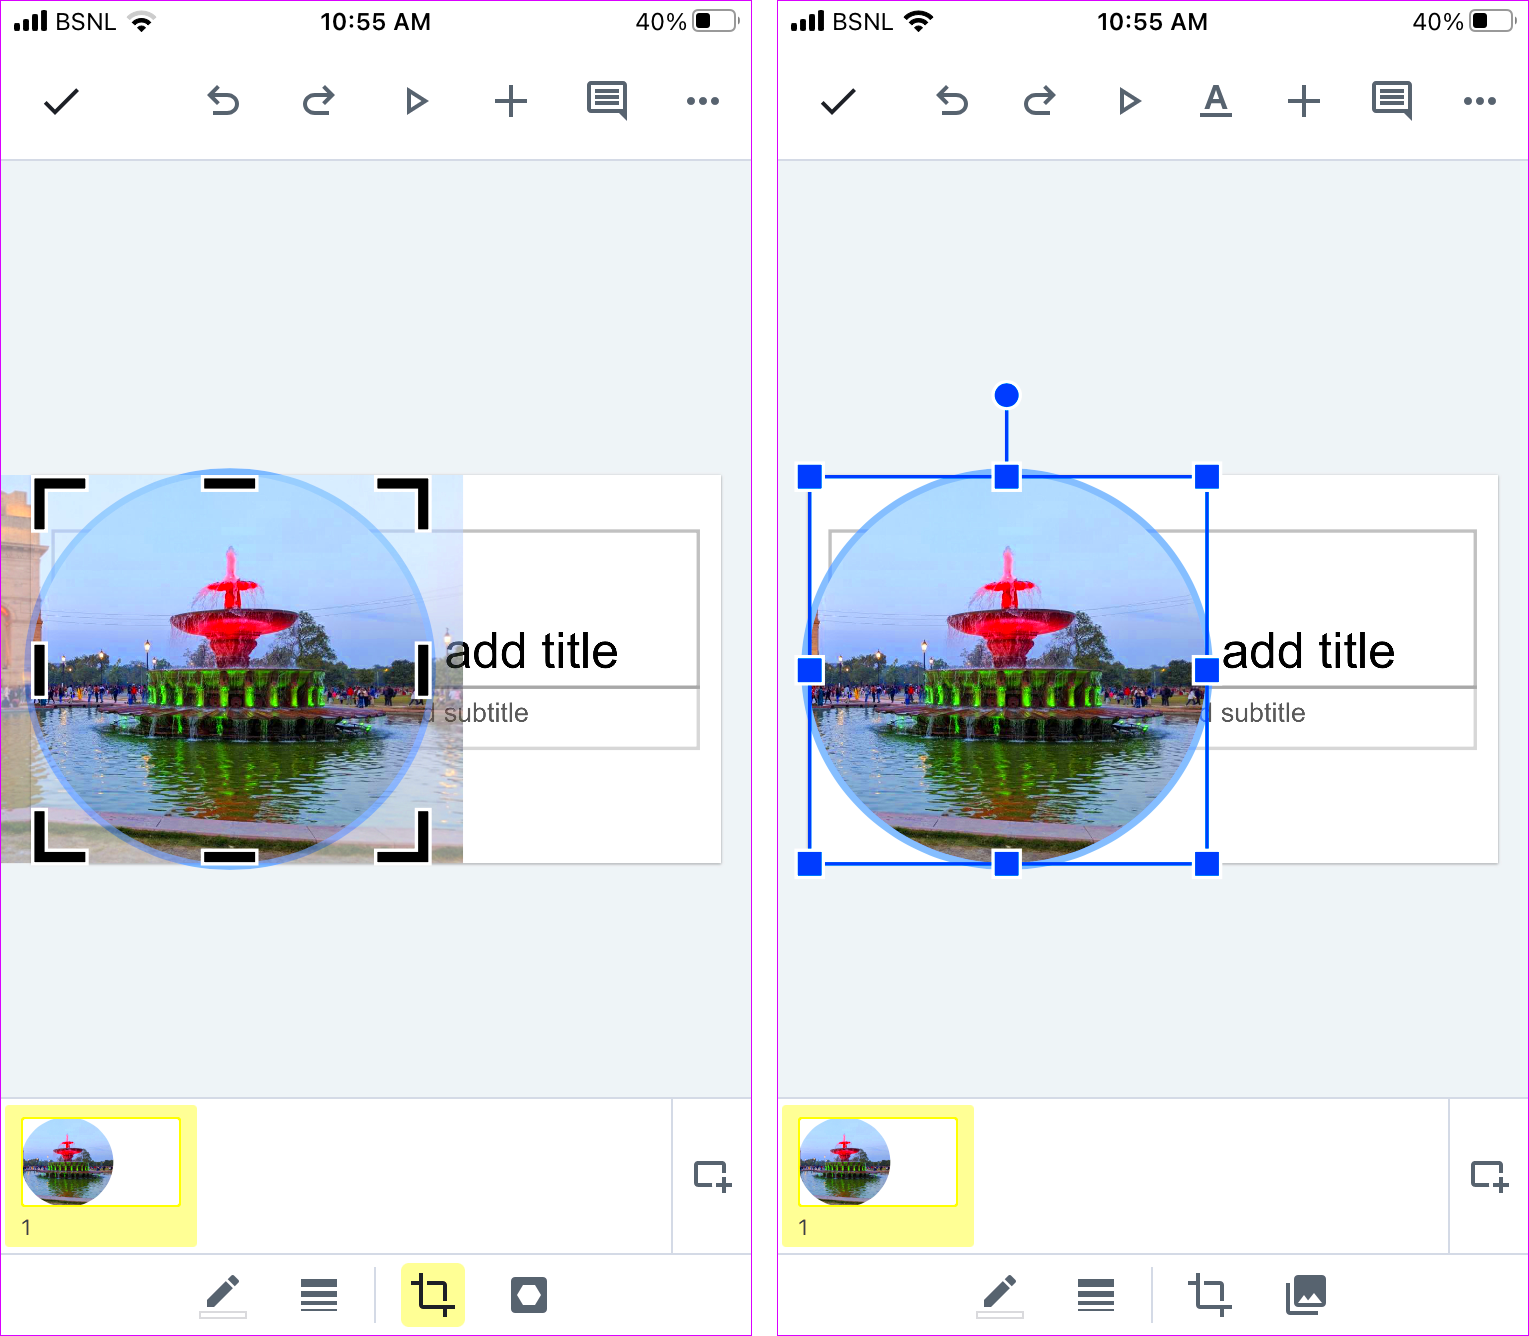
- Resizing the Image: To resize your circular image, click on it to select it. You’ll notice blue boxes around the image. Drag the corner boxes inward to make the image smaller or outward to make it larger. Be sure to drag from the corners to maintain the circular shape. If you drag from the sides, you might distort the image.
- Repositioning the Image: To move the image, simply click and hold the image, then drag it to your desired location on the slide. You can place it anywhere on the slide, and Google Slides will automatically adjust the layout to fit it.
- Aligning the Image: For perfect alignment, use the alignment tools in Google Slides. After selecting the image, go to the toolbar and click on Arrange, then choose Align. You can align your image to the left, center, or right, or adjust it vertically as well.
With these simple steps, you can easily adjust the size and position of your circular image to make it fit seamlessly into your presentation. Whether you're centering it for a clean look or positioning it creatively to emphasize certain content, Google Slides makes it easy.
Also Read This: Are YouTube Shorts Harmful for Your Channel Growth
Tips for Enhancing Your Circular Image
Once your image is cropped into a perfect circle, you might want to take it a step further by enhancing its appearance. There are several ways to make your circular image pop and look more polished. Whether it’s adding a border, applying a shadow, or adjusting the image's color, these enhancements can help elevate the visual impact of your slide. Let’s look at some tips for enhancing your circular image.
Here are some ideas to make your circular image stand out:
- Adding a Border: To make your circular image more defined, consider adding a border. Click on the image, then go to the toolbar and click on the Border Color option. You can choose a color that contrasts with the image to make it stand out more, or pick a subtle color that complements the image.
- Applying a Shadow: Adding a shadow to your image can give it depth and make it appear more dynamic. To apply a shadow, click on the image, go to Format Options, and select Drop Shadow. You can adjust the angle, distance, and opacity to get the desired effect.
- Using Image Filters: You can also enhance the colors in your circular image by applying filters. Google Slides allows you to adjust the brightness, contrast, and transparency of the image. To do this, click on the image, go to Format Options, and tweak the Recolor or Adjustments settings.
- Adding a Reflection: If you want to add a bit of flair, consider adding a subtle reflection beneath the image. This can be done by going to Format Options and selecting Reflection. You can adjust the transparency and size of the reflection to match the style of your presentation.
By applying these simple yet effective enhancements, your circular image will look more polished and professional, making your slide even more visually appealing to your audience.
Also Read This: How to Cut Out Images on Canva for Creative Layouts
Common Issues and How to Fix Them
While creating circular images in Google Slides is relatively straightforward, you might run into a few common issues along the way. Whether it's an image that won’t crop correctly or resizing problems, there are simple solutions for these issues. In this section, we’ll go over some of the most frequent problems users encounter when working with circular images and provide easy fixes.
Here are some common issues and how to resolve them:
- Image Not Cropping into a Circle: If your image isn’t cropping into a circle, make sure you’re using the correct shape. Click on the image, select the Crop button, then choose Shape and select Oval. If the shape still isn’t a perfect circle, hold the Shift key while dragging the crop handles to maintain the circular shape.
- Image Distortion After Resizing: This can happen if you resize the image from the sides instead of the corners. To prevent distortion, always drag from the corners of the image while holding the Shift key. This ensures that the image maintains its circular shape.
- Image Is Too Small or Too Large: If your image is too small or too large for your slide, you can resize it by selecting the image and dragging the corner boxes. If the image is too large and cuts off parts of the image, consider resizing it to fit the slide better.
- Image Doesn’t Align Correctly: If your circular image isn’t aligning properly with other elements on the slide, use the alignment tools in Google Slides. Select the image, click on Arrange in the toolbar, and choose an alignment option like Center or Align to the Left/Right.
- Border or Shadow Not Showing: If you’ve added a border or shadow but can’t see it, check the settings. Ensure the border width is sufficient, or increase the shadow’s distance and opacity in the Format Options menu.
By addressing these common issues, you can make sure your circular image looks perfect and is displayed exactly how you want it. Don’t worry if you encounter a problem — it’s easy to fix, and with a little patience, your presentation will be ready in no time.
Also Read This: How to Create Glitch Subtitles on Dailymotion for a Fun Editing Experience
FAQ: Creating Circular Images in Google Slides
Creating circular images in Google Slides is a simple process, but you might have a few questions along the way. In this section, we’ll address some of the most frequently asked questions to help you troubleshoot and get the best results when working with circular images.
- Can I crop any image into a circle? Yes, you can crop any image into a circle in Google Slides, as long as it is inserted as an image. Simply select the image, click on the crop tool, and choose the circular shape from the "Shape" options.
- Will cropping the image affect the quality? No, cropping the image into a circle will not affect its quality. However, if you resize the image to an extremely large or small size, the quality may degrade, especially if the image resolution is low.
- Can I resize the circular image without distorting it? Yes! To resize the image without distortion, always drag from the corner resize handles while holding down the Shift key. This ensures the image keeps its circular shape.
- Can I apply multiple effects, like a shadow and a border, to the circular image? Yes, you can apply several effects to your circular image. Google Slides lets you add borders, shadows, and even reflections to enhance your image further. Just select the image and access the "Format Options" to apply these effects.
- What if my image looks blurry after resizing? If your image looks blurry after resizing, it might be due to a low-resolution source. Try using a higher-resolution image for better results. You can also adjust the image's sharpness and contrast in the "Format Options."
- Can I create multiple circular images in one slide? Absolutely! You can create and position multiple circular images on a single slide. Simply repeat the steps for each image you want to crop and adjust, then arrange them as needed on the slide.
Conclusion and Final Thoughts
Creating circular images in Google Slides is a quick and easy process that can significantly enhance the visual appeal of your presentations. By following the simple steps outlined above, you can crop and adjust images to fit perfectly into your slide designs. Whether you are adding profile pictures, logos, or any other image, these tips and techniques will help you achieve a professional look with minimal effort. Don’t hesitate to experiment with the different effects and adjustments available in Google Slides to take your images to the next level.
 admin
admin


