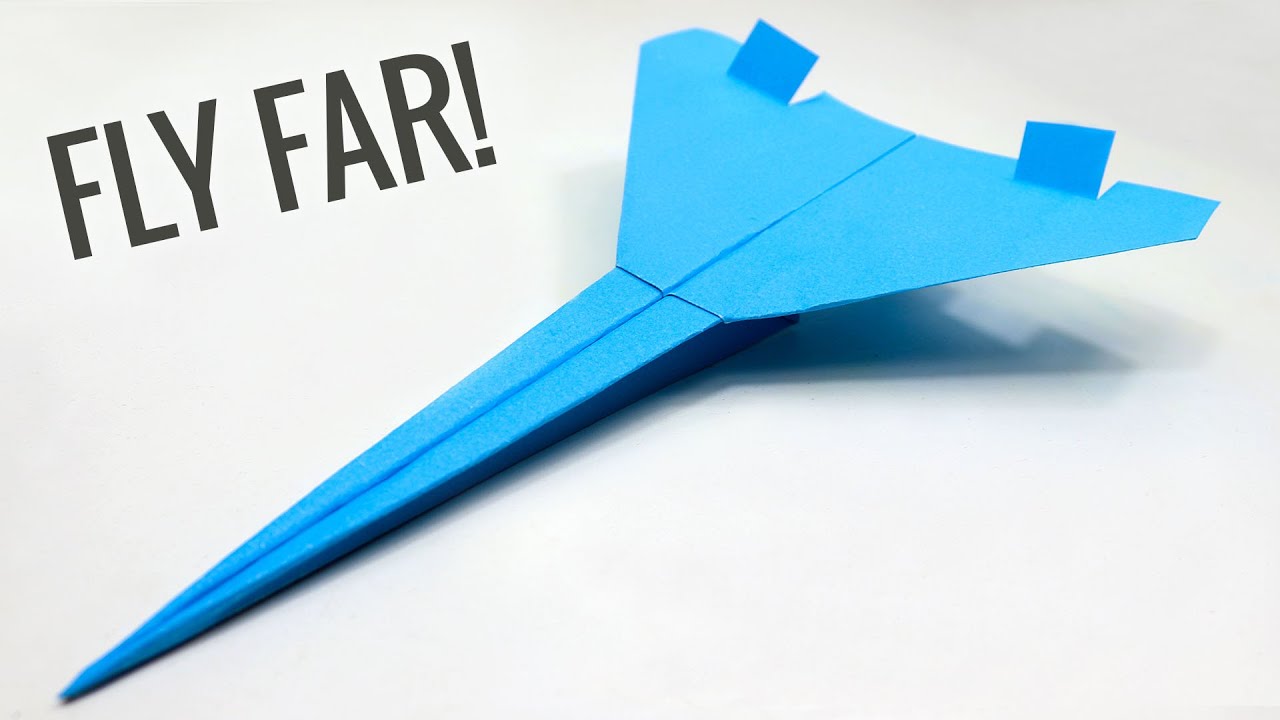
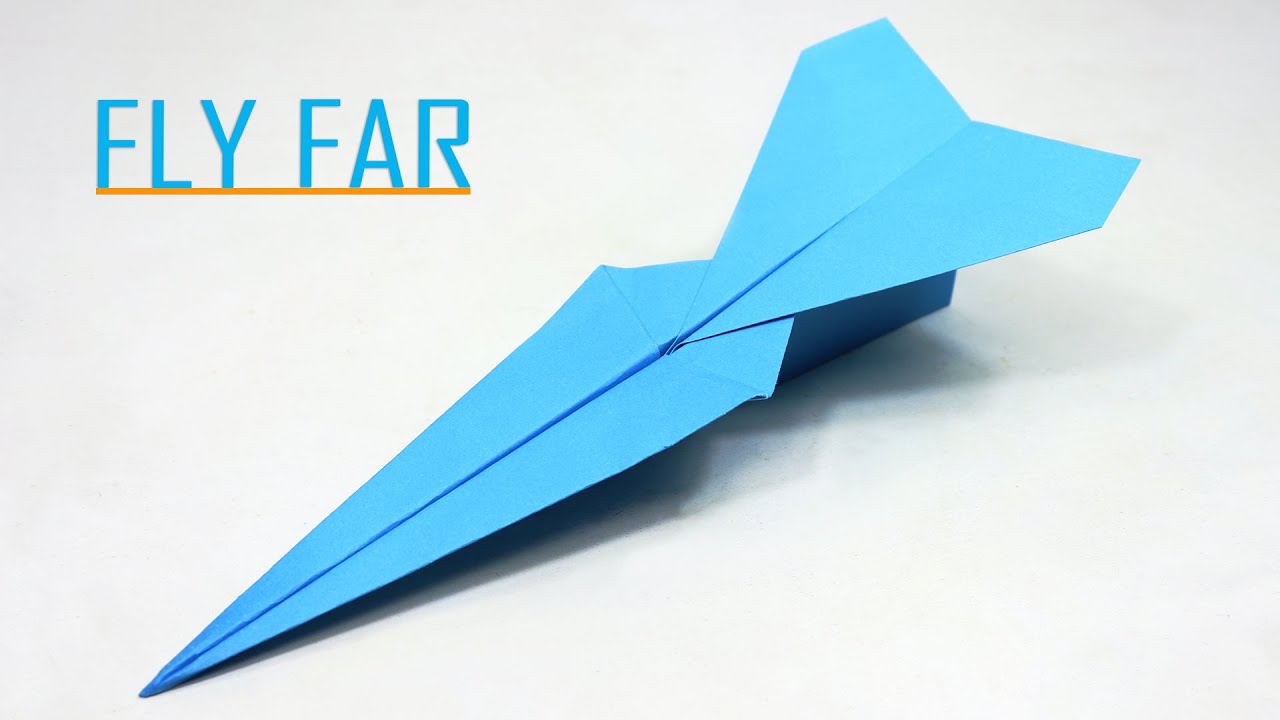
Crafting a paper aeroplane can seem like a simple pastime, but there’s an art and science to it that makes it fascinating. Whether you're a child against the backdrop of a sunny backyard or an adult reminiscing about carefree days, creating these flying wonders is more than just folding paper—it's about unleashing creativity and understanding the principles of flight.
In this blog post, we'll explore how to design your own paper aeroplanes for maximum distance. By selecting the right materials and employing proper techniques, you can achieve impressive flight distances that will amaze friends and family. Plus, it’s a fantastic activity to engage in alone or with loved ones, providing both fun and a little bit of education along the way. Ready to take off? Let’s get started!
Materials Needed for Your Paper Aeroplane

Before you can get folding and flying, you’ll need to gather the right materials. Luckily, crafting a paper aeroplane requires minimal items, many of which you probably already have at home. Here’s a list of what you’ll need to kick-start your aeroplane-building adventure:
- Paper: Standard printer paper (A4 or letter size) works well. You can also experiment with different weights and textures to see how they affect flight.
- Scissors: While most designs don’t require cutting, having scissors on hand allows for more complex aeroplane designs.
- Tape or Glue: These can help reinforce your aeroplane or secure additional features like wings or stabilizers.
- Pencil and Ruler: If you’re looking to create precise folds or markings, a pencil and ruler will come in handy for drawing guidelines.
- Marker or Stickers: To personalize your creation, make it unique with some fun colors or stickers! This adds a bit of flair to your flight.
That’s all there is to it! With these simple materials, you’re all set to begin your journey in crafting remarkable paper aeroplanes. Remember, each folded piece of paper has the potential to soar, so don’t hesitate to experiment and find the design that flies the farthest!
3. Step-by-Step Instructions to Create Your Aeroplane

Creating a paper aeroplane is a fun and satisfying activity that can lead to some impressive flights! Here's a straightforward guide you can follow to craft your own high-flying creation:
- Gather Your Materials: You’ll need a standard sheet of A4 or letter-sized paper. Feel free to use colored paper to add a personal touch!
- Start Folding:
- Fold the paper in half lengthwise to create a center crease, then unfold it. This will serve as your guideline.
- Take the top corners and fold them down towards the center line, forming a triangle at the top.
- Create the Point:
- Fold the triangle down so the point meets the bottom edge of the paper.
- Now take the two new top corners and fold them into the center, creating a smaller triangle shape.
- Final Folds:
- Fold the paper along the original crease you made in step 1 to secure all parts together.
- Finally, fold the wings down by bringing both edges of the paper down to the bottom. Make sure they're symmetrical!
- Adjust the Wings: Give the wings a slight upward angle by gently bending them. This modification can help with lift!
- Test Flight: Stand in an open area and give your paper plane a gentle toss. Observe how it flies and make adjustments as necessary!
4. Tips for Designing a High-Performance Paper Aeroplane
If you want your paper aeroplane to soar like a pro, here are some handy tips to consider during the design process:
- Use Lighter Paper: Heavier paper may affect the aerodynamics. Lightweight paper can improve flight distance.
- Tweak the Wing Shape: Experiment with different wing designs, such as wider wings for better lift or narrower wings for speed.
- Adjust the Weight Distribution: Adding a small paperclip to the nose can enhance stability, helping it fly longer distances.
- Practice Your Throw: The angle and force of your throw can significantly impact how far your plane flies. Aim for a gentle, level toss.
- Perfect the Creases: Crisp, sharp creases are crucial for a well-structured plane. Make sure to press down firmly while folding!
- Make Adjustments: After your test flights, don't hesitate to tweak the wing angles or the plane’s weight for better performance.
By following these steps and tips, you can transform your simple paper sheet into an impressive flying machine ready to conquer the skies!
Testing Your Paper Aeroplane: Best Practices
Once you've crafted your paper aeroplane, it’s time to see how far it can fly! Testing is a crucial step in the design process, and doing it right can make a world of difference. Here’s how to ensure you’re getting accurate and helpful feedback from your tests:
1. Choose the Right Location: Pick a wide-open space for testing, free from obstacles like trees, buildings, or strong winds. An indoor gym can also work wonders for controlled testing.
2. Conduct Multiple Flights: Don’t just throw your aeroplane once and call it a day. Run multiple tests to get a consistent idea of its performance. Keep track of how far it flies each time with a measuring tape.
3. Maintain Consistent Throwing Technique: To get the most accurate results, try to throw your aeroplane in the same manner each time. This includes how hard you throw, the angle, and your position. Consider using a throwing device for even more consistency.
4. Adjust and Record Changes: After each flight, note down any changes you made. Did bending the wings up improve the flight? Was the fuselage too heavy? Record all modifications and their effects on distance.
| Modification | Effect on Distance |
|---|---|
| Bent Wings Up | Increased lift |
| Heavier Nose | More stable flights |
By following these best practices, you'll gather valuable insights that help you tweak and perfect your paper aeroplane, turning it into a flying marvel!
Common Mistakes to Avoid
As exciting as crafting a paper aeroplane can be, it's easy to fall victim to a few common missteps that might hinder your flight distance. Let’s break down what to watch out for to ensure your rocket is set for takeoff!
1. Using Poor Quality Paper: Believe it or not, the type of paper you use significantly impacts performance. Thin, flimsy paper may crumple easily, while too thick paper can add unnecessary weight. Aim for a standard printer or lightweight paper for the best results.
2. Neglecting Symmetry: If your aeroplane isn’t symmetrical, it could spiral or dive instead of flying straight. Take the time to make sure both wings and the body are evenly folded.
3. Forgetting to Secure Folds: Loose folds can lead to a poorly constructed plane. Be sure to crease each fold firmly, as this helps maintain shape during flight.
4. Ignoring Aerodynamic Principles: A paper aeroplane should ideally be designed considering aerodynamics. Overlooking features like wing shape and angle can cost you distance.
5. Not Testing Before Competing: If you’re preparing for a competition, practice tests are essential. Always ensure your airplane has been effectively tested and adjusted for optimum performance before the big event.
By steering clear of these pitfalls, you’ll be well on your way to crafting the ultimate paper aeroplane, ready to soar through the skies!
Crafting a Paper Aeroplane for Maximum Flight Distance
Creating a paper aeroplane that can soar through the air with impressive distance requires a combination of design, crafting techniques, and flight principles. Here, we’ll guide you through the essential steps to achieve the best results.
Materials Needed:
- A standard A4 or Letter-sized paper
- Ruler
- Pencil
- Scissors (optional, depending on design)
- Tape (for reinforcement)
Basic Steps to Craft Your Paper Aeroplane:
- Choose Your Design: The design heavily influences aerodynamics. Consider options such as:
- The Traditional Dart
- The Glider
- The Stunt Plane
Tips to Improve Flight Distance:
| Tip | Description |
|---|---|
| Aerodynamic Shape | Keep the body sleek and pointed to cut through the air. |
| Launch Angle | Throw the plane at a slight upward angle for optimal distance. |
| Wind Conditions | Avoid launching in strong winds; calm days yield better results. |
By focusing on design, precision in your folds, and making small adjustments, you can significantly enhance your paper aeroplane's flight distance.
Conclusion: Enhancing Your Paper Aeroplane Skills
With continual practice and experimentation with different designs and techniques, you'll not only improve your ability to craft exceptional paper aeroplanes but also gain a deeper understanding of the principles of aerodynamics.
 admin
admin


