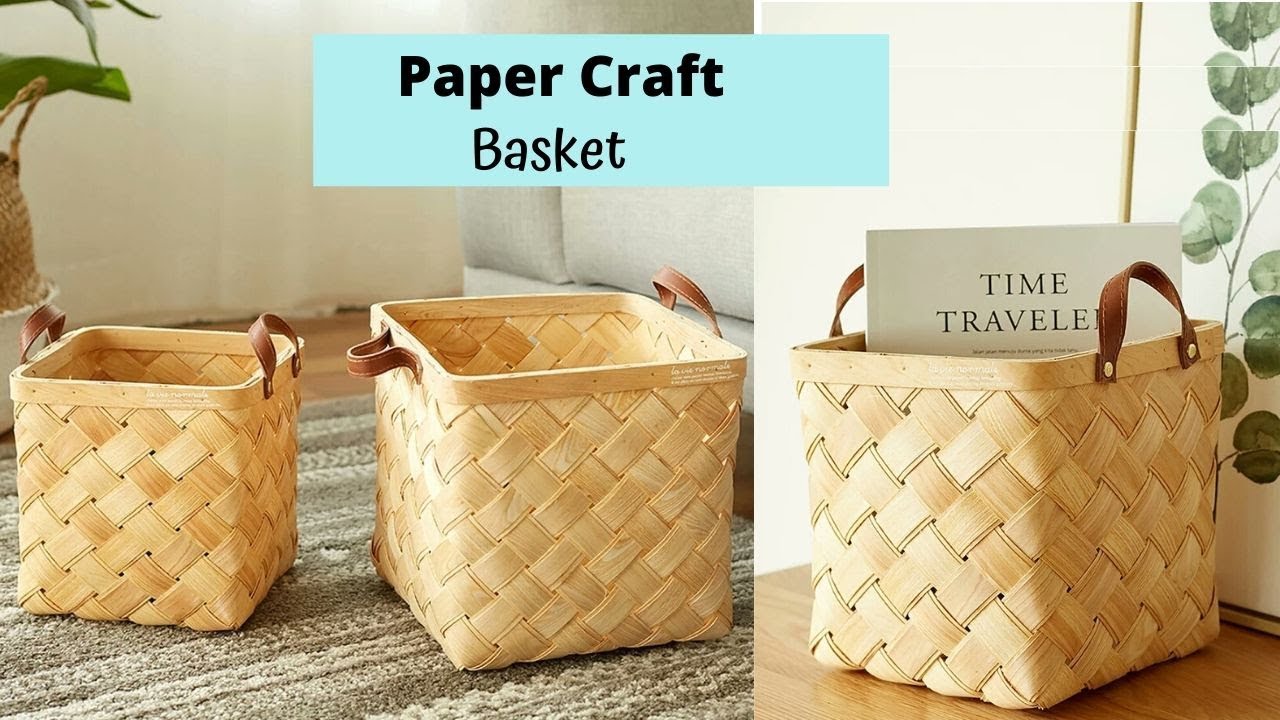
Have you ever wanted to create something beautiful yet functional with minimal effort? Making a paper basket at home is a fantastic way to unleash your creativity while recycling old materials! This simple craft is perfect for all ages and can serve as a charming decoration or a handy storage solution. Grab your supplies, roll up your sleeves, and let's dive into the delightful world of paper basket crafting!
Materials Needed for Paper Basket Crafting
Before we get started, it’s essential to gather all the necessary materials. Fortunately, making a paper basket is not only straightforward but also requires just a few items that you likely have on hand. Here's a list to get you started:
- Old newspapers, magazines, or colored paper: These will form the body of your basket. Choose different colors or patterns for a unique look!
- Scissors: A good pair of scissors is crucial for cutting your paper into strips.
- Glue or tape: You'll need adhesive to hold your basket together. Both liquid glue and tape work well.
- Ruler: To measure and cut consistent strips, a ruler is a handy tool.
- Pencil: For marking measurements on the paper before cutting.
- Optional: Markers or embellishments like ribbons, stickers, or sequins if you want to decorate your basket further!
Once you have everything gathered, you’re well on your way to creating your paper basket. The best part? You can personalize your basket as much as you want. Whether you go for a classic look with simple newspaper strips or a vibrant array of colors, the choice is yours! So, take a moment to assemble these materials, and let’s move on to the fun part—crafting your basket!
Also Read This: How to Make a Chocolate Lava Cake with Dailymotion’s Decadent Recipe
3. Step-by-Step Instructions to Create Your Paper Basket
Ready to get your hands a bit crafty? Making a paper basket is a fun project that's simple enough for all ages. Grab your materials and let's dive right into the step-by-step instructions!
Materials You'll Need:
- Colored paper or card stock (nothing too thick!)
- Scissors
- Glue stick or tape
- Ruler
- Pencil
- Optional: decorative items like stickers, markers, or washi tape
Step 1: Prepare Your Paper
Start by cutting your colored paper into strips. Aim for strips that are approximately 1 inch wide and 12 inches long. The beauty of crafting is you can mix and match colors to create a unique look!
Step 2: Create the Base
Take four strips of paper and lay them down in a cross pattern. Make sure they overlap in the center. This will form the base of your basket. Use your glue or tape to secure them at the intersection. You can even reinforce the corners for added strength.
Step 3: Weaving the Sides
Next, grab some more strips (you’ll need about 8-10 for a good height). Start weaving them around the base. Begin by placing a strip over the base and tucking it under the next, then alternating it with the next strip below. It’s much like weaving a simple mat!
Continue this process until your basket reaches the desired height. Don’t forget to apply glue along the way to keep everything snug.
Step 4: Finishing Touches
Once your basket is at the right height, it’s time to finish it off. Simply tuck in the ends of the strips into the weave to secure them. You can trim any excess paper if needed. For a more polished look, you might want to reinforce the top edge with another strip of paper by gluing it around the edge. Voila! You have a lovely paper basket!
Also Read This: How to Maximize Your Income with Dailymotion Strategies
4. Tips for Personalizing Your Paper Basket
Now that you have the basics down, let’s add some personal flair to your handmade paper basket! After all, a touch of personalization makes everything more special.
1. Choose Your Colors Wisely
When selecting your paper, think about the purpose of your basket. Are you using it for a festive occasion, or as storage in your craft area? Choose colors that will complement the environment. For holidays, consider themed colors—red and green for Christmas, or pastels for Easter!
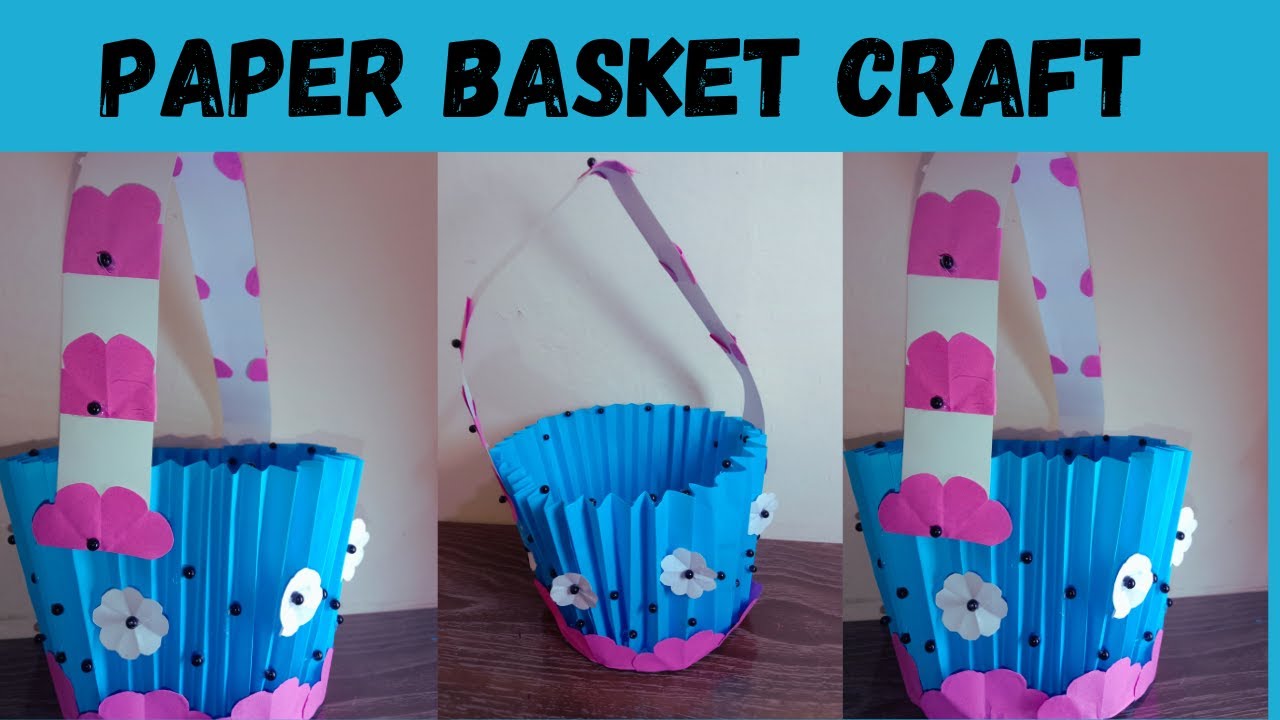
2. Add a Handle
If you want your basket to be portable, consider adding a handle. Simply cut a longer strip of sturdy paper and attach it securely on opposite sides of the basket using glue or tape. You can twist the strip for a decorative handle or even braid several strips together for a fun textured look!
3. Decorate with Details
Go wild with the decorations! Here are some ideas:
- Use stickers or stamps to give your basket a unique pattern.
- Draw or paint designs on the outer surface for a personal touch.
- Add ribbons or bows for a whimsical element.
4. Create Different Sizes
Feel free to play with the size of your strips to create varying sizes of baskets. A smaller basket can hold treats or small trinkets, while larger versions can be perfect for toys or magazines.
5. Experiment with Different Paper Types
Don’t just stick with standard colored paper! Try using pages from old magazines, newspaper, or wrapping paper for a cool, recycled look. The variety is endless!
By personalizing your paper basket, not only do you make it more visually appealing, but you also give it a little part of your own personality. Enjoy the process, happy crafting!
Also Read This: How to Install a Door Closer for Better Home Security
5. Common Mistakes to Avoid When Crafting Paper Baskets
Crafting a paper basket can be a delightful and rewarding project, but it's not without its challenges. To help you ensure your crafting experience is smooth and enjoyable, here are some common mistakes that beginners often make—and how to avoid them!
- Using the Wrong Type of Paper: While it's tempting to grab whatever paper is lying around, using the wrong type can lead to disappointment. Avoid thin, flimsy paper as it won't hold its shape. Instead, opt for sturdy cardstock or thick craft paper that can withstand shaping and folding.
- Skipping the Measurements: Proper measurements are key. A common mistake is not measuring the size of the base and sides accurately. This can lead to an uneven or poorly shaped basket. Always double-check your dimensions and use a ruler for precision.
- Not Prepping the Paper: If you're using recycled paper or magazines, make sure to cleanly cut out your pieces. Jagged edges or uneven cuts can make assembly tricky and affect the overall look of your basket. Take your time to prep your materials beforehand.
- Neglecting the Glue: Some crafters underestimate the importance of glue. Using too much or too little can affect how well your basket holds together. Opt for a strong adhesive that dries clear, and apply it sparingly to avoid a messy finish.
- Ignoring the Weaving Technique: When weaving the sides of the basket, it's easy to forget about tension. Keeping your weave too loose can make your basket floppy, while being too tight can cause tearing. Aim for an even tension throughout your project.
- Forgetting to Finish Edges: A common oversight is neglecting to finish the edges of your basket. Raw edges can look unfinished and may even lead to wear over time. Take a few additional minutes to trim and secure any rough edges for a polished look.
By steering clear of these pitfalls, you'll be well on your way to crafting a beautiful, functional paper basket that you'll be proud to display or gift to someone special!
Also Read This: Is Dailymotion Safe to Download Content From? Understanding the Risks
6. Alternative Paper Basket Designs to Try
Once you've mastered the basic paper basket, why not explore some alternative designs? There are so many creative and fun ways to style your baskets, and experimenting with different forms can really elevate your crafting experience. Here are a few designs to get your creative juices flowing:
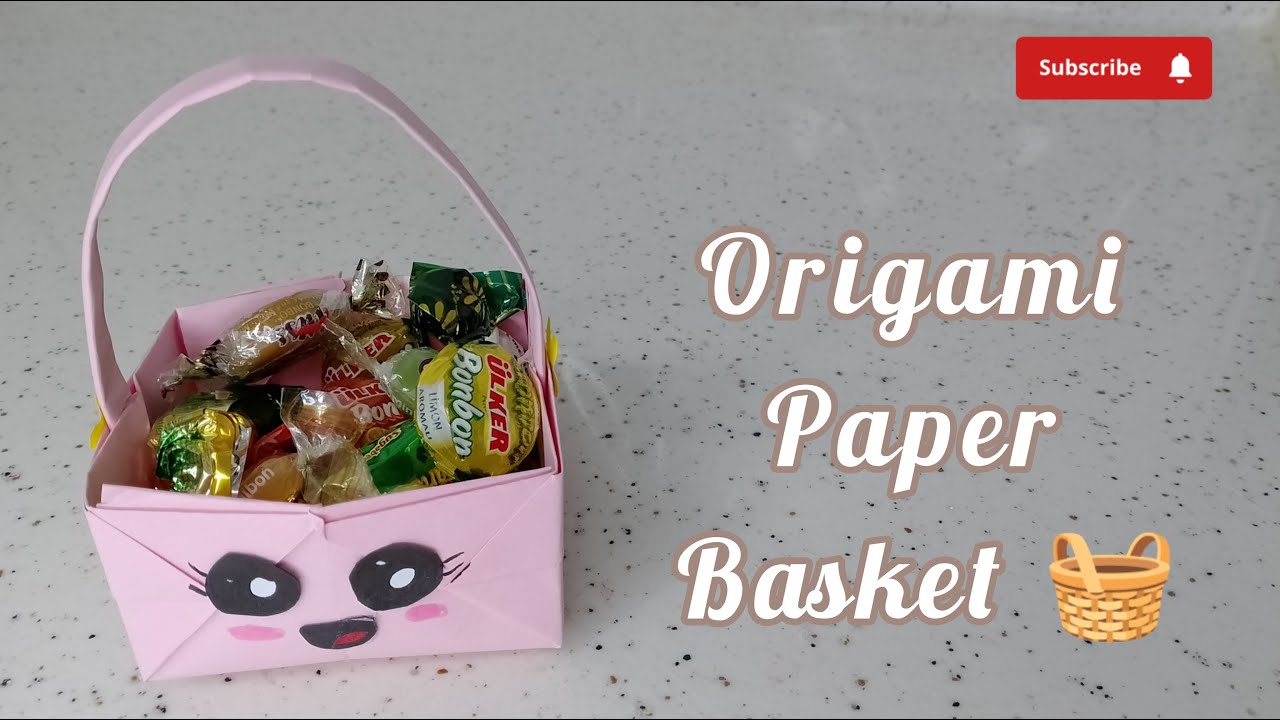
- Colorful Origami Baskets: Origami isn't just for paper cranes! Try folding an origami basket. These typically feature intricate folds and can be made from decorative paper to create stunning visual effects.
- Shaped Baskets: Instead of a standard round or square basket, try crafting baskets in fun shapes—like hearts, stars, or even animal figures. This could be great for holiday decorations or themed parties!
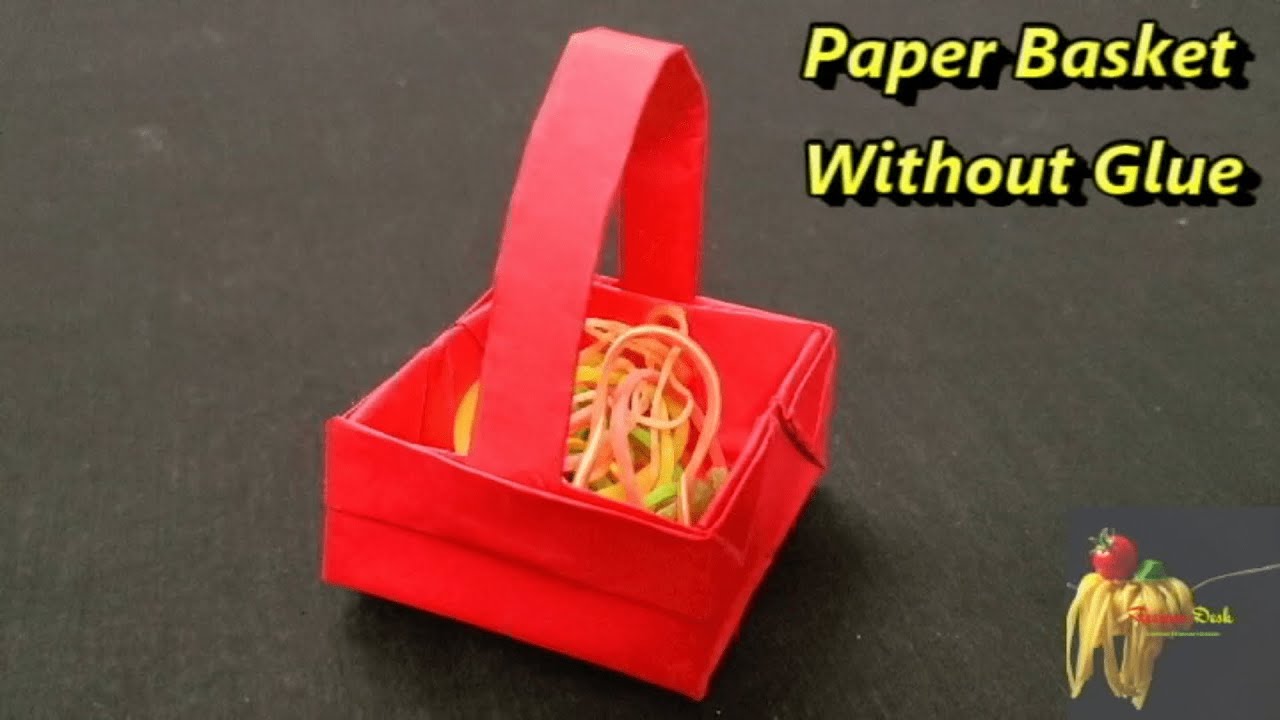
- Lids and Handles: Add functional features like lids or decorative handles. A lid can make your basket perfect for storage, while a stylish handle adds a nice touch for gift baskets.
- Layered Textures: Mix different materials like twine, fabric, or washi tape with your paper for a mixed-media approach. This not only adds texture but also a unique personal flair to each basket.
- Personalized Baskets: Use stamps, stickers, or drawings to personalize each basket. This is especially fun for gifts, as you can tailor each basket to the recipient’s interests or favorite colors.
- Seasonal Themes: Craft baskets that reflect the seasons. For instance, use fall colors and leaf patterns for autumn, or bright, pastel hues for spring. This can be a fun way to keep your décor fresh and relevant!
With these alternative designs, you can push the boundaries of traditional basket crafting and create something truly unique. Don’t hesitate to let your imagination run wild—after all, crafting is all about expressing yourself!
Conclusion and Final Thoughts on Crafting Paper Baskets
Creating your own paper basket can be a delightful and fulfilling experience. Not only does it foster creativity and enhance your crafting skills, but it also allows you to repurpose materials that might otherwise go to waste. Here are some key takeaways to remember:
- Simplicity is Key: Start with basic techniques and expand as you gain confidence. Even simple designs can be beautiful.
- Materials Matter: Choose the right type of paper. Consider using cardstock for durability or recycled paper for sustainability.
- Personalization: Don’t hesitate to add your own flair. Use markers, stickers, or washi tape to make your baskets unique!
- Practice: Like any craft, the more you practice, the better you will become. Don’t be discouraged by initial attempts!
As you embark on your paper weaving journey, remember that the process should be enjoyable. Whether you're making these baskets for gifts, organization, or simply for fun, the joy of creation is what truly matters. Gather your materials, let your imagination run wild, and enjoy the art of crafting!
In conclusion, crafting paper baskets at home is an accessible and fulfilling project that anyone can enjoy, offering not just a chance to create functional items but also an opportunity to explore one's creativity.
 admin
admin


