Converting images to SSTV (Slow Scan Television) scans allows you to send pictures over radio frequencies. This technique is especially popular among amateur radio enthusiasts and those who want to transmit images via non-traditional methods. Unlike regular digital image transfers, SSTV scans encode images into audio signals, making them suitable for broadcast over radio or even satellite systems. This process takes a standard image and breaks it down into a series of audio tones that can be transmitted and decoded by radio operators.
Whether you want to share your photographs with friends in a unique way or you are involved in radio communications, understanding how to convert images to SSTV can open up a whole new realm of creative possibilities.
What is SSTV and How Does It Work?

SSTV stands for Slow Scan Television, a method used to send still images over radio waves. The process involves encoding an image into an audio signal that can be transmitted as a sequence of tones. These tones represent pixel data, and when decoded by receiving equipment, they reconstruct the image.
Here's a breakdown of how SSTV works:
- Encoding: The image is broken down into a series of vertical lines, each of which is translated into sound signals representing the color and intensity of each pixel.
- Transmission: The encoded image is transmitted as an audio signal through a radio transmitter. The signal is typically broadcast in the audio frequency range.
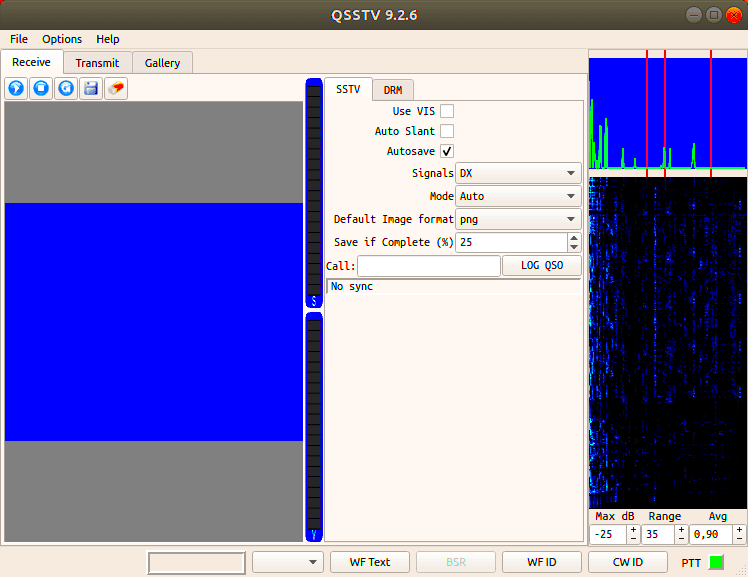
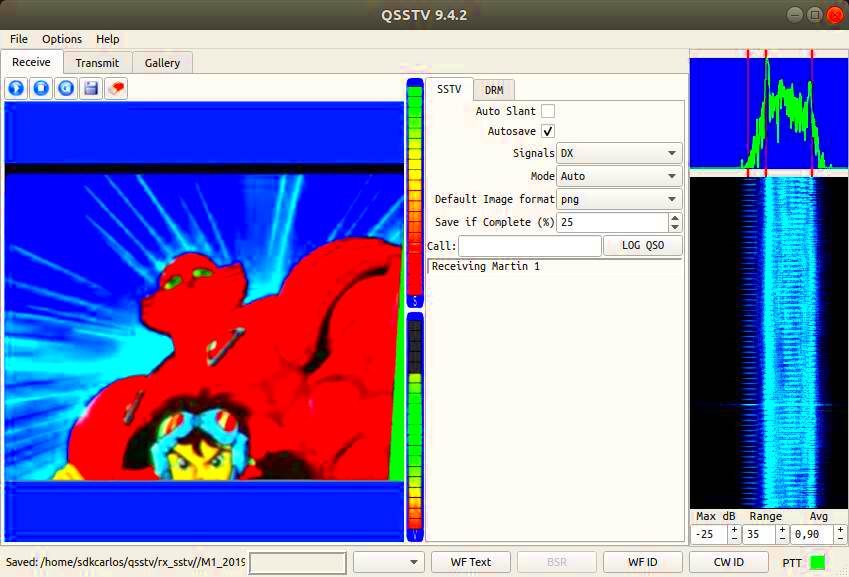
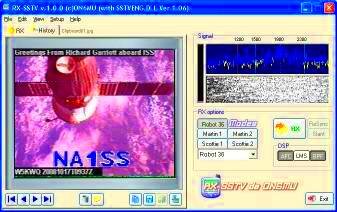
- Reception: A receiving station picks up the audio signal and decodes the tones back into an image using specialized software or hardware decoders.
- Decoding: The received signal is processed, and the image is reconstructed for display.
While the resolution of SSTV images is limited compared to modern digital images, it’s still a fascinating and fun way to transmit images, especially in the world of amateur radio where traditional image transmission methods aren't always available.
Also Read This: How Imago Images Revolutionizes Affordable Visuals for Small Businesses
Why Convert Regular Images to SSTV Scans?

Converting regular images to SSTV scans is an exciting way to share visual content when standard image-sharing methods, such as email or internet transfers, are unavailable or impractical. Here are a few key reasons why you might want to convert your images to SSTV:
- Amateur Radio Communication: SSTV is widely used in amateur radio for sending pictures over radio waves, making it ideal for ham radio operators who want to share images during long-distance communications.
- Limited Bandwidth: SSTV is useful when you need to transmit images over limited bandwidth channels, like low-bandwidth satellite communication or radio systems.
- Unique Method of Sharing: Converting images to SSTV allows you to share visuals in a way that’s different from conventional digital methods. It’s a fun way to make your communication stand out.
- Emulating Historical Technology: SSTV offers a nostalgic look at older methods of image transmission, providing a connection to the early days of broadcasting and amateur radio.
While SSTV might not offer the same resolution as modern digital images, its ability to send pictures over radio signals is unmatched in certain situations. For ham radio enthusiasts and tech enthusiasts alike, learning how to convert and transmit images using SSTV can be a rewarding challenge.
Also Read This: 10 Common Photography Mistakes and How to Avoid Them
Key Tools for Converting Images to SSTV Scans
To convert your images to SSTV scans, you’ll need the right tools. Thankfully, there are several software options available that make the process fairly easy, even for beginners. These tools will help you prepare your images, encode them into audio signals, and transmit them effectively. Here's a quick overview of some key tools:
- EasyPal: EasyPal is one of the most popular SSTV software programs for converting images. It supports multiple SSTV modes and offers both encoding and decoding features. This makes it a great choice for both sending and receiving SSTV images over the airwaves.
- MMTTY: MMTTY is widely used for SSTV transmissions, especially among amateur radio operators. It provides a simple interface, allowing users to quickly send images in various SSTV formats. MMTTY also supports a range of soundcards, making it versatile and easy to use.
- Fleap: Fleap is another option for SSTV transmissions. It’s a free program that offers basic encoding and decoding functions. While not as feature-rich as EasyPal or MMTTY, it can still get the job done for simple SSTV needs.
- Ham Radio Deluxe: This software suite includes a range of tools for radio communications, including SSTV functionality. It’s best suited for users who are serious about radio communications and need a more comprehensive toolset.
Each of these tools comes with its own set of features, so your choice will depend on your needs, level of experience, and the type of SSTV images you plan to send. Whether you're just getting started or you're a seasoned amateur radio operator, one of these tools will help you get the job done efficiently.
Also Read This: How Imago Images Enhances E-commerce with High-Quality Product Photos
Step-by-Step Guide to Converting Images to SSTV Scans
If you’re new to converting images to SSTV scans, don't worry—it’s easier than it sounds! With the right tools and a little practice, you’ll be able to convert and transmit your images in no time. Here’s a simple step-by-step guide to help you get started:
- Step 1: Choose Your Software - First, download and install the SSTV software of your choice (like EasyPal, MMTTY, or Fleap). Make sure your software is compatible with your system and your radio setup.
- Step 2: Prepare Your Image - Open your image in your chosen software. Make sure the image resolution is suitable for SSTV transmission—usually, lower resolutions (like 320x240 or 640x480) work best.
- Step 3: Select the SSTV Mode - Choose the appropriate SSTV mode (like Martin 1, Scottie, or Robot). Different modes vary in terms of resolution and image quality. Some modes are better for faster transmissions, while others preserve image quality.
- Step 4: Encode the Image - Once you’ve selected the right settings, hit the encode button. The software will convert your image into an audio signal made up of different tones that represent the pixels of the image.
- Step 5: Transmit the Image - Connect your computer to your radio transceiver using an audio cable or soundcard interface. Once connected, you can begin transmitting the SSTV signal. Your radio will broadcast the encoded image over the airwaves.
- Step 6: Decode the Image (Receiving Side) - On the receiving end, you’ll need software like MMTTY or EasyPal to decode the SSTV signal. The software will convert the audio signal back into a visible image, allowing you to see what was sent.
And that's it! While the first time may feel a bit tricky, once you’ve set everything up, it’s a simple process to repeat. Experiment with different images and settings to see how the quality of the image varies with different modes.
Also Read This: Cropping Images in Blender: A Tutorial
Common Challenges in Converting Images to SSTV Scans
Like any technology, converting images to SSTV scans does come with its fair share of challenges. While it’s a fun and rewarding process, understanding some common issues can help you avoid frustration. Let’s look at a few problems you may encounter:
- Resolution Limits: SSTV has limitations when it comes to resolution. The images you transmit will often appear pixelated, especially at lower resolution modes. If you need high-quality images, you may need to experiment with higher resolution modes, but keep in mind that they require longer transmission times.
- Audio Quality: The success of your SSTV transmission depends on the quality of the audio signal. Poor quality sound input or interference can cause images to become corrupted, making them unreadable. Make sure your microphone and audio cables are in good condition and that there’s minimal background noise during transmission.
- Software Compatibility: Not all SSTV software works with every operating system or radio setup. Some software may not be compatible with newer versions of Windows or specific soundcards. It’s important to check compatibility before you start.
- Signal Interference: Like any form of radio communication, SSTV can suffer from interference. Other radio signals, weather conditions, or equipment issues can affect the quality of your transmission. You might need to adjust your transmission power or move to a different frequency to avoid interference.
- Transmission Time: Higher resolution SSTV modes take longer to transmit. If you’re in a hurry or working with a limited time window, you may need to use a lower resolution mode to speed up the process.
Don’t be discouraged by these challenges! Most of these issues can be resolved with a bit of troubleshooting, and the more you practice, the better your SSTV skills will become. If you run into problems, look for tips or troubleshooting guides specific to the software you’re using.
Also Read This: Top Benefits of Using Imago Images for Your Business Visuals
Best Practices for Successful SSTV Image Conversions
Converting images to SSTV scans can be a fun and rewarding process, but to get the best results, you’ll need to follow some best practices. These tips will help ensure that your images are transmitted clearly and decoded properly, so you can avoid frustration and achieve the best possible outcome. Here are a few best practices to keep in mind:
- Choose the Right Image Resolution: SSTV images work best at lower resolutions. While it might be tempting to use high-resolution images, they can take a long time to transmit and may result in poor-quality scans. Try to use images with resolutions of 320x240 or 640x480 pixels for optimal performance.
- Optimize Image Contrast: SSTV transmission works better when the contrast between light and dark areas of the image is clear. Before converting, adjust the contrast of your image using an image editor to make sure the details are visible and easily distinguishable.
- Choose the Right SSTV Mode: Different SSTV modes (such as Martin 1, Robot, and Scottie) offer varying trade-offs between image quality and transmission speed. If you need a fast transmission, opt for a lower-quality mode. For higher-quality images, choose a mode with higher resolution, but keep in mind that the transmission will take longer.
- Avoid Complex Images: Highly detailed images with lots of small text or intricate patterns can be difficult to transmit over SSTV. Stick with images that have simple, bold shapes and minimal detail for better results.
- Ensure a Clear Audio Signal: Since SSTV relies on audio signals, ensuring that your soundcard or audio interface is working properly is essential. Use a good-quality microphone or audio cable to avoid issues with transmission quality.
- Test Your Setup: Before you start transmitting important images, test your setup with a few sample transmissions to ensure everything is working smoothly. This will help you troubleshoot any issues and adjust settings before going live.
By following these practices, you’ll be able to produce high-quality SSTV transmissions with fewer errors. Whether you’re transmitting for fun or as part of a technical project, these tips will help ensure your images come through clearly.
Also Read This: Imago Images vs Getty Images Finding the Right Platform for Your Needs
FAQ: Converting Images to SSTV Scans
As with any new technology, there are often questions and concerns that come up when you start converting images to SSTV scans. Below are answers to some of the most frequently asked questions to help you get the most out of your SSTV experience.
- What types of images can be converted to SSTV?
Any still image can be converted to SSTV, but simple, high-contrast images work best. Complex patterns or detailed images with lots of small text may not convert well, as they can become blurry or distorted.
- What is the best software for converting images to SSTV?
Popular SSTV software includes EasyPal, MMTTY, and Fleap. Each has its pros and cons depending on your needs, but EasyPal is often recommended for beginners due to its user-friendly interface.
- How long does it take to transmit an SSTV image?
The transmission time for an SSTV image depends on the resolution and the SSTV mode used. Lower resolution modes will transmit faster, typically in a minute or two, while higher-resolution modes can take several minutes.
- Can I use SSTV with any radio equipment?
Generally, yes, but you'll need a way to connect your computer to your radio transmitter. This is often done via an audio interface or a soundcard that can link your computer’s output to the radio’s microphone input.
- Can I receive SSTV transmissions without a radio?
Yes, you can receive SSTV transmissions using software like EasyPal or MMTTY that decodes SSTV signals from audio files or live broadcasts via a computer's microphone or audio interface.
- What should I do if the image I receive is distorted or incomplete?
Distorted or incomplete images can result from poor audio quality, signal interference, or incorrect settings. Check your transmission settings, ensure your audio equipment is functioning properly, and try to avoid interference from other radio signals.
Conclusion
Converting images to SSTV scans is a unique and creative way to share visuals, especially for those involved in amateur radio or digital communication projects. By following the best practices and using the right tools, you can achieve successful image conversions that are clear, accurate, and fun to transmit. Though there may be challenges along the way, with practice and attention to detail, you’ll get better at making the most of SSTV technology.
If you're just getting started, don't be discouraged by a few hiccups. The world of SSTV is exciting and offers a different way to communicate with others. So, give it a try—experiment with images, learn from each transmission, and soon you'll be an expert at sending and receiving SSTV scans!

 admin
admin


