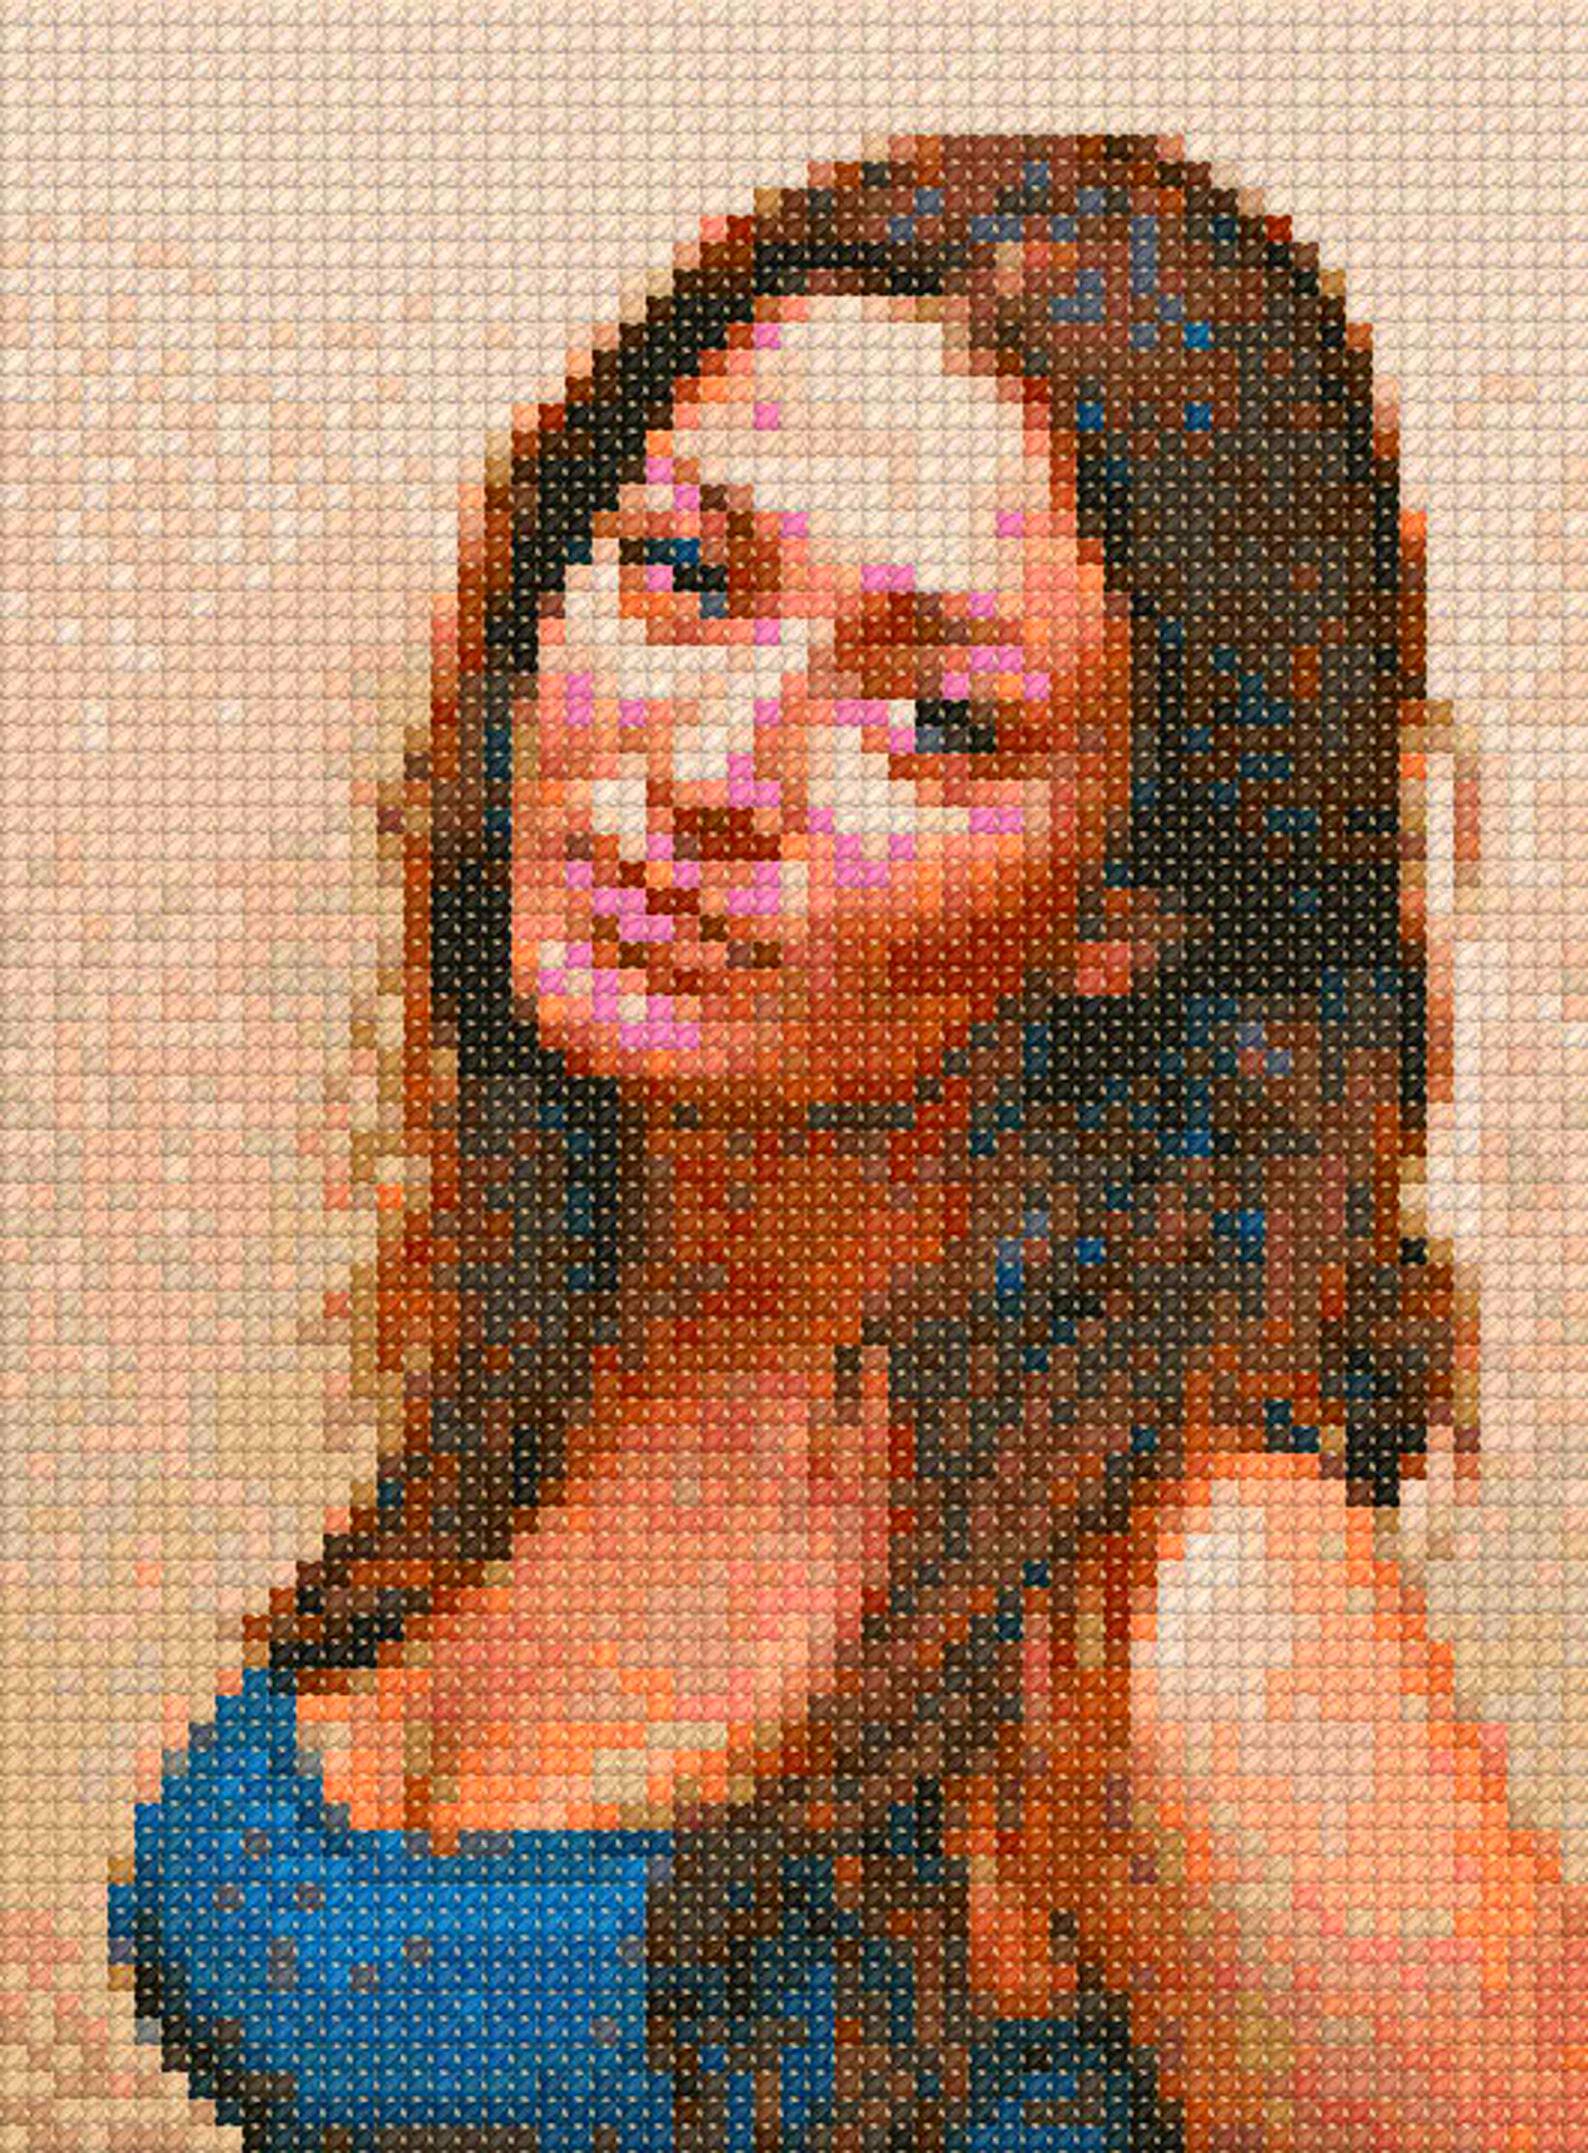
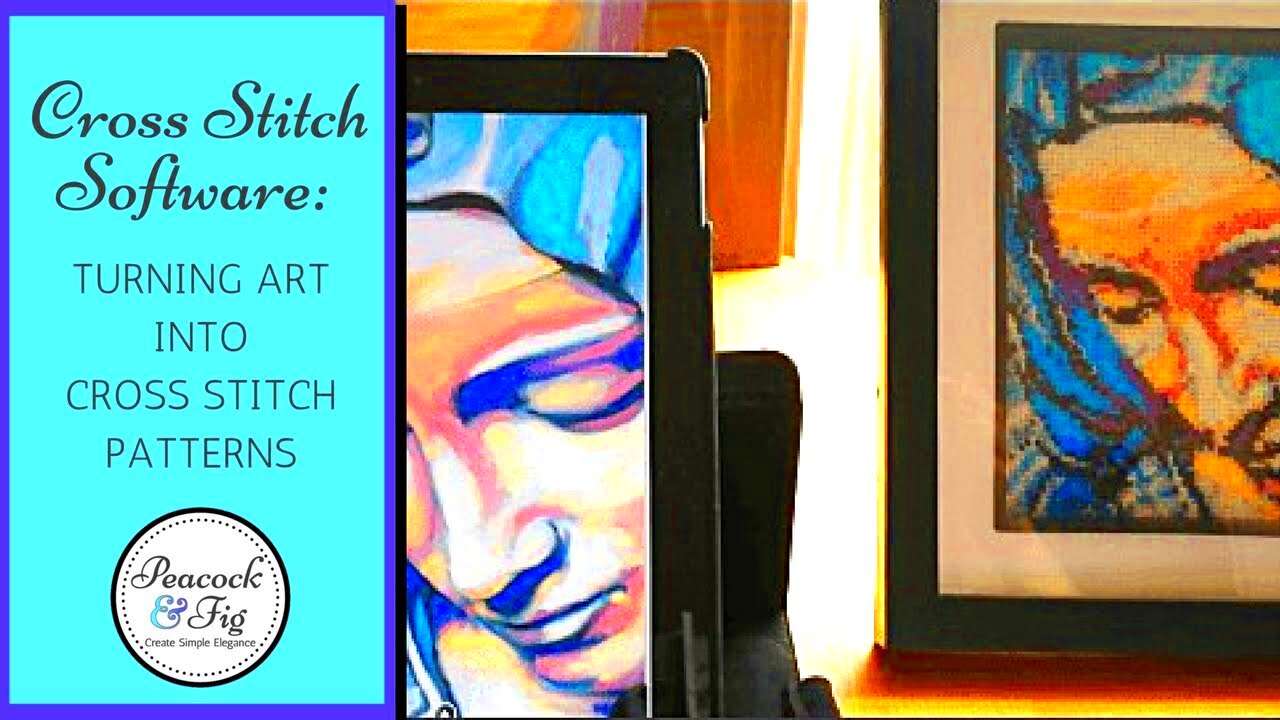
Cross stitch is a beloved needlework technique that creates beautiful patterns on fabric. It's simple yet rewarding, making it perfect for beginners and experienced crafters alike. To create stunning cross stitch designs, you often need to convert images into patterns that are suitable for stitching. This conversion process involves turning a digital image into a grid format, where each square on the grid corresponds to a stitch. In this section, we will explore the basics of cross stitch and how image conversion plays a crucial role in creating your desired patterns.
Choosing the Right Images for Cross Stitch

Selecting the right images is essential for successful cross stitch projects. Not every image will translate well into a cross stitch pattern, so here are some tips to help you choose:
- Simple Designs: Look for images with clear shapes and fewer details. Images that are overly complex may become cluttered when converted.
- High Contrast: Choose images that have a good contrast between colors. This helps ensure that different stitches stand out clearly.
- Color Palette: Consider images with a limited color palette. This makes it easier to manage your threads and achieve a cohesive look.
- Personal Touch: Select images that resonate with you, whether they are family photos, landscapes, or favorite quotes.
With these guidelines in mind, you can find images that will inspire your cross stitch projects and keep you motivated.
Tools for Converting Images to Cross Stitch Patterns
Once you have chosen your image, you’ll need the right tools to convert it into a cross stitch pattern. Here are some popular options:
- Cross Stitch Software: Programs like PCStitch and Stitch Fiddle allow you to upload images and automatically convert them into patterns.
- Online Converters: Websites like Pic2Pat provide easy-to-use online tools that can generate cross stitch patterns from images without needing to download software.
- Mobile Apps: There are several apps available for both iOS and Android devices, such as 'Cross Stitch' and 'StitchBuddy,' that offer image conversion features on the go.
- Graph Paper: If you prefer a hands-on approach, you can manually convert images by printing them on graph paper and filling in the grid with colors.
Each tool has its benefits, so choose one that fits your style and comfort level. Whether you prefer digital methods or traditional techniques, converting images to cross stitch patterns can be a fun and creative process.
Step by Step Process for Image Conversion
Converting an image into a cross stitch pattern is a straightforward process when you break it down into manageable steps. Whether you’re using software or doing it manually, following a step-by-step approach can make it easier. Here’s how to do it:
- Select Your Image: Choose an image that fits the criteria we discussed earlier, focusing on simplicity and contrast.
- Upload the Image: If you’re using software or an online converter, upload your chosen image into the program.
- Set Parameters: Adjust the settings, such as the desired width and height of your pattern. This will determine how detailed your final pattern will be.
- Preview the Pattern: Most tools will allow you to preview the pattern. Take a moment to ensure it looks good and makes sense for cross stitching.
- Adjust the Grid: If needed, you can manually tweak the grid to simplify areas that are too complex or to enhance details.
- Save the Pattern: Once you’re satisfied, save your pattern in a format that works for you, whether it's PDF, JPEG, or another file type.
Following these steps will help you create a clear and enjoyable cross stitch pattern from your chosen image.
Adjusting Colors and Patterns for Cross Stitch
After converting your image into a pattern, the next step is adjusting colors and patterns to suit your preferences. This can enhance the overall look and ensure that your cross stitch turns out beautifully. Here are some tips for making those adjustments:
- Evaluate Color Choices: Look at the colors in your pattern and consider changing some to better match your thread collection. You can swap out colors that may be too close in shade for better contrast.
- Limit the Color Palette: Fewer colors often create a cleaner look. Aim for a palette that is manageable and visually appealing.
- Test Different Shades: Use a color wheel or fabric swatches to test how different colors look next to each other. This will help you visualize your design.
- Pattern Adjustments: You can also make adjustments to the pattern itself by adding or removing elements to achieve your desired design.
Making these adjustments allows for a more personalized touch to your cross stitch project, ensuring that it truly reflects your style.
Printing and Preparing Your Patterns
Once you have finalized your cross stitch pattern, it's time to print and prepare it for stitching. This step is crucial for ensuring that you have everything you need at hand. Here’s how to get ready:
- Print the Pattern: Use a high-quality printer to print your pattern. Make sure the scale is correct, so your grid aligns with your fabric.
- Prepare Your Fabric: Choose a fabric that suits your project, like Aida or linen. Cut it to a size that allows for margins around your pattern.
- Gather Your Supplies: Collect all the materials you’ll need, including threads, needles, and scissors. Organizing your supplies can make the stitching process smoother.
- Make Notes: If your pattern has special stitches or color changes, jot down notes or create a legend to reference while you stitch.
- Store Your Pattern: Keep your printed pattern in a safe place, like a binder or folder, to prevent it from getting wrinkled or damaged.
With everything printed and prepared, you’re ready to dive into your cross stitch project and bring your design to life!
Tips for Successful Cross Stitch Projects
Cross stitching can be a relaxing and enjoyable hobby, but a few tips can help you achieve better results and make the process even more fun. Here are some tried-and-true tips for successful cross stitch projects:
- Start with Small Projects: If you’re new to cross stitching, begin with smaller designs. This will help you build confidence and skills without feeling overwhelmed.
- Use Quality Materials: Invest in good-quality thread and fabric. Higher-quality materials can make a significant difference in the appearance of your finished piece.
- Keep Your Thread Organized: Use thread organizers or bobbins to keep your colors tidy. This makes it easier to find the thread you need and reduces tangling.
- Follow the Pattern Carefully: Pay close attention to the symbols and colors in your pattern. Take your time to avoid mistakes, and don’t rush through the stitching.
- Take Breaks: Cross stitching can be repetitive, so make sure to take breaks to avoid eye strain and fatigue. This also gives you a fresh perspective on your work.
- Join a Community: Connecting with fellow crafters can provide support and inspiration. Consider joining online forums, social media groups, or local stitch clubs.
By following these tips, you can enjoy a smoother and more rewarding cross stitching experience while creating beautiful pieces to cherish.
Frequently Asked Questions
As you dive into cross stitching and image conversion, you might have some questions. Here are answers to some frequently asked questions that can help you along the way:
- What type of fabric is best for cross stitching? Aida cloth is a popular choice for beginners due to its even weave and grid structure. However, linen and other fabrics can also be used for more advanced projects.
- How do I choose the right thread? DMC and Anchor are two well-known brands offering a wide range of colors. Choose threads that match your pattern and fabric type for the best results.
- Can I convert any image into a cross stitch pattern? While most images can be converted, simpler designs with distinct colors work best for clear patterns.
- How do I fix mistakes while stitching? If you make a mistake, don’t panic. Use a pair of tweezers to carefully remove the stitches and re-stitch the correct ones.
- How long does it take to complete a cross stitch project? The time varies based on the project's complexity and size. Small projects may take a few days, while larger ones can take weeks or even months.
These FAQs can help clarify your doubts and encourage you to embrace the cross stitching journey with confidence.
Conclusion
Cross stitching is a delightful way to express creativity and enjoy the art of crafting. By understanding the process of converting images into patterns and following the tips we've shared, you can create beautiful pieces that reflect your personal style. Whether you’re stitching for relaxation, as a gift, or to decorate your home, remember that the journey is just as important as the finished piece. Don't hesitate to experiment, learn from mistakes, and connect with others in the cross stitching community. Happy stitching!

 admin
admin


