Converting 2D images to 3D is a fascinating process that brings flat visuals to life. Whether you're creating immersive graphics for games, enhancing photographs, or simply exploring your creativity, transforming two-dimensional images into three-dimensional models can add depth and realism. This transformation opens up numerous possibilities, from simple 3D animations to complex virtual reality experiences.
In this guide, we’ll walk through why 2D to 3D conversion is beneficial, the tools you can use, and the steps involved in the process. By the end, you'll have a clear understanding of how to take your 2D designs and turn them into dynamic 3D images.
Why Convert 2D Images to 3D?

Converting 2D images to 3D offers a variety of benefits. Here are some key reasons why this process can be valuable:
- Enhanced Visual Appeal: 3D images are more engaging and visually striking than 2D images, especially for use in advertisements, games, and films.
- Improved Realism: 3D models provide a greater sense of depth and space, making the object or scene feel more lifelike.
- Interactive Experiences: 3D conversion is essential for virtual reality (VR) and augmented reality (AR) applications, allowing users to interact with the objects in a more immersive way.
- More Effective Communication: For industries like architecture, medicine, and engineering, 3D representations help convey complex concepts more clearly and precisely.
These benefits make 3D conversion highly valuable for a range of creative and professional fields. Whether you’re a hobbyist looking to experiment or a professional needing more interactive visuals, 2D to 3D conversion can take your projects to the next level.
Also Read This: Why 123RF Is Ideal for Designers and Marketers
Tools and Software for Converting 2D to 3D

There are several tools and software options available to help you convert 2D images into 3D models. Whether you're a beginner or an expert, there's a tool that fits your needs. Below are some of the most popular and user-friendly options:
| Tool | Features |
|---|---|
| Adobe Photoshop | Popular for editing and creating 3D objects from 2D images. It offers powerful 3D tools like extrusion, lighting effects, and texture mapping. |
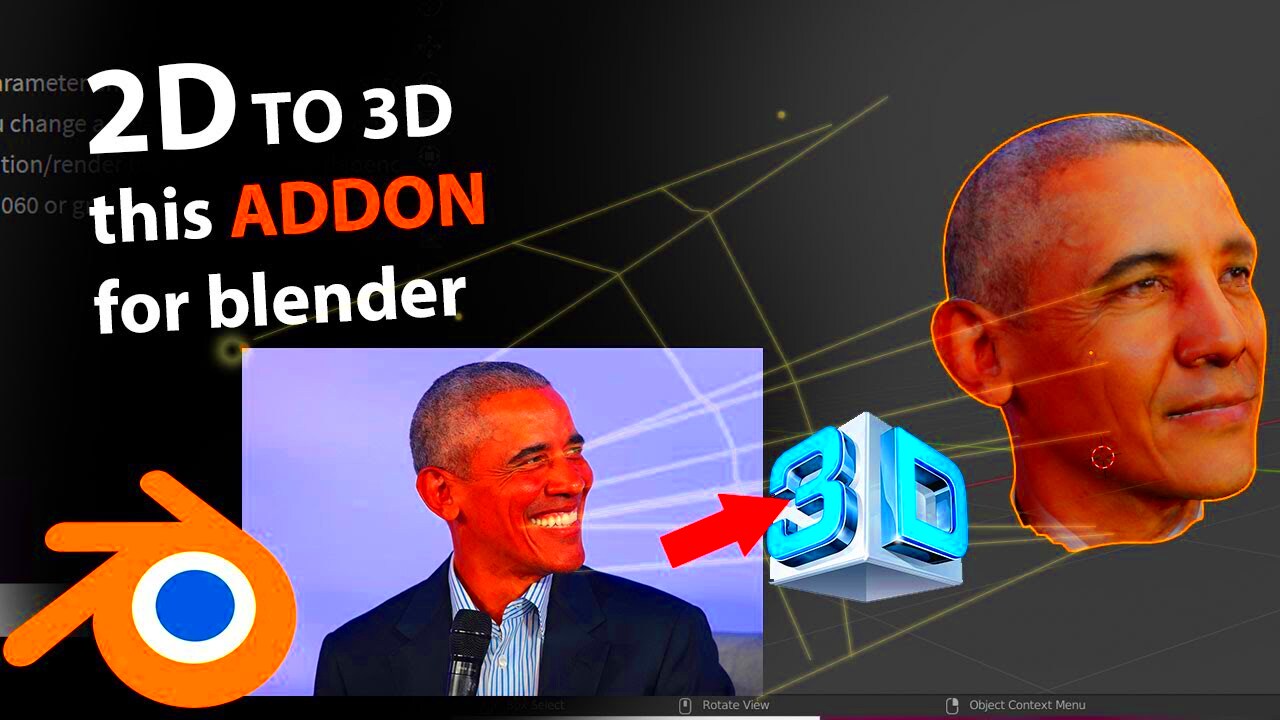
| Blender | A free, open-source 3D creation suite. It’s widely used for creating and animating 3D models, as well as converting 2D images into 3D models with detailed textures. |
| Autodesk 3ds Max | Professional software that offers advanced tools for 3D modeling and conversion. It’s highly suitable for architecture and animation projects. |
| PTC Creo | Specialized in creating 3D models for engineering and industrial design. It has tools for converting 2D sketches into 3D models for prototyping. |
| Vectary | A cloud-based 3D design tool that is user-friendly and ideal for beginners. It helps turn 2D images into 3D objects with ease. |
Each of these tools has its strengths, so the best one for you will depend on your project needs, skill level, and budget. For example, if you're just starting out and want a simple tool, Vectary might be a good choice. But if you’re looking for professional-grade software, Autodesk 3ds Max or Blender might be better suited for your needs.
Also Read This: How to Sell on Getty Images: A Step-by-Step Guide for Photographers
Step-by-Step Guide for Converting 2D Images to 3D
Converting a 2D image to a 3D model might sound complicated, but it can be broken down into simple steps. Follow this step-by-step guide to create your own 3D model from a 2D image:
- Choose Your Image: Start by selecting the 2D image you want to convert. The image should be clear and high-quality for the best results.
- Prepare the Image: In some cases, you may need to edit the image in a photo editing software (like Photoshop) to remove the background or enhance the edges of the subject. This makes the conversion process smoother.
- Use a 3D Software: Import your 2D image into a 3D software like Blender, Autodesk 3ds Max, or Photoshop. These tools will allow you to start the conversion process by giving your image depth.
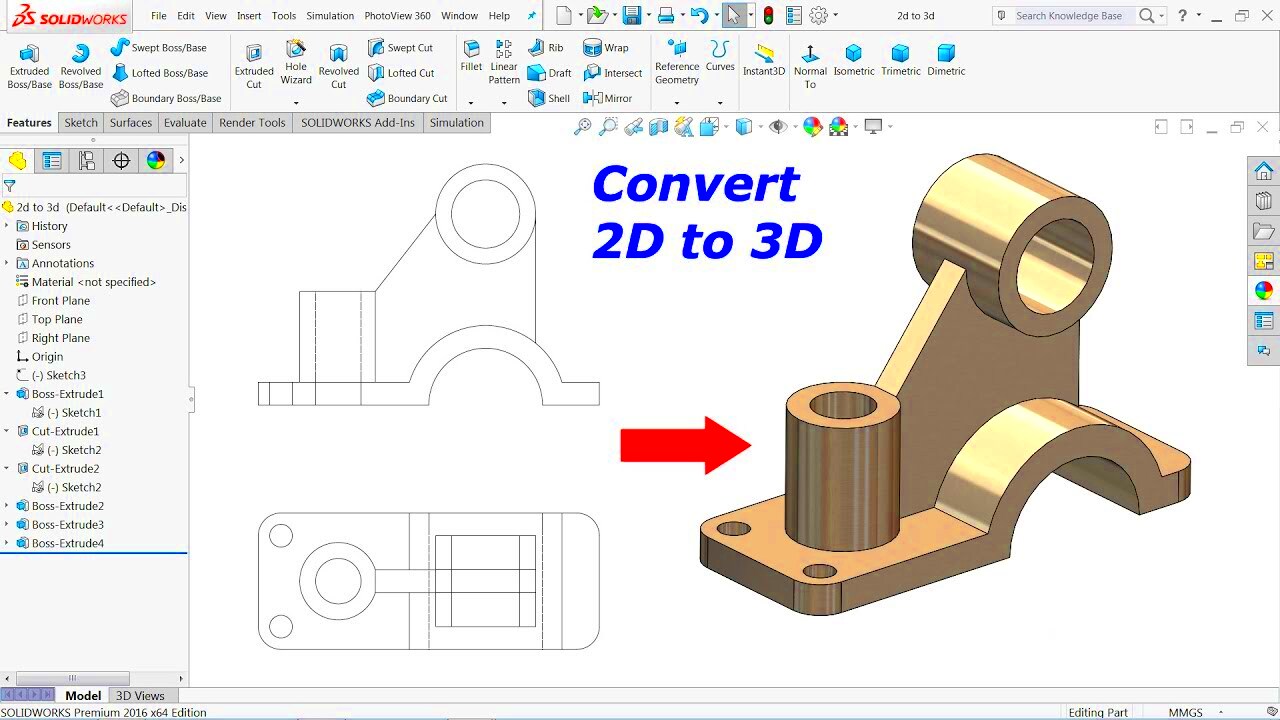
- Create Depth: Use the extrusion tool to give your 2D image some thickness. For example, if you are converting a logo or a simple shape, you can extrude the flat image into a 3D object.
- Apply Textures: Texturing is essential for making your 3D model look realistic. Apply textures to your model to give it more detail and depth, using either images or colors that match the original 2D design.
- Adjust Lighting and Shadows: Proper lighting can make or break your 3D image. Experiment with different lighting setups to give your model a more realistic look.
- Export the Final Model: Once satisfied with your 3D model, export it in the file format suitable for your project, such as .obj, .stl, or .fbx.
These steps provide a general overview of how to turn your 2D image into a fully realized 3D model. The process may vary slightly depending on the software you're using, but the basic principles remain the same.
Also Read This: How to Darken an Image on Photoshop for Enhanced Effects
Common Techniques for 3D Image Conversion
When it comes to converting 2D images into 3D, there are several techniques you can use, each suited for different types of images and desired outcomes. Here are the most common methods:
- Extrusion: This technique involves taking a flat 2D shape and pulling it into the third dimension by giving it depth. It’s commonly used for logos, text, and simple graphics.
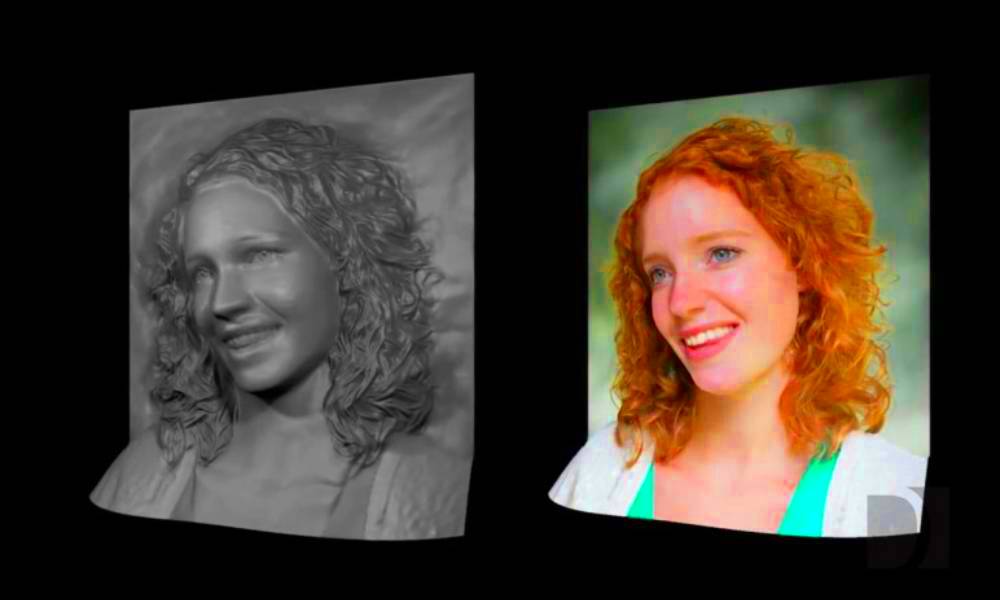
- Depth Mapping: Depth mapping involves creating a grayscale image where darker pixels represent closer objects and lighter pixels represent farther objects. This map helps generate a 3D effect by interpreting the depth information.
- Mesh Modeling: This technique creates a mesh structure from the 2D image, which is then refined to add details and make the shape more lifelike. It is commonly used for complex objects and characters.
- Displacement Mapping: Displacement mapping alters the surface geometry of an image to give it a more realistic, detailed 3D look by shifting points based on texture or a height map.
- Photogrammetry: This method uses multiple 2D photographs of an object or scene taken from different angles. The software processes these images to create a detailed 3D model with texture mapping.
Each technique has its advantages, depending on the type of project you're working on. For example, extrusion is great for logos and flat designs, while photogrammetry is ideal for turning real-world objects into 3D models.
Also Read This: How to Cut Around an Image in Illustrator for Precise Edits
How to Optimize 3D Images for Different Platforms
Once you've converted your 2D image into a 3D model, the next step is optimizing it for different platforms. Whether you're showcasing your 3D creation on a website, a game, or VR, optimization is crucial to ensure smooth performance and high-quality visuals. Here are some essential tips:
- Reduce Polygon Count: High polygon counts can slow down performance, especially in real-time applications like games or VR. Use tools to reduce the polygon count while maintaining visual quality.
- Use Efficient Textures: Large textures can slow down rendering times. Optimize texture maps by compressing them and using lower-resolution textures where appropriate.
- Optimize for File Size: Different platforms have different file size restrictions. For web or mobile platforms, aim to reduce the file size of your 3D models without compromising too much on quality. Formats like .glTF or .FBX can be more efficient for web applications.
- Adjust Lighting for Performance: Complex lighting setups can increase the rendering load. Simplify lighting, use baked lighting for static scenes, and optimize shadow quality to improve performance.
- Test Across Platforms: Always test your 3D models on the platforms you intend to use them on. This ensures the model appears as intended, with no performance issues or visual glitches.
Optimizing your 3D images for different platforms is essential for maintaining a balance between quality and performance. By following these tips, you can make sure your 3D creations look great and perform well across all platforms, from web browsers to VR headsets.
Also Read This: How to Resize an Image Without Stretching It to Maintain Proportions
Common Challenges in Converting 2D to 3D and How to Overcome Them
While converting 2D images to 3D can be an exciting process, it doesn’t come without its challenges. Here are some common issues you may encounter and tips on how to overcome them:
- Depth Perception Issues: One of the hardest parts of 2D to 3D conversion is ensuring the proper depth of objects. Without a clear depth map or proper extrusion, the 3D model can appear flat or unrealistic.
- Texture Mapping Problems: Applying textures to 3D models from 2D images can result in distortion if not done carefully. Ensure that textures are scaled and aligned properly to match the 3D shape.
- High Polygon Count: Creating detailed 3D models can result in a high polygon count, which can slow down rendering or cause performance issues in real-time applications.
- Inconsistent Lighting: Lighting in a 3D scene can be tricky. If the lighting isn’t well-adjusted, shadows can look unnatural, making the 3D model feel unrealistic.
Here’s how to overcome these challenges:
- Refine Depth Mapping: Use depth maps and make sure to extrude objects accurately to give them proper depth.
- Fix Texture Alignment: Check texture mapping thoroughly. Use software tools that allow for easy texture editing and ensure they wrap correctly around the 3D geometry.
- Optimize the Model: Use decimation tools to reduce the polygon count, ensuring that the model is optimized for performance without sacrificing too much detail.
- Adjust Lighting Settings: Experiment with different light setups. Consider using ambient occlusion to improve the realism of shadows.
By addressing these challenges, you can achieve high-quality 3D conversions that are both visually appealing and functional.
Also Read This: Exploring the Latest OK.ru Updates and Features for a Better User Experience
FAQ about Converting 2D Images to 3D
Here are some frequently asked questions about converting 2D images into 3D models. These answers can help clarify the process and guide you through common concerns:
- How long does it take to convert a 2D image to 3D? The time it takes can vary depending on the complexity of the image and the software you're using. Simple designs may take only a few hours, while complex images can take days or even weeks.
- Do I need special software to convert 2D images to 3D? Yes, you need 3D modeling software like Blender, Photoshop, or Autodesk 3ds Max. Some free tools are available, but professional software offers more features and flexibility.
- Can I convert any 2D image into 3D? Most 2D images can be converted into 3D, but images with simple shapes or clear depth can be easier to work with. Complex images may require additional editing or refinement.
- What file formats should I use for 3D images? Common file formats for 3D models include .obj, .fbx, .stl, and .glTF. The choice of format depends on your intended platform or project.
- Can I animate a 3D model created from a 2D image? Yes, once the 2D image is converted into a 3D model, you can apply animations, textures, and other effects to create dynamic visual experiences.
These FAQs provide a quick overview of common questions surrounding the 2D to 3D conversion process. If you’re still unsure about something, it’s always a good idea to look up tutorials or reach out to online communities for more in-depth support.
Conclusion: Benefits of Converting 2D to 3D
Converting 2D images to 3D offers numerous benefits that can enhance your creative projects, professional work, and interactive experiences. Here are some key advantages:
- Improved Visual Appeal: 3D images are more engaging and captivating, making them perfect for marketing materials, games, films, and websites.
- Better Realism: 3D models provide a more lifelike appearance, offering viewers a more immersive experience.
- Versatility Across Platforms: 3D images can be used in a variety of platforms, including virtual reality (VR), augmented reality (AR), and gaming, broadening your creative potential.
- Clearer Communication: In industries like architecture, medicine, and education, 3D models can help communicate complex ideas more clearly and effectively.
Ultimately, converting 2D images to 3D is a powerful tool for both creativity and communication. By mastering the techniques and tools involved, you can take your designs and projects to the next level, creating visually stunning and interactive experiences. Whether you're working on art, design, or technical projects, 3D conversion offers endless possibilities.


