Have you ever gone through your collection of photos and realized that some of your favorites are taking up more space than you'd like? This happens often, especially with the high resolution pictures we take nowadays. If you're a
Photobucket user you may be curious about how to handle these images without sacrificing their quality. The good news is that compression can help reduce file size while still keeping your photos looking good. Let's explore why this is important and how you can do it on
Photobucket.
Understanding Why You Might Need to Compress Images
Why do we need to compress images you might wonder? Its a thought that crosses my mind too, particularly when I find myself wrestling with a slow computer or sifting through a messy cloud storage. Here’s the scoop;
- Storage Space: High-resolution photos take up more storage space. By compressing them, you can save valuable storage on both your local device and cloud services like Photobucket.
- Faster Upload and Download Times: Smaller file sizes mean quicker uploads and downloads, which is a blessing when dealing with slow internet speeds.
- Better Sharing: Smaller files are easier to share via email or social media, making them more convenient for sending to friends and family.
- Improved Performance: If your website or blog features a lot of images, compressed files can improve load times and overall performance.
Reducing the size of files doesn't mean compromising on quality; it's all about striking that sweet spot. You want your pictures to shine while not taking up too much room. I discovered this to be handy when putting together an album of family pictures online. Compressing the photos made handling the album a breeze.
How to Access Your Photos on Photobucket
Retrieving your pictures on
Photobucket is a simple process, but it's beneficial to go over the steps. Here's a guide on how to access your photos:
- Log In: Start by logging into your Photobucket account. If you don’t have one yet, it’s quick to sign up.
- Navigate to Your Album: Once logged in, go to the “Albums” section. Here you’ll find all the albums you’ve created.
- Select an Album: Click on the album that contains the photos you want to compress. This opens up a view of all the images within that album.
- Choose Your Photos: Click on the photo you want to compress. You’ll be able to view and select multiple photos if needed.
When I began using
Photobucket I was impressed by how user friendly the interface was. It gave me the sensation of browsing through a traditional photo album while enjoying the benefits of digital convenience. Just keep in mind that once you find your pictures you’re already on the way to enhancing them!
Step-by-Step Guide to Compressing Images
How about we dive into the nitty gritty? While compressing images on
Photobucket may sound challenging, believe me it’s not as complicated as it appears. I recall my initial try at it feeling like stumbling through a maze with a blindfold on. However once you get the rhythm of it, it goes pretty effortlessly. Let me share a straightforward step by step guide to assist you in the process.
- Select the Image: Start by choosing the image you want to compress. Open your Photobucket account, navigate to the album, and click on the image.
- Open the Edit Menu: Once you have the image open, look for the “Edit” option. It’s usually a button with a pencil icon or similar. Click on it to open the editing tools.
- Find Compression Options: In the edit menu, you’ll find various options. Look for settings related to “Quality” or “Resize.” Photobucket might label these differently, but they generally allow you to adjust the file size.
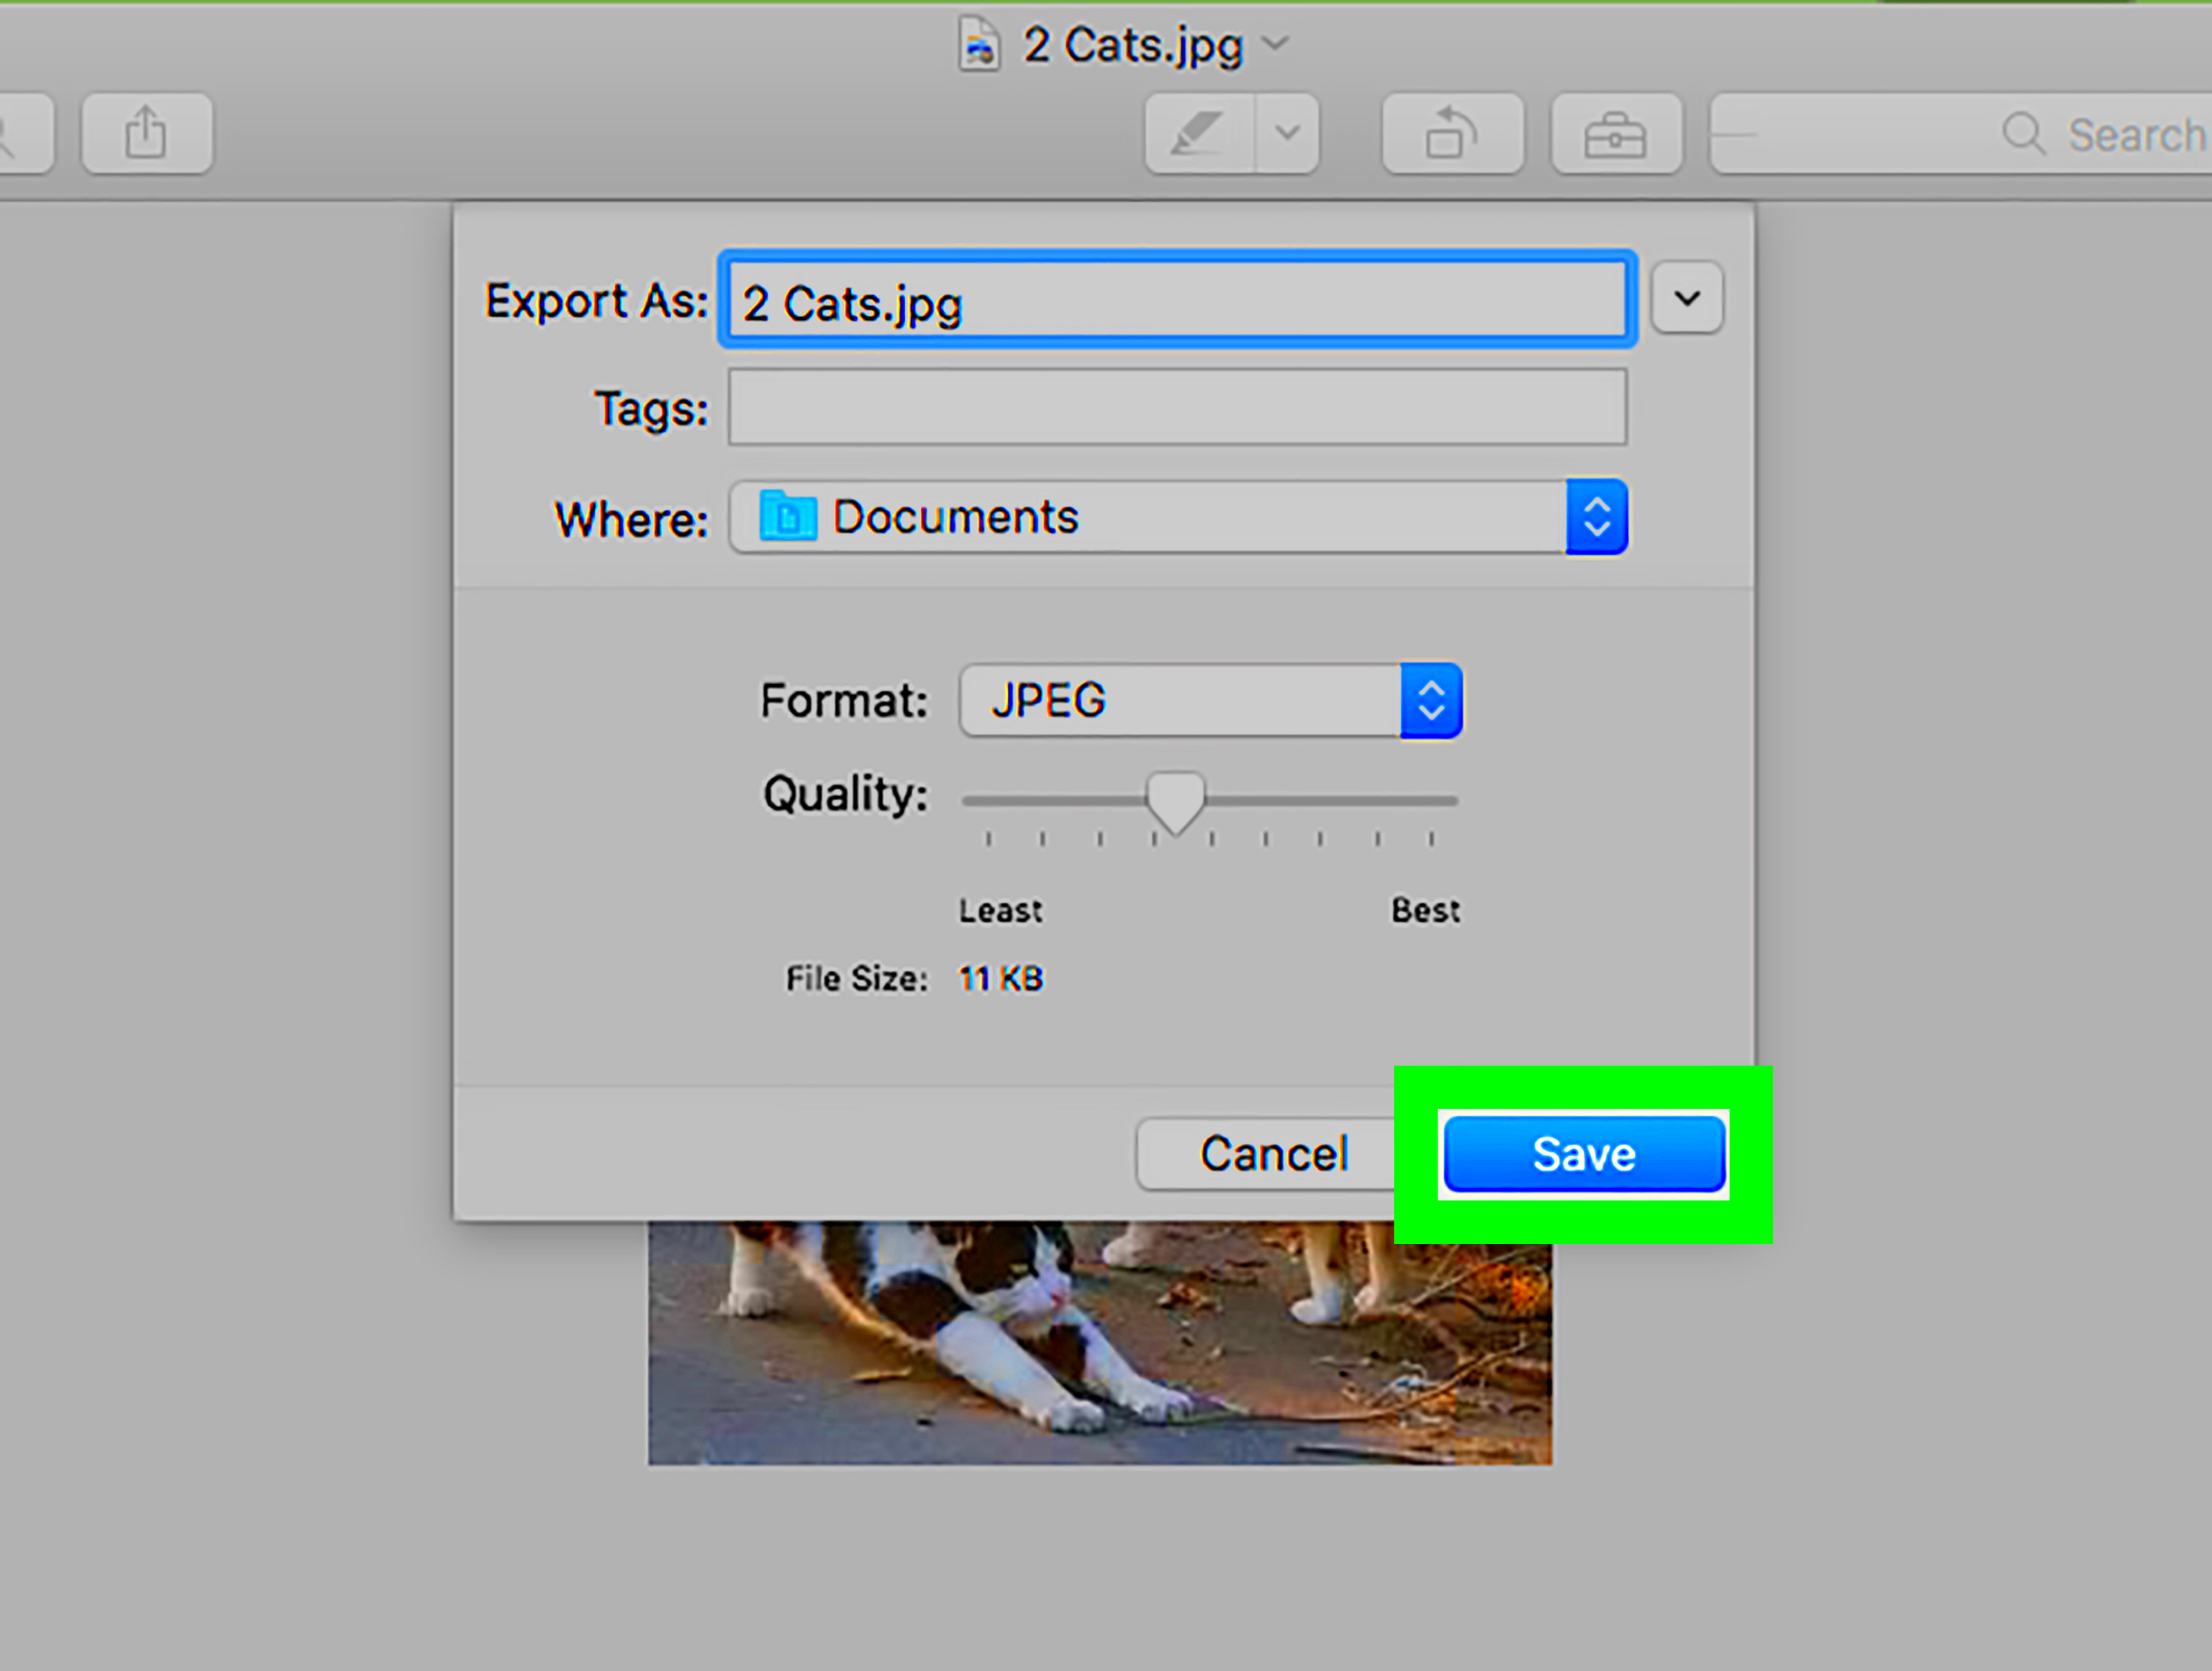
- Adjust Compression Levels: Use the slider or input box to set the level of compression. Lower quality settings will reduce the file size more, but be cautious as it can also affect the image clarity.
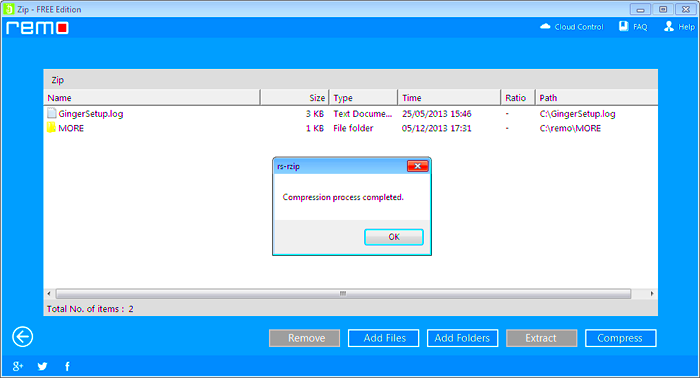
- Save the Changes: After setting your desired compression level, save the changes. You might need to confirm or click a “Save” button. This will apply the compression and update the image in your album.
In the beginning I had to go through some ups and downs but that’s all part of the process. Eventually I discovered the balance that suited my requirements. The trick is to try things out and figure out what options yield the results for your pictures.
Choosing the Right Compression Settings for Your Needs
Picking the compression settings is similar to discovering the seasoning blend for a meal you want just the right amount to elevate the taste without overwhelming it. It can be tricky to navigate, especially if you're a beginner in this area. Here's a helpful guide to assist you in making the selection.
- Determine Your Needs: Think about how you’ll be using the image. For web use, you can usually go with higher compression without a noticeable loss in quality. For printing, you might want to keep the settings closer to the original quality.
- Resolution Matters: Higher resolution images can handle more compression. If you’re compressing a high-res photo, you might get away with more aggressive compression without a significant quality drop.
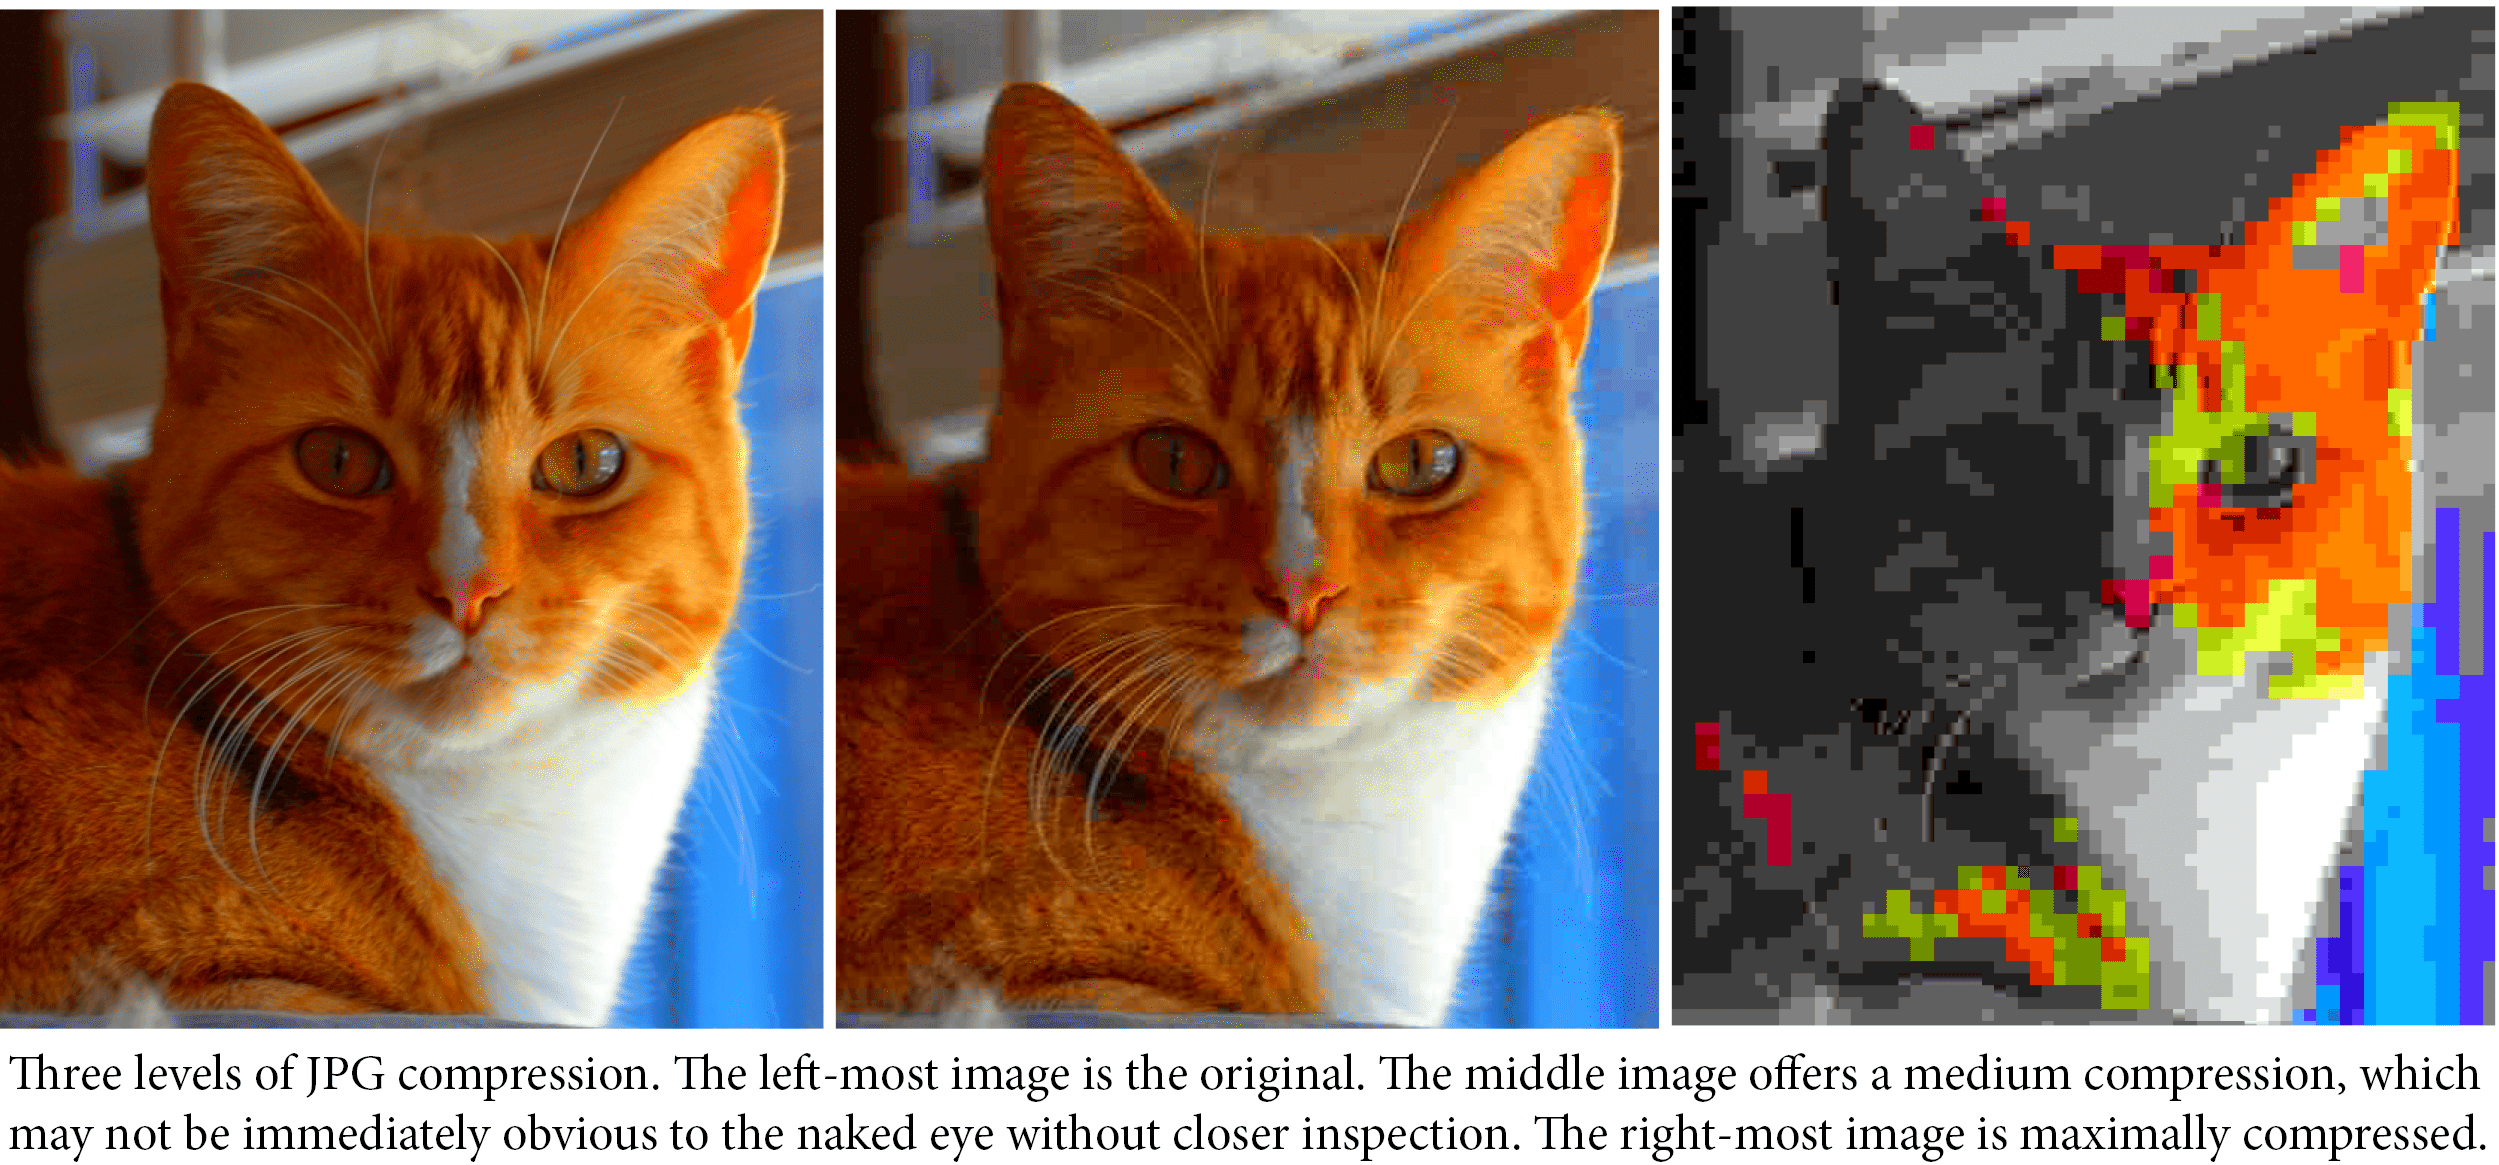
- Quality vs. File Size: The main trade-off in compression is between quality and file size. If you’re looking to reduce file size, expect some loss in quality. Use the preview option to gauge how different settings affect the image.
- Experiment and Compare: It’s helpful to try different settings and compare the results. I remember experimenting with various levels to find the perfect balance for my blog posts—trial and error were my best friends!
It may require some trial and error to strike the balance but stay positive. The optimal adjustments will vary based on your unique requirements and the intended purpose of your pictures.
Tips for Maintaining Image Quality After Compression
One of the hurdles in compressing images is preserving their quality. Its akin to trying to shed some pounds while still savoring your beloved dishes finding that sweet spot. Here are a few suggestions to help keep your images looking crisp and vibrant even after theyve been compressed.
- Use Lossless Compression: If preserving quality is crucial, opt for lossless compression methods. These reduce file size without altering the image quality, though they might not compress as much as lossy methods.
- Check Image Format: Different image formats handle compression differently. JPEG is great for photographs with smooth gradients, while PNG is better for images with text or sharp edges.
- Preview Before Saving: Always use the preview feature to see how the compression affects your image. This way, you can make adjustments before finalizing the changes.
- Keep Original Copies: It’s a good idea to keep a copy of the original high-resolution image. That way, if you need to go back and make adjustments later, you won’t be stuck with a low-quality version.
Preserving the quality of an image post compression requires a level of finesse. By adhering to these suggestions and playing around with various configurations you can ensure your pictures retain their charm while also optimizing storage. Believe me with some practice you'll master the technique in no time!
Common Issues and Troubleshooting
We all know that technology can be a bit tricky sometimes. When it comes to compressing images on
Photobucket you might run into a few bumps in the road. I remember feeling annoyed when my initial attempts at compression didn’t work out as I hoped. But don’t fret—most problems have straightforward solutions. Here are some issues you might encounter and how to address them:
- Quality Loss: If you notice that your images look blurry or pixelated after compression, it might be due to too much compression. Try adjusting the settings to a lower compression level. Remember, finding the right balance is key.
- File Size Not Reducing: Sometimes, despite your best efforts, the file size doesn’t decrease as much as expected. This can happen if the image is already highly optimized or if you’re using a format that doesn’t compress well. Consider using a different compression tool or adjusting the image dimensions.
- Upload Issues: If you’re having trouble uploading your compressed images back to Photobucket, check your internet connection and try refreshing the page. Sometimes, a simple refresh can solve the problem.
- Incompatible Formats: Photobucket might not support certain image formats for compression. If you encounter this issue, convert your images to a more common format like JPEG or PNG before compressing them.
Navigating through these challenges can be quite an adjustment. I’ve encountered them too and it required some determination to uncover solutions. What matters most is to stay motivated—there’s a solution to every problem and before you know it you’ll be resizing images effortlessly!
Alternative Tools and Methods for Image Compression
If you ever find yourself in a situation where you want to compress images, it can be worth exploring options apart from Photobucket. There are different tools and techniques out there that can simplify the process or yield varying outcomes. Over the years I've experimented with several tools, each offering its own advantages. Here are a few alternatives that you might find helpful,
- Online Compression Tools: Websites like TinyPNG, JPEG-Optimizer, and CompressJPEG offer quick and easy image compression directly from your browser. They’re user-friendly and often provide a good balance between file size and image quality.
- Desktop Software: Programs like Adobe Photoshop and GIMP offer advanced compression options. These tools give you more control over the compression settings and can handle batch processing, which is handy if you’re working with multiple images.
- Mobile Apps: If you’re on the go, apps like Photo Compress & Resize or Compress Photos for Android and iOS can help you compress images directly from your phone. They’re quite handy for quick tasks and on-the-fly adjustments.
- Using Different Formats: Sometimes, changing the image format can lead to better compression. For instance, converting a BMP file to JPEG or PNG might reduce the file size significantly.
Looking into these options can assist you in discovering the perfect fit for your requirements. Personally I’ve dabbled with various approaches and each one has its unique appeal. Feel free to give them a go and find what suits you best!
Frequently Asked Questions
When it comes to compressing images there are a few questions that tend to come up more frequently than others. If youre just starting out you might be curious about certain aspects of the procedure. Here are some commonly asked questions that I have come across during my journey along with my thoughts.
Will compressing an image reduce its quality?
- Yes, compressing an image can reduce its quality, but the extent depends on the level of compression you choose. It's about finding a balance that suits your needs.
Can I compress images in bulk?
- Absolutely! Many tools, both online and offline, support batch processing. This is especially useful if you have a lot of images to compress at once.
What’s the best format for compressed images?
- JPEG is often preferred for photographs due to its good compression capabilities. PNG is better for images with text or transparency, though it usually results in larger file sizes.
Is it possible to reverse compression?
- Unfortunately, once an image is compressed, it’s challenging to restore it to its original quality. It’s always a good idea to keep an uncompressed version as a backup.
Are there any free tools for image compression?
- Yes, there are plenty of free tools available online that offer basic compression features. However, for more advanced options, you might need to consider paid software.
Here are a few questions I often get asked along with responses that could shed some light on the matter. Keep in mind that image compression involves both creativity and technicality. With some experimentation and curiosity you’ll become pretty skilled at it!
Conclusion and Final Thoughts
Weve taken a deep dive into the realm of compressing images on Photobucket exploring its importance troubleshooting tips and alternative options. Just like adding spices to a curry dish finding the balance in compression can work wonders for your photos making them easier to share and manage while still retaining their beauty.I recall my own journey with compression it had its ups and downs but each twist taught me something valuable. Whether you want to save storage or enhance your upload speed mastering compression is a useful skill that brings rewards. So roll up your sleeves give it a shot and dont hesitate to try new things. Your pictures and your digital experience will be grateful for it!
 admin
admin


