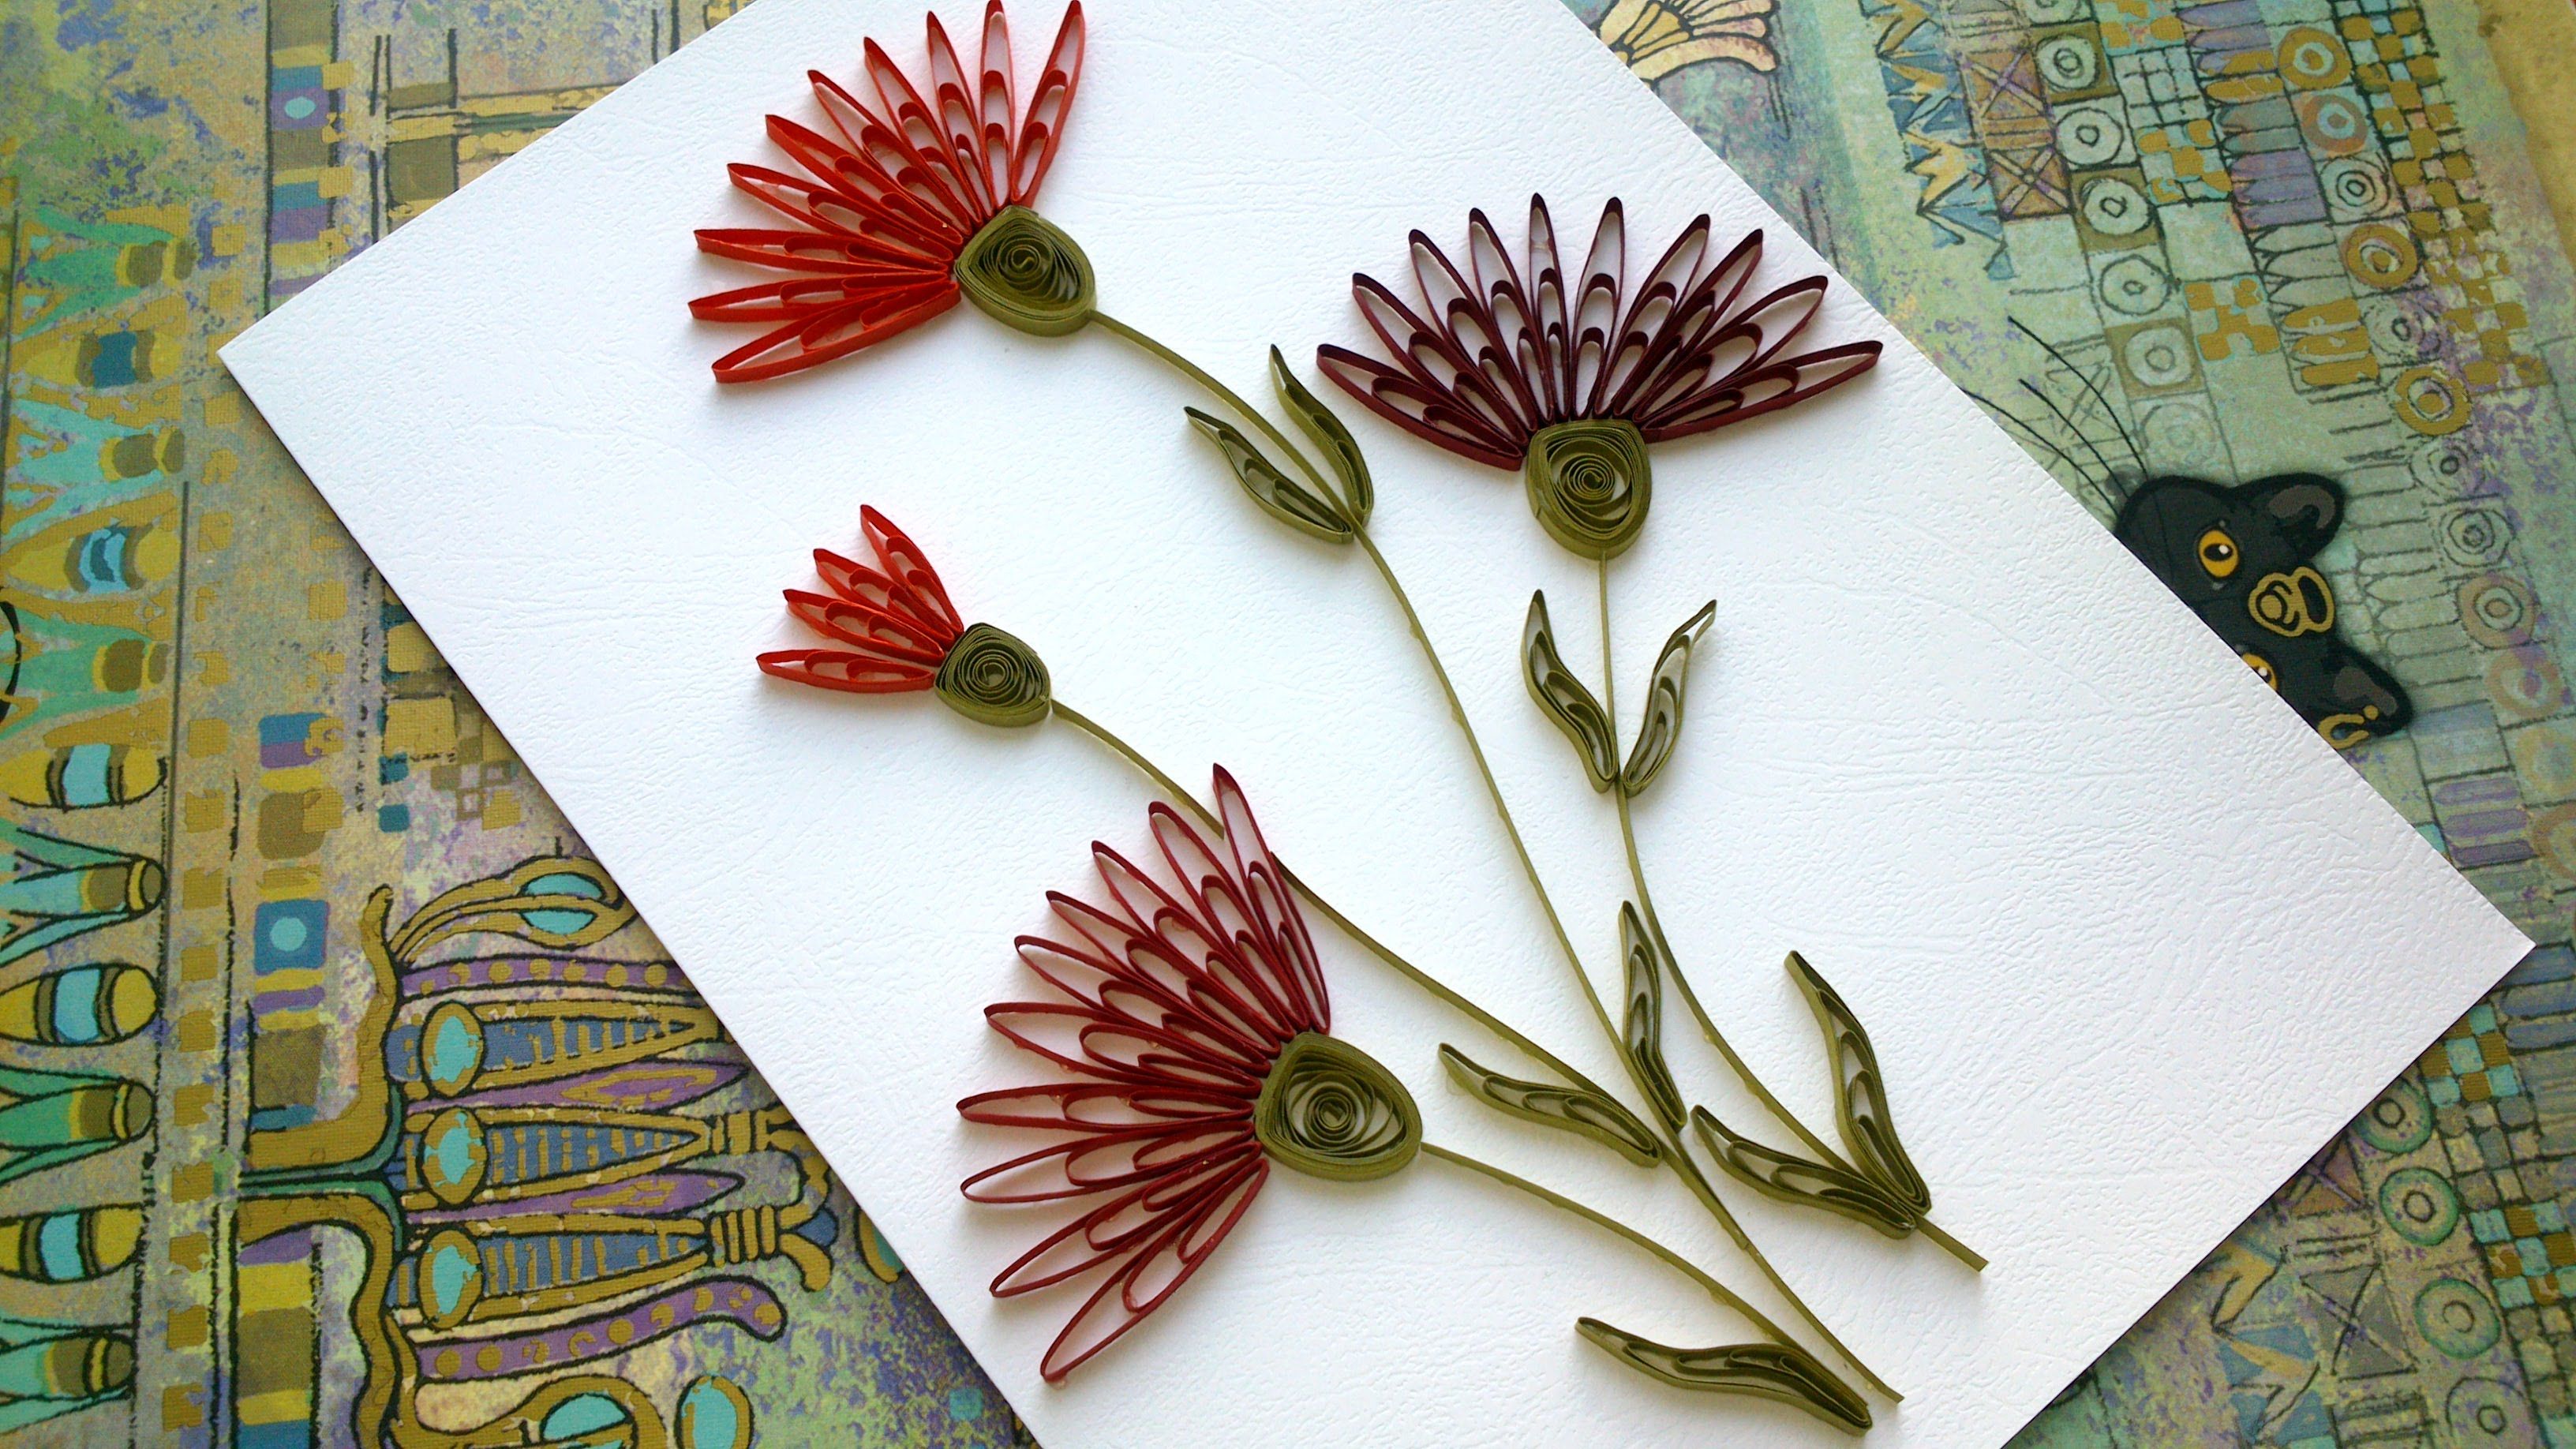
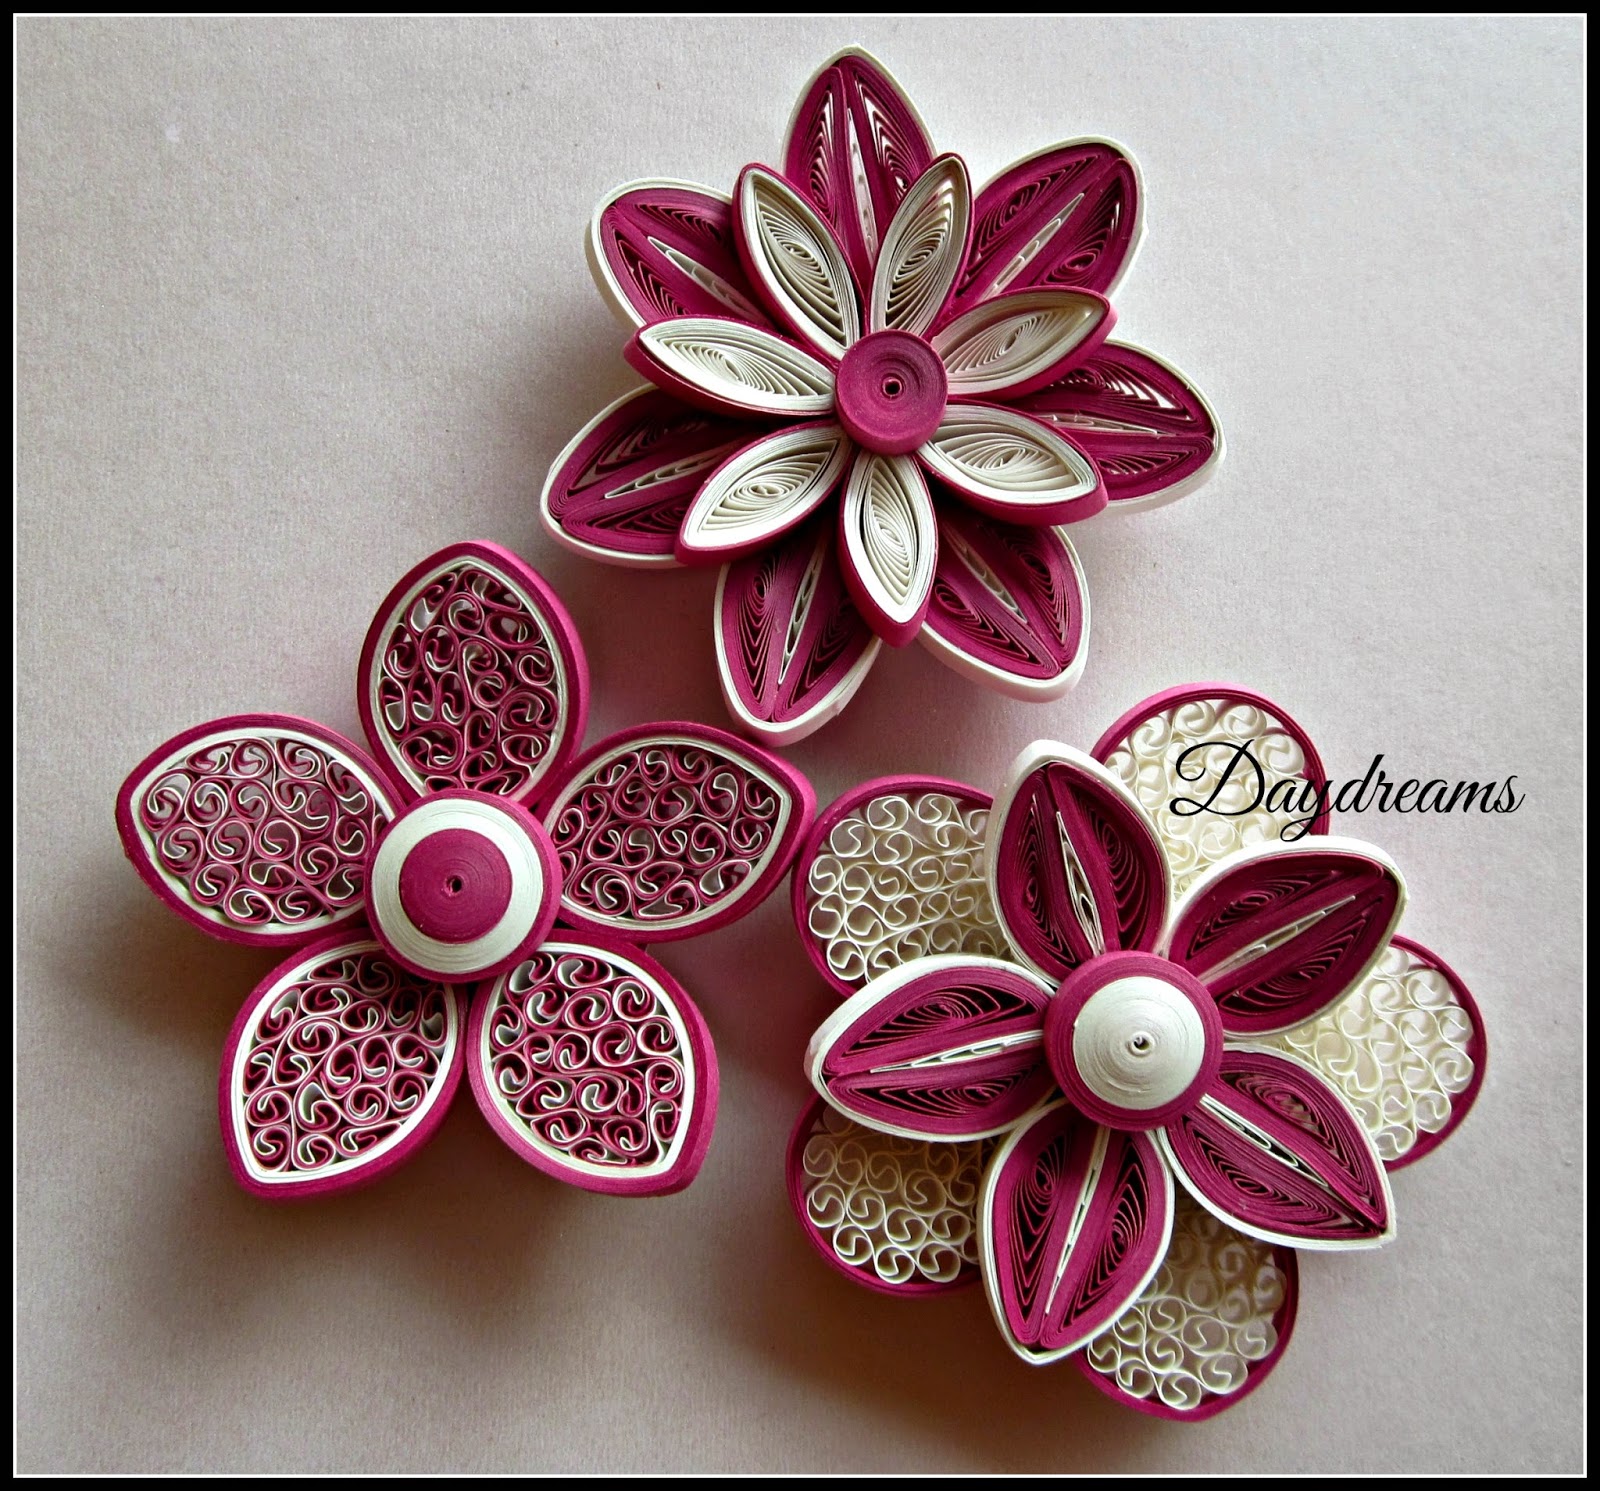
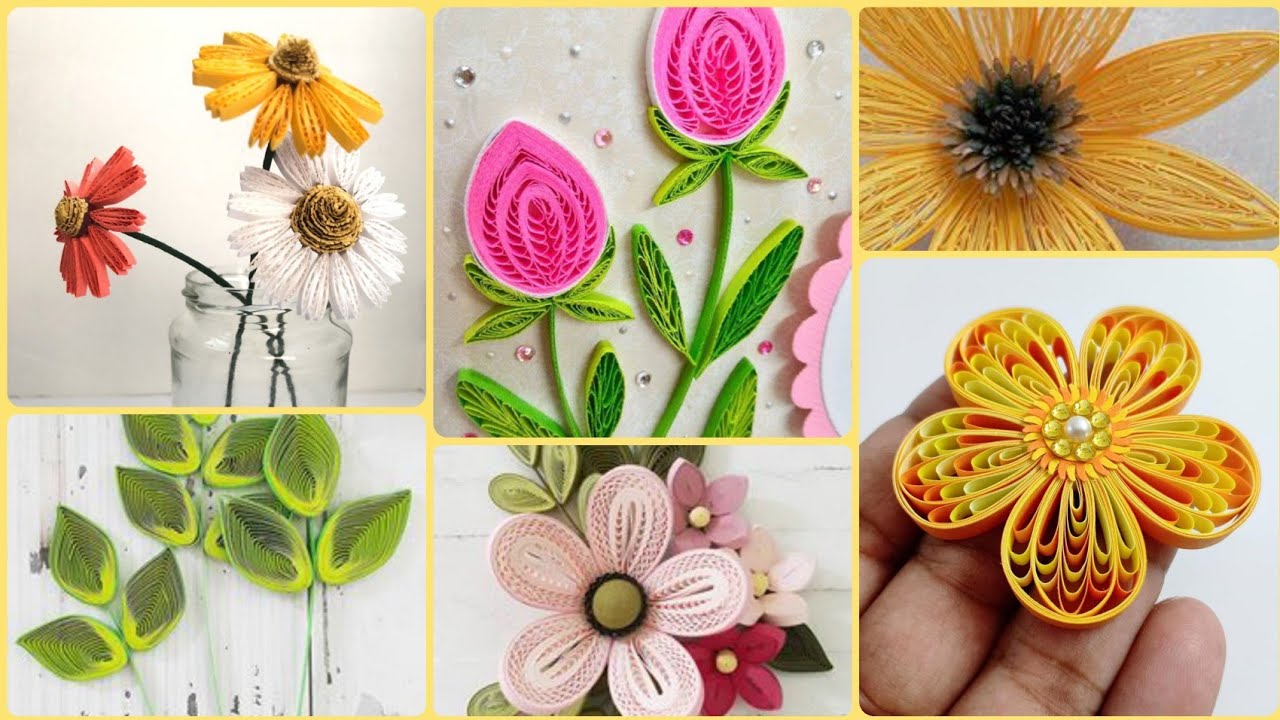
If you’re looking to add a touch of creativity to your craft projects, quilled flowers could be your next favorite hobby! This delightful art form, which involves rolling and shaping strips of paper, is both therapeutic and satisfying. Quilled flowers not only serve as beautiful decorations but also make fantastic gifts for friends and family. With a sprinkle of patience and a dash of creativity, you too can master this ancient craft. So, let’s dive into what makes quilled flowers so special and how you can begin your journey!
Materials Needed for Quilled Flowers

Before you embark on your quilling adventure, it’s essential to gather all the materials you need. While quilling requires minimal supplies, having the right tools can make a big difference in the ease and enjoyment of the process. Here’s a handy list of materials you’ll need:
- Quilling Paper Strips: These come in various colors and widths. A standard size is 1/8 inch wide, but you can experiment with different sizes for varied effects.
- Quilling Tool: This tool has a slotted end that holds the paper strip for rolling. You can also use a toothpick if you're in a pinch!
- Glue: A fine-tip glue applicator or clear-drying glue is best for precise application.
- Scissors: You’ll need these for cutting your paper strips or trimming shapes.
- Tweezers: They’re handy for holding tiny pieces together when gluing.
- Quilling Board (optional): This tool can help you create uniform shapes and sizes for your flowers.
- Embossing Tool: If you want to add some dimension, this tool can help shape your petals more effectively.
Gathering these materials will lay the groundwork for a fun and fulfilling crafting experience. With your supplies ready, you'll be able to dive right into creating stunning quilled flowers that can brighten up any space or occasion!
Also Read This: How to Make Easy Paper Flowers
Basic Techniques for Quilling

Quilling is an art form that involves rolling, shaping, and gluing strips of paper to create decorative designs. Here are some basic techniques you should familiarize yourself with to get started:
- Rolling: Take a quilling strip and place it in a slotted tool or use your fingers to roll it tightly. The tighter you roll, the smaller the shape will be. Once you reach your desired size, secure it with a dab of glue.
- Pinching: After rolling, you can pinch the loops of paper to form different shapes. For example, pinching one end creates a teardrop shape while pinching both ends can form a more oval shape.
- Shaping: You can create various shapes beyond just the basic circle. Try forming hearts, leaves, and petals by adjusting the angles and pinch points of your rolled strips.
- Gluing: A good adhesive is crucial in quilling. Use a fine-tipped glue applicator to ensure precision. Avoid overusing glue, as too much can seep out and ruin your design.
- Layering: To add depth to your quilled flowers, layer various shapes and sizes on top of one another. This technique allows you to create a fuller, more textured look.
Once you’ve mastered these basic techniques, you’ll be ready to dive into your quilling projects!
Also Read This: Stay Comfortable All Day with Always Ultra Pads Video on Dailymotion
Step-by-Step Instructions for Making Quilled Flowers

Creating beautiful quilled flowers can be incredibly satisfying. Here’s a straightforward guide to help you make your own:
- Gather Your Materials: You will need quilling paper strips, a slotted quilling tool, scissors, a glue stick or liquid glue, and a slotted tool.
- Choose Your Flower Design: Decide on the type of flower you wish to create. Popular options include daisies, roses, and sunflower designs.
- Roll the Petals: For a basic flower, start by rolling several strips of paper into loops. Use around 5-7 strips for a fuller look. Pinch one end to create teardrop shapes for petals.
- Assemble the Flower: Begin gluing your petal shapes around a central circle (which will act as the flower’s core). Layer them until you achieve your desired look.
- Add Leaves and Stems: Create leaves using a similar method. Use green strips of paper and shape them as needed. Attach them to the flower before gluing it onto a stem if you wish to have one.
- Finishing Touches: Add any final embellishments, like rhinestones or glitter, to give your flower extra flair and dimension.
And voilà! You now have your very own quilled flower. Remember, practice makes perfect, so keep experimenting with different designs and styles!
Also Read This: How to Bypass YouTube’s Adblock Detection
Tips for Creating Beautiful Quilled Flowers
Creating stunning quilled flowers can be a delightful and rewarding experience, and with a few tips, you can take your creations to the next level. Whether you’re a beginner or an experienced crafter, these insights can help you achieve more aesthetically pleasing results.
- Choose High-Quality Materials: Invest in good quilling paper and tools. High-quality paper is easier to work with and will give your flowers a professional look.
- Mastering Basic Shapes: Start by getting familiar with the basic quilling shapes like tight coils, loose coils, and teardrop shapes. These are the building blocks of most floral designs.
- Color Coordination: Experiment with color combinations that complement each other. You can use a color wheel for inspiration. Nature is a great guide, so don’t hesitate to draw from real flowers!
- Utilize Different Sizes: Vary the sizes of your quilled pieces. Larger petals combined with smaller ones can add depth and visual interest to your flower designs.
- Practice Patience: Quilling can require intricate work, so take your time. Don’t rush the process, as careful crafting leads to better results.
- Assembly Techniques: Use a strong adhesive for assembling your flowers, and try not to press too hard as that can flatten your delicate quills. Hold each piece delicately in place until set.
With these tips in mind, you’ll be well on your way to creating beautiful quilled flowers that will impress everyone who sees them!
Also Read This: How to Make a Side Puff Hairstyle at Home: Simple Guide on Dailymotion
Showcasing Your Quilled Flower Creations
Once you have created your beautiful quilled flowers, you’ll want to show them off! There are various creative ways to showcase your hard work, allowing your unique designs to shine. Here are some ideas:
- Framed Art: Create a stunning piece of wall art by framing your quilled flowers. Choose a deep-set frame to accommodate the height of the quills, and consider using a contrasting background color to make your flowers pop!
- Greeting Cards: Make one-of-a-kind greeting cards that feature your quilled flowers. They can add a personal touch to any occasion, whether it’s a birthday, wedding, or just a thoughtful note.
- Home Decor: Incorporate your quilled flowers into home decor items, such as vases or shadow boxes. This adds a colorful touch to your living space.
- Social Media Sharing: Capture your work with high-quality photographs and share them on platforms like Instagram, Pinterest, or Dailymotion to inspire others! Use hashtags like #QuilledArt or #QuilledFlowers to reach a wider audience.
- Workshops and Community Events: Consider hosting a local quilling workshop or participating in craft fairs. Sharing your skills and showcasing your flowers can help to foster a love for the craft in others.
Whichever method you choose, remember that the joy of crafting comes from sharing your creativity with others. So, let those quilled flowers shine and enjoy the compliments that come your way!
Complete Guide to Making Quilled Flowers on Dailymotion
Quilling, the art of rolling and shaping strips of paper into decorative designs, is a beautiful and rewarding craft. Making quilled flowers is an excellent way to express your creativity while exploring this intricate art form. In this guide, we will walk you through the basics of creating stunning quilled flowers, how to find the best resources on Dailymotion, and tips for enhancing your quilling projects.
To get started with quilling flowers, you need a few supplies:
- Quilling paper strips: Available in various colors and widths.
- Quilling tool: A slotted tool that helps you roll paper strips.
- Glue: A strong adhesive for securing your quilled pieces.
- Scissors: For cutting paper strips to the desired length.
- Tweezers: Helpful for positioning and placing your quilled shapes.
Once you have your materials, follow these steps to create beautiful quilled flowers:
- Choose Your Design: Select a flower design and gather inspiration online.
- Cut Paper Strips: Cut your paper strips to match the desired petal size.
- Roll Your Petals: Use the quilling tool to roll the paper strips into tight coils.
- Shape Your Petals: Pinch one end of the coil to form a petal shape.
| Flower Type | Skills Required |
|---|---|
| Daisy | Beginner |
| Rose | Intermediate |
| Lily | Advanced |
For visual learners, Dailymotion is an excellent platform that offers various video tutorials on quilled flower making. Just search for "quilled flowers" to access a wealth of instructional content!
In conclusion, quilling flowers is a delightful craft that can be enjoyed by people of all skill levels. By utilizing resources available on Dailymotion and following the steps outlined in this guide, you can create beautiful quilled flower arrangements that will impress anyone.
 admin
admin


