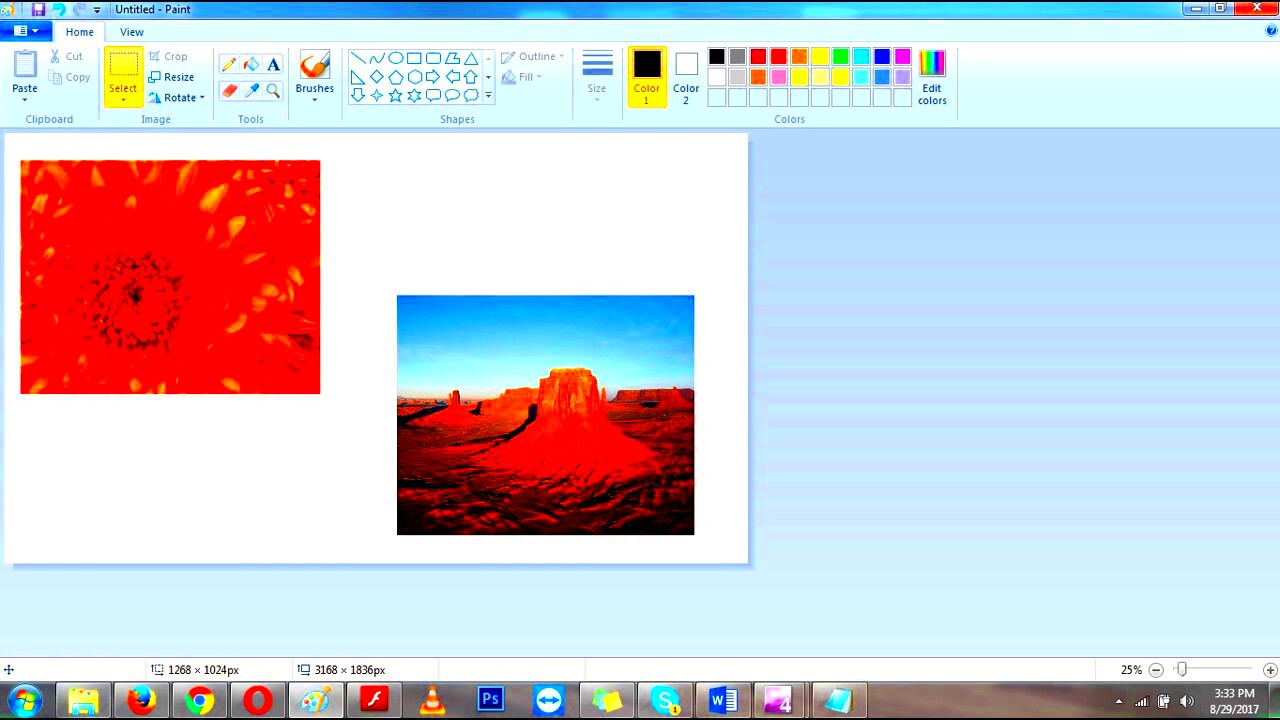
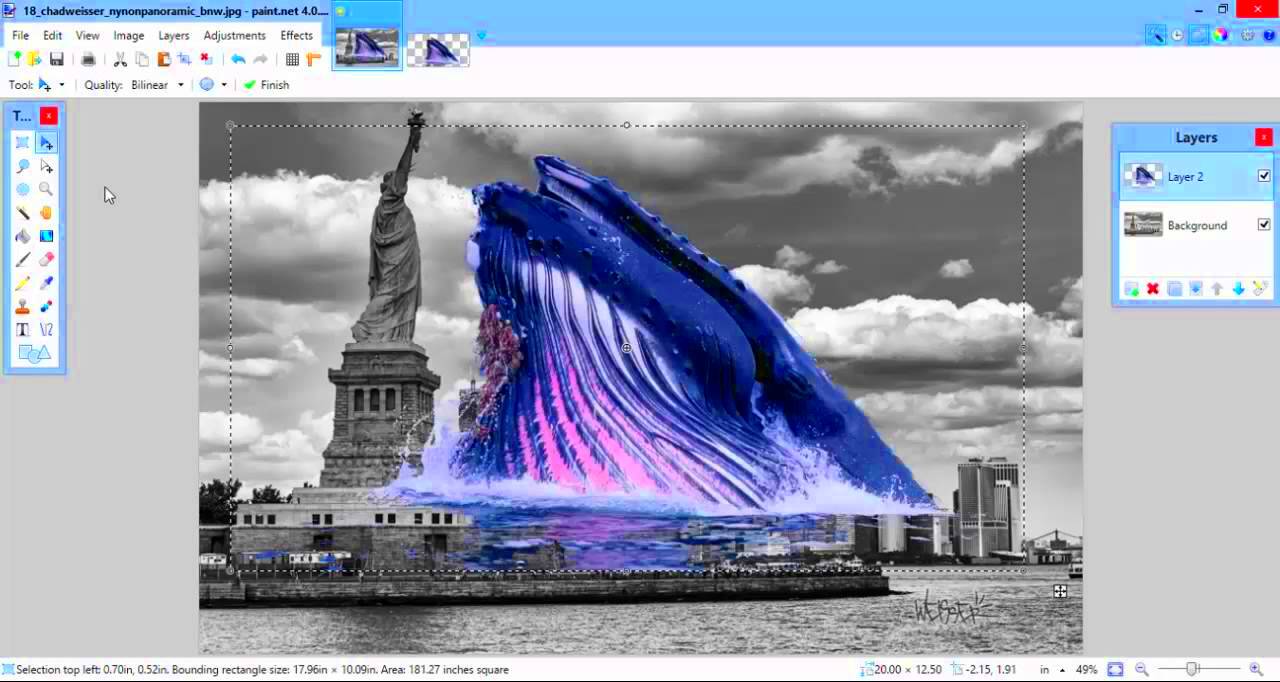
Artwork enhancement and unique visual creation can be done effectively by superimposing images. This can be done using Microsoft paint which is easy to use for everyone. The basic tools needed to merge photographs, create a collage or just experiment with design elements are in Paint. Here is a step by step guide on how to utilize the two images together like an expert.
Preparing Your Images for Editing

Although you may think that understanding how to fix photos is simple, there are certain things which need to be considered before actually getting down to it. Here are some steps on how you should prepare your images for editing:
- Choose the Right Images: Select images that complement each other in terms of style and color.
- Check Image Resolution: Higher resolution images will result in better quality. Aim for images that are at least 300 DPI.
- Plan Your Layout: Think about how you want to combine the images. Sketch a rough idea if needed.
In order for the editing process to be smoother and more effective, you need to prepare your images before hand which will act as a starting point.
Also Read This: Embedding YouTube Videos in Canva for Creative Projects
Opening Images in Paint

It’s time to get them opened in paint once the images are ready:
- Launch Microsoft Paint: Click on the Start menu, type "Paint," and select it from the list.
- Open the First Image: Go to the File menu and select "Open." Browse your computer for the first image you want to edit.
- Add the Second Image: With the first image open, go to the File menu again, select "Open," and choose the second image. This will replace the first image, so make sure to copy the first image before doing this.
Opening images in Paint is easy. Nonetheless, remember that if you want to combine them, you need to copy and paste the images. Next, we’ll proceed with using selection tool.
Also Read This: How Much YouTube Pays for a 1-Hour Video Revenue Insights
Using the Selection Tool Effectively
When you want to use Merge Images in Paint, Selection Tool is most suitable for that purpose. This tool can help you select or isolate parts of image that you want to use and disregard the rest. Here are some steps on how to use it:
- Select the Right Tool: In the toolbar, choose the "Select" option. You can choose between "Rectangle Select" or "Free-Form Select." The rectangle option is great for straight edges, while free-form is perfect for more intricate shapes.
- Highlight Your Area: Click and drag your cursor around the part of the image you want to select. Make sure you include everything you need, but be careful not to select too much extra space.
- Copy Your Selection: Once you have your selection, right-click and choose "Copy" or simply press Ctrl+C on your keyboard.
Utilization of the selection tool in an astute manner enhances the quality of a smooth editing process. Furthermore, it can be helpful in reducing the amount of useless space and centralizing on which portions you want to integrate together in images.
Also Read This: How to Unblur Patreon Images for Better Quality
Pasting and Positioning Images
When you finish duplicating the image of choice, the next move is to paste it on the main canvas. You can achieve this by following these steps:
- Paste the Copied Image: Click on the canvas where you want to place the copied image and right-click to select "Paste" or use Ctrl+V. This will drop your selected image onto the main canvas.
- Position the Image: Click and drag the pasted image to your desired location. Ensure it aligns well with your other images. You might want to overlap them slightly for a seamless look.
- Use Arrow Keys: For fine-tuning, you can use the arrow keys on your keyboard to nudge the image into place.
If you want your combined picture to look appealing, you need to take time doing proper positioning.
Also Read This: How to Size Images for Getty Images Upload
Adjusting Image Size and Orientation
When you have pasted and positioned your images, you may want to resize and re-orientate them so as to have a consistent appearance. Here’s how:
- Resize the Image: Click on the pasted image to select it. You will see small squares on the corners and edges. Click and drag these squares to resize the image as needed. Hold the Shift key while dragging to maintain the image’s aspect ratio.
- Rotate the Image: To rotate the image, go to the "Rotate" option in the toolbar. You can choose to rotate it 90 degrees left or right, or flip it horizontally or vertically.
- Check Alignment: After resizing or rotating, step back and assess how the images work together. Make sure they don’t look out of place or awkwardly proportioned.
Modifying dimensions and directions is an important aspect of making your combinatory image sound polished and professional. It’s better if you take your time fitting them all well together.
Also Read This: How to Know the Pixel Size of an Image
Saving Your Combined Image
Once you have merged your images and adjusted them then it is time to save your work of art. This step is important so that your efforts do not go in vain. Here’s how you do it:
- Click on File: In the top-left corner, click on the "File" menu.
- Select Save As: Choose "Save As" to create a new file, which allows you to keep the original images intact. You can also select "Save" if you want to overwrite the current file.
- Choose the File Format: In the "Save as type" dropdown menu, you can select from several formats. Here are the most common options:
- PNG: Best for images with transparency.
- JPEG: Great for photographs and offers good compression.
- BMP: A larger file type that preserves quality but takes up more space.
- Name Your File: Enter a name for your file that describes the content.
- Click Save: Hit the "Save" button to finalize your combined image.
Congratulations! Your image is securely stored, and you can later share or alter it with ease!
Also Read This: Using Getty Images Images on YouTube: Guidelines for Incorporating Copyrighted Content
FAQ about Combining Images in Paint
When it comes to merging images, several inquiries may arise. To assist you here are some popular inquiries:
- Can I combine more than two images? Yes, you can combine multiple images by repeating the copy-paste steps for each additional image.
- What if my images don’t fit on the canvas? You can adjust the canvas size by going to the "Resize" option in the toolbar and selecting "Pixels" to expand it.
- Can I edit text in the images? No, Paint doesn’t allow for direct text editing within images. You would need to use another program for that.
- Is Paint suitable for professional work? While Paint is great for basic tasks, for more complex image editing, consider using software like Photoshop or GIMP.
Aside from that, don’t hesitate to take a look at tutorial courses on the web or request assistance via forums if you have more queries!
Conclusion on Image Combining Techniques
The process of merging pictures together in Paint is simple, thus allowing numerous creative applications. Every step, from choosing appropriate pictures to saving your work is crucial for a neat looking product. Keep in mind:
- Prepare your images beforehand to save time.
- Use the selection tool effectively to isolate parts you want to keep.
- Be mindful of how you position and resize your images for a harmonious look.
The methods described in this document can assist you in utilizing Paint’s uncomplicated instruments to produce a collage, improve a photograph or design graphics. Soon you will be able to merge photos like a pro with some practice!

 admin
admin


