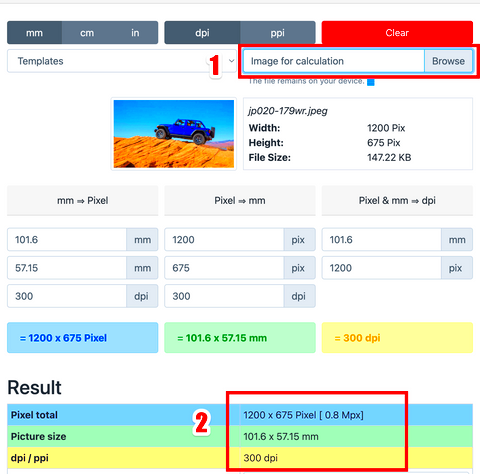
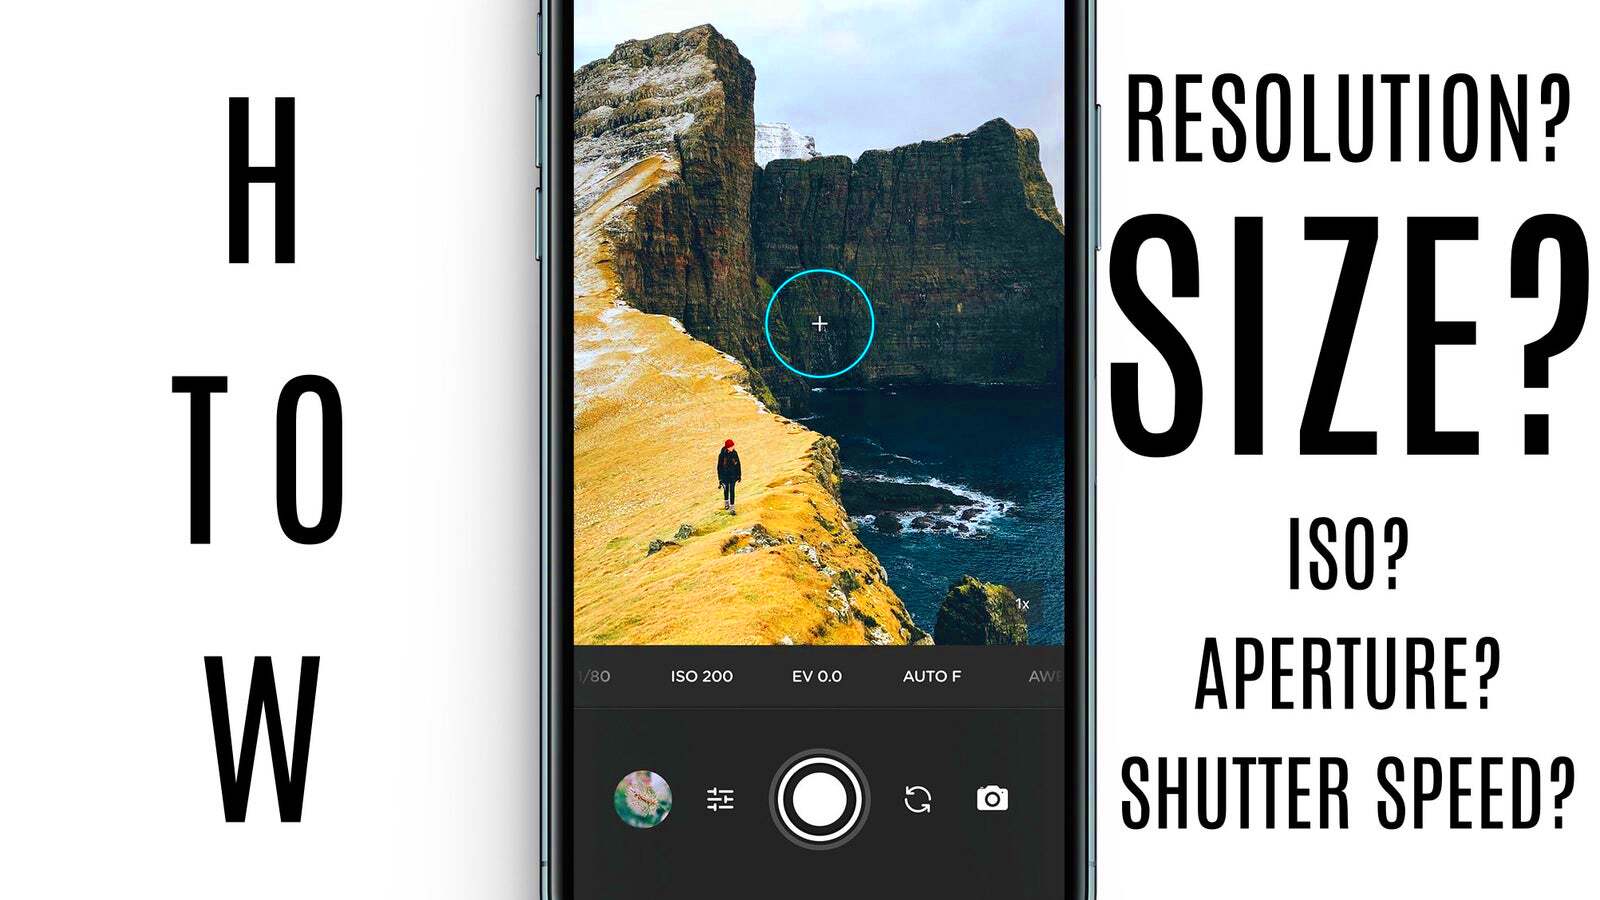
When working with images online or in design projects, it's essential to know the size of the image you're dealing with. Image size refers to the file size, dimensions, and resolution. Checking the
Why Checking Image Size is Important

Knowing the size of an image is important for several reasons. Here’s why:
- Performance: Larger images can slow down the loading speed of your website or app, negatively impacting the user experience. By checking the image size, you can ensure it’s optimized for quick loading times.
- Quality Control: High-quality images may look great, but they can also have large file sizes. Balancing quality and size is essential, especially when it comes to web design or digital marketing.
- SEO Benefits: Images with the right size and optimized for fast loading help improve your website’s SEO rankings, as search engines favor sites that load quickly.
- Correct Formatting: If you’re working with a design tool or website, knowing the image size ensures it fits properly without distortion or cropping issues.
Also Read This: How to Upload a Video on YouTube from iPad
Steps to Check Image Size on Different Devices
Checking the image size varies slightly depending on the device you're using. Here’s how you can check it on different platforms:
1. On a Windows PC
To check an image’s size on a Windows PC, follow these steps:
- Right-click on the image file.
- Click on Properties.
- Go to the Details tab to view the dimensions and file size.
2. On a Mac
On a Mac, the process is simple:
- Right-click on the image file.
- Select Get Info.
- Under More Info, you’ll see the file dimensions and size.
3. Using Online Tools
If you don’t want to check the image size manually, you can use online tools like Flaticon or other image analysis websites. These tools let you upload an image and automatically display its size and dimensions.
4. On Mobile Devices
To check the image size on mobile:
- On iOS: Open the image in the Photos app, tap the i icon, and you’ll see the details.
- On Android: Open the image in your gallery app, tap the three dots in the corner, and select Details to see the size and dimensions.
Also Read This: Decoding IMDb: How to Cite, Claim, and Add Your Film
Using Online Tools to Check Image Size
Online tools make checking image size quick and easy, even if you're not familiar with technical details. These tools allow you to upload an image, and they will automatically provide information about its dimensions, file size, and even resolution. Whether you're a designer, marketer, or casual user, using these tools can help ensure your images are the right size for their intended purpose.
Here are some popular online tools to check image size:
- Image Size: A simple tool where you upload an image, and it displays the file size, resolution, and dimensions instantly.
- Get Image Info: This tool gives you detailed information, including metadata like EXIF data, which is useful for photographers.
- Flaticon: For images downloaded from Flaticon, this platform provides specific information about the file dimensions and size, making it easier to manage your downloaded assets.
Using these tools is especially helpful when you're working with large numbers of images or need to ensure the images are the right size for use on websites, social media, or print. These tools save you time and ensure your images are optimized for their specific use.
Also Read This: 10 Tips for Photographing Wildlife in Their Natural Habitat
Checking Image Size on Flaticon
Flaticon is a great resource for high-quality icons and images, but knowing the size of these assets is key to using them effectively. When downloading images from Flaticon, it’s important to check both the dimensions and the file size to ensure they are suitable for your project.
Here’s how to check the image size on Flaticon:
- First, log in to your Flaticon account or visit the site as a guest.
- Search for the image or icon you want to use.
- Click on the image to open its details.
- On the image page, you’ll see the download options. Click on the appropriate download size (usually PNG, SVG, etc.).
- The size and dimensions are shown in the download options—ensure you choose the right file format for your needs.
If you are unsure of the file size or dimensions, you can also use online tools to check them once the image is downloaded. By knowing these details, you can ensure the image fits perfectly into your design without any quality loss or layout issues.
Also Read This: Download Dailymotion Videos to MP4 Quickly and Easily With This Proven Method
How to Optimize Image Size for Web Use
Optimizing image size is essential for web design. Large, unoptimized images can slow down your website, negatively affecting user experience and SEO rankings. By reducing the file size without sacrificing too much quality, you can create a faster, more responsive website.
Here are some effective methods to optimize image size for web use:
- Choose the Right Format: Different formats work best for different types of images:
- JPEG: Best for photographs with many colors and details.
- PNG: Great for images with transparency or sharp edges, like logos.
- WebP: A newer format offering great compression without losing quality, ideal for web use.
- Resize Images: Before uploading an image, resize it to the dimensions you actually need. There’s no point in uploading a 5000x3000 pixel image when a 1200x800 version will suffice.
- Use Compression Tools: Tools like TinyPNG, ImageOptim, or Photoshop can compress images while maintaining high quality. These tools remove unnecessary data without affecting visual quality.
- Use Image Sprites: Combining multiple images into one sprite sheet can help reduce HTTP requests and improve load time.
- Leverage Lazy Loading: For websites with many images, lazy loading ensures that images are only loaded when they’re in view on the screen, reducing initial load time.
By optimizing image size, you ensure faster page load times, better user experience, and improved SEO performance. Don’t forget to balance file size and image quality—compression is all about finding the sweet spot!
Also Read This: Complete Guide to Downloading Dailymotion Videos in MP3 Format
Common Issues with Image Size and How to Solve Them
When working with images, there are several common issues related to image size that can arise, especially when you are dealing with web design or digital content creation. Understanding these problems and knowing how to solve them can save you time and effort. Let’s take a look at some of the most frequent image size issues and their solutions.
- Images Too Large: One of the most common problems is having images that are too large in file size. Large images can slow down your website, making it load slower, which negatively affects user experience and SEO. Solution: Resize the image using a tool like Photoshop or an online compressor. Use image formats like JPEG or WebP for better compression.
- Image Resolution is Too Low: Low-resolution images appear pixelated and blurry, which can affect the quality of your content. Solution: Always check the resolution before uploading. For web use, 72 DPI (dots per inch) is usually sufficient, but for print, you may need 300 DPI.
- Aspect Ratio Problems: Sometimes images appear stretched or distorted because the aspect ratio doesn’t match the display area. Solution: Maintain the correct aspect ratio when resizing. Most image editors offer an option to "lock" the aspect ratio to prevent distortion.
- Image Not Loading Properly: This can occur if the image is too large or if there’s a problem with the file format. Solution: Optimize the image before uploading and ensure the file format is compatible with your platform. Convert images to web-friendly formats like JPEG, PNG, or WebP.
By understanding and addressing these common image size issues, you can ensure your images look great without causing any problems on your website or in your projects.
Also Read This: How to Effectively Search for Stock Images on Adobe
FAQ
Q: What is the ideal image size for websites?
A: The ideal image size depends on the type of website and the purpose of the image. Generally, try to keep your images under 500 KB for faster load times. For display images, around 1200x800 pixels works well for most websites.
Q: How do I know if an image is too large for my website?
A: If an image takes too long to load or makes your webpage slow, it’s too large. You can check the file size by right-clicking the image and selecting "Properties" on Windows or "Get Info" on Mac. Aim for a file size of 500 KB or less for faster loading.
Q: Can I compress an image without losing quality?
A: Yes, you can use tools like TinyPNG or Photoshop’s "Save for Web" feature to compress images while preserving quality. These tools reduce file size by removing unnecessary data without affecting the visual appearance of the image.
Q: What file format is best for the web?
A: JPEG is great for photos and images with lots of colors, while PNG is better for images with transparency or sharp lines, such as logos. WebP is a newer format that offers high-quality images with smaller file sizes, making it perfect for the web.
Conclusion
Checking and optimizing image size is a crucial part of any digital project, whether you're building a website, creating marketing materials, or just sharing images online. By understanding image size issues, knowing how to check and optimize them, and using tools like online compressors or image editing software, you can ensure your images load faster, look better, and improve the overall user experience. Whether you're a beginner or an experienced designer, keeping an eye on image size will help you create a more efficient, professional-looking product.
Remember, optimizing image size isn’t just about reducing file sizes—it’s about finding the right balance between quality and performance. Happy optimizing!

 admin
admin


