Have you ever wanted your app to have conversations with users like a human? The ChatGPT API can turn this wish into reality bringing a dose of intelligence to your Flutter application. Adding ChatGPT to your Flutter app can enhance its functionality making interactions more seamless and enjoyable.In this guide I'll take you through the process step by step sharing valuable insights and tips based on my own experiences with API integration. Believe me it's simpler than you may imagine and the outcomes can be quite remarkable.
Understanding ChatGPT API and Its Benefits
The ChatGPT API created by OpenAI is a tool that enables your application to have conversations with users. Here are some reasons why you might want to give it a try.
- Human-like Conversations: ChatGPT can generate responses that feel incredibly natural, almost like talking to a real person.
- Flexibility: It can handle a wide range of topics and questions, making it adaptable for various applications.
- Improves User Engagement: By providing instant and relevant responses, it can keep users more engaged with your app.
- Time Efficiency: Automates customer support and other repetitive tasks, freeing up valuable time.
Based on my experience incorporating the ChatGPT API into an application felt similar to bringing on board an assistant for my team. It required some initial work to get everything up and running but once it was in motion the positive impact on user interactions was evident. If you're looking to boost your apps features and overall user satisfaction the ChatGPT API is definitely a option worth exploring.
Setting Up Your Development Environment
Before getting into the integration part, it’s important to make sure your development environment is set up correctly. Here’s a walkthrough based on what I’ve learned.
- Install Flutter: Make sure you have Flutter installed on your machine. If not, download it from the official Flutter site and follow the installation instructions.
- Set Up an IDE: Choose an IDE like Visual Studio Code or Android Studio. Both have excellent support for Flutter development. I personally prefer VS Code for its lightweight nature and flexibility.
- Create a New Project: Open your IDE and create a new Flutter project. This will be the foundation where you'll integrate the ChatGPT API.
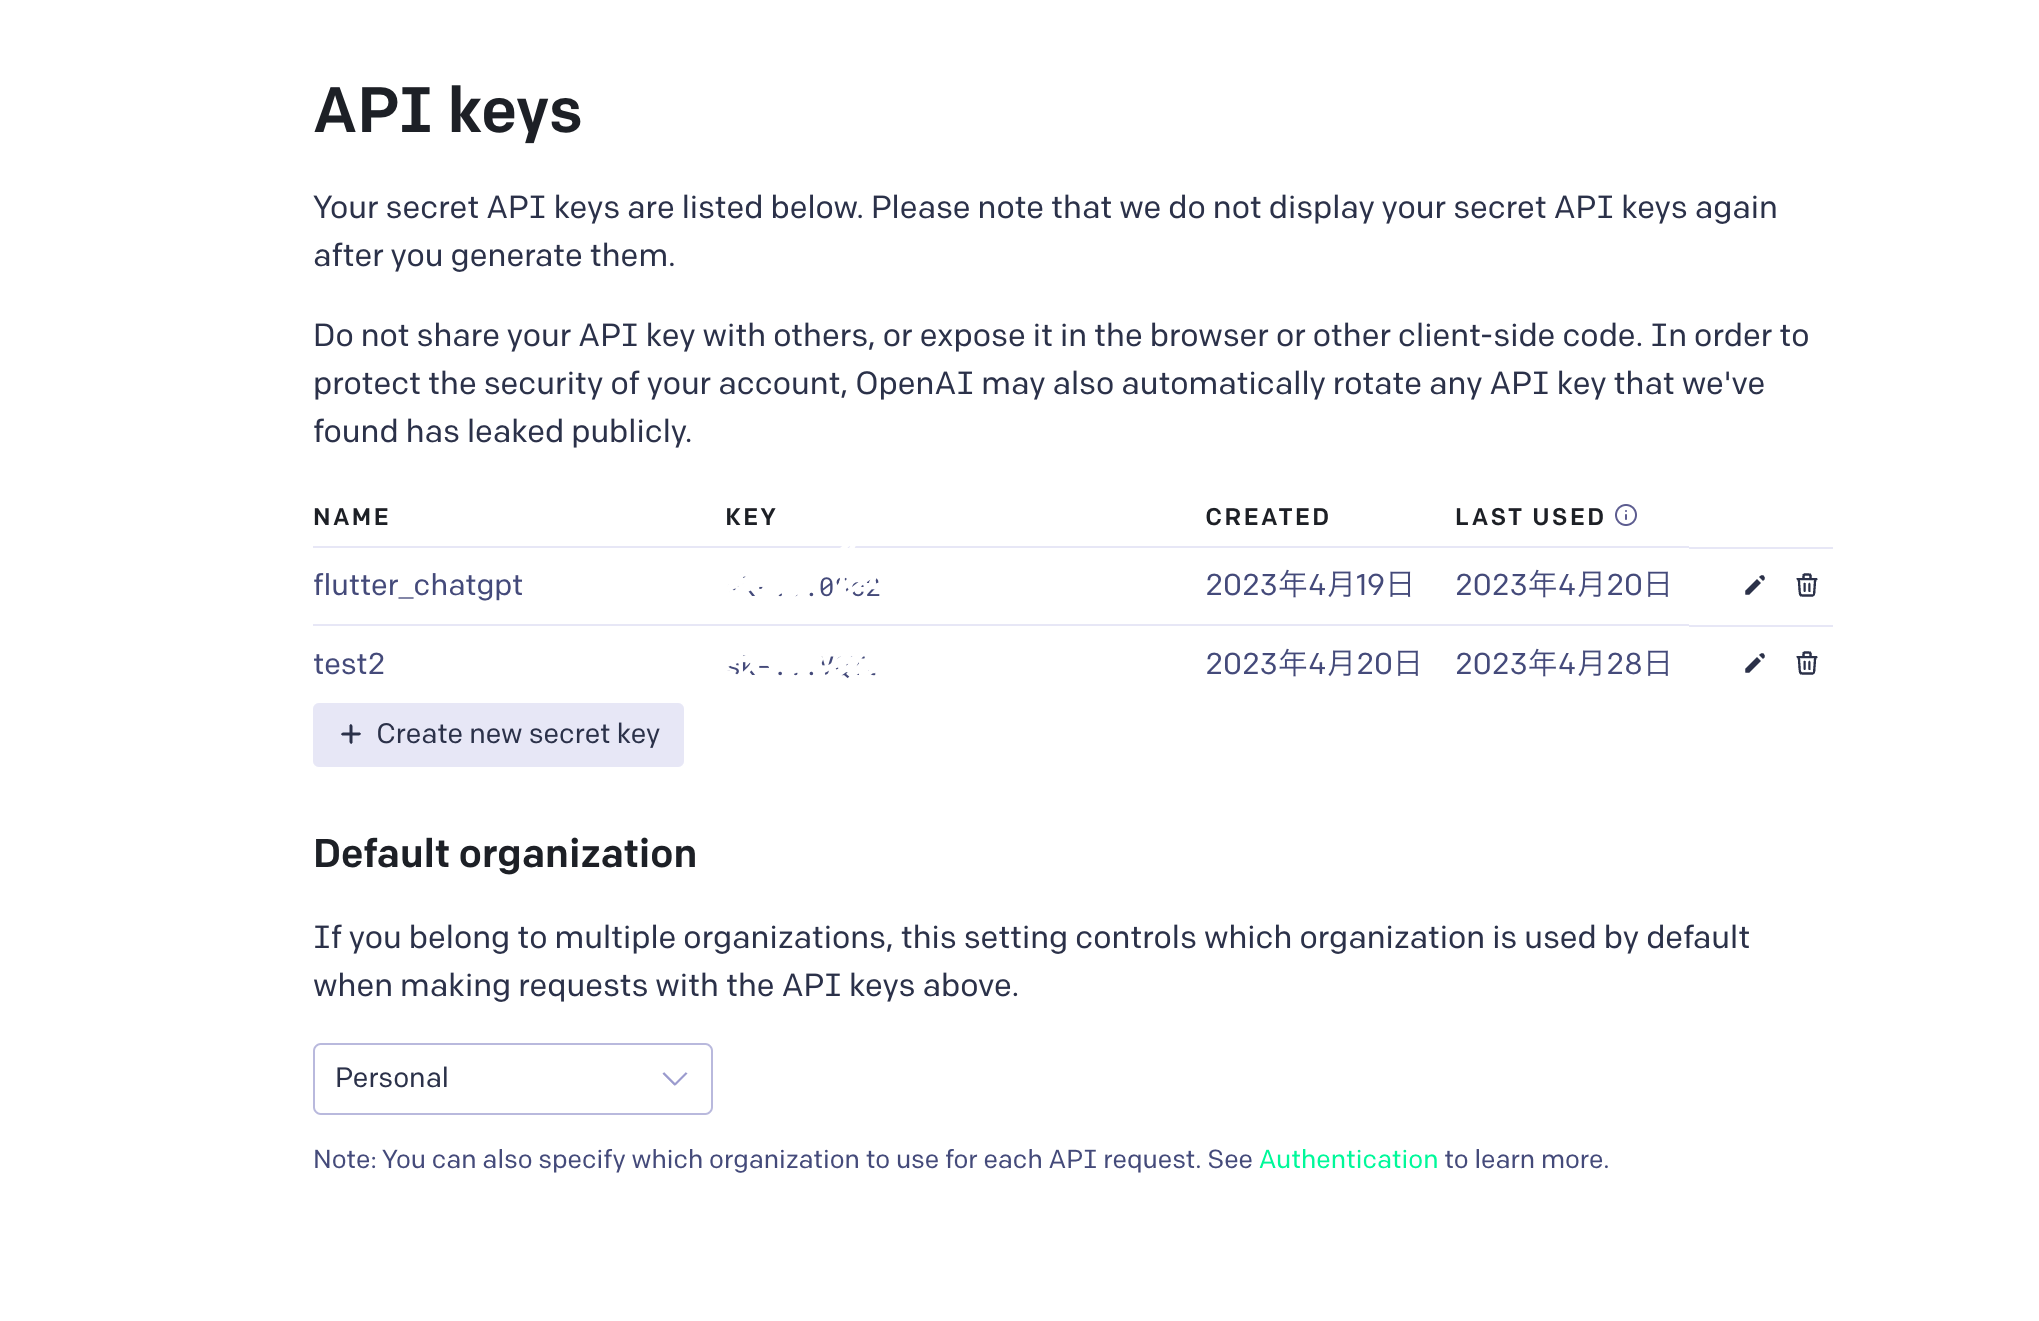
- Get API Keys: Sign up on the OpenAI website and get your API keys. You'll need these to authenticate your requests to the ChatGPT API.
- Install Dependencies: Add necessary dependencies to your `pubspec.yaml` file, including `http` for making API requests and any other packages you might need.
Getting everything set up can be a bit daunting at the beginning, but think of it as preparing the foundation for a structure. Once your surroundings are in order, the process of merging things together goes a lot more smoothly. Believe me, this initial setup is worth it when you witness your app engaging with users in an intelligent way.
Creating a New Flutter Project
Embarking on a Flutter project feels akin to preparing a blank canvas to bring your imaginative concepts to life. As I embarked on my Flutter adventure I could truly sense the thrill of crafting something entirely new. Here’s a straightforward roadmap to assist you in kicking off your project.
- Open Your IDE: Launch your preferred IDE, whether it’s Android Studio or VS Code. I’ve always found VS Code to be quick and responsive, which I appreciate.
- Create a New Project: Use the command `flutter create my_project` in your terminal, replacing `my_project` with your desired project name. This command sets up a new Flutter project with all the basic files you need.
- Navigate to Your Project Directory: Move into your project directory using `cd my_project`. This is where you’ll be doing most of your work.
- Run the Project: Execute `flutter run` to see your project in action. It’s always a thrill to see the default Flutter app on your emulator or device, a sign that everything is set up correctly.
- Customize Your Project: Start customizing the default template to match your app’s needs. Adjust themes, layouts, and other settings to fit your vision.
Starting a fresh project might feel overwhelming at first but think of it as building the groundwork for something new. As you progress through the process you'll witness your concepts come to life and that's when the true excitement starts!
Integrating ChatGPT API into Your Flutter App
Incorporating the ChatGPT API into your Flutter application is like bringing a device into your household. While it may involve some technicalities the benefits are truly worthwhile. Heres a step by step guide drawn from my personal journey.
- Add Dependencies: Open your `pubspec.yaml` file and add dependencies for `http` and any other libraries you might need. It should look something like this:
| Dependency | Version |
|---|
| http | ^0.13.3 |
- Configure API Access: Create a class to handle API interactions. This class will include methods for sending requests and receiving responses from ChatGPT.
- Set Up API Requests: Use the `http` package to send requests to the ChatGPT API. Here's a basic example:
import 'package:http/http.dart' as http;

Future fetchResponse(String prompt) async {
    final response = await http.post(
        Uri.parse('https://api.openai.com/v1/engines/davinci-codex/completions'),
        headers: {
            'Authorization': 'Bearer YOUR_API_KEY',
            'Content-Type': 'application/json',
        },
        body: json.encode({
            'prompt': prompt,
            'max_tokens': 50,
        }),
    );
    if (response.statusCode == 200) {
        return json.decode(response.body)['choices'][0]['text'];
    } else {
        throw Exception('Failed to load response');
    }
}
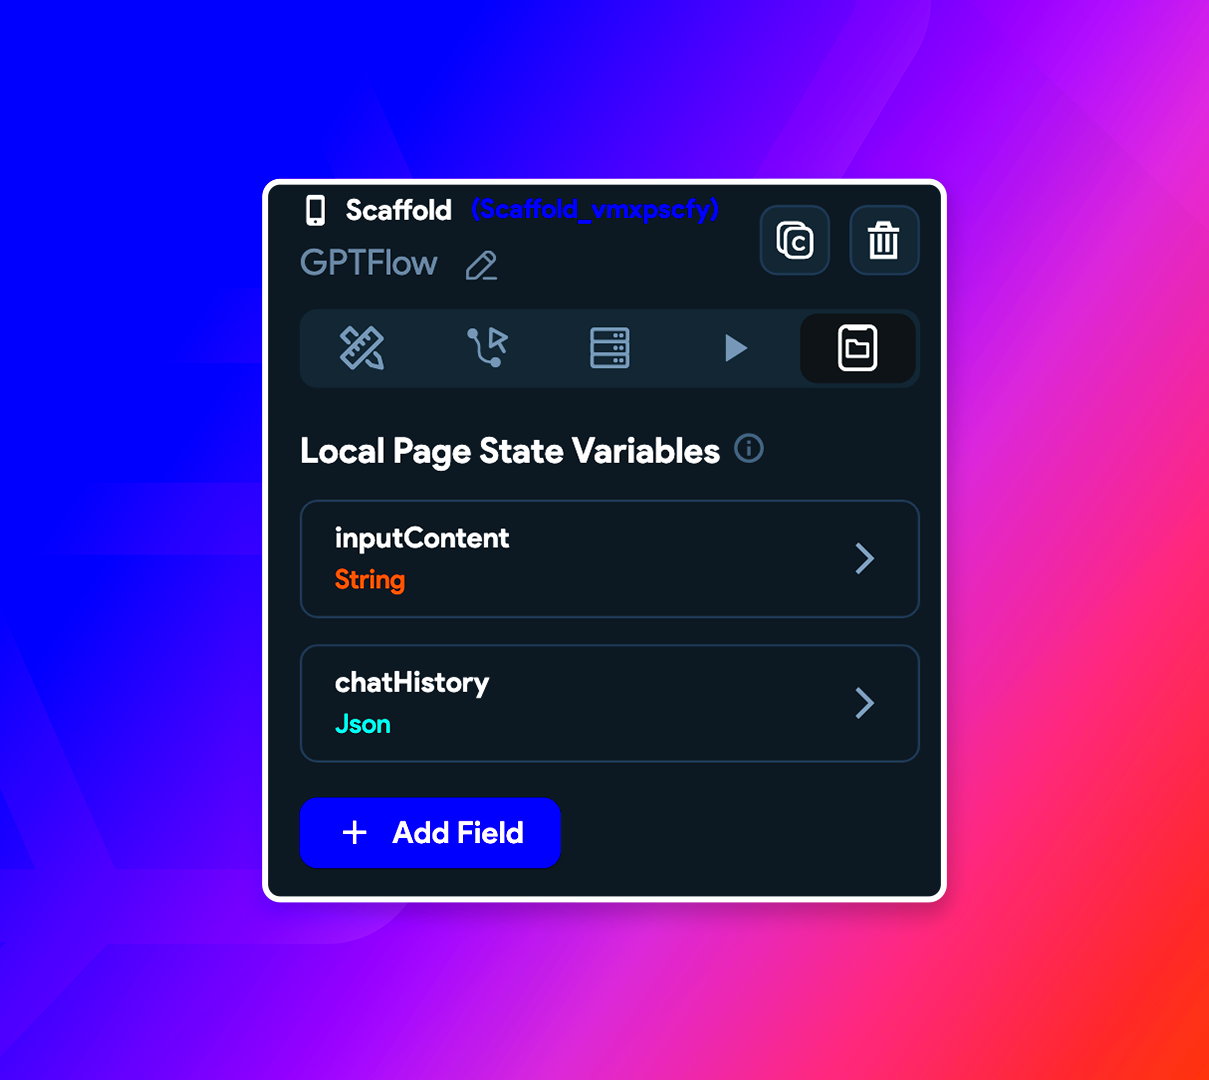
- Handle Responses: Once you receive a response from ChatGPT, process and display it in your app’s UI. You might want to parse the response and show it in a text widget or similar component.
Getting the API up and running might appear tricky initially, but as you progress through the process you’ll sense that you’re infusing a touch of enchantment into your application. The interactions become more captivating and that’s where the true thrill resides.
Testing the ChatGPT API Integration
When it comes to testing your integration I like to think of it as making sure a new device is functioning properly. Before revealing it to others you want to confirm that everything is working seamlessly. This is my approach to testing.
- Initial Testing: Start by sending simple requests to the API and check if you’re getting responses. This helps confirm that your setup is correct.
- Check for Errors: Monitor for any errors or issues in the API responses. Common problems might include incorrect API keys or network issues.
- Test Different Scenarios: Try various prompts and scenarios to see how well ChatGPT handles different types of inputs. This helps ensure that the AI behaves as expected in real-world conditions.
- Debugging: Use debugging tools to trace issues. If something isn’t working right, trace the request and response flow to identify where things might be going wrong.
- User Testing: Finally, have real users test the chat feature. Their feedback will be invaluable in fine-tuning the interaction and improving the overall experience.
While testing may seem somewhat monotonous it plays a role in guaranteeing a seamless user experience. By conducting tests you can have confidence that your integration will function effectively and bring joy to your users.
Debugging Common Issues
Troubleshooting can be akin to solving a puzzle. I recall my initial experience integrating ChatGPT; it was a mix of thrill and difficulty. There were moments when things didn’t go as planned and I had to do some detective work to uncover the issue. Here are some strategies to address problems.
- Check API Keys: Ensure that your API key is correctly included in your requests. A missing or incorrect key can prevent communication with the ChatGPT server.
- Review Error Messages: Pay attention to any error messages returned by the API. These messages often provide clues about what went wrong. For instance, a `400 Bad Request` usually indicates a problem with the request format.
- Inspect Network Requests: Use tools like Postman or your browser’s developer tools to monitor network requests and responses. This helps identify any discrepancies between what you’re sending and what’s being received.
- Validate JSON Data: Make sure that the JSON data you’re sending and receiving is correctly formatted. Incorrect JSON structure can lead to parsing errors.
- Test Different Scenarios: Try various inputs and edge cases to see how your app handles them. Sometimes, unexpected inputs can reveal hidden bugs or limitations.
Debugging can feel overwhelming but its all part of the process. Every issue you fix gets you nearer to a refined and working application. Tackle it gradually and dont hesitate to reach out for assistance from the community if necessary.
Enhancing Your App with Additional Features
Once you have the ChatGPT API up and running seamlessly its time to brainstorm additional features that will set your application apart. These enhancements can transform an app into an exceptional one. Here are some ways to take your app to the next level;
- Personalize Conversations: Use user data to personalize responses. For example, address users by their names or tailor responses based on their past interactions. This adds a personal touch to the experience.
- Implement Multi-Language Support: If your app targets a diverse audience, consider adding multi-language support. ChatGPT can handle various languages, so you can cater to users from different regions.
- Integrate Rich Media: Enhance conversations with rich media elements like images, videos, or interactive elements. For instance, if a user asks for a recipe, you could provide a video tutorial along with the recipe.
- Add Contextual Awareness: Implement features that allow the app to remember past interactions. This way, the chat feels more coherent and relevant, making users feel understood and valued.
- Optimize Performance: Ensure that the chat responses are quick and efficient. Optimize your code and handle API responses in a way that keeps the chat smooth and responsive.
Enhancing functionality in an app is akin to sprucing up a home it adds an extra layer of excitement and pleasure. Consider ways to enrich and make the user journey more dynamic and feel free to explore concepts without hesitation.
Frequently Asked Questions (FAQ)
When it comes to incorporating something new into your workflow, it’s only normal to have a few questions. I’ve come across some frequently asked questions regarding the integration of the ChatGPT API with Flutter along with their responses.
How do I get started with ChatGPT API?
- To get started, sign up on the OpenAI website and obtain your API key. Then, follow the setup instructions to integrate the API into your Flutter project.
What if the ChatGPT responses are not accurate?
- If responses are not as expected, check the prompt formatting and ensure it’s clear and specific. Sometimes tweaking the prompt can lead to better responses.
Can I use ChatGPT API for free?
- OpenAI provides various pricing plans, including a free tier with usage limits. For extensive use, you may need to choose a paid plan. Check their pricing page for detailed information.
How can I improve the performance of my app?
- Optimize your API calls and handle responses efficiently. Consider caching responses for repeated queries and ensure that your app’s UI remains responsive even during heavy interactions.
Is it possible to customize ChatGPT responses?
- Yes, you can guide ChatGPT’s responses by crafting well-defined prompts and using the API’s parameters to control the response style and length.
These frequently asked questions tackle a few worries but the most effective way to sort out problems is usually by trying things out and gaining insights from others. Continue to delve into and enhance your setup to maximize the benefits of ChatGPT within your application.
Conclusion
Incorporating the ChatGPT API into your Flutter application can be a game changer bringing a level of interaction that significantly improves the user experience. Whether it's setting up your development environment troubleshooting issues or adding new functionalities each step contributes to building an engaging and effective app. I have witnessed how a seamlessly integrated API can enhance an application making it more interactive and user friendly.Keep in mind that the process may present challenges but with perseverance and dedication the outcomes are fulfilling. Continue experimenting remain inquisitive and allow your creativity to steer you as you leverage ChatGPT's potential, in your Flutter projects.
 admin
admin


