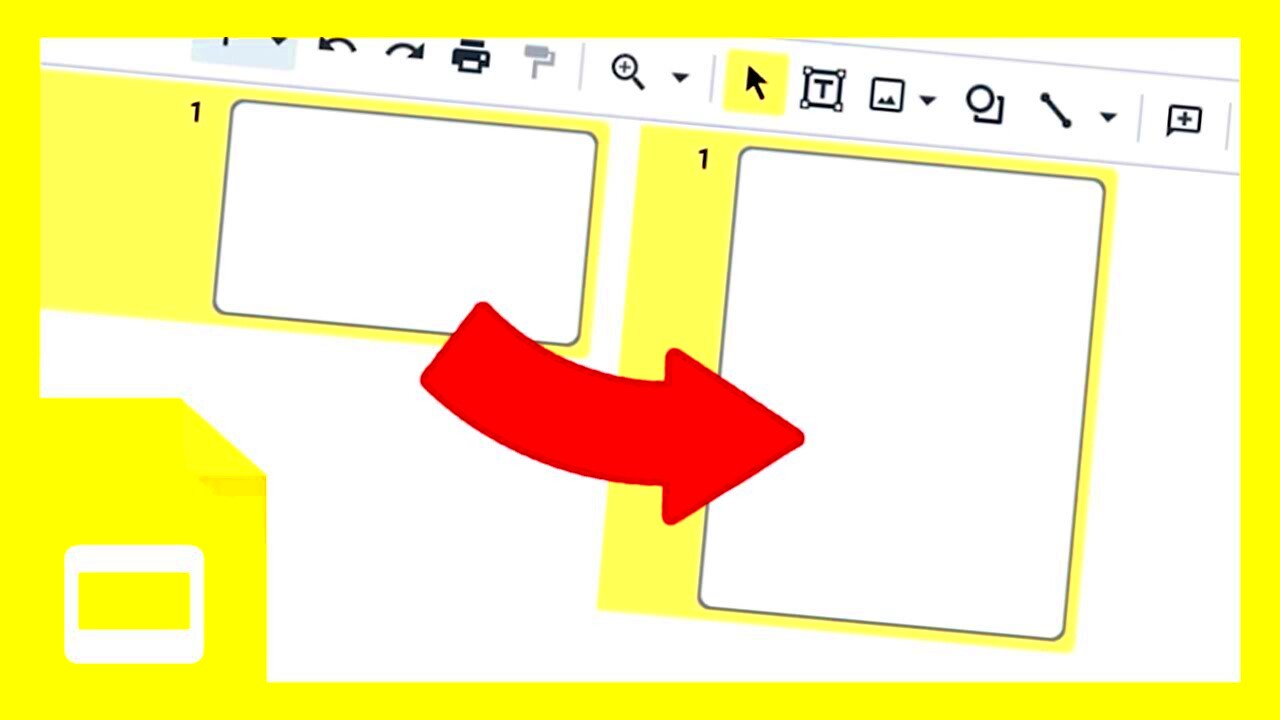
Google Slides is a fantastic tool for creating engaging presentations. It offers a variety of features to enhance your visuals, one of which is the ability to change the shape of images. By altering the shape of images, you can make your slides more visually appealing and aligned with your presentation theme. This functionality not only adds creativity but also helps in emphasizing key points. Understanding how to manipulate image shapes can transform a standard slide into a captivating visual experience.
Steps to Change the Shape of Images

Changing the shape of an image in Google Slides is a straightforward process. Here’s how you can do it:
- Open Your Presentation: Launch Google Slides and open the presentation where you want to change the image shape.
- Select the Image: Click on the image you wish to reshape.
- Access the Format Options: In the toolbar, click on the “Format options” button. This will open a sidebar.
- Choose the Crop Tool: Locate the “Crop image” option, then click on the drop-down arrow next to it.
- Select a Shape: From the shapes menu, select the shape you want to apply to your image.
- Adjust the Shape: After selecting a shape, you can further adjust the size and position of the image within the shape.
By following these steps, you can easily change the shape of images to better fit your presentation style and message.
Using the Mask Tool for Image Shapes
The Mask tool is one of the most effective ways to change the shape of images in Google Slides. Here’s how you can use it:
- Select Your Image: Click on the image you want to mask.
- Click on the Mask Tool: In the toolbar, find the “Mask image” option.
- Choose a Shape: From the shape options available, select the desired shape for your image.
- Adjust the Mask: You can resize or reposition the image to fit perfectly within the shape you selected.
Using the Mask tool not only allows you to create unique shapes but also gives you control over how the image fits within that shape. This is particularly useful for crea
Adjusting Image Properties After Shaping
Once you’ve changed the shape of your images in Google Slides, the next step is to adjust their properties. This allows you to enhance the visual quality of your presentation and ensure that your images align with your overall design. Adjusting properties like brightness, contrast, and transparency can significantly improve how your images look within the new shape. Let's explore how to do this effectively!
Here’s a simple guide to adjusting image properties after shaping:
- Select the Shaped Image: Click on the image that you’ve reshaped.
- Open Format Options: In the toolbar, click on “Format options.” This will open a sidebar with various adjustments.
- Adjust Transparency: Use the “Transparency” slider to make your image more or less visible as needed.
- Modify Brightness: Adjust the brightness to ensure your image stands out or blends seamlessly with the background.
- Change Contrast: Tweak the contrast to enhance the details in your image, making it pop.
By making these adjustments, you can create a polished and professional look for your slides, making your presentations more effective and engaging for your audience.
Common Shapes to Use in Google Slides
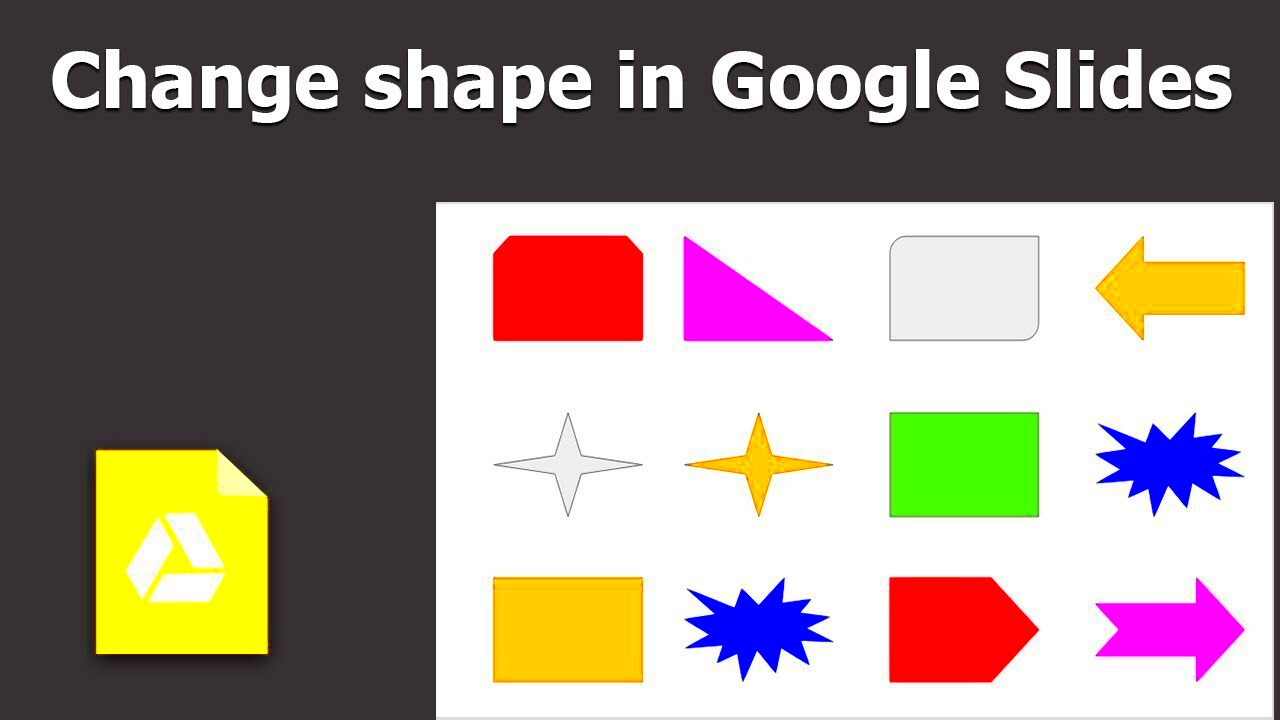
When it comes to changing the shape of images in Google Slides, the options are plentiful! Using different shapes can add a unique flair to your presentations. Here are some common shapes that work well:
- Circle: Great for portraits or logos, circles can create a friendly and approachable look.
- Square: This classic shape is perfect for balanced images and can give a formal touch.
- Triangle: Triangles can add a dynamic feel and are great for highlighting specific points.
- Star: Using stars can attract attention and is perfect for emphasizing important information.
- Rounded Rectangle: Soft edges can make your images feel more inviting and are excellent for general use.
Mixing and matching these shapes can help maintain visual interest while conveying your message effectively. Remember, the right shape can enhance the content of your slides!
Benefits of Changing Image Shapes in Presentations
Changing image shapes in your presentations isn’t just about aesthetics; it serves several important purposes. Here are some key benefits to consider:
- Enhances Visual Appeal: Unique shapes can make your slides more attractive and engaging, capturing the audience's attention.
- Reinforces Branding: Consistent use of shapes can help strengthen brand identity, especially when using specific colors and shapes related to your brand.
- Improves Focus: By using shapes strategically, you can direct your audience’s focus to specific content, making your message clearer.
- Encourages Creativity: Experimenting with different shapes can inspire more creative presentations, allowing for a fresh approach.
- Saves Space: Some shapes can help you fit more content into your slides without cluttering the design.
Incorporating different shapes into your images not only enhances your presentation's look but also contributes to more effective communication of your ideas. So, don’t hesitate to get creative with shapes in Google Slides!
Tips for Creating Engaging Presentations
Creating an engaging presentation is more than just putting together slides with text and images. It’s about telling a story and connecting with your audience. Here are some practical tips to help you craft captivating presentations that keep your audience interested and involved:
- Know Your Audience: Tailor your content to the interests and needs of your audience. Understanding who they are will guide your tone, examples, and visuals.
- Keep It Simple: Avoid cluttering your slides with too much information. Use bullet points and concise text to keep your slides clear and easy to read.
- Use High-Quality Images: Ensure that your images are of high quality and relevant to your content. This adds professionalism and keeps the audience engaged.
- Incorporate Visuals: Use charts, infographics, and diagrams to illustrate complex ideas. Visuals can often communicate information more effectively than text alone.
- Maintain Consistent Design: Stick to a consistent color scheme, font style, and layout. This creates a cohesive look and helps reinforce your brand.
- Practice Your Delivery: Rehearse your presentation to gain confidence. A well-delivered presentation makes a lasting impression.
- Encourage Interaction: Ask questions or include polls to get your audience involved. Engagement boosts retention and makes the presentation more memorable.
By applying these tips, you can create presentations that not only look great but also resonate with your audience, making your message stick.
FAQs about Image Shapes in Google Slides
As you work with image shapes in Google Slides, you might have some questions. Here are some frequently asked questions to help you:
- Can I change the shape of multiple images at once?
Unfortunately, you cannot change the shape of multiple images simultaneously. You need to adjust each image individually. - What types of shapes can I use in Google Slides?
Google Slides offers a variety of shapes, including circles, squares, triangles, and more. You can also use custom shapes to fit your needs. - Will changing the shape affect the quality of my image?
Generally, changing the shape will not affect the quality of the image. However, if you stretch or distort the image, it may lose clarity. - Can I edit the images after applying a shape?
Yes! After masking an image, you can still adjust properties like brightness, contrast, and transparency to enhance its appearance. - Is it possible to revert back to the original image shape?
Yes, you can revert to the original image by selecting the image, clicking on the “Crop” option, and then choosing “Reset image.”
These FAQs should help clarify some of the common concerns regarding image shapes in Google Slides, allowing you to use this feature more effectively.
Conclusion on Enhancing Visuals in Google Slides
Enhancing visuals in Google Slides is a powerful way to improve your presentations and communicate your ideas more effectively. By changing image shapes, adjusting properties, and following best practices, you can create captivating slides that leave a lasting impression on your audience. Remember, the goal of your presentation is not only to inform but also to engage and inspire.
So, as you dive into your next project, keep in mind the tips shared here. Don’t be afraid to experiment with different shapes and styles, and always strive for clarity and visual appeal. With a bit of creativity and thoughtful design, your presentations can stand out and effectively convey your message!

 admin
admin


