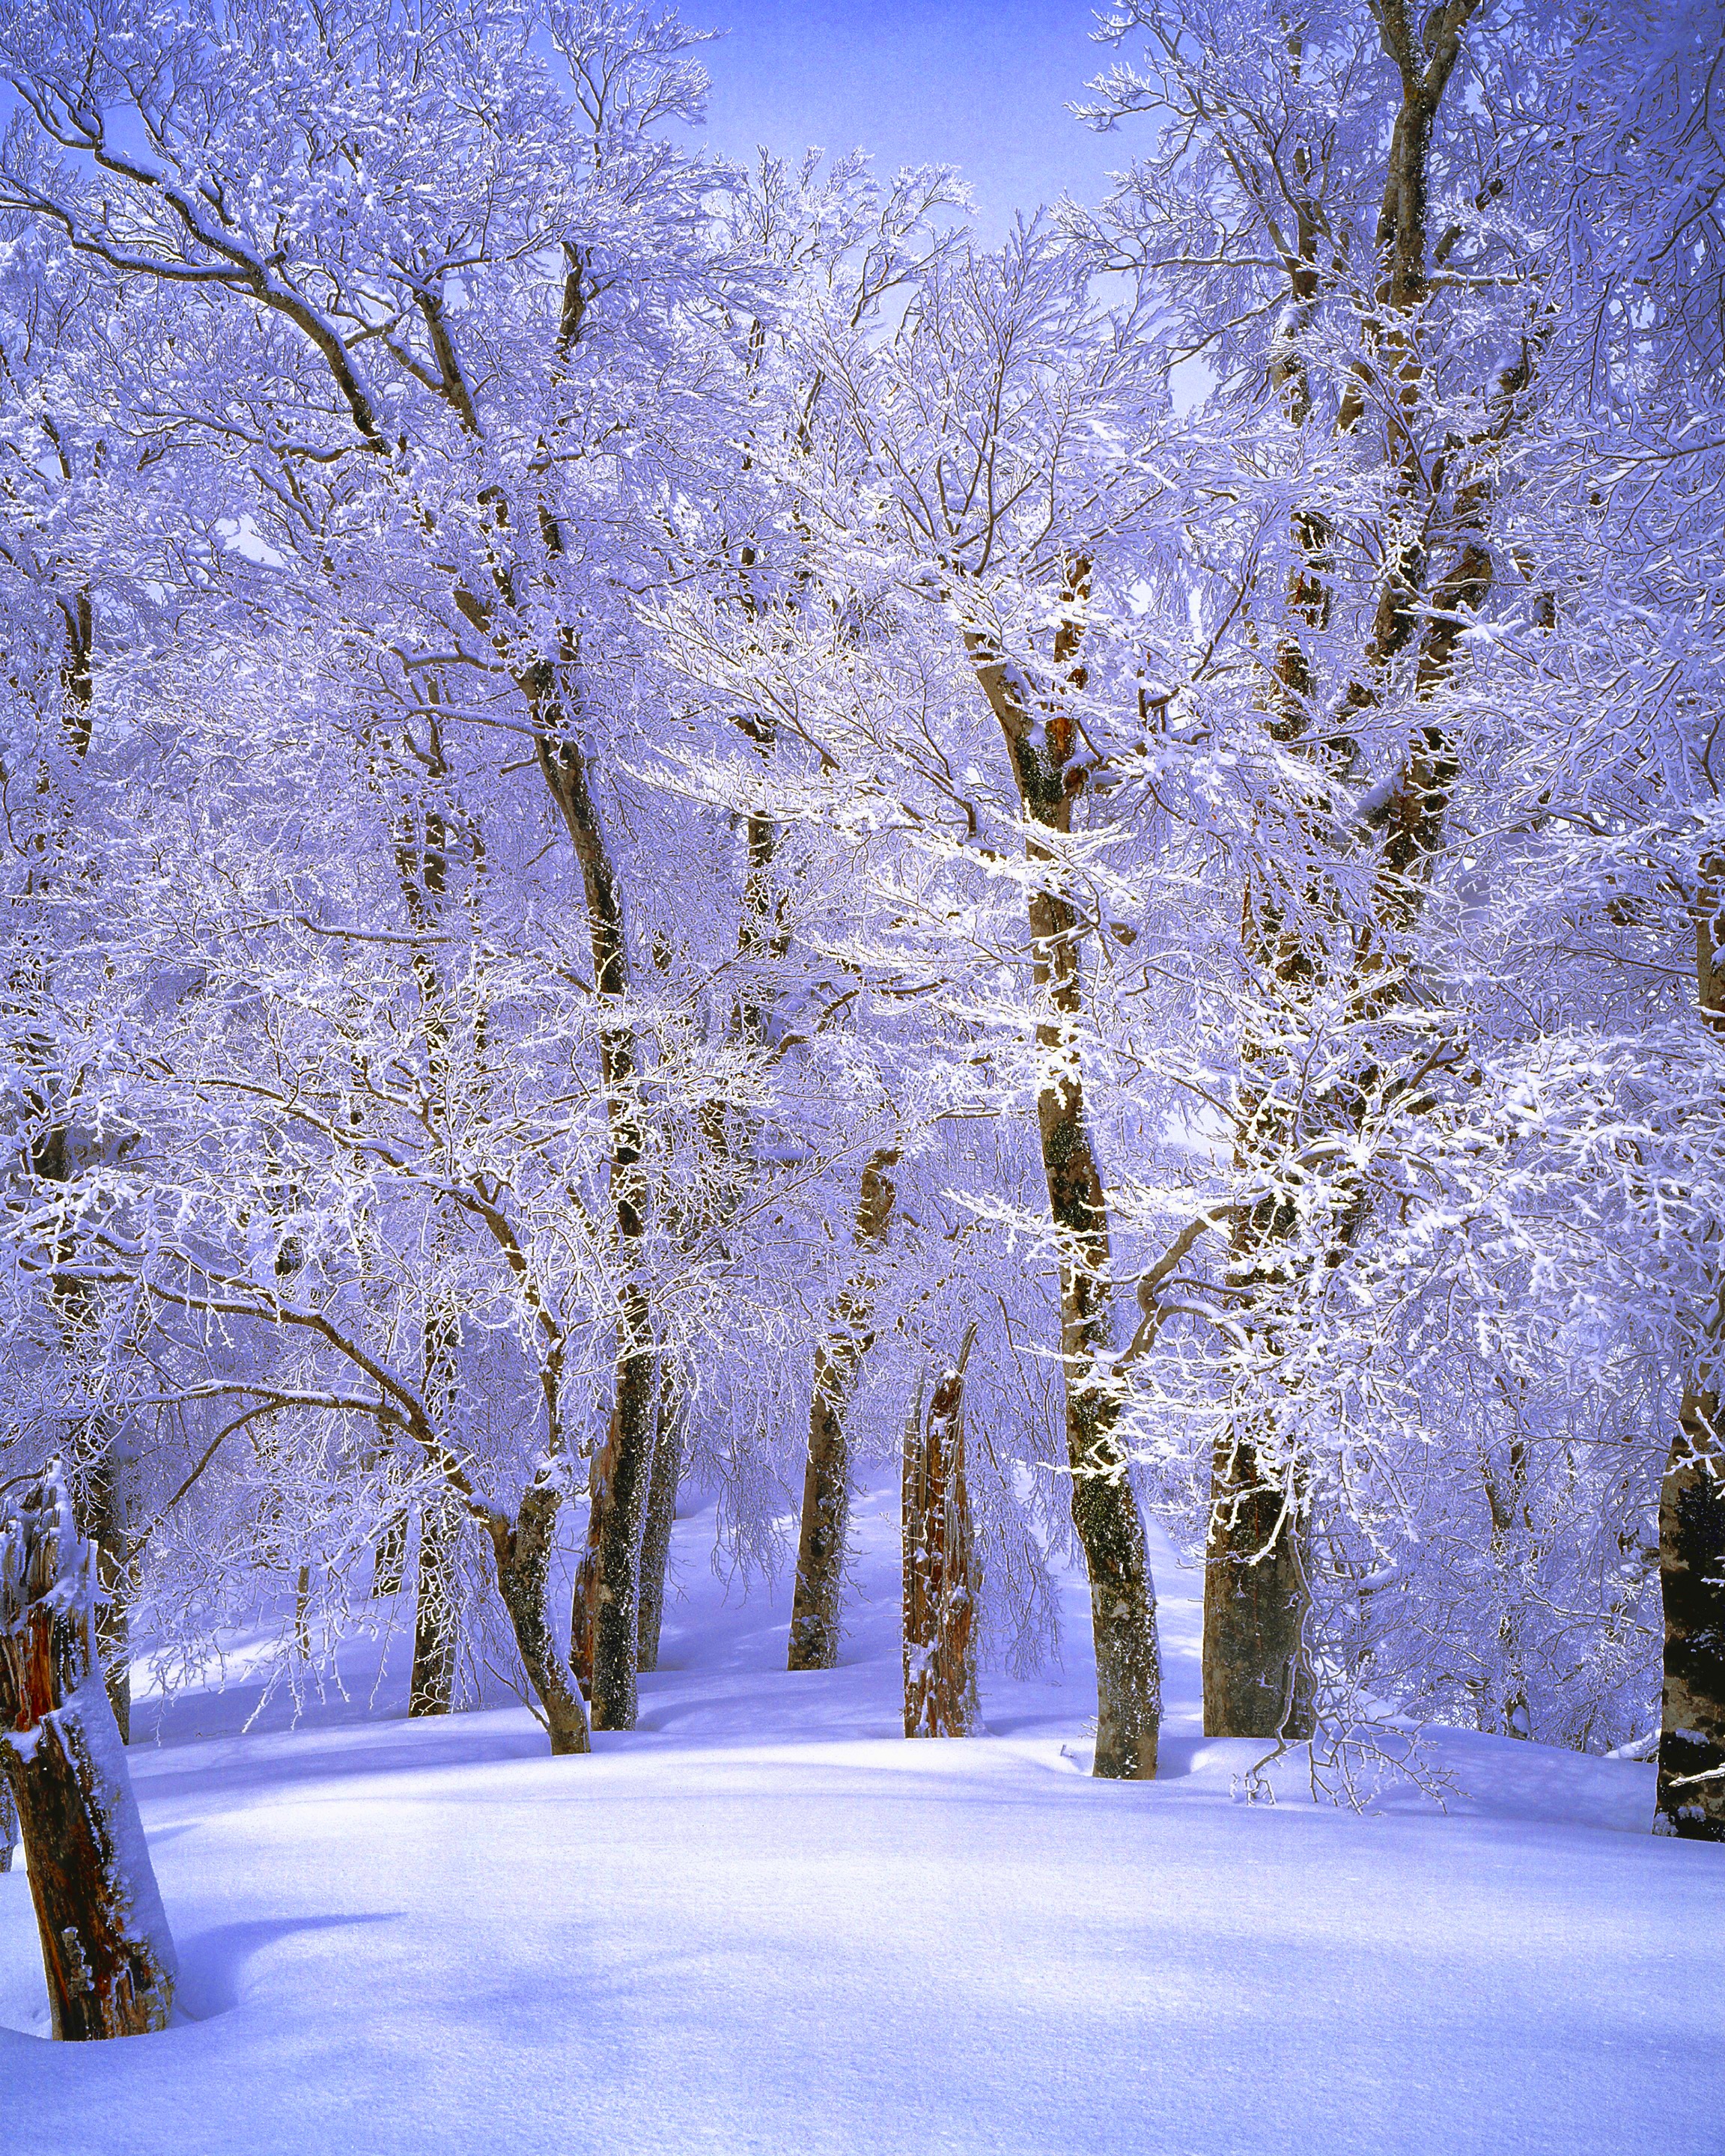
Captivating snowy terrains transmute mundane sights into enchanting winter fantasies. From a mild snow fall adorning a woodland to a lively metropolis clad in whiteness, every environment is endowed with various chances for incredible pictures. Freezing these occasions enables you to communicate the lovely side of the winter season.In this write-up, we are going to discuss some places where one can shoot amazing photographs during snowfall; necessary tools and in addition skills required for stunning snow shots.
Best Locations for Snow Photography in the USA
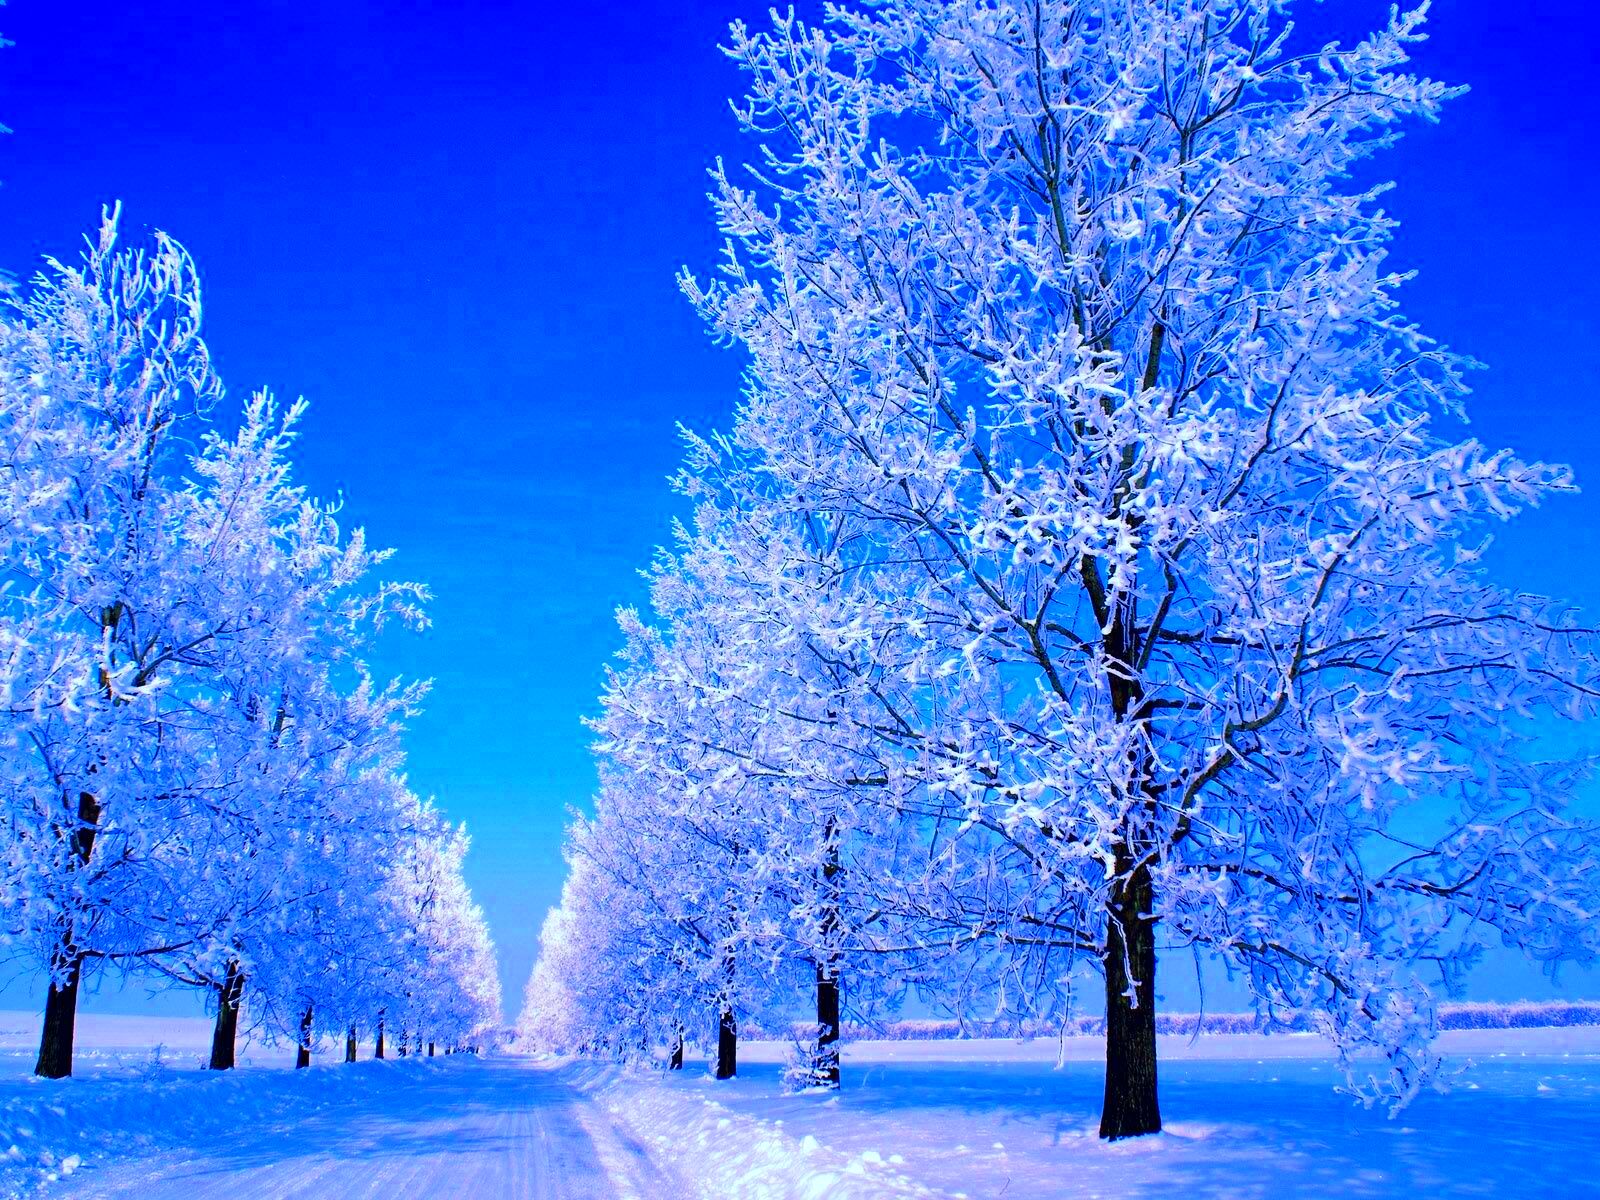
Location is a key for snow photography, as it can change everything. A few of the best places include:
- Yellowstone National Park: Famous for its geothermal features, Yellowstone looks enchanting under a layer of snow.
- Lake Tahoe: This area offers stunning lake views surrounded by snow-capped mountains.
- Vermont: Known for its charming villages and rolling hills, Vermont is perfect for capturing rural winter scenes.
- Colorado Rockies: The dramatic landscapes provide breathtaking backdrops for snow photography.
- New York City: Urban landscapes covered in snow, like Central Park, create a beautiful contrast with the city’s architecture.
Each of these spots has their own unique characteristics which make them best for freezing winter moments. Try visiting different times and in various weather so as to get the right shot!
Essential Equipment for Snow Photography
Capturing fabulous snow photos needs the right equipment. Below is a checklist of some important items to think about:
| Equipment | Description |
|---|
| Camera: | Any DSLR or mirrorless camera will work well. Look for one with manual settings for better control. |
| Lenses: | A wide-angle lens is great for capturing expansive landscapes, while a telephoto lens can help you zoom in on details. |
| Tripod: | A sturdy tripod stabilizes your camera, especially in low-light conditions. |
| Filters: | Polarizing filters reduce glare from the snow and enhance colors. |
| Weather Protection: | A rain cover or weather-sealed camera can protect your gear from snow and moisture. |
You’re equipped for contrary stormy weather conditions if you invest in quality tools. Besides, you should always check the weather forecast before setting off and carry additional batteries since they deplete quickly due to frigid winds!
Techniques for Capturing Stunning Snow Images
More than simply pointing and shooting is needed to create breathtaking snowy pictures. Here are a few ideas for increasing the quality of your winter photographs:
- Adjust Your Exposure: Snow can trick your camera’s metering system, often leading to underexposed images. Increase your exposure compensation by +1 or +2 stops to get the snow looking bright and white.
- Focus on Contrast: Look for contrasting elements like dark trees against white snow or colorful buildings. This adds interest and depth to your images.
- Use Leading Lines: Snow-covered paths, fences, or streams can guide the viewer's eye through the image. Position these elements strategically to create a more engaging composition.
- Experiment with Depth of Field: A wide aperture (small f-stop number) blurs the background, isolating your subject and adding focus to details.
- Capture Movement: Snowflakes falling or people playing in the snow add a dynamic element. Use a faster shutter speed to freeze motion or a slower shutter speed to create a dreamy effect.
Patience is a virtue that should be remembered. The finest
images are often captured when one waits for the appropriate moment. Take time and appreciate the splendour of this winter wonderland!
Post-Processing Tips for Snow Photos
The technique of post-processing is key in ensuring that your snow photography look amazing. Follow these helpful hints to develop good quality pictures:
- Adjust White Balance: Snow can sometimes appear bluish or yellowish. Use the white balance tool in your editing software to get a natural look.
- Enhance Contrast: Increasing contrast can make the snow pop and add depth to your photos. Be careful not to overdo it; you want to keep the image looking natural.
- Sharpen the Image: A little sharpening can enhance details, especially in the textures of the snow. Just don’t go overboard, as it can create noise.
- Crop for Composition: If your composition isn’t quite right, cropping can help focus on the main subject and remove distractions.
- Use Local Adjustments: Tools like gradient filters can help balance exposure in bright areas of snow while keeping the rest of the image intact.
In post-processing, it’s all about your
images expressing your feelings and impressions at the time of capturing them. Do not hesitate to try various types of editing until you find one that suits you best.
Understanding Lighting in Snow Photography
Snow photography relies heavily on lighting. By gaining knowledge on how to handle various lighting situations, you can enhance your photos remarkably. Key points are:
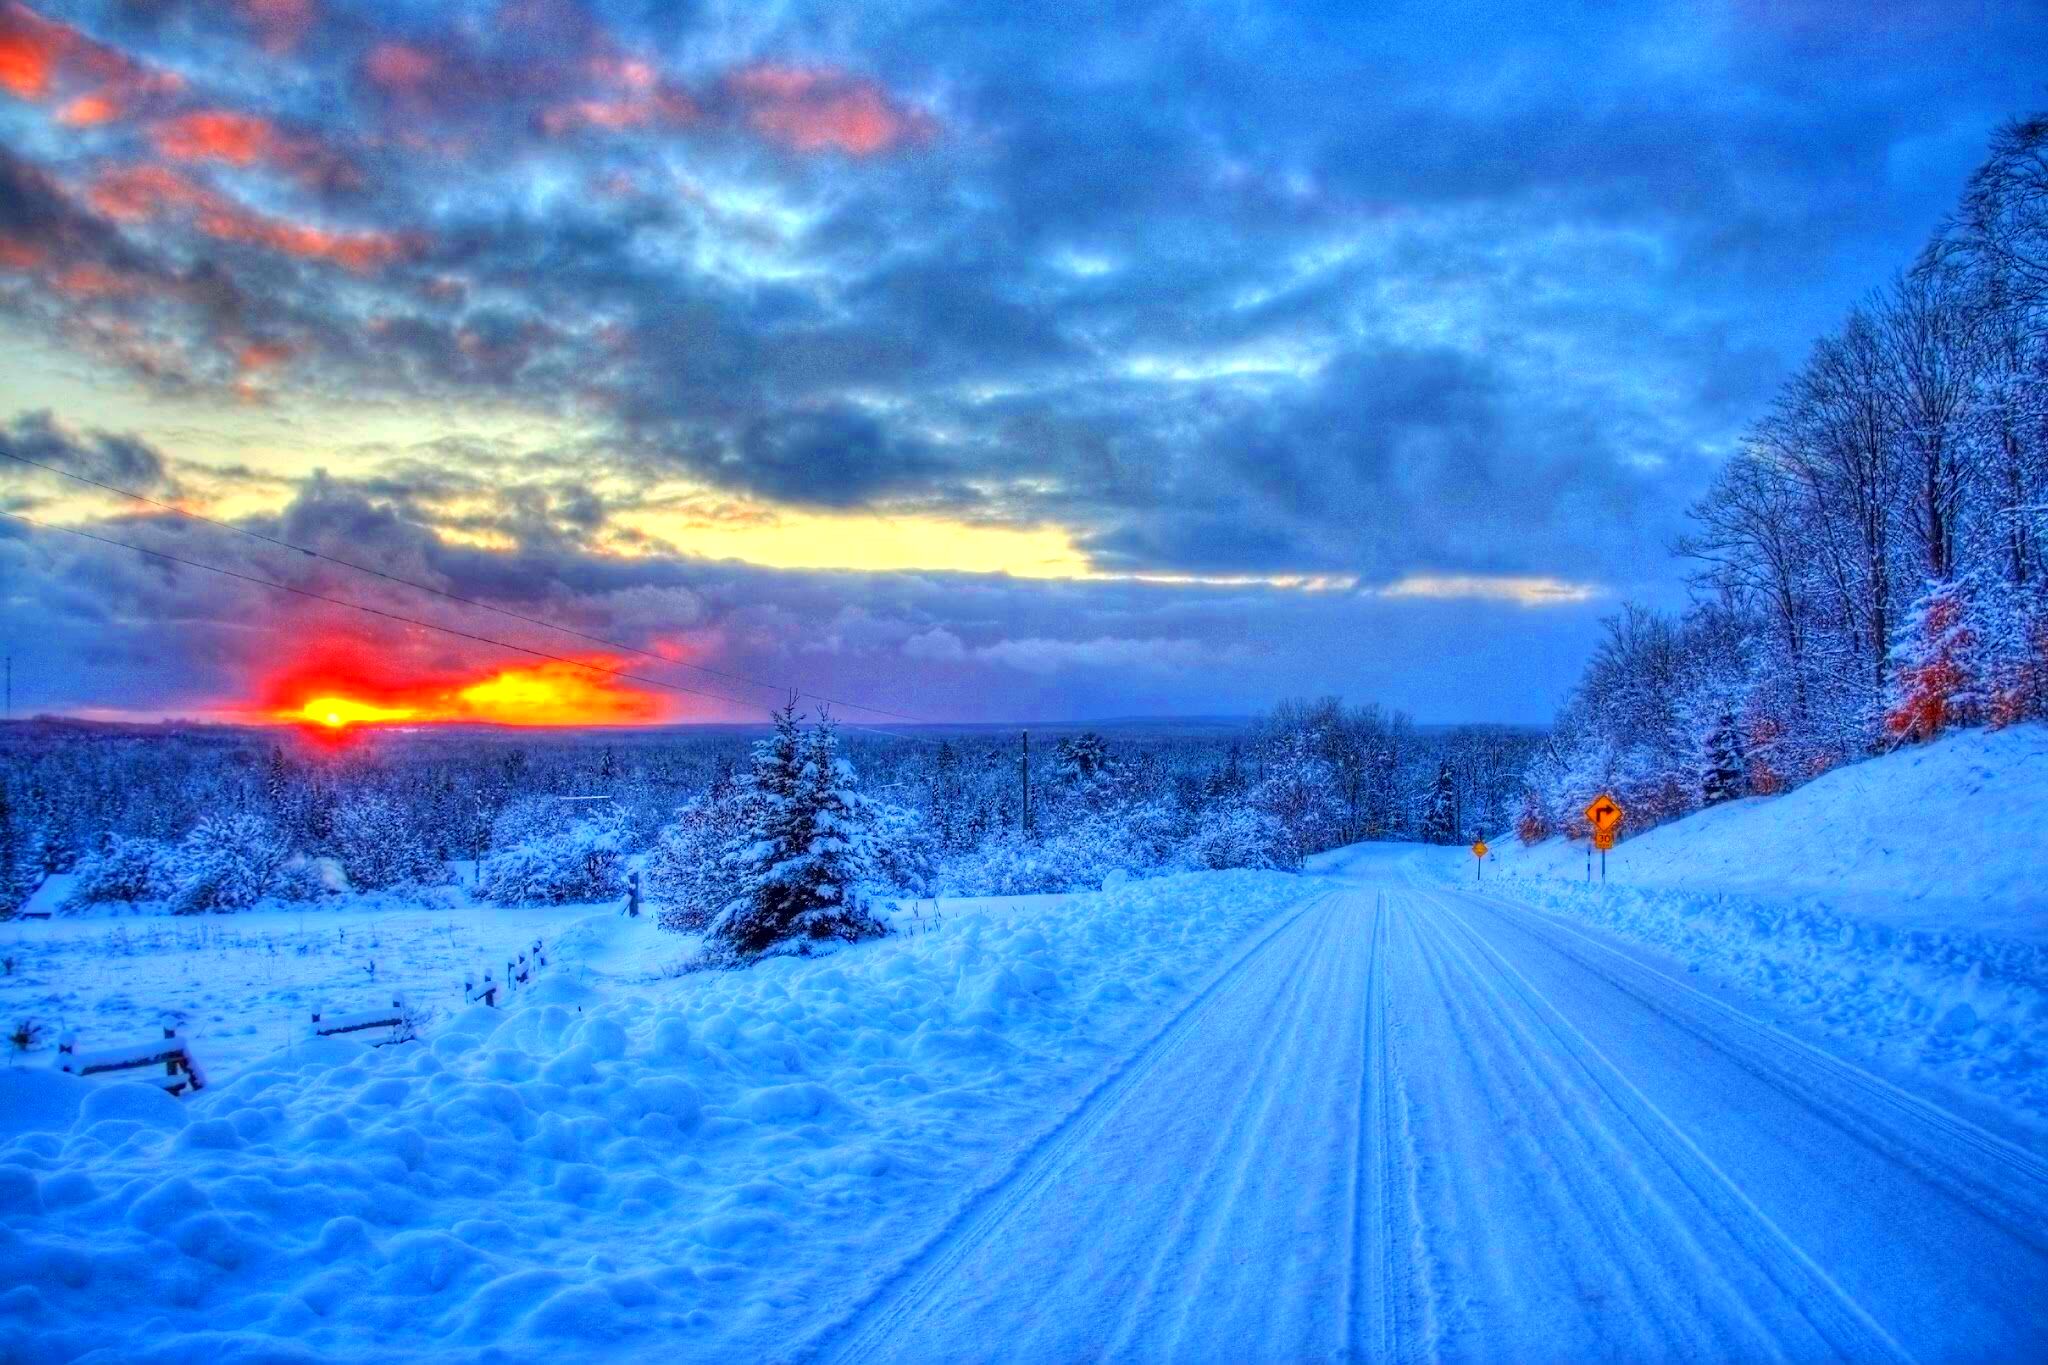
- Golden Hour: The best light for snow photography often occurs during the golden hour, shortly after sunrise or before sunset. The warm light creates beautiful contrasts with the snow.
- Overcast Days: Cloudy days provide soft, diffused light, which can reduce harsh shadows and create a serene atmosphere. These conditions are great for capturing the details in the snow.
- Side Lighting: If possible, shoot with the sun at an angle. This can help create textures in the snow and add depth to your images.
- Avoid Direct Sunlight: Midday sun can cause harsh shadows and overexposed highlights. If you have to shoot during this time, look for shaded areas or use reflectors to bounce light.
Take note of how light interacts with both the snow and also the entire nearby scenery. With this knowledge you will be able to take better shots thus getting appealing winter photos.
Safety Tips for Winter Photography
When indeed making winter photos for yourself, considering safety must be number one priority. Some ways that should be followed in order to avoid getting injuries while enjoyin’ snow are given below:
- Dress in Layers: Wear multiple layers of clothing to stay warm. Start with a moisture-wicking base layer, add an insulating layer, and finish with a waterproof outer layer.
- Protect Your Gear: Snow and moisture can damage your camera. Use weather-sealed equipment or invest in rain covers to protect your gear.
- Stay Hydrated: It’s easy to forget to drink water in the cold, but staying hydrated is crucial for maintaining your energy and focus.
- Be Mindful of Your Surroundings: Snow can hide hazards like ice or deep snowdrifts. Always be aware of where you’re stepping to avoid falls or injuries.
- Watch the Temperature: Prolonged exposure to extreme cold can lead to frostbite or hypothermia. Take breaks indoors or in your vehicle to warm up.
- Bring a Buddy: If possible, go out with a friend. Having someone with you can provide assistance in case of an emergency.
By ensuring these safety precautions, be able to shoot beautiful photographs in winter without endangering yourself and your gear.
FAQ about Snow Photography
Below, some usual queries about snow photography and their informative responses
What settings should I use for snow photography?
- Start with a lower ISO (100-400) and adjust your aperture based on the depth of field you want. A shutter speed of 1/250 or faster is often good for capturing motion.
How can I prevent my camera lens from fogging up?
- Keep your camera warm before heading outdoors. If it does fog up, let it acclimate to the temperature before taking any photos.
Is it better to shoot in RAW or JPEG?
- Shooting in RAW gives you more flexibility in post-processing, allowing you to recover details in highlights and shadows.
What type of lens is best for snow photography?
- A wide-angle lens is great for landscapes, while a telephoto lens is ideal for capturing distant details and wildlife.
How do I clean snow off my camera?
- Use a soft brush or microfiber cloth to gently remove snow. Avoid using your hands, as the heat can cause melting and moisture to enter the camera.
These occasionally asked questions can help clarify the ordinary worries and improve your adventure of shooting in snowy surroundings.
Conclusion and Final Thoughts
The winter season always give room for great pictures because of its different and beautiful landscapes.You are able to utilize darks and lights; colors; shapes among others in order to come up with the most appropriate details and techniques. For this reason, prepare yourself by choosing where to go, packing right tools or equipment as well as considering your security first hand. Try several styles and lights so that you may catch a glimpse of yourself in them someday.It is very important to have fun while doing this! Every scene that is blanketed by snow has some kind of tale to tell; by catching it we obtain both happiness and creativity. Then, pick up your camera, wrap yourself well and go out to the whitest place which is looking for a shot!
 admin
admin


