Have you ever found an incredible song or invaluable tutorial on YouTube that you wish you could listen to or revisit offline? You're not alone! Capturing audio from YouTube videos can be a great way to enjoy content on the go, whether it's music, podcasts, or educational material. In this guide, we'll explore various methods to extract audio easily while keeping in mind the importance of respecting copyright laws and
Understanding YouTube's Policies

Before we jump into how to capture audio from YouTube videos, it's crucial to understand the platform's policies and the legal implications involved. YouTube’s terms of service are designed to protect content creators and their intellectual property, so let’s break down some key points:
- Copyrighted Material: Most videos on YouTube are protected by copyright. This means you can't just download or use content without the creator's permission. Doing so could lead to potential legal ramifications.
- YouTube's Terms of Service: According to YouTube's terms, you're not allowed to copy or distribute videos unless given explicit permission by the copyright owner. This includes audio extraction. Violation can lead to a ban or legal action against you.
- Creative Commons Content: Some videos are released under a Creative Commons license. These can often be reused, but always double-check the specific terms. This is a great way to access content legally!
- Fair Use Doctrine: In some cases, you may be able to use limited portions of a video for educational or commentary purposes without permission under the fair use doctrine. However, this can be a gray area, so it's best to be cautious.
In summary, capturing audio from YouTube videos is feasible, but it requires a respect for creators' rights and an understanding of applicable laws. Ensuring that you’re compliant helps keep the platform thriving for everyone involved!
Also Read This: Growing Your Portfolio’s Audience on Behance
3. Tools You Will Need

When it comes to capturing audio from YouTube videos, having the right tools can make the process smooth and efficient. Here’s a breakdown of the essentials you’ll need:
- Audio Recording Software: This is the backbone of your operation. You can choose from a variety of free or paid options. Some popular choices include:
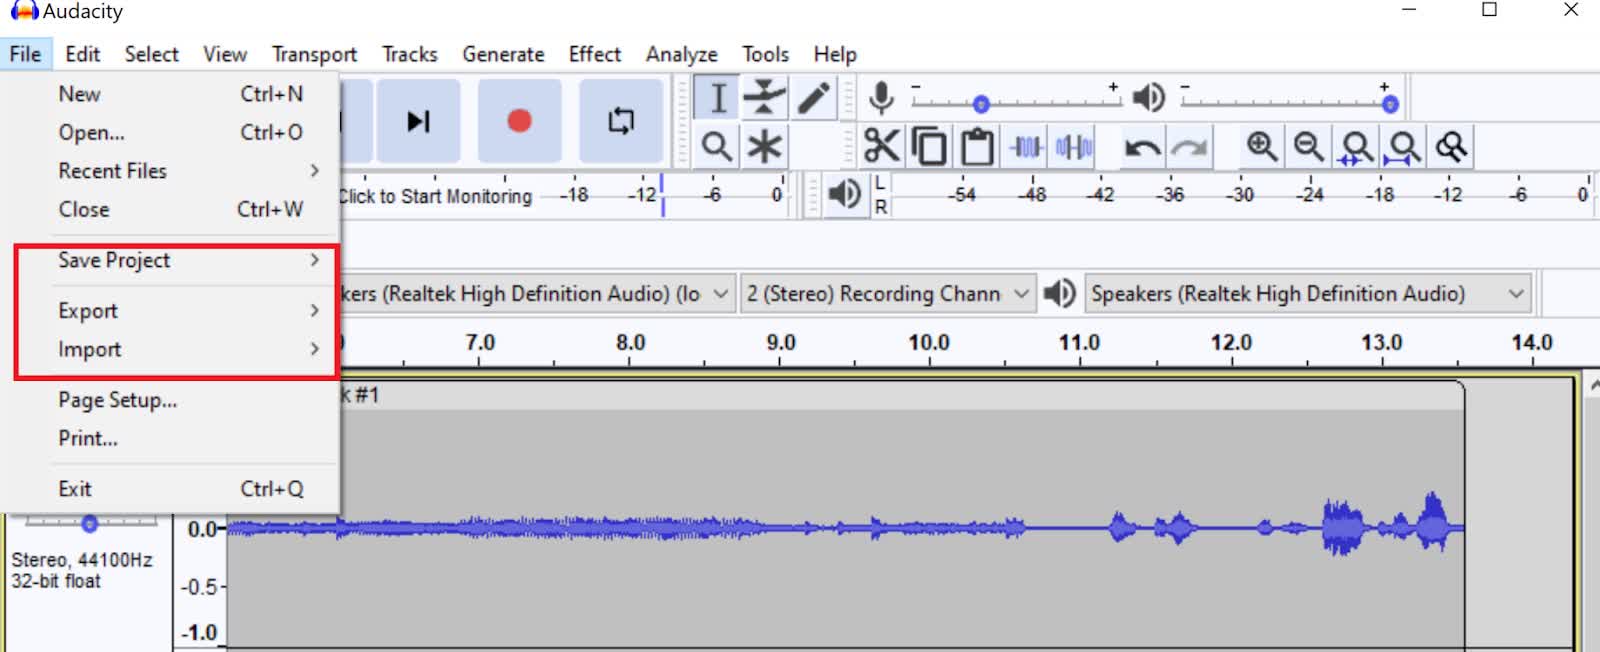
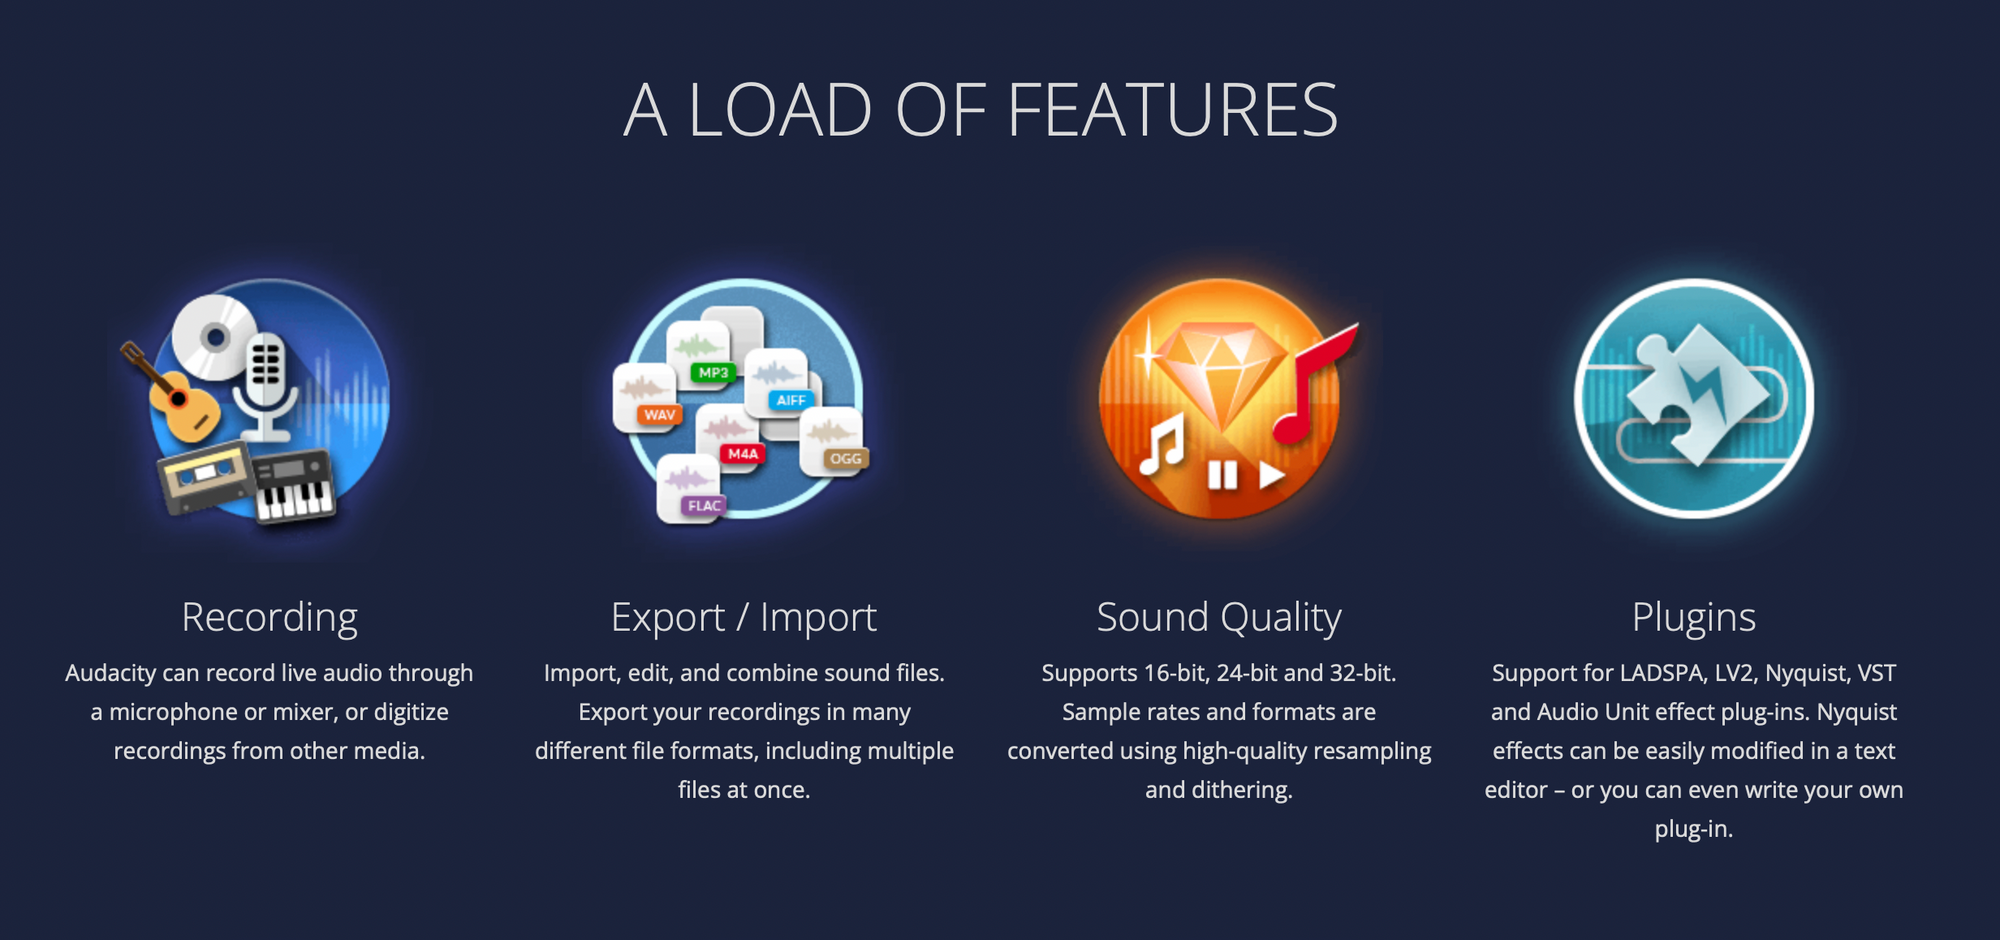
- Audacity: A free, open-source, cross-platform audio software that’s robust and user-friendly.
- GarageBand: Great for Mac users, it offers a suite of professional features.
- Adobe Audition: A professional-grade tool with advanced features for audio processing (paid).
- YouTube Video Link: Obviously, you’ll need the link to the YouTube video from which you want to extract audio.
- Internet Connection: A stable internet connection ensures you can stream the video without interruption while recording the audio.
- Audio Interface (Optional): If you’re serious about quality, an audio interface can improve sound quality, especially if you’re planning to record other audio sources too.
- Good Quality Headphones: These will help you monitor your recording accurately, ensuring that the sound quality is top-notch.
With these tools at your fingertips, you’re all set to start recording audio from your favorite YouTube videos effortlessly!
Also Read This: How to Upload Adobe XD Files to Behance and Showcase Your UI/UX Designs
4. Step-by-Step Guide to Recording Audio

Now that you have your tools ready, let’s dive into the step-by-step process of capturing audio from YouTube videos. Trust me, it’s easier than you might think!
- Install Your Chosen Audio Software: Download and install the audio recording software of your choice. If you opt for Audacity, it’s free and straightforward!
- Prepare Your Workspace: Create a clean, organized space where you won’t be disturbed during the recording process. Set up your audio recording software and ensure everything is functioning.
- Copy the YouTube Video Link: Head to the YouTube video you wish to extract audio from. Right-click on the video and select “Copy Video URL” or use the URL bar to copy the link.
- Configure Your Software: Open your audio software and set it to record from the system sound (this may vary based on the software). Ensure you adjust the levels to capture clear sound without distortion.
- Start Recording: Hit the “record” button in your software. Go back and start playing the YouTube video. This way, you’ll capture the audio as it plays.
- Stop the Recording: Once the video has finished playing, stop the recording in your software. Don’t forget to check your recording for any issues!
- Edit If Necessary: If you notice any unwanted noise or pauses, utilize the editing tools in your software to clean it up.
- Export Your Audio: Finally, export your audio file in your desired format, such as MP3 or WAV, and save it to your device.
And there you have it! With these simple steps, you can easily record audio from YouTube videos and keep your favorite sounds or music for future enjoyment!
Also Read This: How to Embed Content on Behance to Showcase Your Work with Various Media
5. Tips for High-Quality Audio Recording

When it comes to capturing audio from YouTube videos, achieving high quality is key! Here are some practical tips to ensure your recordings sound pristine:
- Use Proper Equipment: Invest in a decent microphone. Even a mid-range USB mic can significantly enhance the quality of the audio you capture compared to your computer's built-in microphone.
- Choose the Right Environment: Try to record in a quiet, controlled space. Reduce background noise by closing windows, turning off fans, and asking others to keep the volume down. Soft furnishings like curtains and cushions can help absorb sound, minimizing echoes.
- Check Your Settings: Before starting, check the audio settings in your recording software. Ensure that you're recording at a high sample rate (like 44.1 kHz) for the best fidelity.
- Monitor Levels: Keep an eye on the audio levels while recording. Avoid clipping (distorting audio caused by being too loud) by maintaining levels below 0 dB. Aim for peaks around -6 dB for optimal results.
- Test First: Always do a test recording before diving into the full session. Listening to a short sample can help you identify any issues with volume, clarity, or background noise.
- Consider Using Audio Interfaces: If you’re serious about audio quality, consider using an audio interface to connect your microphone to your computer. This provides better preamps and more control over your sound.
By following these tips, you'll be well on your way to capturing audio that sounds amazing!
Also Read This: How to Pixelate an Image in Krita
6. Editing Your Recorded Audio
Now that you’ve successfully recorded your audio, it’s time to make it shine through editing! Here’s a simple guide to get you started:
- Choose the Right Software: Select audio editing software that suits your needs. Popular options include Audacity (free), Adobe Audition (subscription), and GarageBand (Mac). These programs offer various features for enhancing your audio.
- Remove Unnecessary Parts: Listen to your recording and cut out any sections you don’t need. This could include awkward pauses or irrelevant content. Use the cut tool to make clean edits.
- Reduce Background Noise: Most editing software comes equipped with noise reduction tools. Apply these tools to minimize any distracting background sounds, achieving a cleaner overall sound.
- Normalize Volume Levels: Use the normalization feature to ensure consistent volume levels throughout your recording. This will avoid sudden loud or quiet spots that can distract listeners.
- Add Effects if Needed: Don’t shy away from using effects sparingly – reverb or EQ adjustments can enhance your audio. Just remember: less is often more when it comes to effects.
- Export in the Right Format: Once you’re satisfied with your edits, export the file in a suitable format. WAV or MP3 are popular choices, but keep in mind that WAV files are higher quality while MP3s are more compressed and shareable.
With these steps, your audio will be polished and ready for sharing!
Capturing Audio from YouTube Videos: A Simple Guide
Capturing audio from YouTube videos can be useful for various purposes, be it for educational use, music enjoyment, or compiling sound bites for personal projects. However, it’s essential to respect copyright laws and ensure you have permission to use the audio. Here’s a straightforward guide on how to do that effectively.
There are several methods to extract audio from YouTube videos, and they can be categorized into:
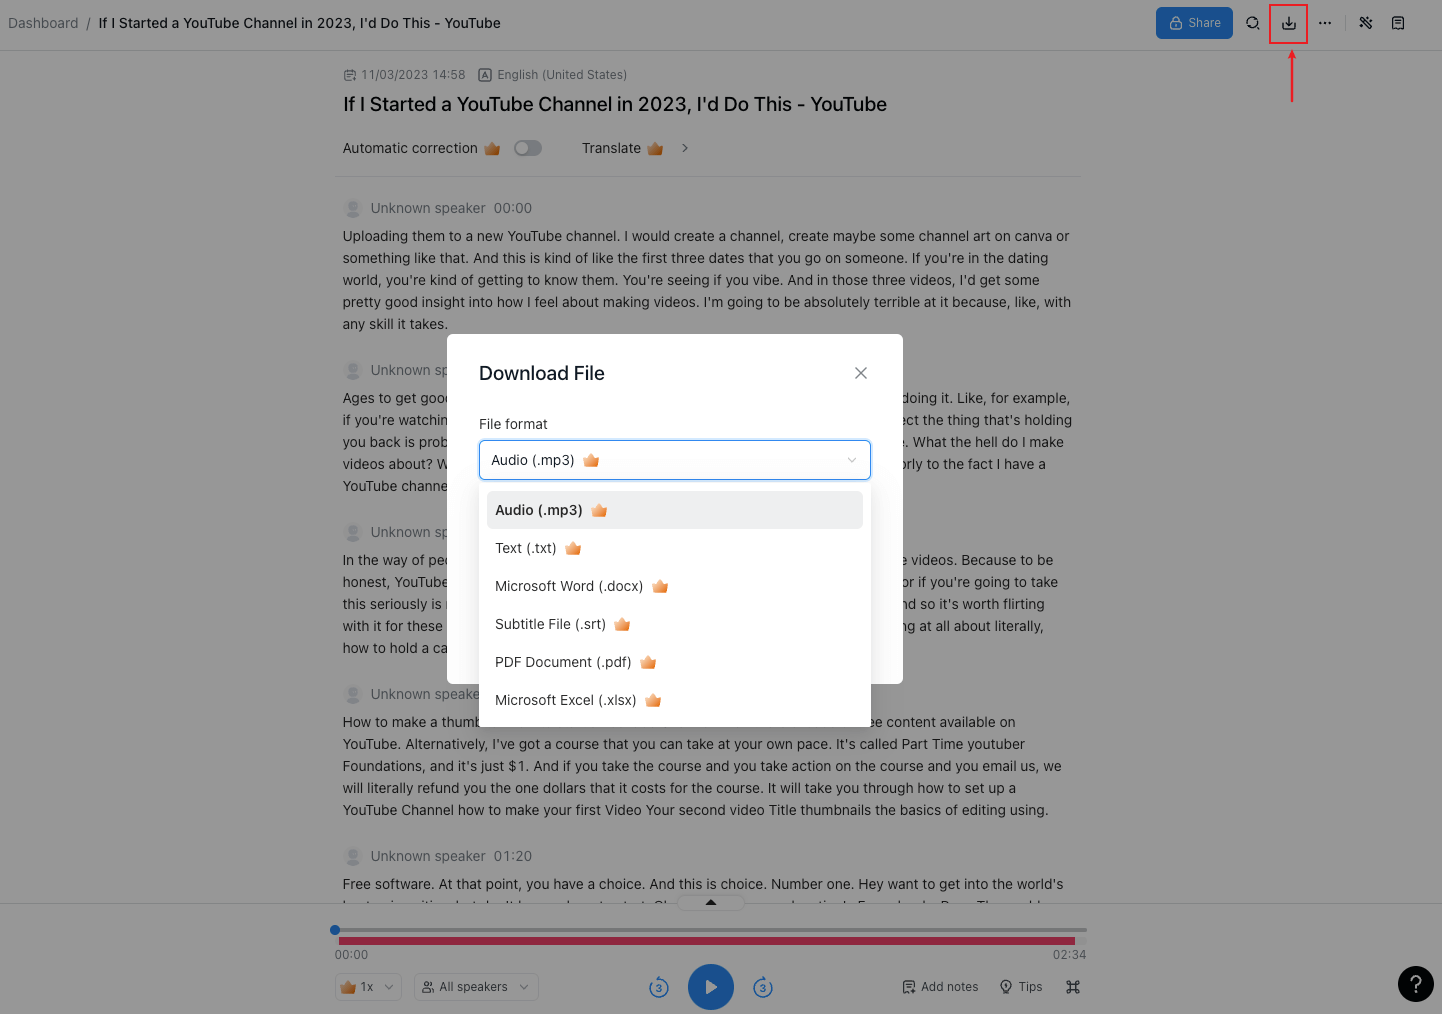
- Online Converters: Websites that allow you to paste the YouTube link and download the audio file.
- Software Applications: Programs that you can install on your computer to download and convert YouTube videos.
- Browser Extensions: Add-ons that integrate with your web browser to enable direct audio download from YouTube.
Below, we outline each method in detail:
| Method | Steps |
|---|---|
| Online Converters |
|
| Software Applications |
|
| Browser Extensions |
|
Always remember to respect the rights of content creators when using their work. With the methods outlined above, you can easily capture audio from YouTube videos for personal or educational use while staying within legal boundaries.
Conclusion: Extracting audio from YouTube videos can be an easy and efficient process with the right tools and methods, but always prioritize ethical considerations and copyright respect when doing so.
 admin
admin


