Are you looking to collaborate with others on your iStock account? Adding team members can enhance your creative process and optimize the way you manage your projects. In this blog post, we'll explore how to add team members to your iStock account and the different permissions they can have. Let’s dive in!
Understanding User Permissions on iStock
When you add team members to your iStock account, it's crucial to understand the various user permissions available. These permissions determine what each team member can and cannot do within the account, ensuring that your content remains secure while allowing collaboration. Here's a breakdown:
- Administrator: This is the highest level of access. Administrators can manage billing, add or remove team members, and change permissions for other users. They have full control over the account.
- Contributor: Contributors can upload images and videos but cannot change account settings or permissions. This role is ideal for creative professionals who need to add their work without altering account management.
- Viewer: Viewers can browse the content but cannot upload or edit anything. This role works well for stakeholders who need to see the projects without the ability to make changes.
It's essential to assign the right permissions based on each team member's role. For example, if you're collaborating with a photographer, a Contributor role would be suitable, while a project manager might benefit from Administrator access to oversee the entire process.
In summary, understanding user permissions on iStock allows you to create an organized team dynamic. By assigning the appropriate roles, you can streamline your workflow while keeping your assets secure.
Also Read This: How iStock Credits Work: A Complete Guide for Buyers and Contributors
Steps to Add Team Members

Adding team members to your iStock account is a straightforward process that can enhance your workflow and collaboration. Here’s how you can do it:
- Log In to Your Account: Start by logging into your iStock account using your credentials.
- Navigate to Account Settings: Once you're in, click on your profile icon, usually found in the top-right corner, and select "Account Settings" from the dropdown menu.
- Access Team Management: Look for the “Team Management” section on the left sidebar. This is where you can manage your team members.
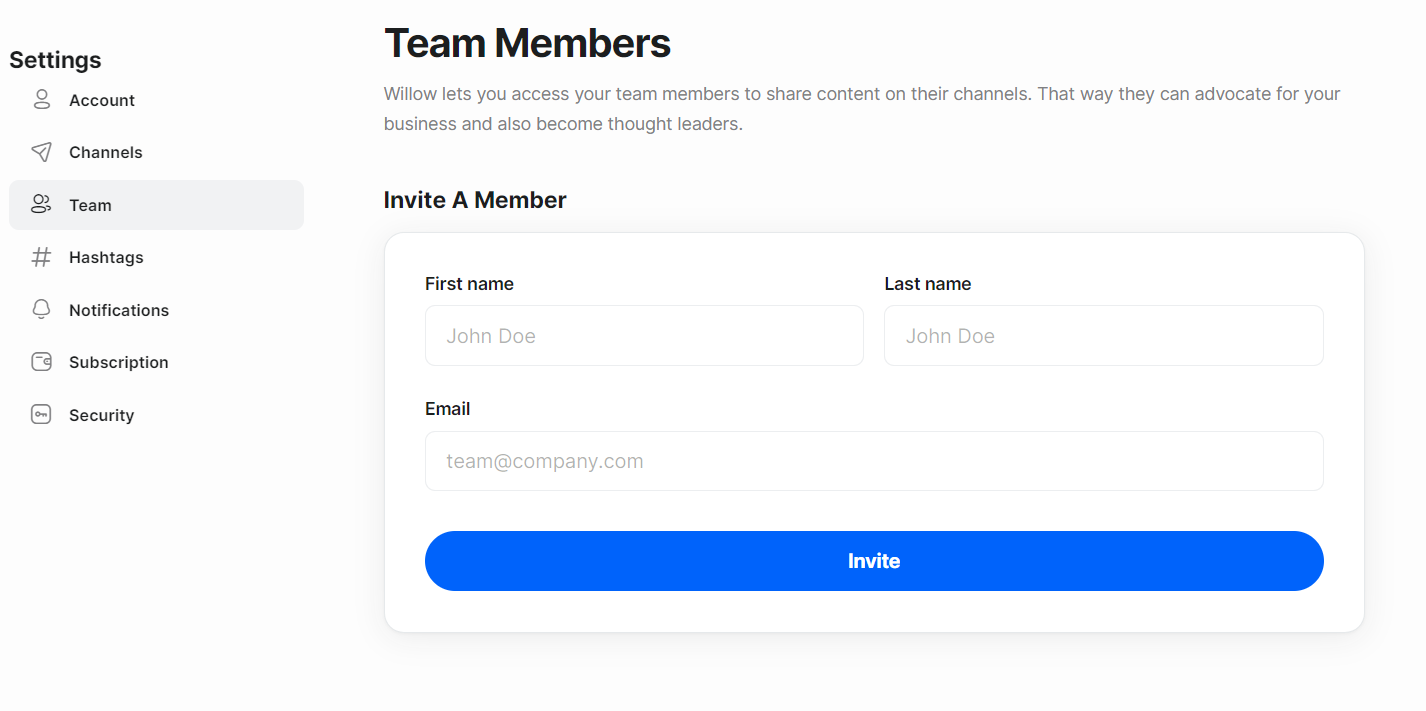
- Add New Members: Click on the “Add Team Member” button. You’ll be prompted to enter the email addresses of the individuals you want to invite.
- Set Permissions: Choose the appropriate permissions for each member. You can decide if they should have full access or be limited to specific functions.
- Send Invitations: After entering the details and setting permissions, hit the “Send Invitations” button. Your team members will receive an email with instructions on how to join your account.
- Confirm Addition: Once they accept the invitation, they will be added to your team, and you can manage them from the same settings area.
And that’s it! You’ve successfully added new members to your iStock account!
Also Read This: Does iStock Accept AI-Generated Images? Exploring Contributor Guidelines
Managing Existing Team Members
Once you have team members on your iStock account, managing them efficiently is key to maintaining a smooth workflow. Here are some tips on how to manage existing members:
- View Team Member List: Access the “Team Management” section as described earlier to see a list of all current team members.
- Edit Permissions: If you need to change what a team member can access, simply click on their name and adjust their permissions accordingly.
- Remove Members: If someone no longer needs access, you can easily remove them by selecting the “Remove” option next to their name.
- Monitor Activity: Keep an eye on the contributions of each team member. This can help in evaluating their roles and how effectively they’re utilizing the account.
- Conduct Regular Check-Ins: Schedule periodic meetings to discuss projects, gather feedback, and ensure everyone is aligned with your goals.
By following these steps, you can effectively manage your team on iStock, ensuring that everyone has the resources they need while maintaining a cohesive work environment.
Can You Add Team Members to Your iStock Account?
iStock, a leading stock photo provider, offers a collaborative platform for creative teams through its team account feature. This functionality is ideal for businesses, marketing agencies, and creative professionals who need to manage multiple users under one account. But the question arises: can you add team members to your iStock account? The answer is yes! Here’s how you can do it and what to consider:
Adding team members to your iStock account involves a few straightforward steps:
- Log into your iStock account.
- Navigate to the “Team” section from the account settings.
- Click on “Invite Team Members” to send invitations via email.
- Specify the permissions for each team member (e.g., view, download, upload).
- Click “Send Invite” to finalize the process.
Once the team members accept the invitation, they can access shared resources, collaborate on projects, and utilize the iStock library effectively. Here’s a quick overview of the benefits of using team accounts:
| Benefit | Description |
|---|---|
| Collaboration | Work together seamlessly on projects and share resources. |
| Permission Control | Manage what each team member can access and do. |
| Cost Efficiency | Reduce costs by pooling resources and subscriptions. |
In conclusion, adding team members to your iStock account is a simple and effective way to enhance collaboration and streamline your creative processes, allowing your team to make the most of the extensive resources iStock offers.
 admin
admin


