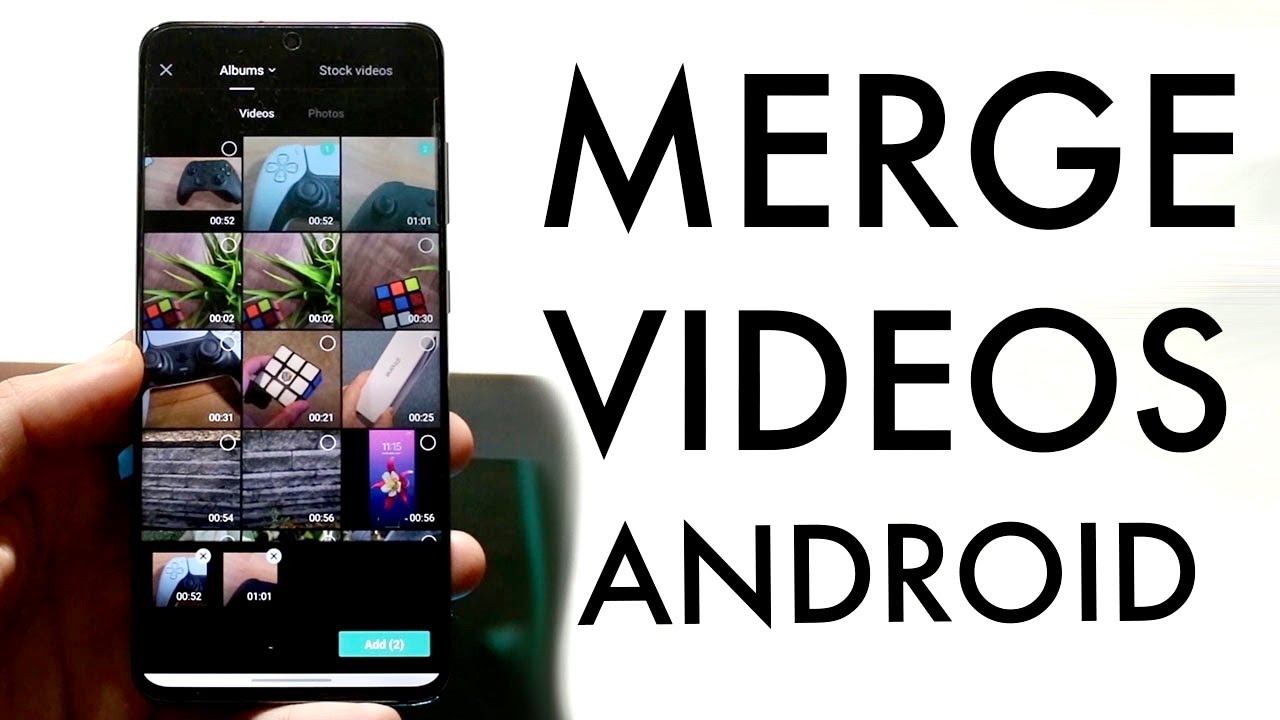
Hey there, fellow video creators! Have you ever found yourself wondering how to combine clips to make your YouTube content more engaging? Merging videos can be an absolute game-changer for your channel. It allows you to present a cohesive narrative, highlight key moments, or simply streamline your content. In this post, we'll explore the ins and outs of merging videos right on YouTube and discuss some fantastic reasons why you should consider doing it. Ready to dive in?
Why Combine Videos for Your YouTube Channel?

So, why should you combine videos on your YouTube channel? Let’s break this down into some compelling reasons to help you understand the benefits:
- Create a Cohesive Storyline: Merging videos allows you to construct a narrative arc that keeps viewers engaged from start to finish. Instead of jumping between different videos or topics, combining clips can deliver a smooth storytelling experience.
- Enhance Viewer Engagement: A well-merged video can hold a viewer's attention longer. When your audience finds content flowing and seamless, they are less likely to click away. This can lead to increased watch time and potentially higher rankings in YouTube’s algorithm.
- Simplify Your Content: If you have several shorter clips covering similar topics, merging them into one longer video can help eliminate redundancy and keep your content focused. This makes it easier for viewers to digest information without feeling overwhelmed.
- Promote Related Content: You can strategically merge videos that are related to one another, creating playlists or thematic videos that entice viewers to continue watching. It can also encourage them to explore other related content on your channel.
- Improve Production Quality: Even if your individual videos are of high quality, merging them can add a professional touch. By creating transitional effects or adding background music, you can enhance the overall aesthetic of your videos, making them more appealing to your audience.
Now, let's consider a few strategies you can employ when merging videos:
- Use Transitions: Incorporating smooth transitions between clips can create a natural flow, helping the audience to journey through your content without any bumps.
- Add Music and Sound Effects: A well-placed background track or sound effects during transitions can elevate your video, making the merge feel intentional and engaging.
- Optimize for SEO: When you upload a merged video, don’t forget to update the title and description with relevant keywords. This will help your video rank better and reach a broader audience.
So, whether you're piecing together a tutorial series or compiling memorable moments from your adventures, merging videos on YouTube opens up a world of creative possibilities. Stay tuned as we delve deeper into how to successfully merge your footage in future sections!
Also Read This: Why Does My YouTube Layout Look Different? Understanding Changes to YouTube’s User Interface
3. Methods to Merge Videos on YouTube

Merging two videos on YouTube can open up a world of creativity for content creators. Whether you're looking to create a highlight reel, combine vlogs, or piece together different segments of your content, there are several methods you can use. Here’s a breakdown of the most popular ways to merge videos on YouTube:
- YouTube Studio: YouTube's own editing platform is a great place to start. It’s user-friendly and accessible as long as you have your videos uploaded to your channel.
- Third-Party Editing Software: For those who want more control and options, software like Adobe Premiere Pro, Final Cut Pro, or even free options like HitFilm Express or Shotcut can be ideal. These tools provide extensive editing features, including advanced merging options.
- Online Video Merging Tools: Websites like Kapwing, Clideo, or Merge Video offer straightforward online platforms that enable users to upload and merge videos directly from their browsers without needing to download software.
Each method has its pros and cons, and choosing the right one will largely depend on your specific needs, the level of editing you want, and your comfort with different tools. Let’s dive deeper into using YouTube’s built-in editing tools in the next section!
Also Read This: How to Delete Live Streams on YouTube: Managing Your Channel’s Content
4. Using YouTube's Built-in Editing Tools

Using YouTube's built-in editing tools is one of the easiest ways to merge videos, especially if you're looking for a quick solution without the hassle of additional software. Here’s a friendly and straightforward guide on how to utilize these tools effectively:
- Log into YouTube Studio: Start by logging into your YouTube account and heading over to YouTube Studio. This is your dashboard where you can manage all your videos.
- Select Your Videos: In the left sidebar, navigate to the "Content" section where all your uploaded videos are listed. Select the first video you want to edit.
- Open the Editor: Click on the “Editor” tab on the left side. This will open up the YouTube editing interface, where you'll find a simple layout consisting of your video timeline.
- Trim Your Video: If necessary, you can trim your selected video to focus on the parts you want to keep. Click on the “Trim” button, and adjust the handles on the timeline to select your desired clip.
- Merge Videos: Unfortunately, YouTube doesn’t allow merging videos directly within its editor the way you might hope. You can, however, add elements from other videos by using the “Add” button to incorporate end screens or cards that link to your other video, promoting a form of merging through interactive content.
- Save Your Changes: Once you're done editing, click “Save” to apply the changes to your video.
While YouTube’s built-in tools may seem limited in merging functionality—especially compared to dedicated editing software—they still offer excellent features for trimming and enhancing your videos. If you want to create a more cohesive video experience, consider combining shorter videos to promote your channel or enhance a series, making the best of the features YouTube offers.
Ready to unleash your video editing skills? Let’s get started and see how you can bring your vision to life with the tools at your disposal!
Also Read This: Is ACC Network Extra Available on YouTube TV? A Guide to Sports Channel Access
5. Third-Party Video Editing Software Options

If you're looking to take your video merging skills to the next level, there are plenty of third-party video editing software options out there that can help you create professional-looking content with ease. Let’s dive into some of the most popular and user-friendly tools available!
- Adobe Premiere Pro: A favorite among professionals, this software provides a comprehensive suite of editing tools. It allows you to merge videos with precision, add transitions, adjust audio, and apply advanced effects. While it comes with a learning curve, the results can be incredibly rewarding.
- Final Cut Pro: Exclusively for Mac users, this software offers powerful features for video merging and editing. With its magnetic timeline, you can easily combine clips, add soundtracks, and make precise adjustments. Plus, the interface is sleek and intuitive!
- iMovie: If you’re a Mac user looking for something simpler, iMovie is an excellent choice. It allows you to effortlessly merge clips and provides basic editing tools that are perfect for beginners or those who want to streamline their workflow.
- DaVinci Resolve: Known for its color correction capabilities, DaVinci Resolve is a free software option that doesn’t skimp on features. It’s perfect for merging videos while also providing advanced editing tools if you decide to expand your skills later on.
- Filmora: Filmora is an easy-to-use option for beginners. It offers a range of templates, effects, and transitions, making it simple to merge videos and create engaging content for your audience.
- HitFilm Express: Another free option, HitFilm Express is great for those interested in both video editing and special effects. Its merging capabilities are effective, and the community offers numerous tutorials to help ease the learning process.
These tools can greatly enhance your video editing experience. Whether you’re a beginner or a seasoned editor, there's something here for everyone. Remember to choose a software that fits your workflow and offers the features you're looking for!
Also Read This: Is Netflix on YouTube TV: A Complete Guide
6. Step-by-Step Guide to Merging Videos
Now that you know about some great third-party software options, let’s get into the nitty-gritty of merging videos. Follow this step-by-step guide to easily combine your clips like a pro!
- Choose Your Software: Select the video editing software that suits your needs best. Download and install it if you haven’t already.
- Create a New Project: Open your chosen editor and create a new project. Give it a name that reflects your video’s content for easy identification later!
- Import Your Videos: Look for the import option—usually found in the menu bar. Upload the videos you want to merge by dragging them from your file explorer into the software.
- Arrange Your Clips: Once your videos are imported, drag and drop them into the timeline in the order you wish them to appear. You can adjust this arrangement easily until you find the perfect sequence.
- Add Transitions (Optional): If you want your merged video to flow smoothly, consider adding transitions between clips. Most software will have a panel dedicated to transitions; simply drag your preferred option between the clips.
- Adjust Audio Levels: Make sure the audio from each video clip is balanced. You can adjust the volume levels individually to ensure a uniform audio experience throughout the video.
- Preview Your Merged Video: Before finalizing, hit play on the preview window to see how your merged video looks. Check for any adjustments needed, whether in terms of timing or transitions.
- Export Your Video: Happy with the outcome? Great! Now, look for the export option in your software, select your preferred file format (usually MP4 is a good choice for YouTube), and click “Export” or “Render.”
And voila! You’ve successfully merged your videos. Take a moment to celebrate this accomplishment, and don’t forget to upload your newly created masterpiece to YouTube. With a bit of practice, merging videos will become second nature!
Also Read This: How to Upgrade to YouTube Premium: Simple Steps for Better Features
7. Tips for Creating a Seamless Viewing Experience
When merging two videos, the ultimate goal is to create a cohesive viewing experience that feels natural and uninterrupted for your audience. Here are some tips to ensure your final product flows smoothly:
- Maintain a Consistent Style: Choose similar styles for videos, including color grading, fonts, and graphics. This not only enhances visual appeal but also helps in keeping the viewer's focus on the content, not the differences.
- Use Appropriate Transitions: With pacing in mind, opt for simple transitions. While flashy effects can grab attention, they can also disrupt the flow. Fade-ins and fade-outs or cross-dissolves are typically more effective at creating a seamless experience.
- Match Audio Levels: Audio consistency is crucial in video editing. Ensure the audio levels between the two videos are balanced. Use audio editing tools to equalize sound levels, which will prevent jarring shifts that distract viewers.
- Consider Pace and Timing: If one video is in a different tempo or tone, consider slowing down or speeding up segments. A good rhythm in your edit will keep your viewers engaged without them noticing the merge.
- Insert B-Roll Wisely: If there are disjointed sections between the two videos, adding B-roll can help cover the cuts. Clips that are relevant to the topic and visually appealing can serve as a great filler.
- Preview and Test: Always preview the merged video before publishing. Watch it multiple times to notice any potential issues. You might spot details that require adjustments which you may have initially overlooked.
By implementing these tips, you can significantly enhance the viewing experience for your audience, making your content more appealing and professional.
Also Read This: Can I Cancel YouTube TV After the Free Trial Period? Everything You Should Know
8. Common Issues When Merging Videos and How to Fix Them
Merging videos can seem straightforward, but it's not without its challenges. Here are some common issues you might encounter and how to address them:
| Issue | Solution |
|---|---|
| Audio Sync Problems | Adjust the audio track manually in your editing software. Look for tools that allow you to nudge audio tracks for precise alignment. |
| Different Video Resolutions | Standardize the resolutions before merging. Scale both videos to the same resolution, which can usually be done through your editing software’s settings. |
| Jarring Transitions | As mentioned earlier, use simple transitions or B-roll footage to smooth out rough cuts. Avoid overwhelming effects that could disorient viewers. |
| Inconsistent Color Grading | Use a color grading tool to match the colors of both videos. Adjust brightness, contrast, and saturation to create visual harmony. |
| Audio Levels Varying | Normalize the audio levels using an audio editing tool. Aim for a consistent volume throughout during the merge process. |
Despite these potential hurdles, remember that they can often be overcome with good planning and the right tools. Keep your creative vision in mind, and don't hesitate to experiment until you find what works best for your content!
Also Read This: How to Rip Audio from a YouTube Video for Use in Other Projects
9. Additional Resources for YouTube Video Editing
When it comes to improving your video editing skills, there’s a wealth of resources available to help you become a pro. Whether you’re just starting out or looking to refine your techniques, check out these fantastic options!
YouTube Channels: YouTube itself is a treasure trove of tutorial channels dedicated to video editing. Some popular ones include:
- Justin Brown - Primal Video: Great insights on video creation and editing tips specifically for YouTube.
- Think Media: Focuses on video equipment and editing software that can take your content to the next level.
- Film Riot: Offers creative tutorials and filmmaking tips, making complex editing concepts more accessible.
Online Courses: For a more structured learning experience, consider enrolling in online courses. Platforms like:
- Skillshare: Offers a variety of courses on video editing software like Adobe Premiere Pro and Final Cut Pro.
- Udemy: You can find comprehensive courses that cover everything from basic editing to advanced techniques.
- LinkedIn Learning: Great for more professional-oriented courses that come with a certificate.
Editing Software Documentation: Familiarizing yourself with the documentation of the editing software you choose can drastically improve your efficiency. Most software like:
- Adobe Premiere Pro: Provides an extensive knowledge base and community forums.
- Final Cut Pro: Features tutorials and user guides straight from Apple.
- DaVinci Resolve: Known for its powerful color grading tools and offers excellent educational resources.
Online Forums & Communities: Joining forums can provide you with insider tips and a support network. Look for communities on:
- Reddit: Subreddits like r/VideoEditing and r/Filmmakers are fantastic for advice and sharing your progress.
- Facebook Groups: Many groups dedicated to video editing where you can ask for feedback and share experiences.
- Discord Servers: Various servers focus on video editing where you can converse in real time with peers.
With these resources at your disposal, you'll not only streamline your editing process but also ensure that your content stands out on YouTube. Dive into these tools, learn from others, and enhance your video production journey!
10. Conclusion: Enhancing Your YouTube Content Through Video Merging
In the ever-evolving world of YouTube, producing high-quality content that captivates your audience is of utmost importance. Merging videos is one of those techniques that can truly elevate your storytelling and overall presentation. It’s not just about cutting and pasting; it’s about weaving together your narrative in a way that keeps viewers engaged.
As we’ve discussed, merging videos can help eliminate unnecessary content, improve pacing, and create a more streamlined viewing experience. Whether you’re combining multiple clips into a cohesive storyline or simply enhancing visual flair, mastering this skill will undoubtedly impact your channel’s growth.
Remember: Every piece of content is an opportunity to connect with your audience. By merging videos effectively, you’re not only enhancing the quality of your work but also improving viewer satisfaction. Think about the emotions you want to evoke, the information you want to convey, and how each clip contributes to that goal.
As you embark on your video editing journey, keep experimenting! Try different merging techniques, play with transitions, and don’t shy away from getting creative. The more you practice, the more confident and skilled you’ll become.
Ultimately, building a successful YouTube channel takes time, persistence, and continuous learning. The benefits of merging videos in your editing toolkit are significant, paving the way for richer and more compelling content. So, roll up your sleeves, start merging those videos, and watch your channel soar to new heights!
 admin
admin


