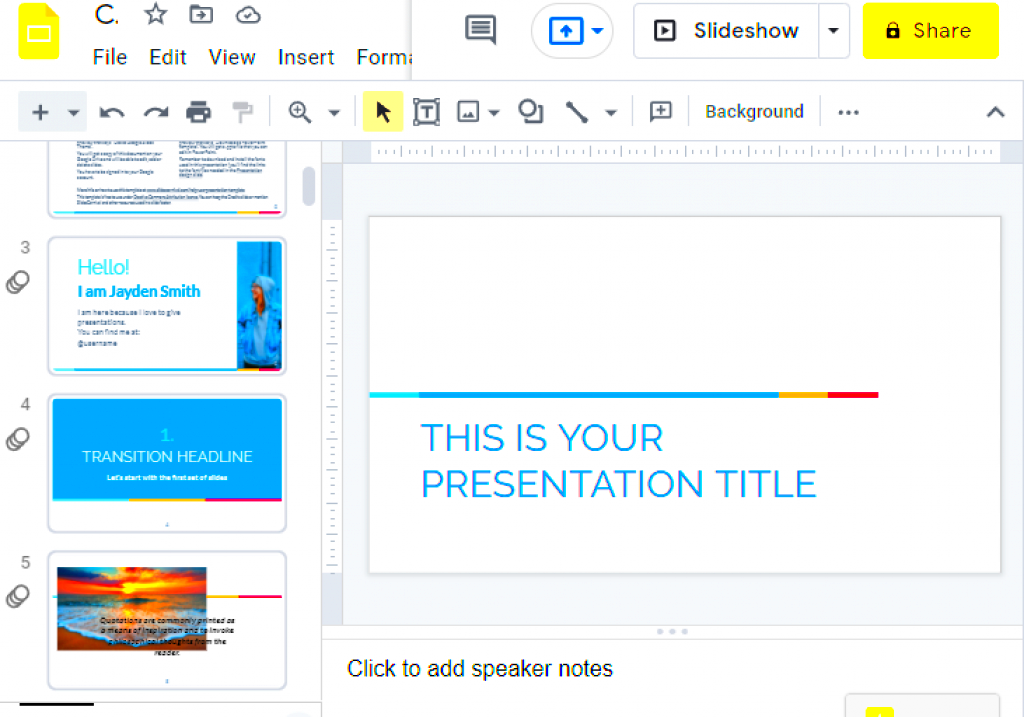
Google Slides is a powerful tool for creating and editing presentations. One of its great features is the ability to work with images, which can make your slides more engaging and visually appealing. Whether you’re adding charts, graphics, or photos, image editing is key to making your presentation stand out. A useful technique is layering images, which allows you to control which images appear on top or behind other elements in your slide.
In this guide, we’ll focus on how to bring an image forward in Google Slides. This simple trick can make a big difference in your slide layout, helping your key visuals get the attention they deserve.
Why You Might Need to Bring an Image Forward

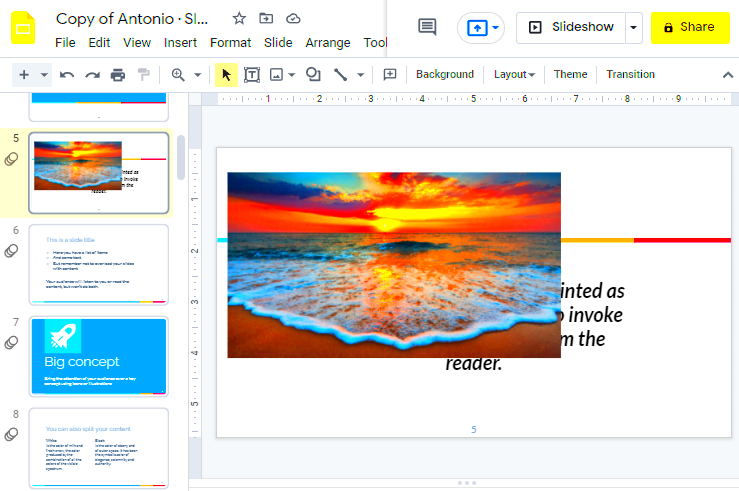
Bringing an image forward in Google Slides is all about controlling the visual hierarchy of your presentation. When you have multiple elements—like text boxes, shapes, and images—on a slide, some may end up hidden behind others. This can make your slides look cluttered or leave important visuals hard to see. By bringing an image forward, you ensure that the most important visuals stand out and are easy for your audience to focus on.
- Highlight Key Visuals: Important images or graphics can be made prominent by placing them in front of other objects.
- Better Layering: Layering helps create a visually dynamic slide, making your presentation look more polished and organized.
- Improved Focus: By adjusting image placement, you guide your audience’s attention where it’s needed most.
- Clean Design: Proper layering can help eliminate visual clutter, leading to a cleaner, more professional design.
Also Read This: Page Ownership: Claiming Your IMDb Page – Taking Control of Your IMDb Presence
Step-by-Step Guide to Bringing an Image Forward

Bringing an image forward in Google Slides is easy once you know the steps. Follow this simple guide to adjust the image layers in your presentation:
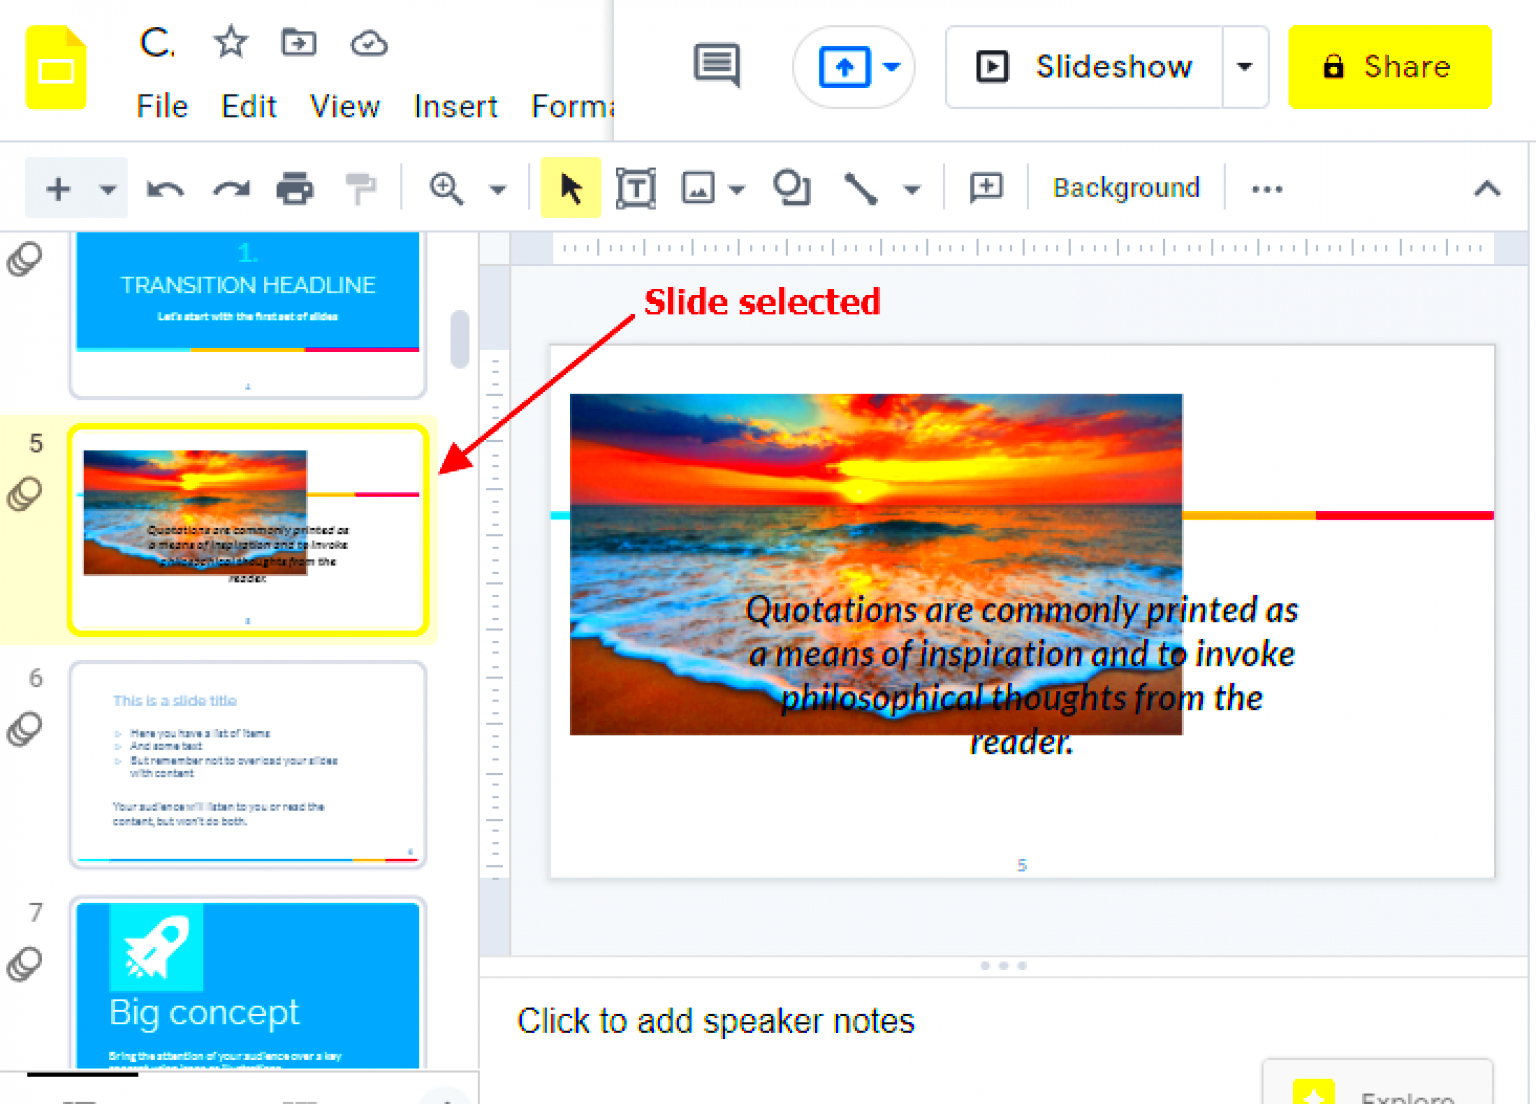
- Select the Image: Click on the image you want to move. You should see a blue border appear around it, indicating that it’s selected.
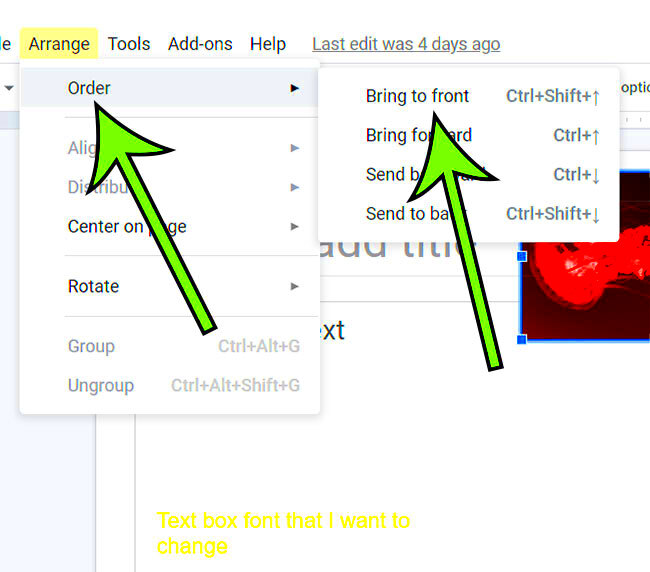
- Open the Context Menu: Right-click on the selected image to open the context menu. This menu gives you various options for manipulating the image.
- Choose "Order": From the context menu, hover over the "Order" option. This will open a sub-menu with different layering options.
- Select "Bring to Front": Click on "Bring to Front" to move your image to the topmost layer. Your image will now appear in front of any other objects or images on the slide.
If you need to adjust the order of images without bringing one completely to the front, you can also choose "Bring Forward" to move the image one layer up without pushing it to the very top.
That’s it! You’ve successfully brought your image forward. Experiment with layering your images to get the most visually appealing layout for your slides.
Also Read This: How to Save Favorites on YouTube TV for Quick Access
Using Google Slides Tools to Manage Image Layers

Google Slides offers a range of tools to help you manage image layers and create a clean, organized slide layout. Whether you want to bring an image forward, send it to the back, or adjust its position relative to other objects, these tools make it simple. Understanding how to use them will give you more control over your presentation and help you design slides that are visually appealing and easy to follow.
Here’s a breakdown of the most useful image layer tools in Google Slides:
- Order Tool: This is the main tool for adjusting image layers. You can access it by right-clicking on the image and selecting “Order” from the context menu. The options include:
- Bring to Front: Moves the image to the top layer, ensuring it appears above all other objects.
- Send to Back: Sends the image behind all other objects, which can be useful for background images.
- Bring Forward: Moves the image one layer up, but not all the way to the top.
- Send Backward: Moves the image one layer down, but not all the way to the bottom.
- Position Tool: Sometimes, it’s not just about layer order but also placement. You can drag images around your slide to position them precisely, or use the arrow keys for more fine-tuned adjustments.
- Alignment Options: You can align images relative to the slide or other objects. Using the alignment tool ensures that images are positioned neatly, either centered, aligned to the left or right, or spaced evenly.
By using these tools, you can easily organize your images, ensuring that the most important ones are visible and the design flows smoothly.
Also Read This: Tips for Changing a LinkedIn Video Thumbnail to Enhance Engagement
Common Problems and How to Solve Them
While working with images in Google Slides, you may encounter a few common issues. Don’t worry—these problems are easy to fix with the right approach. Here are some frequent challenges and how to solve them:
- Images Overlapping Text: Sometimes, images can accidentally overlap text or other elements on the slide, making the content hard to read.
- Solution: Use the "Order" tool to send the image to the back or adjust its transparency. Alternatively, resize the image or move it to a different location to avoid blocking important content.
- Unwanted Image Movement: If your images are constantly shifting when you’re editing other elements, it can be frustrating.
- Solution: Lock the image in place by right-clicking on it and selecting “Lock.” This will prevent the image from moving while you work on other elements.
- Images Not Appearing in Front: Even after using the "Bring to Front" option, your image may not appear in front of other elements.
- Solution: Ensure that no transparent or invisible objects are sitting above your image. If needed, check the order of the layers and adjust them accordingly.
- Images Not Aligning Properly: Sometimes images can appear misaligned or spaced unevenly, leading to a messy slide.
- Solution: Use Google Slides’ alignment tools to ensure that your images are centered or positioned evenly with other elements.
With these solutions, you can easily troubleshoot and fix common image issues in Google Slides, helping you create smooth, professional presentations.
Also Read This: Adding Links to Images on Google Slides
Tips for Better Image Management in Google Slides
Managing images in Google Slides is essential for creating visually appealing and effective presentations. Here are some helpful tips for keeping your images organized and looking great:
- Use Consistent Image Sizes: Make sure your images are consistent in size and proportion. This will give your slides a more polished, professional look. If necessary, use a photo editor to resize the images before adding them to your presentation.
- Group Related Images: If you have multiple images that should stay together, consider grouping them. This way, you can move and resize them as a single unit, making it easier to maintain their alignment and spacing.
- Keep the Design Simple: Too many images on a slide can create visual clutter. Stick to one or two images per slide, and make sure each image serves a clear purpose. Less is often more when it comes to visual design.
- Use Transparent Backgrounds: If possible, use images with transparent backgrounds. This will allow you to layer them seamlessly over text or other graphics without creating awkward borders or edges.
- Optimize Image Placement: Don’t just place images randomly. Think about how they complement the content and message of your slide. Use the "Align" and "Distribute" options to ensure that images are placed evenly and look visually balanced.
By following these tips, you can improve the overall aesthetic of your presentation and ensure that your images add value rather than distraction. Efficient image management leads to cleaner slides and more effective communication.
Also Read This: How to Record a Song from YouTube for Personal Use
Frequently Asked Questions
When working with images in Google Slides, there are often questions that come up. Here are some of the most frequently asked questions (FAQs) along with their answers to help you better manage images and layers in your slides:
- How do I bring an image forward in Google Slides?
To bring an image forward, right-click on the image and select "Order" from the context menu. Then, click on "Bring to Front" to move it above all other objects on the slide. You can also use "Bring Forward" to move the image one layer at a time.
- Can I layer images in Google Slides?
Yes, Google Slides allows you to layer images by adjusting their order. Use the "Order" tool to either bring an image to the front or send it back to the back layer. This helps you create a visually dynamic slide layout.
- Why is my image not appearing in front of other elements?
If your image is not appearing in front, it might be blocked by an invisible or transparent object. Check the layer order using the "Order" tool and make sure the image is on the top layer.
- How do I make my image perfectly aligned?
Google Slides offers alignment tools to ensure that your image is properly positioned. Use the "Align" tool to center images, or adjust the spacing using the "Distribute" options to evenly space them with other elements on the slide.
- Can I group multiple images in Google Slides?
Yes, you can group multiple images together. To do this, select all the images you want to group (hold down the Shift key to select multiple images), then right-click and choose "Group." This will allow you to move, resize, and manage them as one unit.
Conclusion: Mastering Image Layering for Great Presentations
Mastering image layering in Google Slides is an essential skill for creating professional, visually engaging presentations. By understanding how to bring images forward, adjust their order, and align them properly, you can improve the overall flow and clarity of your slides. With these tools and tips, your images will always be where they need to be, helping you communicate your message more effectively and making your presentations stand out.

 admin
admin


