If you’re looking for a quick and easy way to blur an image, Paint is a surprisingly good tool. Though it’s often seen as basic software, Paint has a range of simple editing options that can help you achieve your desired effects without needing any fancy programs. Blurring an image can be used for a variety of purposes, from hiding personal details to creating artistic effects. Whether you're working on a professional project or just experimenting for fun, this guide will walk you through the steps to blur an
Why Blur Images in Paint?

Blurring an image might seem like a simple task, but it serves several important purposes. Here are a few reasons why you might want to blur parts of an image:
- Privacy Protection: You can blur faces, license plates, or any sensitive information to keep it private.
- Focusing Attention: Blurring distractions in the background helps viewers focus on the main subject of the image.
- Creating a Soft Effect: Adding a blur effect to an image can make it look more artistic, creating a dreamy or vintage aesthetic.
- Masking Imperfections: Blurring can help hide flaws in an image, like scratches or unwanted objects in the background.
While Paint doesn’t have a built-in blur tool, you can still achieve this effect by using creative techniques. With a little patience and practice, you can easily apply blur to any image using Paint.
Also Read This: Making Money from Shutterstock Images: Exploring Revenue Opportunities
How to Open Your Image in Paint

Before you start editing, you need to open the image in Paint. Here's how you can do that in just a few steps:
- Step 1: Click on the Start Menu (Windows icon) located in the lower-left corner of your screen.
- Step 2: In the search bar, type "Paint" and click on the Paint app from the search results.
- Step 3: Once Paint is open, go to the top-left corner of the window and click on File > Open.
- Step 4: Locate the image file you want to edit on your computer and select it. Then, click Open.
Your image will now appear in Paint, and you’re ready to begin the editing process. Keep in mind that Paint supports common image file formats like JPG, PNG, and BMP. If you’re using a different format, you may need to convert it before opening it in Paint.
Also Read This: Ultimate Guide to Removing Adobe Stock Watermark in Illustrator
Understanding the Tools Available in Paint

Before you start blurring your image in Paint, it's important to understand the basic tools available in the program. While Paint may not have a dedicated blur tool, it still provides several options that can help you achieve the desired effect. Let’s take a closer look at the main tools you’ll use for this task:
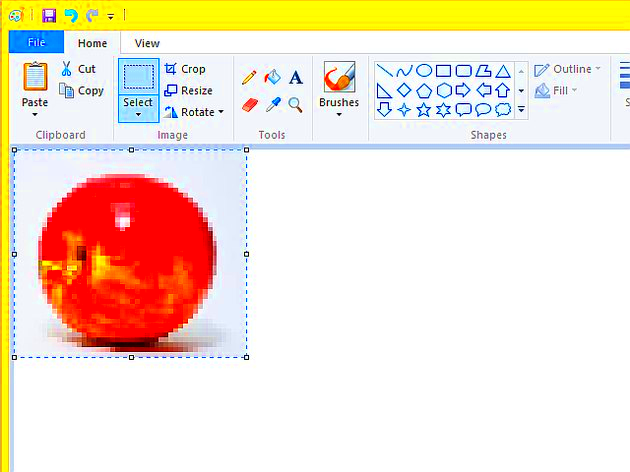
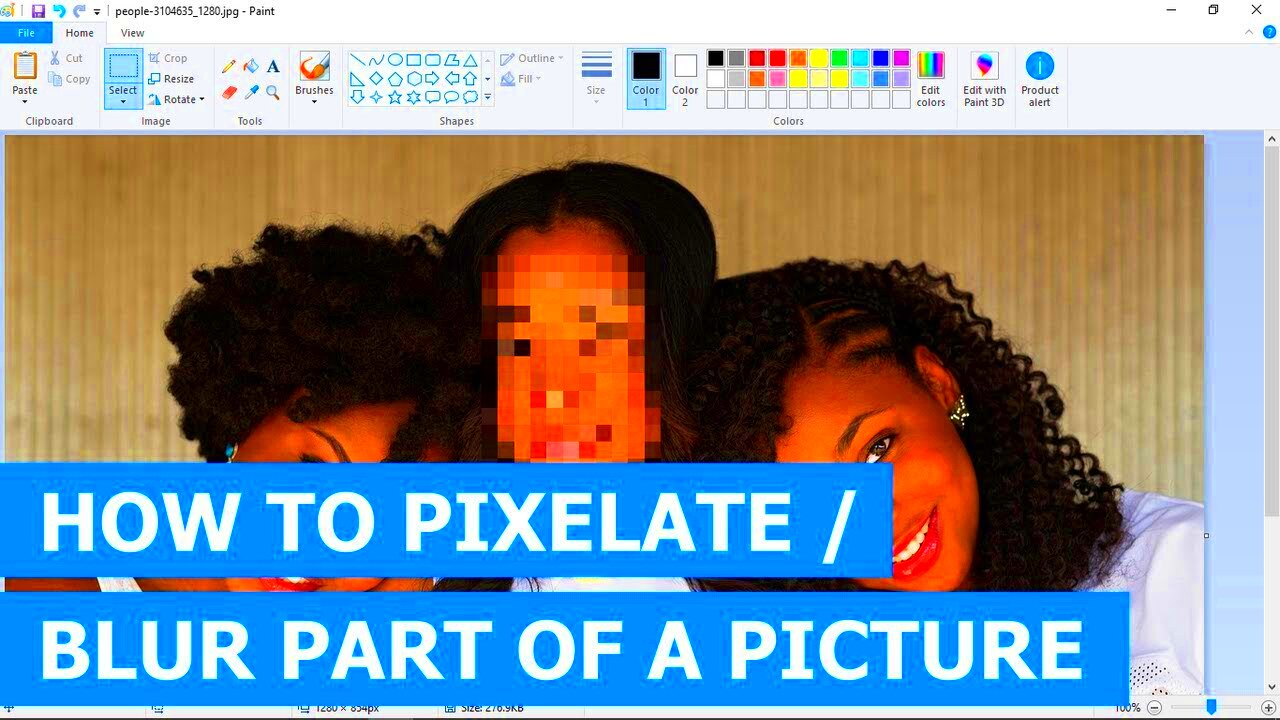
- Selection Tool: This tool allows you to select the area of the image that you want to edit. You can use it to choose specific parts of the image to blur or leave the rest untouched.
- Magnifier Tool: This tool helps zoom in on specific areas of the image so you can make precise edits, especially when working on small details.
- Brush Tool: The brush tool is helpful for manually blurring areas by painting over them with various brush sizes. You can adjust the size of the brush for better control.
- Fill Tool: Although it’s not directly related to blurring, the Fill tool can help you fill certain areas with colors, which can sometimes help when you need to mask parts of an image before applying the blur.
- Eraser Tool: This tool can help you remove parts of the image you no longer want to blur or touch up areas where you may have overdone the effect.
With these basic tools in hand, you can creatively blur images in Paint by using selection and brush techniques. While it may take a little practice, you’ll be able to achieve impressive results with just these simple tools.
Also Read This: Best Shutterstock Images Downloader: Simplifying the Image Downloading Experience
Step-by-Step Guide to Blurring Images in Paint
Now that you're familiar with the tools, let’s walk through the process of blurring an image in Paint step by step. Though Paint doesn’t have a blur filter, you can still achieve a blurred effect with a bit of creativity and patience.
- Step 1: Open your image in Paint (follow the previous steps in the "How to Open Your Image in Paint" section).
- Step 2: Select the area you want to blur using the Selection Tool. You can either blur a specific part of the image or the whole image. Once selected, make sure the area is highlighted.
- Step 3: Use the Brush Tool to paint over the selected area. Set the brush to a small size for finer details. You’ll need to paint over the selected region multiple times, gradually building up the blur effect.
- Step 4: If you want a softer blur, use a gentle hand when applying the brush. You may need to change the brush size to suit different parts of the image.
- Step 5: Once you’re satisfied with the blur, use the Eraser Tool to clean up any areas where you applied too much blur or if there are parts of the image you don’t want blurred.
- Step 6: Save your work by clicking File > Save As, and choose your desired file format.
This method may take some time to get the exact blur effect you want, but with practice, it becomes much easier to control and master.
Also Read This: Is iStock Legitimate? An Honest Review of the Popular Stock Photo Platform
Common Mistakes to Avoid While Blurring
While blurring an image in Paint is a simple process, there are some common mistakes that beginners often make. Avoiding these errors will help you achieve a better result and save you time in the long run.
- Over-blurring: It’s easy to apply too much blur and lose important details in the image. Make sure you apply the blur gradually, building up the effect slowly rather than trying to do too much at once.
- Not Using the Selection Tool Properly: Blurring parts of an image that you don’t intend to blur can result in a messy image. Always use the selection tool to focus on the specific area you want to edit before applying the blur.
- Using a Brush That’s Too Large: If your brush is too large, you might blur more than you intended. It’s a good idea to start with a smaller brush size and work your way up if needed.
- Not Zooming In: When working on small areas of an image, it’s important to zoom in so you can apply the blur precisely. If you’re working on a large image without zooming in, the results might look uneven or sloppy.
- Saving Without Checking: Always check the image after you’ve applied the blur to ensure it looks as expected. Once saved, you cannot easily undo the changes in Paint, so it’s best to double-check before finalizing your image.
Avoiding these common mistakes will help you get the best results and save you frustration while blurring images in Paint.
Also Read This: “How Is Your Day?” Image Collection
Saving Your Blurred Image
Once you’ve successfully blurred your image to your satisfaction, the next step is to save it. Saving your image correctly ensures you don’t lose your work and allows you to use it later or share it with others. Paint makes saving files simple, but there are a few things to consider when doing so. Here’s how to save your blurred image without losing quality or making mistakes:
- Step 1: Once you're done editing your image and happy with the blur effect, click on File in the top-left corner of the Paint window.
- Step 2: Select Save As from the dropdown menu. This allows you to choose a specific file format for your image.
- Step 3: Choose a file format that best suits your needs. Common options are PNG for high quality or JPEG for a smaller file size. PNG is recommended if you want to keep the image’s quality intact without compression.
- Step 4: Pick a location on your computer where you want to save the image. You can choose a specific folder or just save it on your desktop for easy access.
- Step 5: Name your file and click Save. If you’re overwriting an existing file, Paint will ask if you want to replace it. Confirm this action if you’re sure.
Remember, once you save the image in a certain format, it might be hard to make additional changes later. If you think you might want to keep editing the original version, save a copy in Paint’s default format (.bmp) before saving the final version. This way, you’ll always have an editable version to return to.
Also Read This: Top Platforms to Help You Earn as Much Money as iStock
FAQs About Blurring Images in Paint
If you’re new to blurring images in Paint, you might have some questions. Here are answers to some of the most common queries that will help clear up any confusion:
- Can I use the blur effect on the entire image? Yes, you can select the entire image and blur it, but you may find it more effective to focus on specific areas if you only need to blur parts of the image.
- Is it possible to undo a blur? Unfortunately, Paint doesn’t have an undo option for specific edits like blurring. It’s always a good idea to save a copy of your original image before making any changes.
- How do I know if I’ve blurred an image enough? This depends on the effect you’re going for. If you're trying to hide sensitive information, make sure it’s completely unrecognizable. For artistic blurs, experiment until you achieve the look you want.
- Why is my image quality lower after saving? If you save your image as a JPEG, some quality loss may occur due to compression. If maintaining image quality is important, consider saving it in PNG format.
- Can I use Paint to blur images in other formats, like GIF or TIFF? Yes, Paint supports several formats including GIF and TIFF, though they may not retain all features (like transparency) when saved as a different format. It's best to work with common formats like JPG or PNG for compatibility.
These FAQs should help you get a better understanding of the blurring process in Paint. If you have more specific questions, feel free to try the process yourself and see what works best for your images.
Conclusion
Blurring images in Paint may seem like a tricky task at first, but with the right tools and a little practice, it becomes much easier. Whether you’re protecting privacy, enhancing artistic elements, or simply experimenting, Paint provides a simple and accessible way to blur images. Remember, the key is to work carefully and gradually to avoid over-blurring and making mistakes. Follow the steps outlined in this guide, and you’ll be able to create professional-looking blurred images with ease. Don’t forget to save your work properly and experiment to find the blur effect that works best for you.

 admin
admin


