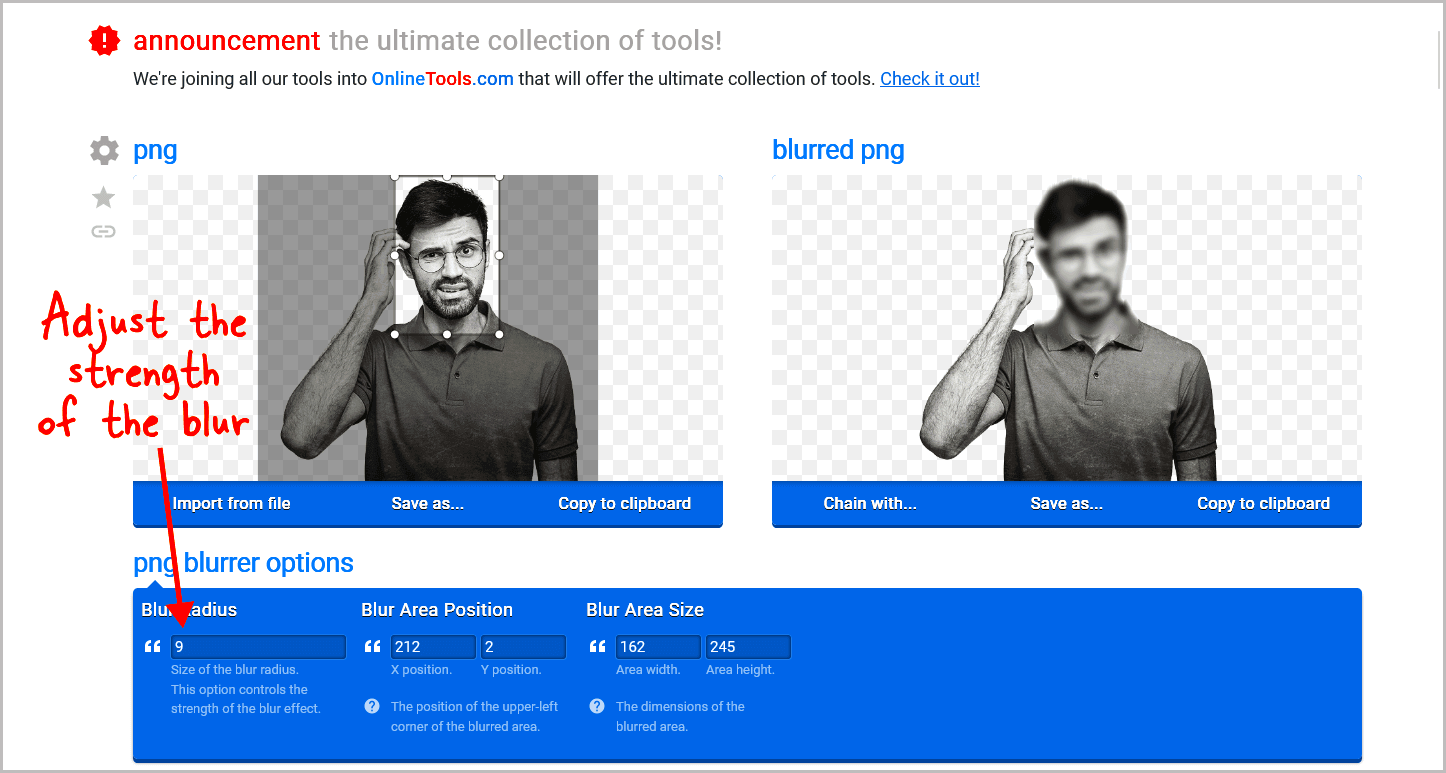
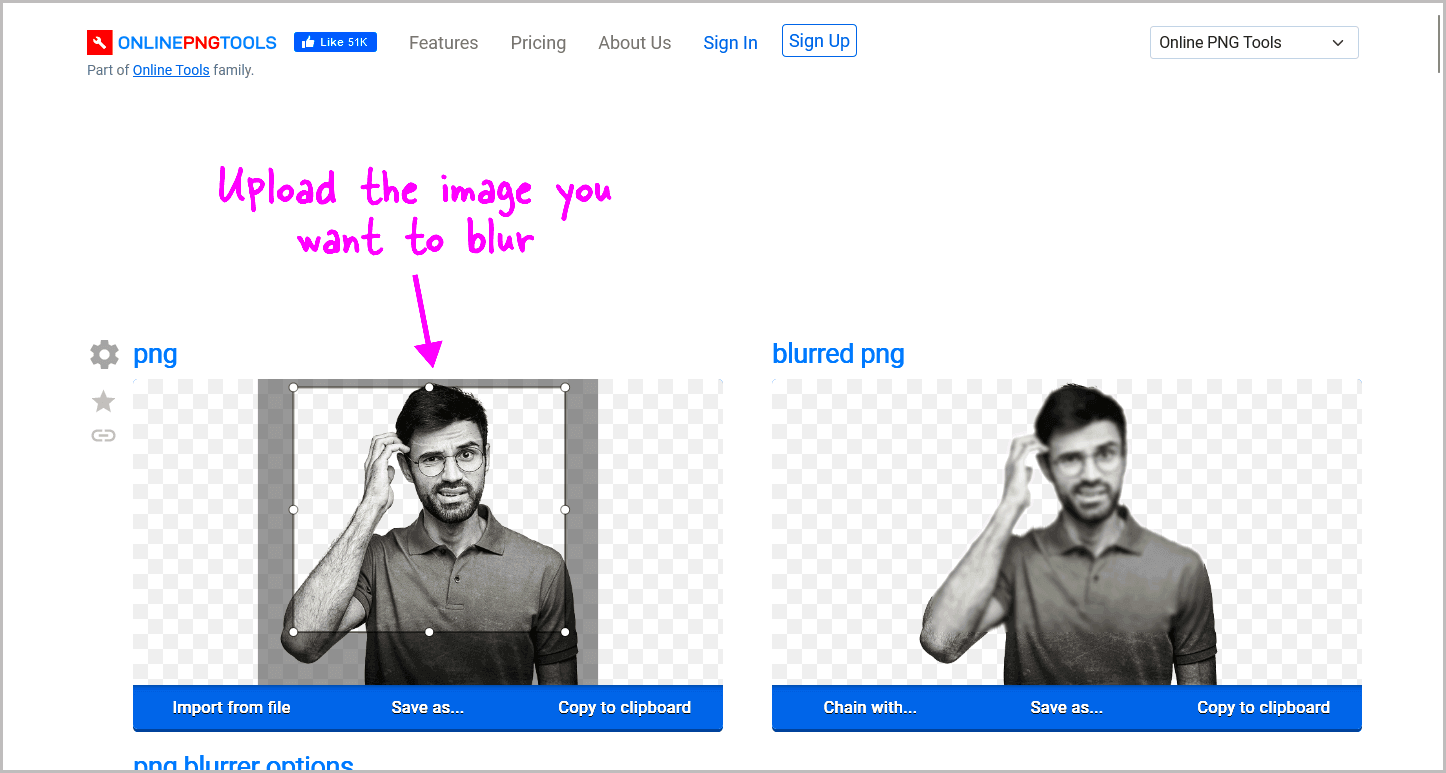
Blurring an image in Google Slides can be a handy way to add focus to your presentation or design. This effect can help draw attention to certain elements by softening the background or hiding distracting details. Whether you’re creating a professional presentation or a creative project, knowing how to blur an image effectively is an important skill. In this guide, we'll explore why you might use the blur effect, and show you step-by-step how to achieve it in Google Slides. It’s a simple process, and the results can make your slides look more polished and engaging.
Why You May Want to Blur an Image in Google Slides

There are several reasons why you might choose to blur an image in Google Slides:
- Focusing Attention: Blurring the background can help direct your audience's attention to a particular subject in the foreground.
- Reducing Distractions: If an image has too much detail that competes with your content, blurring it can make your message clearer.
- Creating Depth: A blurred image can create a sense of depth, making your presentation feel more dynamic.
- Privacy Concerns: Sometimes you may need to blur out sensitive details in an image to maintain privacy or confidentiality.
Blurring an image is a subtle but effective way to improve the overall look of your slides. It can help achieve a professional aesthetic, improve readability, and create emphasis where you need it most. The best part? You don’t need any fancy software to do it—you can easily blur an image using Google Slides, and it only takes a few simple steps.
Also Read This: The Rock’s Royal Rumble Legacy and Competitions
Step by Step Guide to Blur an Image in Google Slides

Blurring an image in Google Slides is a straightforward process, and you can do it in just a few steps. Here's how:
- Open Google Slides: Start by opening your presentation in Google Slides.
- Select the Image: Click on the image you want to blur. If you haven’t added the image yet, go to Insert > Image to upload it.
- Apply the Blur Effect: Once the image is selected, go to the toolbar and click on Format Options in the top menu. Then, under the Adjustments tab, look for the Transparency, Brightness, and Contrast settings.
- Adjust the Blur: Google Slides doesn't have a built-in blur slider. To create a blur effect, you need to use the Transparency setting. Decrease the transparency to create a soft blur effect. If you want a stronger blur, adjust the Brightness and Contrast settings as well.
- Refine Your Effect: Adjust the transparency and brightness until you get the desired level of blur. If the image still seems too sharp, you can also try layering another translucent shape on top to further soften the effect.
That’s it! With these simple steps, you can easily blur an image in Google Slides to enhance your presentation and control the visual impact of your content.
Also Read This: how to get the money out of adobe stock
Adjusting the Blur Effect for Desired Results

Once you've applied a blur effect to your image in Google Slides, you may want to adjust it to get the perfect result. Fine-tuning the blur is key to achieving the right balance of focus and subtlety. While Google Slides doesn’t offer a direct blur tool, you can adjust the image’s transparency, brightness, and contrast settings to create a customized blur effect.
Here are a few tips to help you adjust the blur to your liking:
- Transparency: Lowering the transparency of an image can soften it, mimicking the appearance of a blur. Start by reducing the transparency slightly and see how it affects the image. Too much transparency can make the image too faded, so keep it subtle.
- Brightness and Contrast: Adjusting the brightness and contrast can also enhance the blurred effect. Lowering the brightness makes the image softer, while reducing contrast can eliminate harsh lines and details.
- Layering Shapes: If you want to add more depth to the blur, consider adding a semi-transparent shape over the image. This helps you control how much blur effect you want to apply without distorting the original image too much.
By adjusting these settings, you can achieve a soft, professional-looking blur that highlights the main elements in your presentation while keeping the image visually appealing. It’s all about experimenting with the settings to find the perfect look for your slide.
Also Read This: Getting Hired by Getty Images Insider Tips for Aspiring Photographers
Using Other Tools to Enhance the Blurred Image
While Google Slides provides some basic tools for blurring an image, sometimes you may need more control or a stronger effect. There are several other tools you can use in combination with Google Slides to enhance the blurred image.
Here are a few tools you can try:
- Photopea: This free online photo editor offers advanced blur effects like Gaussian blur, which is perfect for creating more complex blurred images. After editing your image, save it and upload it to Google Slides.
- Canva: Canva is another popular tool that allows you to blur images. It has an intuitive interface for applying blur and other image effects. Once you're done, export the image and add it to your slide.
- Adobe Photoshop: If you need high-end results, Photoshop offers a range of blur tools, including motion blur and lens blur. After editing, save the image in a compatible format and upload it to Google Slides for the final presentation.
Using these external tools can give you more control over the blur effect, allowing you to achieve exactly what you're looking for. Once your image is ready, simply download it and upload it to Google Slides for the perfect finish.
Also Read This: iStock vs Thinkstock Which Stock Photo Platform Is Right for You
Common Mistakes to Avoid When Blurring an Image
Blurring an image can be a powerful technique, but it’s easy to make mistakes that can ruin the effect. Here are some common pitfalls to avoid when applying a blur in Google Slides:
- Over-blurring: It can be tempting to apply too much blur, thinking it will make the image look more professional. However, excessive blur can make the image too hard to see or distract from the main message of your slide. Keep the blur subtle and balanced.
- Inconsistent Blur: If you're using blur effects on multiple images, make sure the level of blur is consistent across them. Different levels of blur can make your presentation look disjointed and unprofessional.
- Ignoring Image Quality: Blurring an image too much can sometimes reduce its overall quality, making it pixelated. Ensure that the original image is high-quality before applying the blur, so the end result still looks sharp and professional.
- Not Testing on a Slide: Don’t forget to preview your slide with the blurred image in place. Sometimes, the blur effect looks different when viewed in the full context of your presentation. Always check how it looks with text or other elements on the slide.
By being mindful of these mistakes, you can ensure that your blurred images have the intended effect without compromising the quality or design of your presentation.
Also Read This: How to Get into Getty Images for Aspiring Photographers
Frequently Asked Questions About Blurring Images in Google Slides
When it comes to blurring images in Google Slides, there are a few common questions people often have. Below, we’ve answered some of the most frequently asked questions to help you better understand the process and get the best results.
- Can I blur an image directly in Google Slides?
While Google Slides does not have a dedicated blur tool, you can use the Transparency, Brightness, and Contrast settings to create a blur effect. Additionally, layering shapes with varying transparency can enhance the blur. - Is there a way to apply a stronger blur effect?
Yes! While Google Slides' built-in options are limited, using external tools like Canva or Photopea to add a blur effect before uploading the image to Google Slides is an excellent solution. These tools offer more advanced blur effects like Gaussian blur, which can be more effective for certain projects. - Why should I blur an image in a presentation?
Blurring images can help reduce distractions in your slides, emphasize key elements, and create a more professional or visually appealing design. It's particularly useful for background images or when you want to highlight specific objects or text in the foreground. - Can I undo the blur effect?
If you feel that the blur effect isn't working as you intended, simply click on the image, go to Format Options, and adjust the Transparency, Brightness, or Contrast sliders to modify or remove the blur. If you applied a blur using an external tool, you’ll need to replace the image with the original or a different version. - Does blurring an image affect its quality?
Yes, applying too much blur can reduce the clarity and quality of an image. It’s important to balance the blur effect with the image's resolution to avoid pixelation. Always use high-quality images for better results.
Conclusion and Final Thoughts
Blurring an image in Google Slides is a simple yet powerful tool for improving your presentations. While the process may not be as direct as in other software, using transparency and brightness adjustments can help you achieve the desired effect. For more advanced results, external tools like Canva or Photopea offer additional control. Keep experimenting to find the perfect blur for your images, and remember to avoid overdoing it to maintain clarity and quality. With these tips, you can easily create professional-looking presentations that draw attention to what matters most.

 admin
admin


