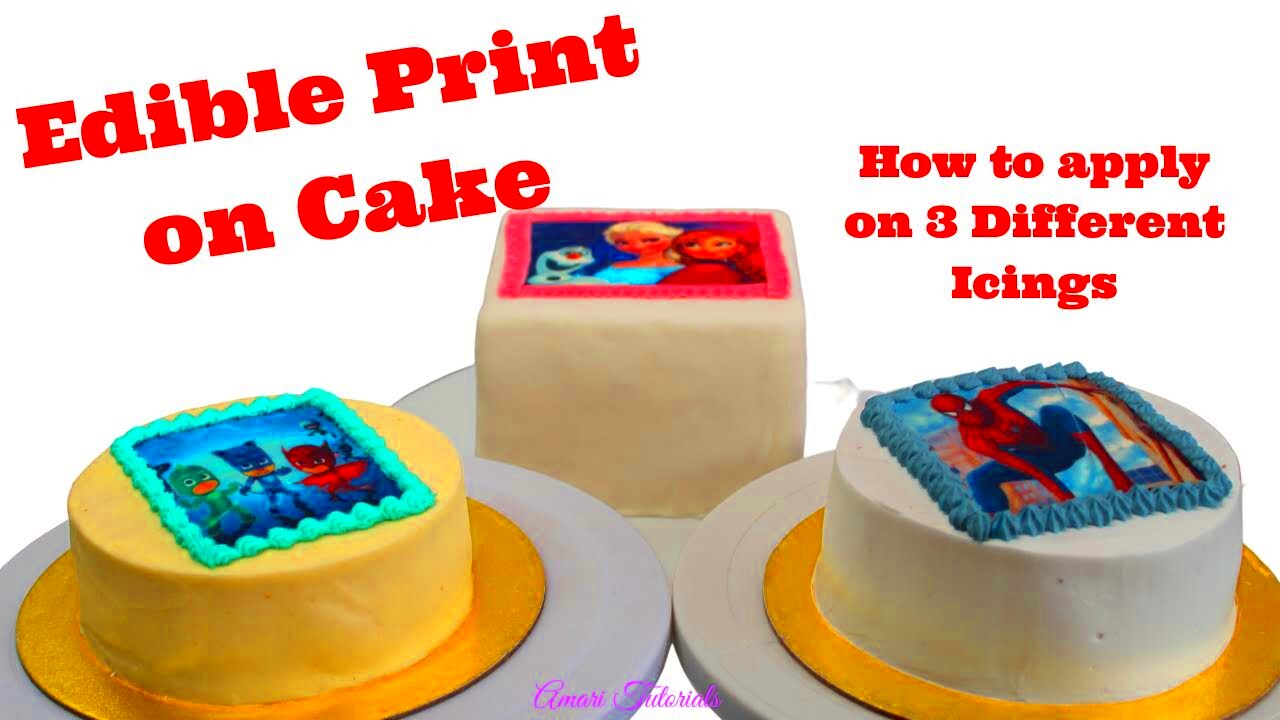
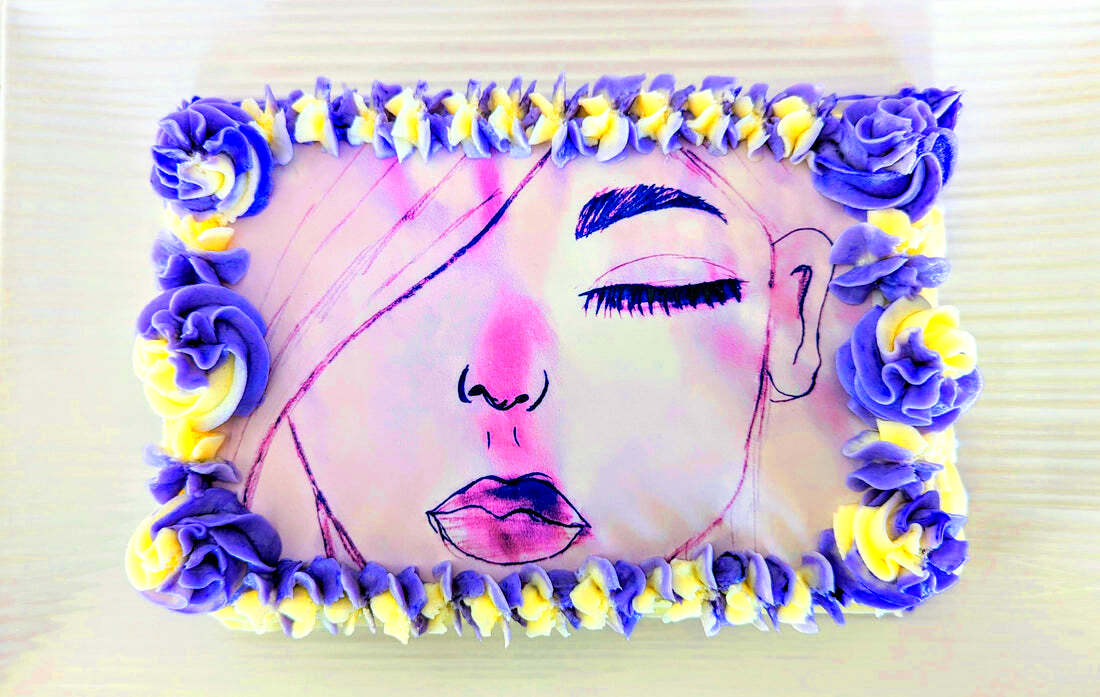
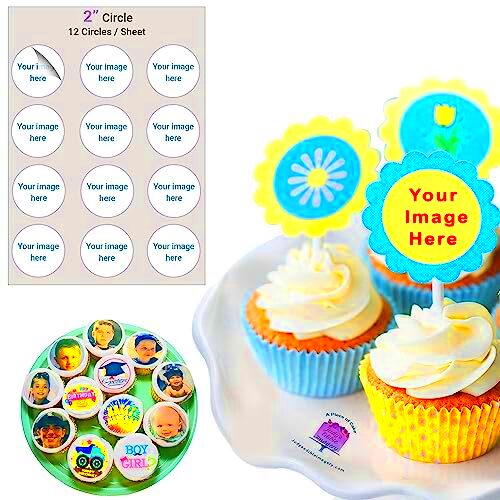
Edible images are specially designed images that you can safely eat, making them perfect for cakes, cupcakes, cookies, and other desserts. Created from ingredients like edible ink and rice or icing paper, these images can enhance your dessert with unique designs, characters, or even personalized photos. They’re popular for birthdays, weddings, and celebrations where you want something visually creative yet fully edible.
The use of edible images goes beyond just aesthetics; they can elevate any dessert experience by making it personal and memorable. Whether you’re a professional baker or just exploring cake decorating, learning how to use edible images can add a new level to your creations.
Common uses for edible images include:
- Personalized cakes: Add photos or custom designs to cakes for a unique touch.
- Seasonal themes: Use holiday or event-themed images for a festive look.
- Branding: Ideal for corporate events where logos or product images are needed.
Getting the Right Materials for Edible Images

To apply edible images successfully, you’ll need the right materials. Here’s what you’ll typically need:
- Edible ink: Specially designed ink made from food-grade materials for printing safe, edible designs.
- Edible paper: This comes in two main types - frosting sheets and wafer paper. Frosting sheets are slightly thicker and hold colors well, while wafer paper is thinner and has a more delicate look.
- Edible printer: A printer specifically designated for edible ink to ensure food safety. Regular printers can’t be used due to non-food-safe materials.
Each material plays a crucial role. Using high-quality edible ink and paper gives better color and texture, which makes the final result look more professional. Before you buy, make sure each material is food-grade certified to guarantee safety for consumption.
If you’re new to edible images, many specialty baking stores offer starter kits, which include everything you need in one package. These kits can be a cost-effective option for beginners.
Also Read This: The Ideal Platform for Building Your Online Portfolio with 123RF
Preparing the Surface for Edible Image Application

Getting the surface ready for an edible image is essential for a smooth, wrinkle-free result. Start by ensuring that the cake or dessert surface is cool, flat, and dry. Frosting or fondant-covered surfaces work best for edible images, as they provide a stable base.
Here’s a step-by-step guide to prepare the surface:
- Apply a light layer of frosting: If you’re using buttercream, smooth it well and chill it slightly so it’s firm to the touch but not too cold.
- Smooth fondant: If your dessert has fondant, make sure it’s rolled and applied smoothly to avoid any lumps under the image.
- Check for dryness: Avoid overly wet surfaces, as this can cause the edible paper to dissolve too quickly.
Once your surface is ready, it’s time to carefully peel the edible image and place it onto your dessert. Taking the time to prepare the surface will ensure a flawless finish that enhances the overall look of your dessert.
Also Read This: How to Download from 123RF for Free Without Violating Terms
How to Apply Edible Images to Cakes and Other Desserts
Applying edible images to cakes and desserts is an exciting way to bring your designs to life. It’s easier than it might seem, but taking care with each step ensures the best results. The key to a smooth and professional look is in the preparation and the careful application of the edible image.
Here’s a simple guide to applying edible images:
- Peel the edible image: After printing your image, carefully peel the edible paper from the backing sheet. If it’s a wafer paper image, be extra gentle as it can tear easily.
- Position the image: Place the image onto the prepared cake or dessert surface. If you’re working with a large cake, ensure it’s centered before applying. This will give it a polished, professional look.
- Smooth the image: Using a fondant smoother or a clean, dry cloth, gently press down on the edges to make sure the image adheres properly. Avoid pressing too hard, as this can distort the image.
- Trim excess paper: If there is any visible edible paper around the edges of the image, trim it carefully using a sharp knife or scissors. This will give your dessert a cleaner finish.
Once applied, give the image a few minutes to set. This ensures that it bonds well with the dessert’s surface and looks flawless. Be mindful that while edible images are safe to eat, they are best consumed within a few days for optimal texture and flavor.
Also Read This: The Latest Creative Trends Found on 123RF
Tips for Smoothing and Setting Edible Images
For a perfectly applied edible image, smoothing it out and setting it properly is essential. Getting the image to adhere well to your cake without wrinkles or bubbles can take a little time, but following these tips can make a big difference.
Here are some expert tips for smoothing and setting edible images:
- Ensure the surface is smooth: Before applying your edible image, make sure the surface is as smooth as possible. Any bumps or uneven textures underneath can create wrinkles in the image.
- Use the right tools: A fondant smoother, rolling pin, or even a flat palm can be helpful in gently pressing the image down. Be careful not to apply too much pressure.
- Work quickly but carefully: While you want to act quickly to avoid the image drying out or sticking to the surface, take your time to ensure it’s applied without rushing.
- Allow time to set: Once applied, leave the dessert to sit for at least 10-15 minutes. This gives the image enough time to bond properly with the frosting or fondant, which helps prevent lifting or peeling.
- Moisture control: Too much moisture can cause the edible paper to curl or dissolve. If your cake is very moist, you may want to apply a thin layer of clear piping gel or edible glue before placing the image.
These simple tips can make a huge difference in the final look of your cake or dessert. Smoothing and setting the image correctly will help it stay intact, looking fresh and professional.
Also Read This: Guidelines for Using 123RF Images on Your Website: Incorporating Copyrighted Content
Storing and Transporting Desserts with Edible Images
Once your edible image is applied, proper storage and transport are crucial to maintaining its appearance and texture. Edible images are delicate and can be affected by temperature, humidity, and handling. Here’s how you can ensure your decorated desserts stay in perfect condition.
For storing and transporting desserts with edible images, follow these steps:
- Store in a cool, dry place: The best way to preserve the edible image is to store your cake or dessert in a cool, dry area away from direct sunlight and humidity. A room temperature environment is ideal, but avoid placing it in the refrigerator unless necessary.
- Use a cake box or container: When transporting a decorated cake, place it in a sturdy cake box to protect the image from damage. The box should be large enough to allow for some airflow, but not so big that the cake moves around inside.
- Avoid extreme temperatures: Extreme heat or cold can cause the edible image to warp, fade, or peel. If you’re traveling for an event, try to maintain a consistent, moderate temperature throughout the journey.
- Use parchment or wax paper for extra protection: If the cake is layered with frosting, consider placing a sheet of parchment or wax paper between the image and the surface of the box. This will help prevent accidental smudging or sticking.
- Keep it upright: Always keep your desserts upright during transportation. Laying them flat can cause the image to shift or wrinkle, ruining the appearance.
Proper storage and careful transportation are key to keeping your edible images looking as great as the day they were applied. Following these tips will ensure your cakes and desserts arrive looking just as perfect as when they were made.
Also Read This: How to Crop an Image in Paint
Common Mistakes to Avoid with Edible Images
When working with edible images, even the smallest mistakes can affect the final look. By knowing what to avoid, you can ensure your cakes and desserts turn out beautifully every time. While edible images are easy to apply, certain missteps can lead to issues like wrinkles, smudging, or peeling. Here are some common mistakes and how to avoid them.
Here’s a list of mistakes to watch out for:
- Using a wet or damp surface: Applying an edible image to a wet or moist surface can cause the image to become soggy or dissolve. Always ensure that the surface is completely dry before placing the image.
- Not allowing enough time to set: Rushing the process and not letting the image set properly can cause it to lift off or distort. Be patient and give the image time to bond to the surface.
- Using a cold or hard surface: While it's important that the cake or dessert isn’t too wet, a cold, hard surface can make it difficult for the image to stick. Let the surface warm up slightly before applying the image.
- Applying too much pressure: Pressing too hard when smoothing the image can cause it to distort. Instead, use gentle pressure and allow the image to naturally settle.
- Not trimming the edges properly: Leaving excess edible paper around the edges can create a messy look. Always trim the image carefully with a sharp knife or scissors to make it look more professional.
By avoiding these mistakes, you can achieve a clean, smooth, and professional-looking result every time you apply edible images to your desserts. Taking the time to follow the proper steps will ensure success!
Also Read This: 123RF vs Shutterstock: Choosing the Best Stock Photography Platform
FAQs on Applying Edible Images
If you're new to using edible images, you may have several questions. Here are some frequently asked questions to help you get started and avoid common issues:
| Q: | How long do edible images last? |
| A: | Edible images can last anywhere from 2 to 5 days depending on the type of cake or dessert they are applied to. To maintain their best quality, consume within a few days for optimal flavor and texture. |
| Q: | Can I use an edible image on any dessert? |
| A: | Yes, you can apply edible images to cakes, cupcakes, cookies, and even some savory items. However, ensure that the surface is smooth, dry, and free of moisture for the best results. |
| Q: | Do I need to refrigerate desserts with edible images? |
| A: | It's best to avoid refrigerating cakes with edible images unless necessary, as the moisture can cause the image to wilt or dissolve. Store them in a cool, dry place instead. |
| Q: | Can I print my own edible images? |
| A: | Yes, with an edible printer and edible ink, you can print your own images at home. Be sure to use food-safe materials and follow the manufacturer’s instructions carefully for the best results. |
Final Thoughts on Perfecting Edible Image Application
Edible images can take your dessert decorating to the next level, offering endless possibilities for creativity and personalization. Whether you're creating a birthday cake, a wedding cake, or something in between, these images make your creations truly stand out. However, the key to perfection lies in proper preparation and careful application.
By following the right steps, avoiding common mistakes, and storing your desserts correctly, you can ensure your edible images always look their best. Here are a few final tips to keep in mind:
- Be patient: Taking your time with each step will ensure a smooth, flawless result.
- Practice makes perfect: The more you work with edible images, the better you'll get at applying them seamlessly.
- Invest in quality materials: Using high-quality edible ink and paper can significantly improve the overall appearance and longevity of your images.
With the right approach, edible images can elevate your desserts and make them truly unforgettable. So, don’t be afraid to experiment and have fun with your designs—perfecting edible image application will soon become second nature!

 admin
admin


