Adding images to cakes has become a popular trend in the world of cake decorating. Whether it's for a birthday, wedding, or any other special occasion, personalized cakes with printed images can make the event even more memorable. By using edible printing technology or simple icing techniques, you can bring your design ideas to life and give your cake a unique touch. In this post, we’ll guide you through the process of adding images to cakes, from choosing the right image to applying it in a way that enhances the cake’s appearance.
Why You Should Consider Adding Images to Cakes
Adding images to cakes isn’t just a fun way to personalize your desserts – it also helps you create a lasting impression. Here’s why you might want to consider it:
- Personalization: Images can capture the essence of a special event, such as a photo of the birthday person or a couple getting married.
- Customization: You can create cakes that match the theme of any event, whether it’s a baby shower, anniversary, or a corporate event.
- Memorable: Cakes with images are often the highlight of any celebration. Guests will remember the thought and creativity behind the design.
- Versatility: With edible images, you can use any photo, logo, or design, which means the possibilities are endless.
Overall, adding an image to a cake makes it not just a treat, but a part of the celebration itself!
Types of Images You Can Add to Cakes

When it comes to decorating cakes with images, there are a variety of options to choose from. The type of image you select depends on the event and the look you want to achieve. Below are the most common types:
- Edible Photo Prints: This is the most common method. Edible images are printed using edible ink on sugar sheets or frosting paper. They’re perfect for adding photographs or detailed designs to cakes.
- Fondant Images: You can also create images with fondant. This method involves cutting out designs from fondant and placing them on the cake. While more labor-intensive, it’s great for intricate designs.
- Buttercream Transfers: With this technique, you pipe an image or design on a sheet of wax paper, freeze it, and then transfer it onto your cake. It’s perfect for more detailed designs and can create a smooth, professional look.
- Royal Icing Decorations: Royal icing can be used to create intricate designs, often in the form of flowers, patterns, or even images. It’s ideal for those who want a more textured and artistic look.
- Printed Edible Images from Online Services: Many cake decorators use online services to get images printed professionally on edible paper. These services allow you to upload your own photos or designs and have them printed for use on cakes.
Each of these methods offers its own advantages, so choose the one that best fits your skills and the event’s theme.
Choosing the Right Image for Your Cake
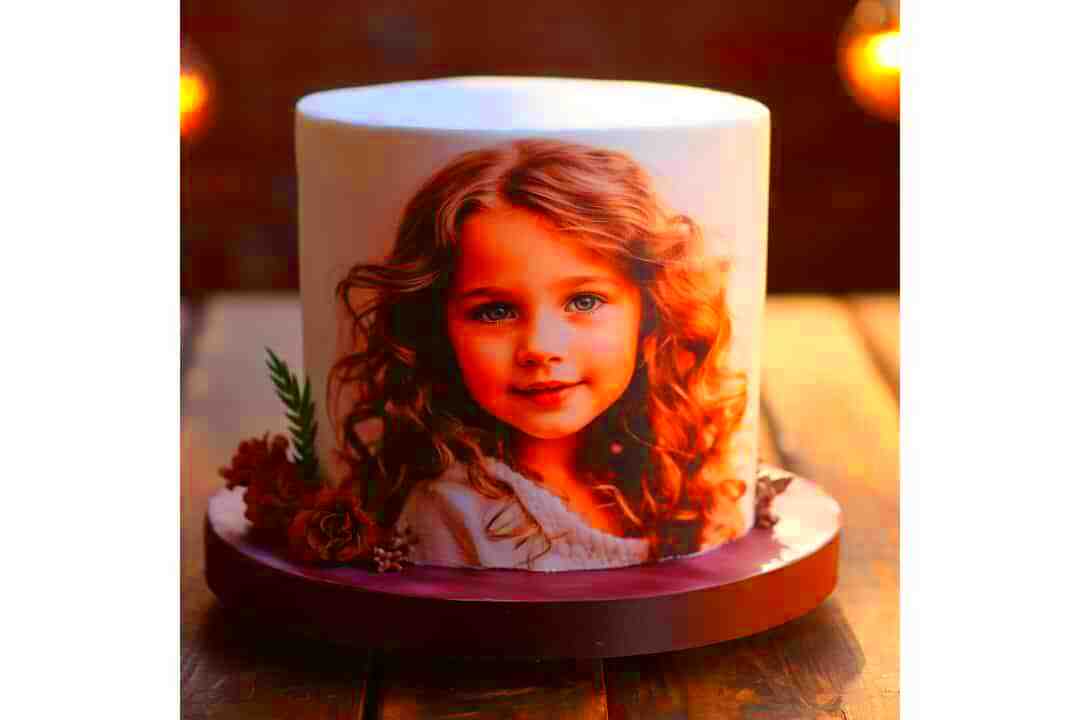
Choosing the right image for your cake is crucial to making it stand out and fit the theme of your event. The image you select should complement the occasion and the flavor of the cake itself. Whether it’s a photo, logo, or design, the
- Event Theme: Choose an image that matches the theme of the celebration. For a wedding, a romantic photo or elegant design works well. For a child’s birthday, consider using a fun character or colorful theme.
- Quality of Image: Make sure the image is high resolution. Blurry or pixelated images will not print well and can ruin the final look of your cake.
- Color Palette: Consider the colors in the image and how they will work with your cake. If your cake is white or pastel-colored, vibrant images will pop nicely. On darker cakes, lighter images may be more visible.
- Size of the Image: Choose an image that is the right size for your cake. Too small, and it may not have enough impact; too large, and it may overpower the overall design.
- Message or Sentiment: Make sure the image conveys the message or feeling you want. A photo of the guest of honor or a meaningful symbol can make the cake more personal.
Ultimately, the right image will enhance your cake and create a more memorable experience for everyone involved.
Preparing the Image for Cake Decoration
Before applying an image to a cake, it’s important to prepare it properly. This ensures that the image is printed or transferred in the best possible way and stays intact throughout the decorating process. Follow these steps to prepare your image:
- Choose the Right Format: If you’re using edible printing, make sure your image is in a high-quality file format (like PNG or JPEG) and the right dimensions for your cake.
- Print on Edible Paper: If you’re using an edible image, print it on edible frosting sheets or wafer paper. These are available at specialty cake supply stores or online.
- Check the Print Quality: Ensure the printer and ink are suitable for food printing. Regular printers use inks that may not be food-safe, so a dedicated edible ink printer is necessary for this step.
- Trim the Image: After printing, trim any excess edible paper around the image. Be careful not to cut too closely to the design to avoid damage.
- Allow the Image to Dry: Let the image dry completely before handling it. This prevents smudging or distortion when applying it to the cake.
- Store Correctly: If you're not using the image immediately, store it flat in a cool, dry place. Avoid placing it in direct sunlight or near humidity.
Proper preparation helps avoid any mishaps during the decorating process, ensuring the final result looks sharp and clean.
Techniques for Adding Images to Cakes
Once your image is ready, it’s time to add it to the cake. There are a few different techniques you can use, depending on the type of image and the look you’re going for. Below are some of the most popular methods:
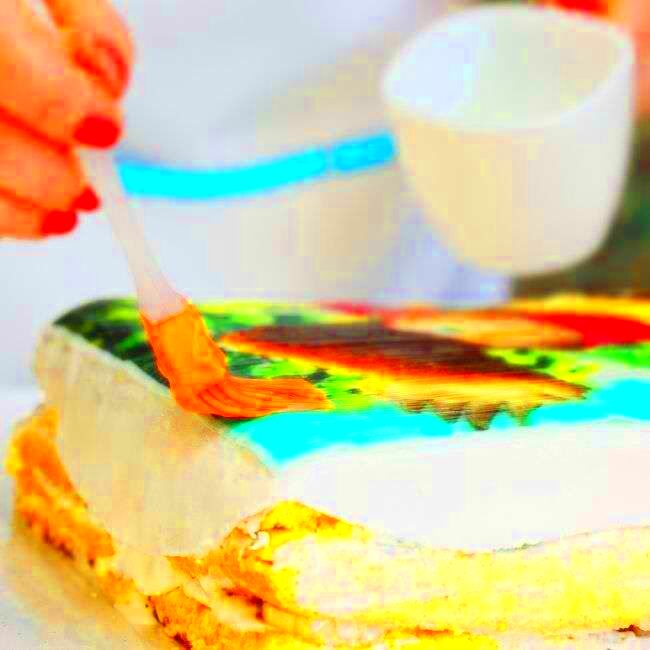
- Edible Image Application: If you're using an edible image, carefully peel it off the backing paper and place it gently onto the cake’s surface. You can smooth it out with a fondant smoother or a clean pastry brush to remove any air bubbles or wrinkles.
- Fondant Application: For fondant images, roll out a thin sheet of fondant and cut out your design. Place it on the cake and use a small amount of water or edible glue to help it stick. You can also add decorations around the fondant image to create a more detailed scene.
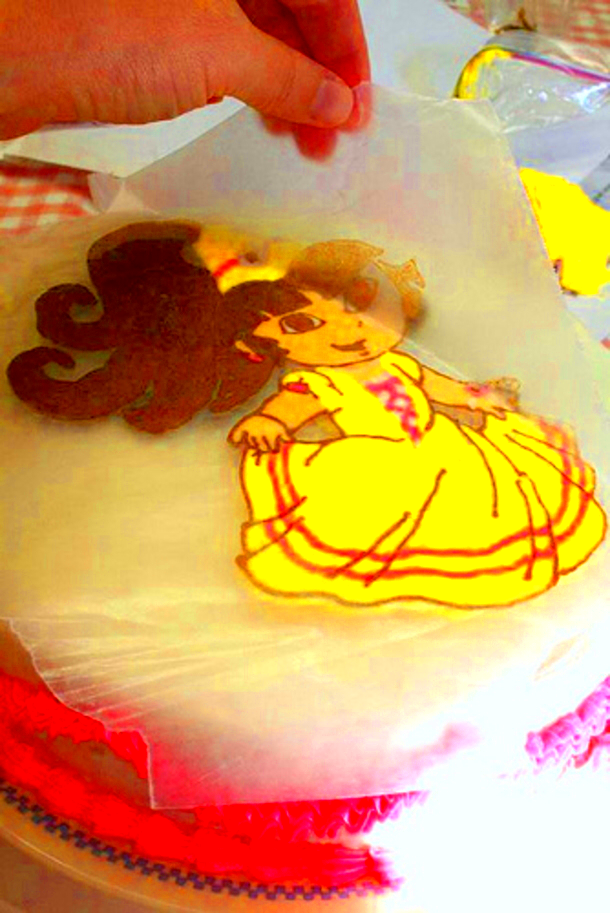
- Buttercream Transfers: When using buttercream transfers, pipe your design onto wax paper using buttercream icing. Freeze it for a few hours, then carefully lift the design and place it onto the cake. This method is great for more intricate or multi-colored images.
- Royal Icing Transfers: Similar to buttercream transfers, you can pipe the image using royal icing onto parchment paper. After it dries, carefully lift the transfer and place it on the cake. This technique is perfect for delicate designs and allows for detailed work.
- Hand-Painting: If you’re feeling artistic, you can hand-paint an image directly onto the cake using food coloring. This method requires more skill but offers a completely custom and artistic finish.
Whichever technique you choose, be sure to work slowly and carefully to ensure the image is applied neatly and smoothly. A steady hand and patience will help you achieve a professional-looking cake.
Tips for a Professional Finish
To take your cake decorating skills to the next level, a professional finish is key. It’s not just about the image you add, but how you present the entire cake. These tips will help you achieve that clean, polished look you see in bakery windows:
- Start with a Smooth Base: Before adding any images, ensure your cake has a smooth, even surface. Use a crumb coat (a thin layer of icing) to seal in any loose crumbs and create a smooth foundation for the final layer of frosting or fondant.
- Use the Right Tools: Invest in a few essential tools like an offset spatula, fondant smoother, and a turntable. These will give you better control and help you achieve even, neat finishes.
- Avoid Overhandling Edible Images: When applying edible images, handle them gently. Over-touching can cause smudging, tears, or deformation. Use clean, dry hands and tools.
- Consider the Edges: When placing images, make sure the edges blend seamlessly with the cake. For a flawless finish, trim the image carefully and ensure there are no sharp or uneven edges.
- Enhance with Decorations: Adding small decorative touches around the image—like piped borders, edible glitter, or fondant accents—can make the image stand out and tie the whole cake together.
- Work in Layers: For cakes with more complex designs, consider applying the image in layers. Start with a solid base, then add small decorative details gradually. This approach allows each element to stand out without overcrowding.
By paying attention to these finishing touches, your cake will look professionally made and be the star of any celebration!
Frequently Asked Questions
We’ve gathered some of the most common questions people ask when it comes to adding images to cakes. Here are the answers to help you out:
- How long do edible images last on a cake?
Edible images typically last up to 2-3 days on a cake when stored in a cool, dry place. Make sure the cake is not exposed to humidity, as this can cause the image to wilt or dissolve. - Can I use regular printer ink for edible images?
No, regular printer ink is not food-safe. You need a special edible ink printer and edible paper to print images that are safe for consumption. - Can I add an image to a cake that has already been decorated?
Yes, you can! Just make sure the surface of the cake is smooth, and gently apply the image on top without disturbing the existing decoration. For best results, use a smooth layer of fondant or buttercream as a base. - Do I need to refrigerate a cake with edible images?
It’s not necessary to refrigerate a cake with an edible image unless it contains perishable fillings. Keep it in a cool place, away from direct sunlight, and avoid refrigeration if possible, as it can cause the image to lose its crispness. - Can I print any image onto a cake?
You can print most high-resolution images onto cakes, but avoid using images that are too dark or complex, as they may not transfer well onto edible paper. Also, check that the image is in a food-safe format (high-quality JPEG or PNG).
Conclusion
Adding images to cakes is a creative and enjoyable way to personalize your desserts for any special occasion. Whether you’re using an edible image, fondant, or buttercream transfers, the process allows you to customize cakes in a way that is both visually stunning and memorable. By following the steps for choosing, preparing, and applying your images, you’ll be able to create cakes that look professional and taste delicious. With a little practice and the right techniques, you can make your cakes the centerpiece of any celebration, bringing smiles to everyone’s faces!
 admin
admin


