Blender is a powerful 3D modeling and animation software, widely used for everything from simple visualizations to complex animations. One of the key features of Blender is its ability to incorporate images into your 3D projects. Whether you're using images as references, backgrounds, or textures, Blender offers various ways to add and manipulate them. In this guide, we'll walk you through the process of adding images into Blender, explaining how you can make the most of these features in your creative projects.
Understanding Blender’s Image Handling Capabilities

Blender supports a wide range of image formats and provides multiple ways to integrate them into your 3D scenes. This versatility is one of the reasons Blender is so popular among both beginners and professionals. The software allows you to use images as:
- Backgrounds: You can add images to serve as references or backdrops for your 3D models.
- Textures: Images can be mapped onto objects to give them realistic surfaces.
- Environments: You can use images for skyboxes or even HDR images for lighting.
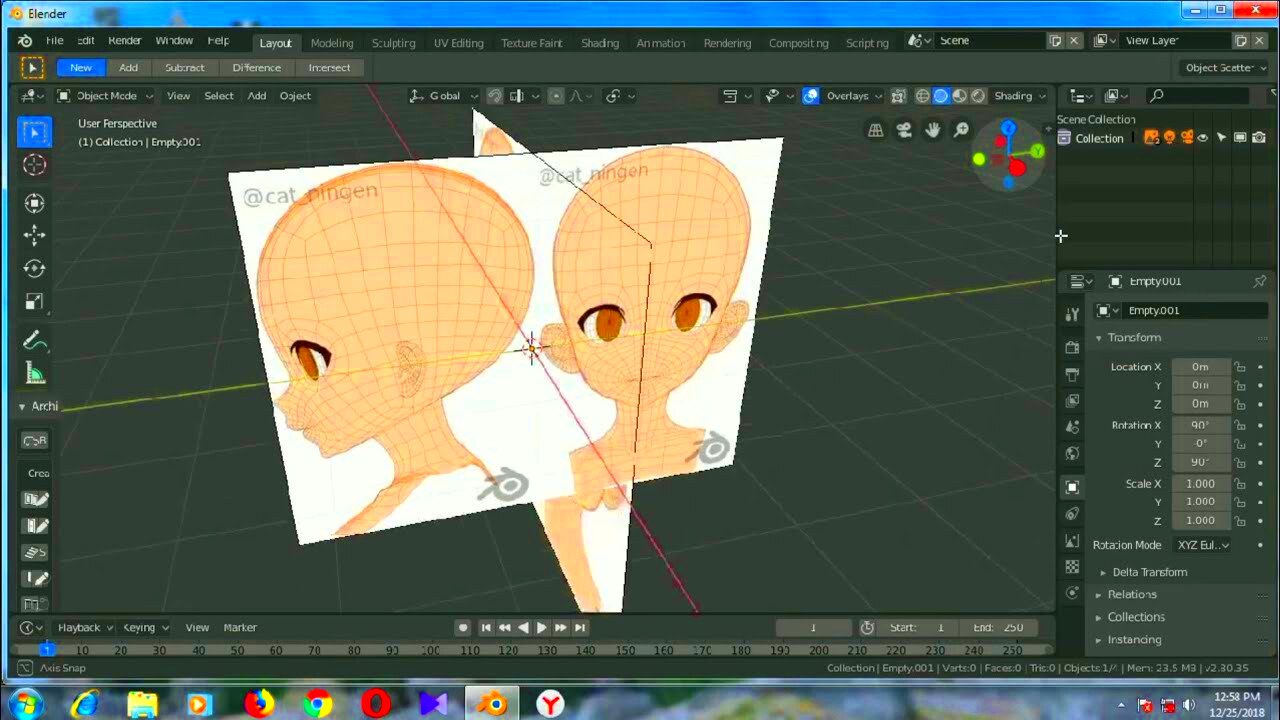
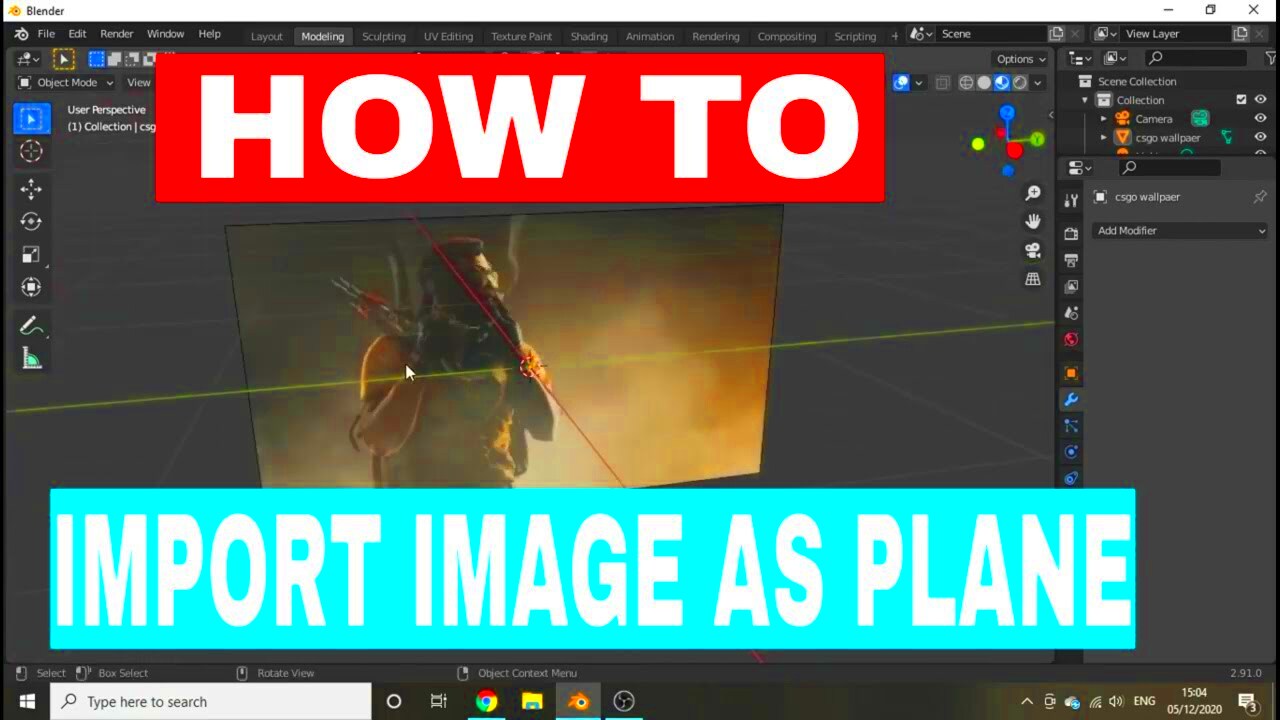
- Image Planes: Images can be placed directly into the 3D space, acting as flat planes within the scene.
These capabilities make it easy to enhance the realism of your projects or provide visual references while you model. Blender’s flexibility also extends to how images can be edited, mapped, and animated, making it a very powerful tool for any 3D artist.
Types of Images You Can Add in Blender

Blender allows you to import a variety of image types, each suited for different purposes. Depending on your project, the type of image you choose can make a big difference in the outcome. Below are the main types of images you can add to Blender:
- JPEG and PNG: These are the most common image formats for textures and backgrounds. JPEG is good for general use, while PNG is preferred for images with transparency.
- TIFF and EXR: These formats are often used for high-quality textures or HDR images, providing greater detail and range for lighting and reflections.
- SVG: Scalable Vector Graphics (SVG) can be imported as vector shapes and used for creating 2D assets within Blender, useful for logos or flat designs.
- HDR Images: High Dynamic Range (HDR) images are used for environment lighting and reflections, providing more realistic lighting effects.
Each image type serves a specific purpose in the Blender environment. Whether you're texturing a model, setting a backdrop, or using an image for lighting, knowing which
How to Import Images into Blender

Importing images into Blender is a simple and straightforward process, whether you want to use them as textures, backgrounds, or references. Knowing the correct steps to follow will save you time and ensure your images appear exactly as you need them. Here’s how you can import images into Blender:
- Step 1: Open Blender and create a new project or open an existing one.
- Step 2: Go to the "File" menu at the top of the screen, and select Import.
- Step 3: Depending on the file type, choose the appropriate import option (e.g., Image as Planes for images or Image for backgrounds).
- Step 4: Browse your computer to locate the image file you want to import. Select the file and click Import Image.
- Step 5: After the image is imported, it will appear in the 3D Viewport or the Image Editor, depending on how you are using it.
Once imported, you can easily adjust the image’s position, scale, and orientation using the standard transformation tools in Blender. Importing images into Blender allows for great flexibility, whether you're working on textures or using them as visual references while you model.
Adding Background Images in Blender
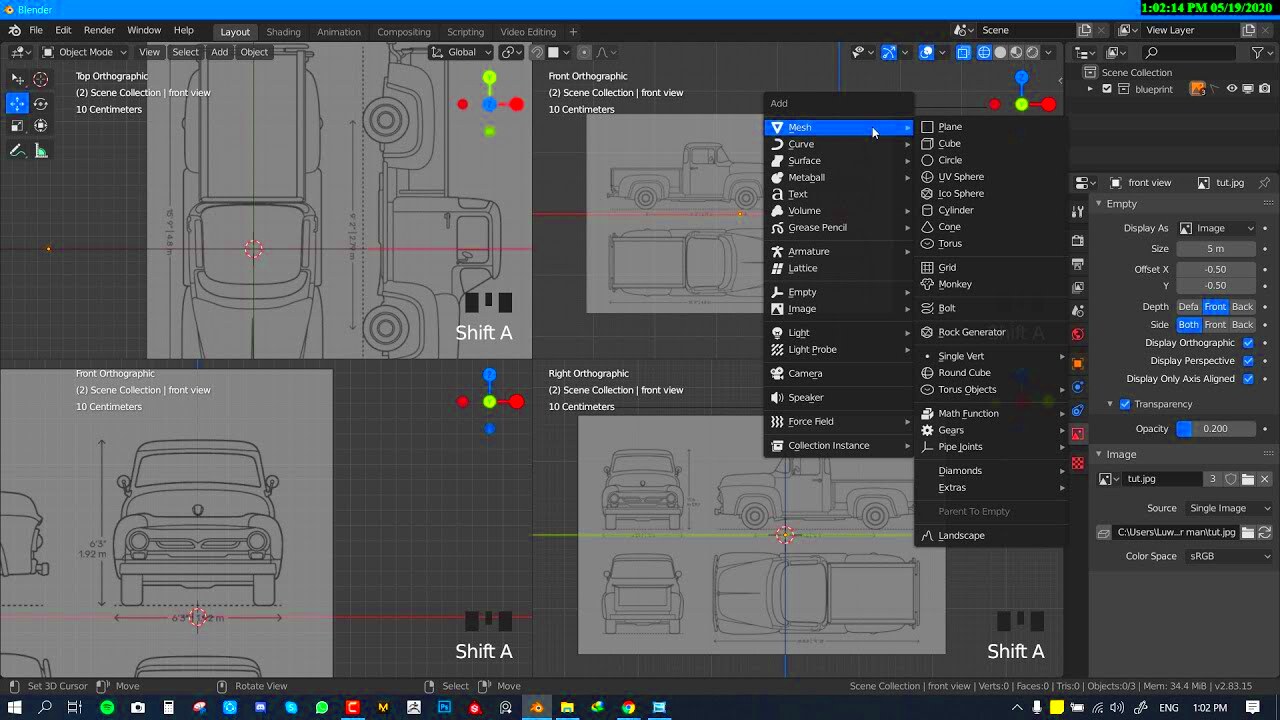
Background images are essential for artists who want to model 3D objects based on 2D reference images or use them as a backdrop in their scenes. Blender makes it easy to add background images that will appear behind your 3D objects in the viewport. Here’s how to add background images to your scene:
- Step 1: Go to the View menu in the 3D Viewport and select Background Images.
- Step 2: In the panel that opens, click on Add Image.
- Step 3: Choose Open to browse for the image you want to use.
- Step 4: Adjust the settings like transparency, size, and position so the image fits perfectly into your scene.
- Step 5: You can choose which view (front, side, or top) you want the background image to appear in by selecting the appropriate option in the panel.
Background images in Blender are extremely useful for reference purposes. They can help guide you as you model by providing a clear, real-world perspective on your scene. Additionally, these images won’t render in your final output unless you explicitly add them to a camera view or make them part of your scene elements.
Using Images as Textures in Blender
Images are often used in Blender as textures to give 3D objects realistic surfaces, such as skin, wood, or metal. Using images as textures can significantly enhance the visual quality of your models, and Blender offers a variety of tools to apply them correctly. Here's a simple step-by-step guide on how to use images as textures:
- Step 1: Select the object you want to apply the texture to in the 3D Viewport.
- Step 2: Go to the Material Properties panel and create a new material by clicking New.
- Step 3: In the Surface section of the material settings, click the Base Color slot and choose Image Texture.
- Step 4: Click Open to browse and select the image you want to use as a texture.
- Step 5: Once selected, the image will be mapped to the object’s surface. You can adjust its scaling, mapping, and orientation in the UV Editor or Shader Editor for more control.
Using images as textures in Blender can be a bit tricky if your object’s UVs are not properly unwrapped. UV mapping ensures the image is placed correctly on the object. Blender’s UV Editor allows you to modify how the texture fits, helping you create more realistic 3D models. Additionally, you can also apply more advanced techniques like bump maps, normal maps, and displacement maps to add extra detail to your textures.
Adjusting Image Settings in Blender
Once you've added images to your Blender project, you may need to tweak the settings to ensure they fit seamlessly into your scene. Blender provides a variety of settings for adjusting how your images appear, whether you're using them as textures, backgrounds, or reference images. Fine-tuning these settings can help you control the image’s size, orientation, transparency, and more. Here’s how you can adjust image settings in Blender:
- Scale and Position: You can resize and move images within your 3D scene using the standard transformation tools (G to move, S to scale, R to rotate).
- Transparency: In the material settings, you can adjust the transparency of an image (useful for textures like glass or water). This is done through the Alpha settings under the Image Texture node.
- Mapping: For textures, you can control how the image is mapped onto your object. Use the UV Mapping settings to adjust the placement, scaling, and rotation of the image.
- Color Adjustments: Use the Image Editor or Shader Editor to adjust brightness, contrast, saturation, and other color properties of your images.
- Image Format: You can also change the image format by going to the Image Properties panel. This can be helpful if you need to convert the image to a different file type for better compatibility.
By adjusting these settings, you can ensure your images fit well within the context of your Blender scene. Whether it’s for fine-tuning textures or positioning background images, Blender offers the flexibility you need for precise control over your visuals.
Common Issues When Adding Images and How to Fix Them
While Blender makes it easy to add images to your projects, there are a few common issues that users might encounter. Fortunately, these problems are usually easy to fix. Here’s a look at some of the most common issues and how to resolve them:
- Image Not Showing Up in the Scene: This can happen if the image is not correctly imported or if it’s too small. Double-check that the image is placed in the right location in the 3D space. Ensure the correct layer or view is active.
- Texture Not Appearing on Model: If a texture isn't displaying on your model, make sure the object’s UV mapping is set up correctly. Use Blender's UV Editor to unwrap the model properly.
- Wrong Image Scale: Sometimes, images appear either too large or too small in your scene. Adjust the image’s scale in the properties panel or use the transform tools to manually resize the image.
- Image Transparency Issues: If your transparent image appears as a solid color, check your material settings. Ensure that the Alpha channel is enabled, and that the transparency is correctly mapped in the material's Shader Editor.
- Image Not Updating: If your image changes aren’t showing, try reloading the image. In the Image Editor, click Reload Image to refresh it. You may also want to check your texture settings.
These are just a few of the most common problems users face when working with images in Blender. By checking your settings and ensuring that everything is properly set up, you can resolve most issues quickly and get back to your creative work.
FAQ
Here are some frequently asked questions regarding adding and using images in Blender:
- Q: What types of images can I use in Blender?
A: Blender supports many image formats, including JPEG, PNG, TIFF, EXR, HDR, and SVG. Each format has its own uses, from simple textures to high-quality HDR images for realistic lighting. - Q: How do I apply an image as a texture?
A: To use an image as a texture, go to the Material Properties panel, create a new material, and then assign the image to the Base Color slot under the Image Texture option. - Q: How can I make an image transparent in Blender?
A: To make an image transparent, you need to ensure that the alpha channel is enabled. You can do this in the Material Properties panel, under the Alpha settings or in the Shader Editor. - Q: Why isn’t my image showing up in Blender?
A: If an image isn’t displaying, check if it’s properly imported, and ensure you are in the correct view or layer. It could also be due to scale or transparency issues. - Q: Can I use vector images in Blender?
A: Yes, you can use SVG files in Blender. These vector files can be imported and converted into meshes or used for creating 2D assets in your 3D scene.
These answers should help clarify some of the common questions you may have about using images in Blender. If you encounter other issues, Blender’s community and documentation are excellent resources to explore further.
Conclusion
Incorporating images into your Blender projects can significantly enhance the visual quality and workflow of your 3D models. Whether you're using images for textures, background references, or as part of your scene’s environment, understanding how to properly import, adjust, and troubleshoot these images is essential for achieving the best results. Blender’s wide range of image handling capabilities allows for flexibility and creativity, whether you're a beginner or an experienced artist. By following the steps outlined above and troubleshooting common issues, you can seamlessly integrate images into your workflow and take full advantage of their potential in your projects. Keep experimenting with different image types, settings, and mapping techniques to discover new ways of bringing your 3D creations to life!

 admin
admin


