When creating PowerPoint presentations, adding image credits is crucial. It shows respect for the original creators and helps maintain your credibility. Using images without proper attribution can lead to copyright issues and diminish the professionalism of your presentation. Let's explore why image credits matter.
Here are some key reasons to include image credits:
- Legal Protection: Proper attribution protects you from potential copyright infringements.
- Ethical Responsibility: Crediting creators respects their work and contributions.
- Credibility: Providing sources enhances your authority as a speaker.
- Resource for Audience: It allows your audience to find and explore the original sources.
In summary, including image credits in your presentations is not just a good practice; it is a necessity that reflects professionalism and respect for the art of others.
How to Add Image Credits in PowerPoint

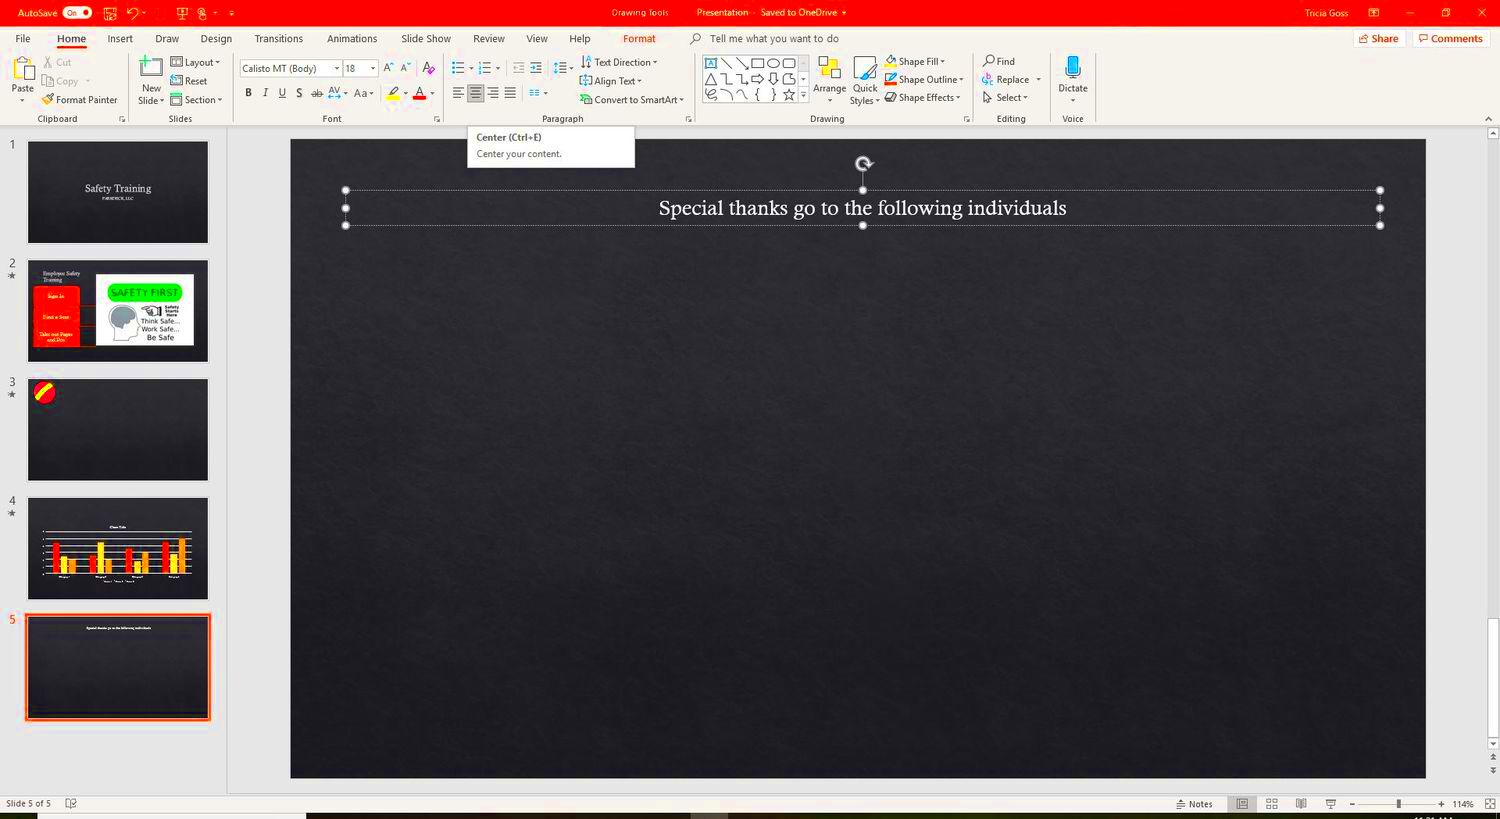
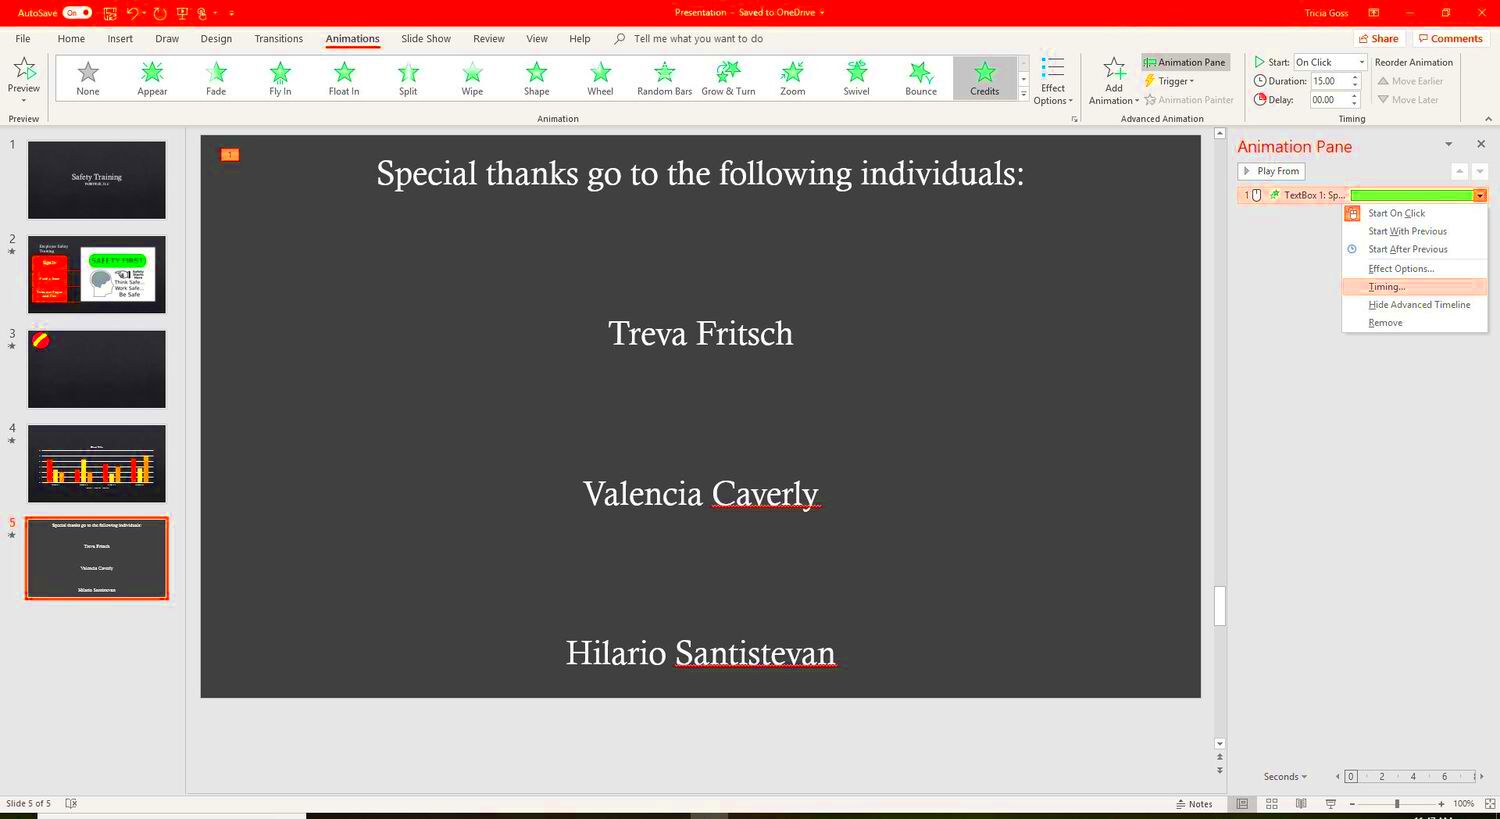
Adding image credits in PowerPoint is straightforward. You can include them on the slide where the image appears or in a dedicated section at the end of your presentation. Here’s a simple guide to help you out:
- Open your PowerPoint presentation.
- Select the slide containing the image.
- Insert a text box by going to the Insert tab and clicking Text Box.
- Type the credit information, such as the creator’s name and the source.
- Format the text for visibility and clarity, using a smaller font size or a different style.
To ensure your credits stand out without distracting from your main content, use a consistent font style and color that complements your presentation design.
Also Read This: Here’s the Complete Guide for High-Quality Downloads from Bandcamp
Using Text Boxes for Image Credits

Text boxes are a versatile tool for adding image credits in PowerPoint. They allow you to position your credits wherever you want on the slide. Here’s how to effectively use text boxes for this purpose:
- Select the slide with the image.
- Go to the Insert tab and click on Text Box.
- Click and drag to draw the text box where you want the credit to appear.
- Type the image credit information inside the text box.
When formatting your text box, consider the following tips:
- Positioning: Place the credit in a corner or below the image for minimal disruption.
- Font Size: Use a smaller font that remains legible but doesn’t overshadow your main content.
- Background Color: A contrasting background can enhance visibility without being too bold.
By using text boxes creatively, you can provide essential credit information while keeping your presentation neat and professional.
Also Read This: How to Lock an Image in Word
Incorporating Image Credits in the Slide Master
Incorporating image credits into the Slide Master can save you time and ensure consistency across your PowerPoint presentation. The Slide Master allows you to set a universal style that applies to every slide, making it easier to include image credits without needing to add them individually. Let’s explore how you can do this effectively.
To add image credits in the Slide Master, follow these steps:
- Open your PowerPoint presentation and go to the View tab.
- Select Slide Master to access the master slides.
- Choose the master slide or the layout where you want the image credits to appear.
- Insert a text box by clicking Insert and then Text Box.
- Type your image credit information in the text box.
- Format the text for consistency in font, size, and color.
By placing image credits in the Slide Master, you ensure that every slide with an image automatically has the necessary credit displayed. This not only enhances your professionalism but also keeps your presentation organized.
Also Read This: How to Rotate an Image in Lightroom Classic for Better Composition
Best Practices for Formatting Image Credits
Formatting image credits properly is essential for maintaining clarity and professionalism in your PowerPoint presentations. Here are some best practices to follow:
- Keep It Simple: Use a clear, legible font like Arial or Calibri.
- Size Matters: Make the font size smaller than the main text but large enough to read easily.
- Use Italics: Italicize the image credits to differentiate them from the rest of your text.
- Consistent Positioning: Place credits in the same location on each slide for a clean look.
- Contrast: Choose a font color that stands out against the background for visibility.
By adhering to these best practices, you’ll enhance the readability of your image credits and contribute to a polished overall presentation.
Also Read This: Cutting Out Images in Illustrator for Clean Edits
Common Mistakes to Avoid
When adding image credits to your PowerPoint presentations, it's easy to make some common mistakes. Being aware of these can help you create a more professional and effective presentation. Here are a few pitfalls to watch out for:
- Skipping Credits: Failing to credit images can lead to copyright issues. Always provide attribution.
- Overcrowding Slides: Avoid cluttering slides with too much text. Keep credits brief and to the point.
- Inconsistent Formatting: Using different fonts or styles for image credits can look unprofessional. Stick to one style throughout.
- Poor Visibility: Using light-colored text on a light background makes credits hard to read. Ensure high contrast.
- Ignoring Source Links: If applicable, include links to the original sources, especially if your audience may want to explore further.
By steering clear of these mistakes, you can ensure that your image credits enhance rather than detract from your presentation.
Also Read This: Capturing the Christmas Celebration Across the USA in Pictures
Using Online Resources for Image Credits
Finding the right images for your presentations can be challenging, but using online resources for image credits simplifies the process. There are numerous websites that offer high-quality images, often with clear guidelines on how to credit the creators. Let’s take a look at some great online resources and how to properly use them.
Here are a few popular websites to consider:
- Unsplash: Offers free high-resolution photos, and you can credit the photographer by name.
- Pexels: Provides free stock photos and videos, with credits typically included on the website.
- Pixabay: Features a vast collection of free images, and credits are appreciated but not required.
- Flickr: A photo-sharing platform where you can find images under Creative Commons licenses. Always check the specific credit requirements.
When using these resources, make sure to:
- Read the licensing agreements carefully.
- Follow the recommended credit format provided by the website.
- Include a link to the original source if required.
By leveraging these online resources, you can find stunning visuals while ensuring you respect the rights of the original creators.
Also Read This: Properly Citing Canva Images
FAQ
In this section, we’ll address some frequently asked questions about image credits in PowerPoint presentations. Understanding these common queries can help clarify your approach and ensure you do things right.
- Why are image credits important? Image credits are important to avoid copyright infringement and to give proper credit to the original creators.
- Where should I place image credits? You can place them directly beneath the image or in a consistent location on the slide, such as a corner.
- Can I use images without credits? While some images may not require credits, it's best practice to provide them to respect the creator’s work.
- What if I can’t find the creator’s name? If the creator is unknown, you can still credit the source website, indicating where you found the image.
- How do I format image credits? Use a smaller font, italicize the text, and ensure there’s contrast between the text and background for readability.
Conclusion
Adding image credits in PowerPoint presentations is more than just a formality; it reflects your professionalism and respect for the work of others. By understanding the importance of image credits, using online resources, and following best practices, you can create visually appealing presentations that are both ethical and informative.
As you continue to enhance your PowerPoint skills, remember that image credits not only protect you legally but also enrich your content. With a little effort, you can ensure that your presentations are not only effective but also respectful to the original creators of the images you use. So, the next time you create a presentation, don’t overlook the value of giving credit where it's due!

 admin
admin


