Hey there, creative minds! If you’re looking to showcase your work and connect with fellow artists, Behance is the place to be. This platform is not just a portfolio site; it’s a vibrant community where creativity thrives. With millions of projects shared, it’s a fantastic way to gain exposure, find inspiration, and even land new opportunities. Think of it as your digital canvas where the world can see your unique talents!
Creating a Behance Account
Ready to dive into Behance? Let’s get you set up with an account! It’s a straightforward process, and in just a few minutes, you'll be on your way to sharing your work with the world. Here’s how to do it:
- Visit the Behance website: Start by going to Behance.net. You’ll be greeted by a stunning array of creative projects that will surely inspire you.
- Click on “Sign Up”: Look for the “Sign Up” button, usually located in the upper right corner of the homepage. This will take you to the registration page.
- Choose your sign-up method: Behance offers several options for signing up. You can use your Adobe ID, Facebook account, Google account, or even your email address. Pick the one that suits you best! If you’re already using Adobe products, the Adobe ID might be the way to go.
- Fill in your details: If you choose to sign up with your email, you’ll need to provide a password and some basic information like your name and location. Make sure your password is strong! You want to keep your creative work safe.
- Agree to the terms: Don’t forget to read and accept Behance's terms and conditions. It’s important to know what you’re signing up for!
- Verify your email: After signing up, Behance will send you a verification email. Check your inbox (and maybe your spam folder) to confirm your account. This step is crucial to fully activate your account.
- Complete your profile: Once verified, log in to your Behance account. Take a moment to fill out your profile. Add a profile picture, a brief bio about yourself, and links to your other social media or website. This is your chance to make a great first impression!
And there you go! You now have a Behance account ready to showcase your magnificent projects. Remember, a complete profile attracts more attention, so don’t rush this step. Take your time to reflect your creative personality! In the next sections, we’ll explore how to upload images and make your portfolio truly shine. Happy creating!
Also Read This: How to Change Project Cover on Behance
3. Preparing Your Images for Upload
Before you dive into uploading your creative work to Behance, it’s essential to prepare your images effectively. This ensures that your work looks its best and reaches the right audience. Here’s how to get your images ready:
1. Choose the Right Format:
- JPEG: Great for photographs and images with gradients.
- PNG: Best for images with transparency and graphics.
- GIF: Use for simple animations or low-color images.
2. Optimize Image Size: Large files can slow down your uploads and make it difficult for viewers to load your portfolio. Aim for images that are:
- Under 5MB each.
- 800-1200 pixels wide for optimal display on most screens.
3. Consistent Style: Create a cohesive look by using similar color schemes or editing styles across your images. This helps in branding and makes your portfolio visually attractive.
4. Edit Your Images: Use editing software like Adobe Photoshop or free tools like GIMP to enhance your images. Consider adjusting:
- Brightness and contrast for better visibility.
- Sharpness to make details pop.
- Color balance for a more vibrant look.
5. Add Watermarks (Optional): If you’re concerned about copyright and want to protect your work, consider adding a subtle watermark. Just ensure it doesn’t distract from the overall image.
By taking these steps to prepare your images, you’ll set yourself up for a successful upload. Remember, the quality of your images can significantly impact how viewers perceive your work, so take your time to get it right!
Also Read This: A Simple Guide to Posting Work in Progress (WIP) on Behance
4. Step-by-Step Process to Upload Images to Behance
Now that your images are polished and ready, let’s walk through the simple steps to upload them to Behance. Follow this guide, and you’ll have your portfolio up in no time!
Step 1: Sign In or Create an Account
First, go to Behance.net. If you already have an account, just sign in. If not, click on “Sign Up” and create a new account using your email or social media accounts.
Step 2: Click “Create a Project”
Once you’re logged in, look for the “Create a Project” button on your profile dashboard. It’s usually easy to spot and invites you to start showcasing your work.
Step 3: Upload Your Images
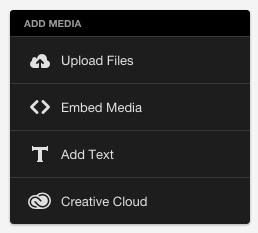
In the project creation interface, you’ll find an option to upload images. You can:
- Drag and drop your prepared images into the upload area.
- Click the “Upload” button to select images from your computer.
Step 4: Arrange Your Images
Once uploaded, you can rearrange your images to create a flow that tells the story of your project. Drag and drop them into the desired order.
Step 5: Add Titles and Descriptions
For each image, you can add titles and descriptions. Be descriptive and engaging to help viewers understand your creative process and the context behind each piece.
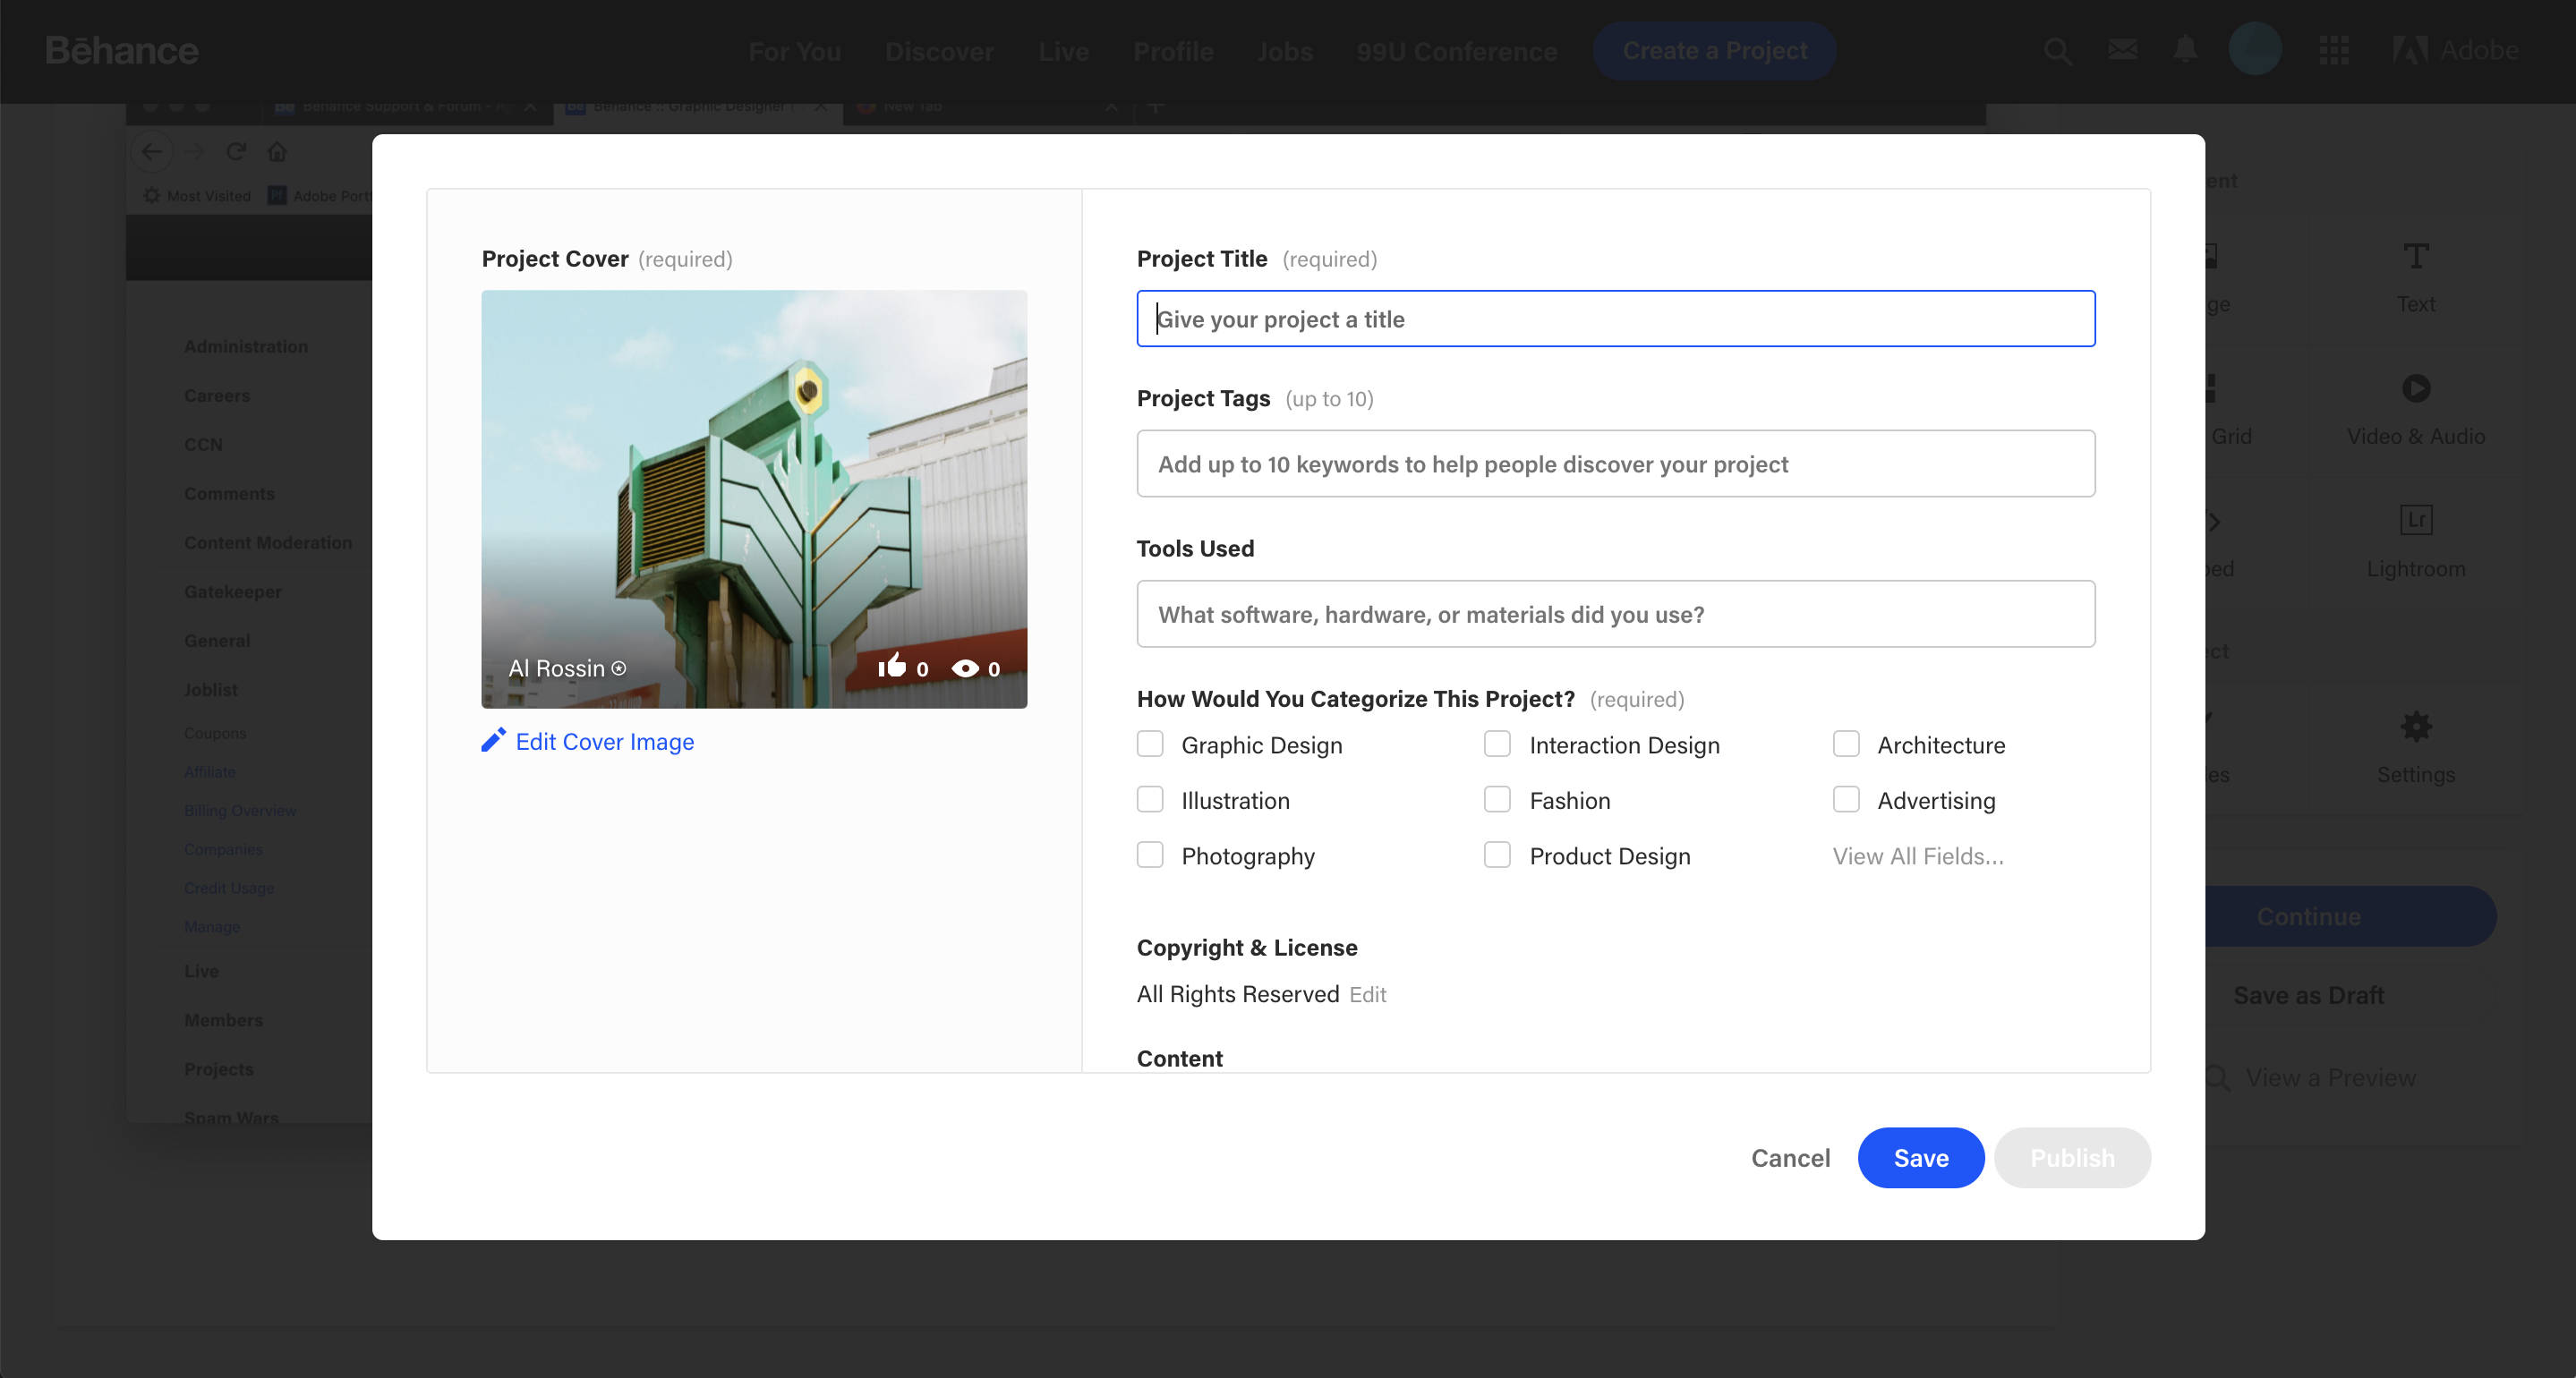
Step 6: Customize Your Project
Behance allows you to customize your project by adding:
- A project cover image
- Text sections to explain your work
- Tags to help others discover your project
Step 7: Publish Your Project
After you’re satisfied with the layout and details, click on the “Publish” button. You’ll be prompted to select visibility options, such as making it public or private. Choose what suits your needs best!
And there you have it! Following these steps will help you smoothly upload your images to Behance and showcase your work to a broader audience. Happy uploading!
Also Read This: How to Download Fonts from Behance: Accessing Fonts from Creative Projects
5. Adding Project Details and Descriptions
Once you've uploaded your stunning images to Behance, it’s time to make your project shine even brighter by adding project details and descriptions. This is where you can really connect with your audience and provide context for your work.
Start by crafting a compelling title. A catchy title not only grabs attention but also gives viewers an idea of what your project is about. For instance, if you designed a logo for a coffee shop, a title like “Brewing Creativity: Logo Design for Java Junction” could work wonders.
Next, dive into the project description. This is your chance to tell a story. Explain your inspiration, the creative process, and any challenges you overcame. For example:
- Inspiration: Share what inspired your project—maybe a trip to Italy sparked your passion for coffee culture.
- Process: Describe how you got from sketching ideas on napkins to the final product, discussing tools and techniques used.
- Challenges: Talk about any hurdles, like color choices or client feedback, and how you resolved them.
Don't forget to include any relevant tools and software you used in your project. This adds credibility and can help aspiring creatives learn from your experience. A simple line like “Created using Adobe Illustrator and Photoshop” can make a big difference.
Finally, consider adding a call to action. Invite viewers to leave comments, ask questions, or even check out your other projects. Engaging with your audience can turn casual viewers into loyal followers!
Also Read This: Become an Illustrator for Getty Images and Sell Your Artwork
6. Tagging Your Work for Better Visibility
Now that your project is complete with detailed descriptions, it’s time to focus on tagging your work. This is one of the most crucial steps to ensure your project reaches the right audience on Behance.
Tags are like keywords; they help your project appear in search results when users are looking for specific content. For example, if your project is about graphic design, you should include tags like “Graphic Design,” “Branding,” and “Illustration.” Here’s how to choose the right tags:
- Be Specific: Use tags that accurately describe your work. Instead of just “Design,” try “Logo Design for Cafes” or “Minimalist Poster Design.”
- Use Popular Tags: Research trending tags in your field. Behance often has popular tags that can increase your project’s visibility.
- Mix General and Specific Tags: Combine broad tags with niche ones to reach different audience segments. For instance, use both “Photography” and “Nature Photography” for a landscape photo project.
Also, keep the number of tags in mind. Behance allows up to 15 tags per project, so make each one count. Don't overload your project with irrelevant tags, as this can confuse potential viewers and detract from your work's quality.
Lastly, after tagging your work, share your project on social media platforms and encourage others to check it out. The more visibility you create, the greater the chances of attracting positive feedback and new connections in the creative community!
Also Read This: How to Make Appreciation Invisible on Behance: Managing Likes and Comments for Privacy
7. Publishing and Sharing Your Project
Once you’ve lovingly crafted your project on Behance, the next exciting step is publishing it for the world to see! This is where you can showcase your creativity and connect with other designers, artists, and potential clients. Here’s a simple step-by-step guide to get you through the publishing process:
- Preview Your Project: Before hitting that publish button, take a moment to preview your project. This allows you to see how everything looks together—check for any typos, make sure your images are in the correct order, and confirm that all links work. A fresh pair of eyes can make a world of difference!
- Set Your Project Visibility: Decide who can see your project. You can choose to make it public for everyone to view or keep it private. If you want to share it only with certain people, you can generate a shareable link too!
- Add Tags: Tags are essential for helping others discover your project. Think of keywords related to your work—like “graphic design,” “illustration,” or “photography”—and include them. This helps your project appear in relevant searches on Behance.
- Write an Engaging Description: Craft a compelling description that tells the story behind your project. What inspired you? What challenges did you face? This is your chance to engage your audience and provide context for your work.
- Invite Collaborators: If you worked with others on this project, don’t forget to tag them! Collaborators will appreciate the acknowledgment, and their followers might check out your work too!
- Hit Publish: Once you’re satisfied, click that “Publish” button with confidence! Your project is now live! 🎉
After publishing, you might want to share your new project on social media or create a post on your blog or website. Make sure to engage with any comments or feedback you receive. Building a community around your work takes time, but it’s incredibly rewarding!
8. Tips for Optimizing Your Behance Portfolio
Your Behance portfolio is a reflection of your creative identity, so let’s make sure it stands out! Here are some tailored tips to optimize your portfolio and attract the right attention:
- Curate Your Best Work: Quality over quantity is key! Select a diverse range of projects that showcase your skills, but only include your very best work. Aim for about 6-10 standout projects that highlight what you do best.
- Maintain Consistency: Ensure that your projects have a consistent style or theme. This could be through color schemes, typography, or overall aesthetic. A cohesive look helps create a strong brand impression.
- Keep It Updated: Regularly update your portfolio with new projects. This shows that you’re active and continually evolving as an artist. Even small updates can keep your work fresh!
- Engage with the Community: Behance is not just a platform for showcasing your work; it’s a community! Follow other creatives, comment on their projects, and engage in discussions. This not only builds relationships but can also drive traffic back to your portfolio.
- Use High-Quality Images: Ensure all images are of high quality. Blurry or pixelated images can detract from your professional image. Invest some time in editing and presenting your work in the best light.
- Optimize Project Titles and Descriptions: Use clear, descriptive titles for your projects. In your descriptions, incorporate relevant keywords that potential clients might search for. This helps improve your project’s visibility.
- Include a Call-to-Action: Encourage viewers to reach out for collaborations, commissions, or questions. A friendly message like, “Let’s connect!” can go a long way!
By following these tips, you can transform your Behance portfolio into a powerful tool that not only showcases your talent but also attracts opportunities. Remember, your portfolio is a work in progress, much like your artistic journey—keep refining it!
 admin
admin


