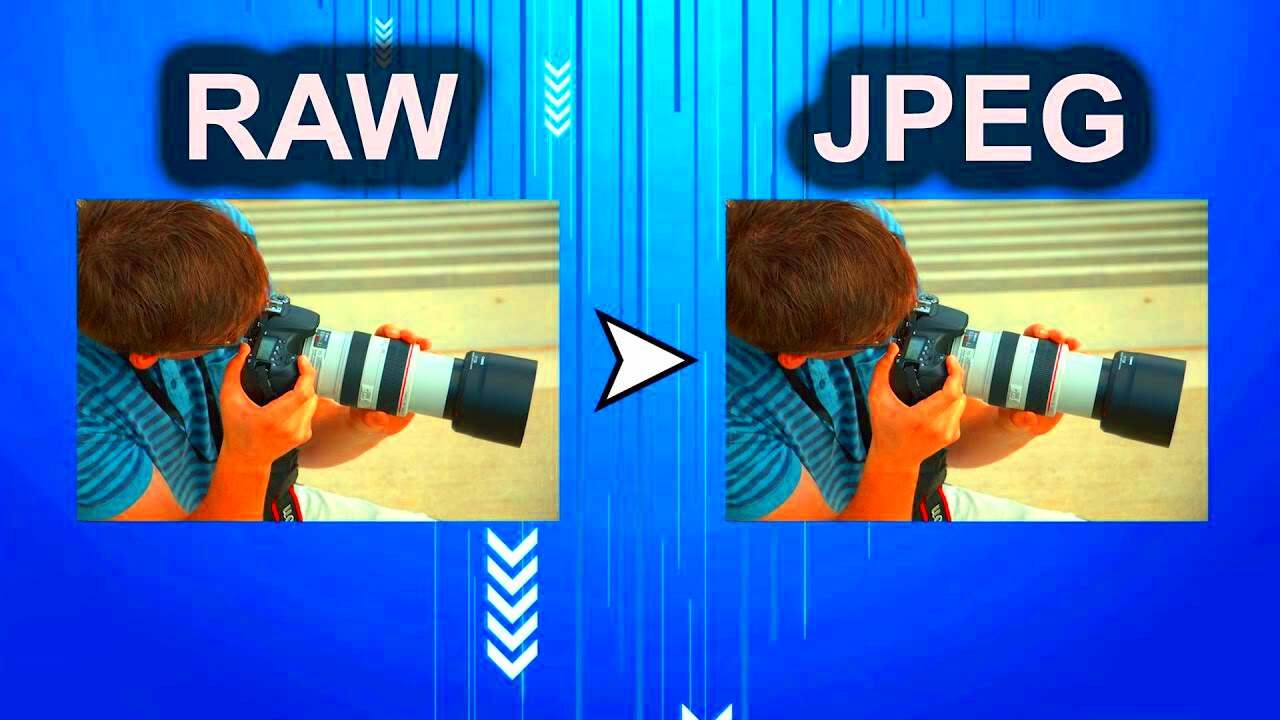
When it comes to photography, understanding the differences between image formats is essential. Two of the most common formats are RAW and JPEG. Both have their own strengths and weaknesses, and each serves a different purpose depending on the photographer's needs.
RAW images are unprocessed, high-quality files directly captured from the camera’s sensor. They retain all the original details of the image, offering more control during editing. However, these files are larger and may not be compatible with every device or software right out of the box.
On the other hand, JPEG images are processed and compressed files that are smaller in size and ready for use. They are widely compatible with various devices, software, and platforms. However, because they are compressed, some image details are lost during the process.
Understanding the difference is crucial when deciding how to handle your images. While RAW offers maximum editing flexibility, JPEG is more user-friendly and convenient for quick sharing and storage. In the next sections, we will explore why you might want to convert RAW to JPEG and how to do it effectively.
Why Convert RAW Images to JPEG?

While RAW files offer exceptional quality, they also come with a few drawbacks. Converting RAW images to JPEG can make your workflow faster and more efficient, especially when you need to share or upload your photos quickly. Here are a few reasons why you might consider making the conversion:
- Smaller File Size: JPEG files are much smaller than RAW files, making them easier to store, share, and upload. This is especially important for photographers who work with large volumes of images.
- Compatibility: JPEG is a universal format supported by almost all devices and software. If you need to send your photos to someone or post them online, JPEG is the preferred choice.
- Faster Workflow: Since RAW files need to be processed before viewing, converting them to JPEG can save time when you don’t need extensive editing.
- Less Storage Space: JPEG files, being compressed, take up less space on your hard drive, allowing you to store more images without running out of space.
- Ready-to-Use Images: JPEG images are processed and ready for use, meaning no further adjustments are necessary before sharing them.
Overall, converting RAW to JPEG can make sense when you don’t need to preserve every little detail and just need a quick, shareable, and easy-to-manage image.
Also Read This: Are The Hunger Games Available to Stream on YouTube TV
Step-by-Step Guide to Converting RAW to JPEG

Now that you understand the reasons for converting RAW images to JPEG, let’s walk through the process. Converting RAW to JPEG is a simple procedure that can be done using various software tools. Here’s a basic guide:
Using Adobe Lightroom
Adobe Lightroom is a popular choice for photographers due to its powerful editing and exporting features. To convert RAW images to JPEG in Lightroom:
- Open your RAW image in Lightroom.
- Edit your image as needed (exposure, contrast, etc.).
- Click on the Export button located in the lower-left corner.
- In the Export window, under the File Settings section, choose JPEG as the file format.
- Adjust the quality and image size settings based on your needs.
- Click Export, and your image will be saved as a JPEG.
Using Adobe Photoshop
If you’re using Photoshop, the process is just as easy:
- Open your RAW file in Photoshop.
- Edit the image in Camera Raw (optional).
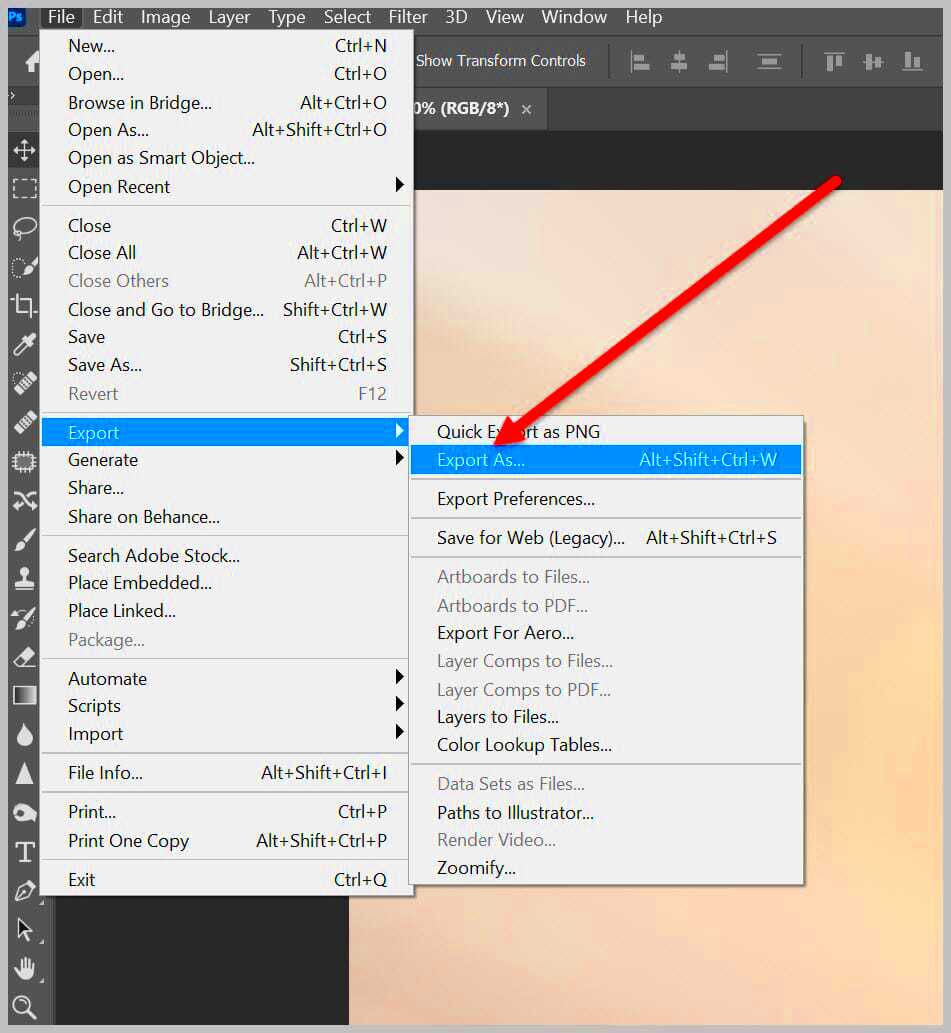
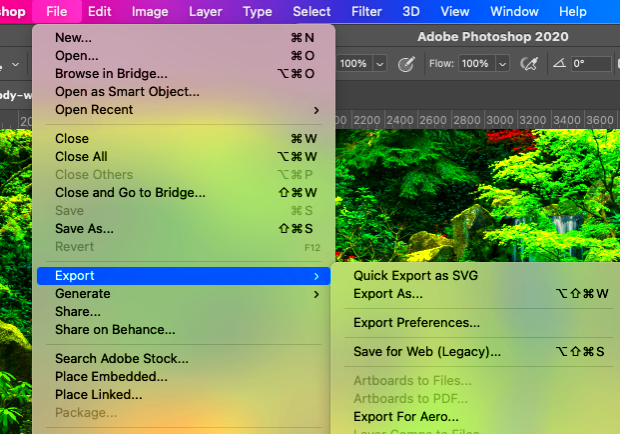
- Once satisfied, go to File > Save As.
- Select JPEG as the format in the dropdown menu.
- Adjust the quality and other settings, then click Save.
Using Free Tools like GIMP or Paint.NET
There are also free tools available to convert RAW images. GIMP and Paint.NET are popular options. To convert a RAW file to JPEG using GIMP:
- Install the necessary RAW plugin (such as UFRaw for GIMP).
- Open the RAW file in GIMP.
- Edit the image as needed.
- Go to File > Export As and choose JPEG as the format.
- Adjust the quality and save the file.
Whether you’re using paid software like Lightroom or Photoshop, or free programs like GIMP, the process remains straightforward. Choose the right tool based on your preferences and follow these steps to convert your RAW files to JPEG.
Also Read This: Getty Stock Photos Pricing Explained
Choosing the Right Software for Conversion

When it comes to converting RAW images to JPEG, selecting the right software can make a big difference in terms of ease of use, quality, and features. There are many options available, ranging from free tools to professional-grade software. Each has its own strengths and unique features, so the right choice depends on your needs and budget. Let’s look at some popular options:
1. Adobe Lightroom
Adobe Lightroom is a favorite among photographers for its comprehensive editing features and easy exporting process. It supports multiple RAW formats and offers various options for fine-tuning the JPEG output. The software allows for batch processing, making it ideal for those working with large numbers of images.
2. Adobe Photoshop
Photoshop offers advanced editing capabilities and is often used for more intricate photo adjustments before conversion. It supports a wide range of RAW file types and allows for precise control over the JPEG conversion settings. However, it can be complex for beginners and is not as optimized for batch processing as Lightroom.
3. Capture One
Capture One is a professional-grade software that provides excellent RAW processing and conversion tools. It’s known for its powerful color grading options, making it a top choice for photographers who need fine control over their images before converting them to JPEG.
4. Free Tools like GIMP
If you’re looking for a budget-friendly solution, GIMP (GNU Image Manipulation Program) is an excellent free alternative. While it doesn’t have as many advanced features as Adobe products, it’s still capable of converting RAW files to JPEG, and it supports various plugins to enhance functionality.
5. Online Converters
If you don’t want to install software, there are several online tools like Raw.pics.io and Convertio that can handle RAW to JPEG conversion directly in your browser. These tools are easy to use but may have limitations in terms of file size and batch processing.
Choosing the right software depends on how much control you need over the conversion process and whether you prefer a paid or free option. Each tool comes with its own set of advantages and trade-offs, so pick the one that suits your specific requirements.
Also Read This: how long does adobe take to review stock photos
Best Practices for Converting RAW to JPEG
To get the best results when converting RAW to JPEG, it's important to follow some key practices. These practices ensure that you preserve as much of the original image quality as possible while taking advantage of the smaller file size and wider compatibility that JPEG offers.
1. Adjust Image Quality Settings
When converting to JPEG, you can adjust the quality of the final image. Most software allows you to set the compression level, which affects both file size and image quality. Aim for a balance between file size and quality:
- High Quality: Set the quality level to 80-100% for minimal compression and better details.
- Medium Quality: A setting around 60-80% is often enough for general use while still keeping file sizes manageable.
- Low Quality: Use this setting only when you need very small file sizes and can sacrifice detail.
2. Choose the Right Resolution
When converting RAW files to JPEG, you might want to adjust the resolution. If your goal is to use the image for printing, you may want to keep it at a higher resolution (e.g., 300 DPI). For web or social media use, a resolution of 72 DPI is usually sufficient.
3. Optimize for the Intended Use
Consider how and where the image will be used before conversion:
- For Web Use: Smaller file sizes (around 1-2 MB) are preferred to ensure faster load times.
- For Printing: Maintain a high resolution and image quality for sharp prints.
- For Email or Sharing: Lower resolution and medium quality settings will work well for quick sharing without sacrificing too much image clarity.
4. Batch Conversion for Efficiency
If you’re dealing with multiple images, batch conversion can save time. Most software like Lightroom allows you to apply the same settings to a group of images at once. This ensures consistency and speeds up your workflow.
5. Avoid Over-Editing Before Conversion
RAW files offer a wide range of editing possibilities, but excessive editing can lead to issues like noise, color distortion, or loss of details. Try to make only necessary adjustments, as going overboard can affect the final output when converting to JPEG.
By following these best practices, you’ll be able to get the most out of both the RAW format and the JPEG conversion process, ensuring that your images look great and are ready for use across different platforms and mediums.
Also Read This: How to Download YouTube Videos in MP4 Format for Easy Storage
Common Issues During Conversion and How to Fix Them
While converting RAW to JPEG is generally a straightforward process, there are some common issues that can arise. Here’s a guide to help you troubleshoot and resolve these issues to ensure the best possible results.
1. Loss of Image Quality
One of the most common issues is a loss of image quality due to excessive compression during the conversion. If the JPEG is compressed too much, fine details may be lost, and the image can appear pixelated or blurry. To fix this, always choose a higher quality setting (ideally 80-100%) during the conversion process.
2. Color Shifts
Sometimes, images may experience color shifts after conversion, especially if the software doesn’t handle color profiles well. This can result in unnatural-looking images with altered hues. To avoid color shifts:
- Check the color profile settings in your software.
- Ensure you're using the sRGB color profile for web and digital use.
- If you're printing, consider using AdobeRGB or ProPhoto RGB for better color depth.
3. Excessive Noise
RAW images tend to have less noise, but when converting to JPEG, noise may become more apparent, especially if the image was edited too aggressively. To reduce noise:
- Apply noise reduction in your RAW editor before conversion.
- Use noise reduction tools in the JPEG conversion software.
4. Incorrect Resolution
Sometimes, the resolution of the converted JPEG may not match the desired output, leading to blurry or pixelated images, especially if the resolution is too low. Always check and set the resolution to match your intended use, whether it’s for printing, web, or sharing.
5. Incompatibility with Software
Occasionally, a specific RAW file may not be supported by your chosen software, which could cause errors during conversion. Ensure that your software is up to date and supports the RAW format you're working with. If issues persist, try using alternative software or updating your RAW file handling plugins.
6. Slow Conversion Times
If you’re working with large files or multiple RAW images, the conversion process can be slow. To speed things up, consider using batch processing features in your software, reducing image resolution, or upgrading your computer’s hardware for better performance.
By addressing these common issues, you can make the conversion process smoother and ensure that your JPEG images are of high quality and ready for use.
Also Read This: how to make image bigger without losing quality
How to Maintain Image Quality After Conversion
When converting RAW images to JPEG, it's essential to ensure that the image quality remains as high as possible. JPEG files are compressed, which can lead to some loss of detail, but there are ways to minimize this loss and preserve the integrity of your image. Below are some tips to maintain the best possible quality after conversion:
1. Choose the Right Compression Settings
One of the most significant factors in maintaining image quality is setting the right level of compression. JPEG files are compressed, and while this reduces the file size, it can also degrade quality if the compression level is too high. Here's how to balance compression and quality:
- Set the Quality to 80-100%: Higher quality settings mean less compression, which helps preserve details.
- Avoid Low Quality Settings: Anything below 70% often results in noticeable loss of detail and visible artifacts.
2. Avoid Over-Editing the Image
RAW images allow extensive editing, but excessive manipulation can harm the final JPEG output. Every time you edit and save an image, there is a risk of introducing noise, banding, or other imperfections. Try to finalize your edits before converting to JPEG to minimize quality loss.
3. Use a Non-Destructive Workflow
If possible, work with non-destructive editing techniques (such as using adjustment layers in software like Photoshop). This way, you can make adjustments without altering the original image, which helps retain more detail when it’s finally converted to JPEG.
4. Check Resolution and DPI
Ensure that the resolution is appropriate for your intended use. For printing, you should use a resolution of 300 DPI, while for online use, 72 DPI is typically sufficient. Adjusting the resolution before conversion helps maintain image sharpness and clarity.
5. Use High-Quality Conversion Software
The software you use for converting RAW to JPEG plays a critical role in how much quality is preserved. Professional-grade software like Adobe Lightroom or Capture One is designed to handle RAW files carefully, offering more options for maintaining image quality than free alternatives.
By following these tips, you can ensure that your JPEG images look just as good as the original RAW files, preserving the maximum amount of detail and clarity possible.
Also Read This: How to Download Full-Size Getty Images Easily
Conclusion
Converting RAW images to JPEG is a valuable skill for photographers looking to manage their files and prepare images for sharing or storage. While RAW files offer greater editing flexibility and image quality, JPEG files are smaller, more manageable, and compatible with a wider range of devices and platforms. By understanding the differences between these formats and following the right steps, you can easily convert your RAW files to high-quality JPEGs without sacrificing too much detail.
Remember to choose the right software, follow best practices for conversion, and take steps to maintain image quality after conversion. With the right approach, you'll be able to efficiently manage your images while keeping them looking their best.
Frequently Asked Questions (FAQ)
Here are some common questions that people have about converting RAW images to JPEG:
1. What is the main difference between RAW and JPEG images?
RAW images are unprocessed files that retain all the data from the camera's sensor, offering maximum flexibility for editing. JPEG images are compressed, processed files that are smaller in size and easier to share, but they lose some detail in the compression process.
2. Can I convert a RAW file to JPEG without losing quality?
While there will always be some loss of quality due to the compression of JPEG files, you can minimize this by choosing a high-quality setting (around 80-100%) during conversion and avoiding excessive editing before conversion.
3. What software is best for converting RAW to JPEG?
Some of the best software for converting RAW files to JPEG include Adobe Lightroom, Adobe Photoshop, and Capture One. These tools offer excellent control over the conversion process and allow for fine-tuning of quality settings. Free options like GIMP also work well for simpler conversions.
4. Why does my JPEG look blurry after conversion?
Blurriness in a JPEG file is often due to low resolution or excessive compression. Make sure to adjust the resolution to match your intended use and set the quality to a higher level during the conversion to avoid losing detail.
5. How can I convert multiple RAW images to JPEG at once?
Most professional photo editing software like Lightroom or Capture One allows for batch processing. You can select multiple RAW files and apply the same conversion settings to all of them at once, saving you time and ensuring consistency across your images.
6. Is it better to edit RAW files before converting them to JPEG?
Yes, it’s always better to edit RAW files before converting them to JPEG. RAW files offer more data and flexibility for adjustments like exposure, color correction, and sharpening, allowing you to get the best results before the final conversion.

 admin
admin


