Embedding images in Adobe Illustrator is a crucial step for anyone working on design projects. When you embed an image, you include it directly in your Illustrator file. This means that the image becomes a part of your document rather than just a link to an external file. Understanding this process can greatly enhance your workflow and the quality of your designs.
Here are a few reasons why embedding images is essential:
- Self-Contained Files: Embedded images make your files self-contained. You won't have to worry about missing images when sharing or transferring your work.
- Consistent Quality: When you embed an image, you maintain the quality and resolution, which can sometimes be lost with linked files.
- Ease of Editing: Editing becomes easier since all the elements are within the same document. You can adjust your design without needing to locate external files.
Step-by-Step Process for Embedding Images in Illustrator

Embedding images in Illustrator is straightforward. Follow these steps to ensure you do it correctly:
- Open Your Document: Launch Adobe Illustrator and open the document where you want to embed the image.
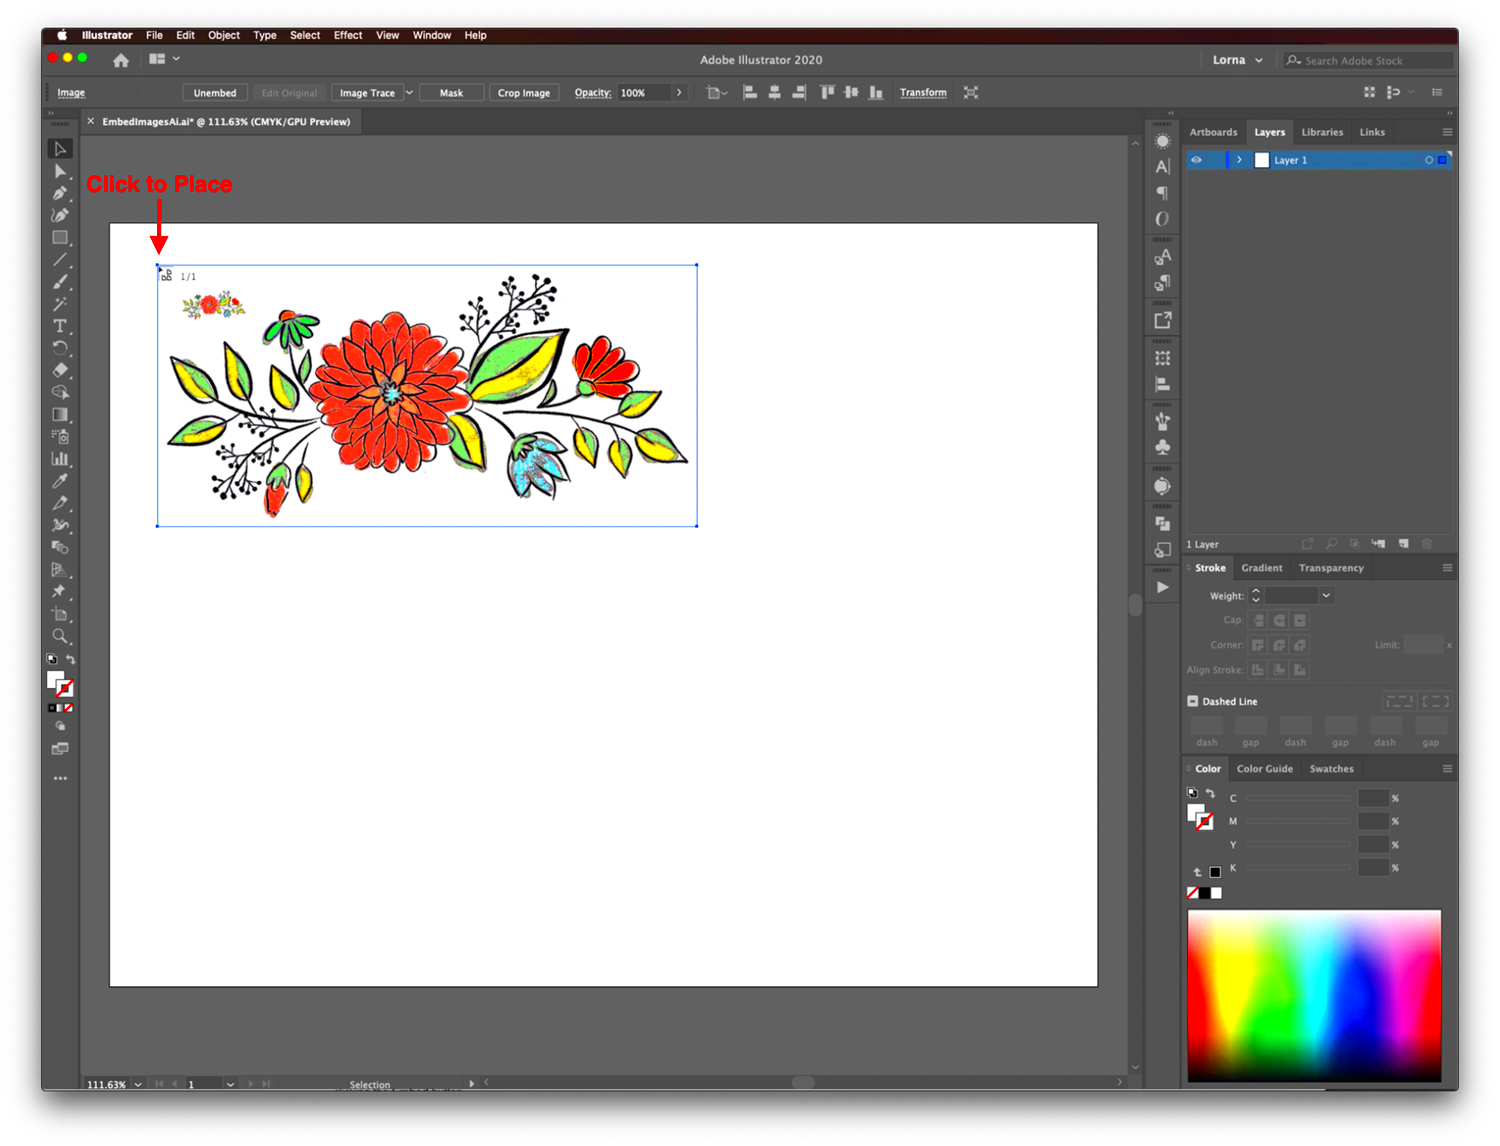
- Place Your Image: Go to the menu and click on File > Place. Select the image you want to use and click Place.
- Select Embed: Once the image is placed, you'll see an option in the Control panel at the top that says Embed. Click it to embed the image into your document.
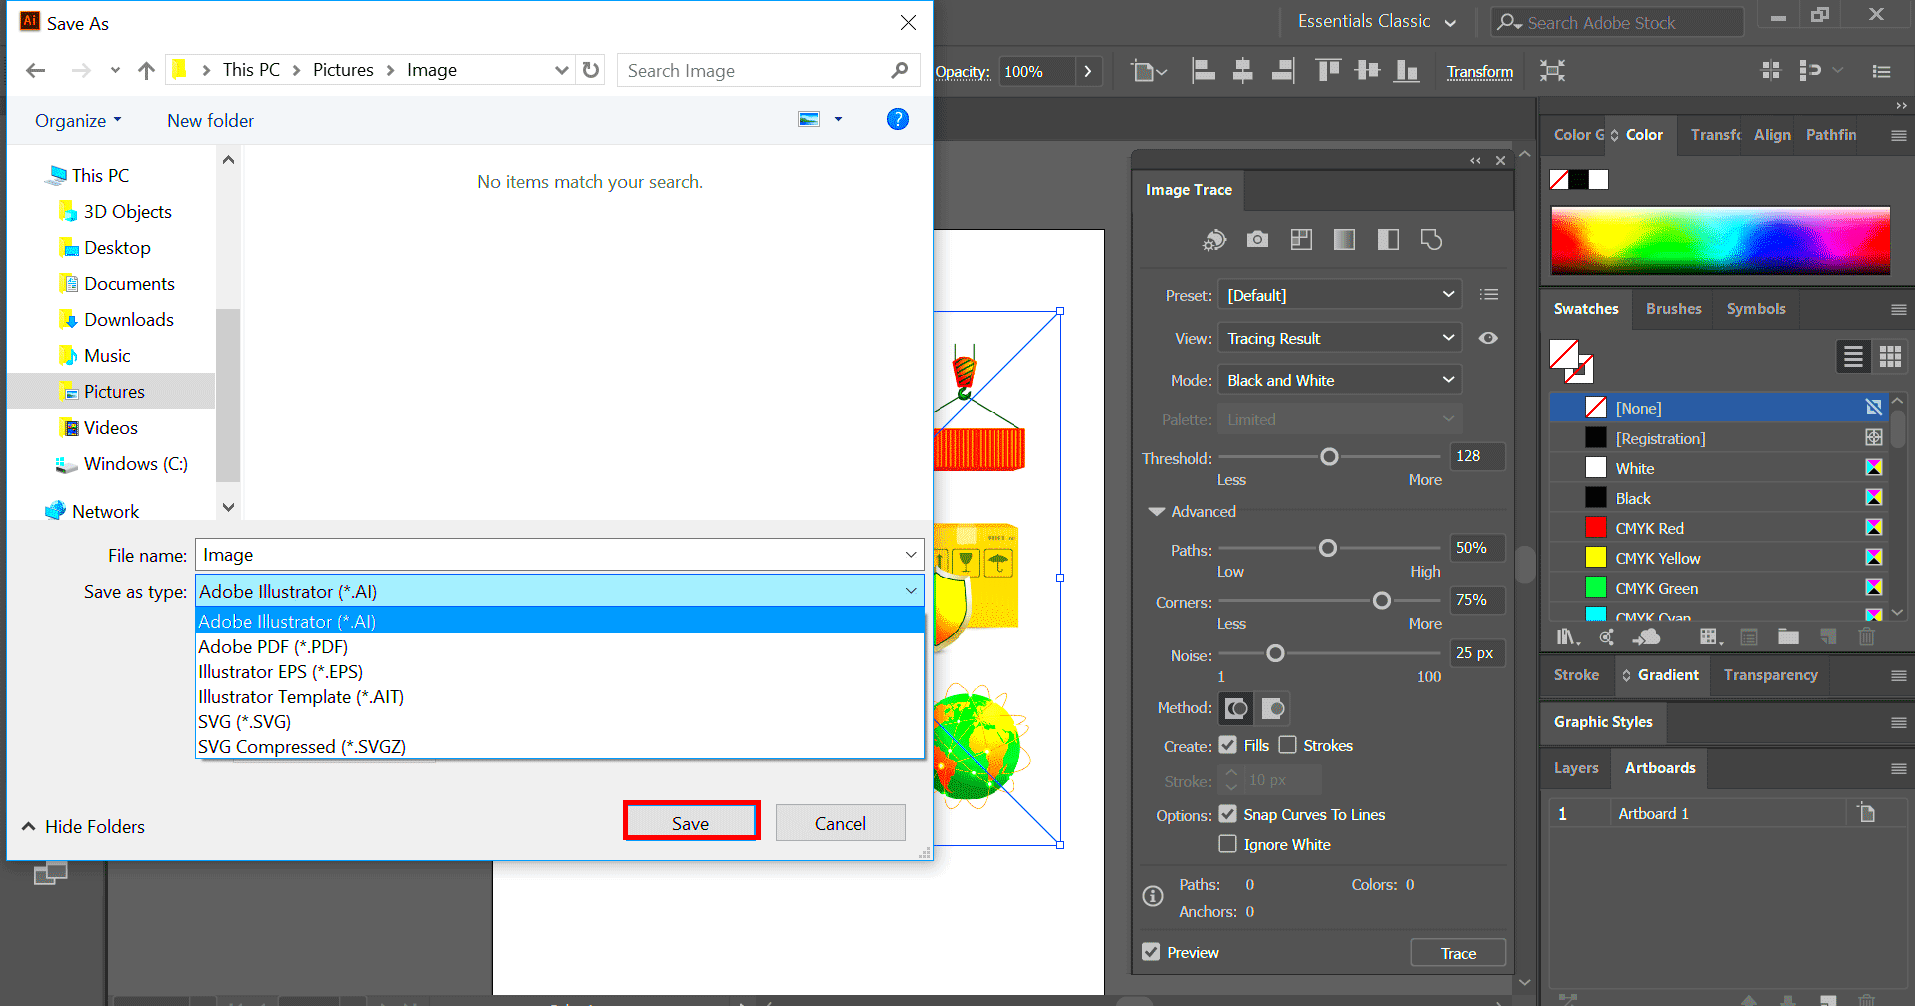
- Save Your Work: Don’t forget to save your document to ensure all changes are applied.
By following these simple steps, you can successfully embed images and enhance your design projects.
Also Read This: How to Change Your Appearance on Dailymotion Customize Your Profile
Common Issues When Embedding Images

While embedding images is generally a smooth process, you may encounter a few common issues. Here’s a look at these challenges and how to tackle them:
- Large File Size: Embedding multiple high-resolution images can lead to large file sizes, which may slow down your system. To avoid this, consider using lower resolution images or linking instead.
- Quality Loss: Sometimes, images might not appear as crisp as expected after embedding. Always check the resolution before embedding to ensure it meets your quality standards.
- Color Management Issues: Embedded images may look different on various screens due to color profile discrepancies. Make sure your images are saved with the correct color profile.
By being aware of these potential issues, you can troubleshoot effectively and keep your projects on track. Always remember to check your images after embedding to ensure everything looks just right!
Also Read This: How to Make an Image Transparent in Google Slides
Best Practices for Managing Embedded Images

Managing embedded images effectively can streamline your design process and improve the overall quality of your projects. Here are some best practices to keep in mind when working with embedded images in Adobe Illustrator.
- Organize Your Files: Before embedding, organize your images in a dedicated folder. This way, you can quickly find and manage your assets when needed.
- Use Descriptive Names: Name your images descriptively to easily identify them later. Instead of "image1.jpg," use something like "product-shot-blue-widget.jpg."
- Keep a Backup: Always keep a backup of your original images. If you need to make adjustments, having the originals can save you time and effort.
- Limit the Number of Images: Only embed images that are necessary for your project. Too many embedded images can bloat your file size and make it harder to manage.
- Regularly Update Your Assets: If you replace an embedded image with a new version, make sure to update the image across all relevant documents to maintain consistency.
Following these best practices can help you manage your embedded images more effectively, leading to a smoother workflow and better designs.
Also Read This: How to Upload Pictures on Getty Images and Start Earning from Your Photography
How to Check Embedded Images in Your Document
After embedding images in your Illustrator document, it’s essential to check that everything is as it should be. This ensures your images are correctly embedded and displayed as intended. Here’s how you can check embedded images:
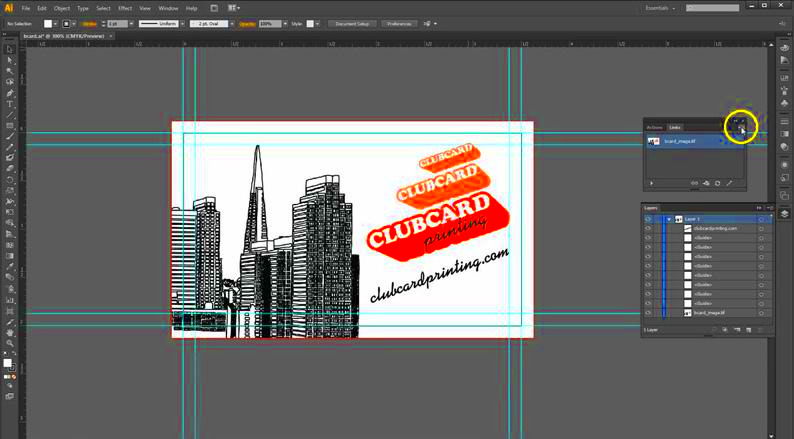
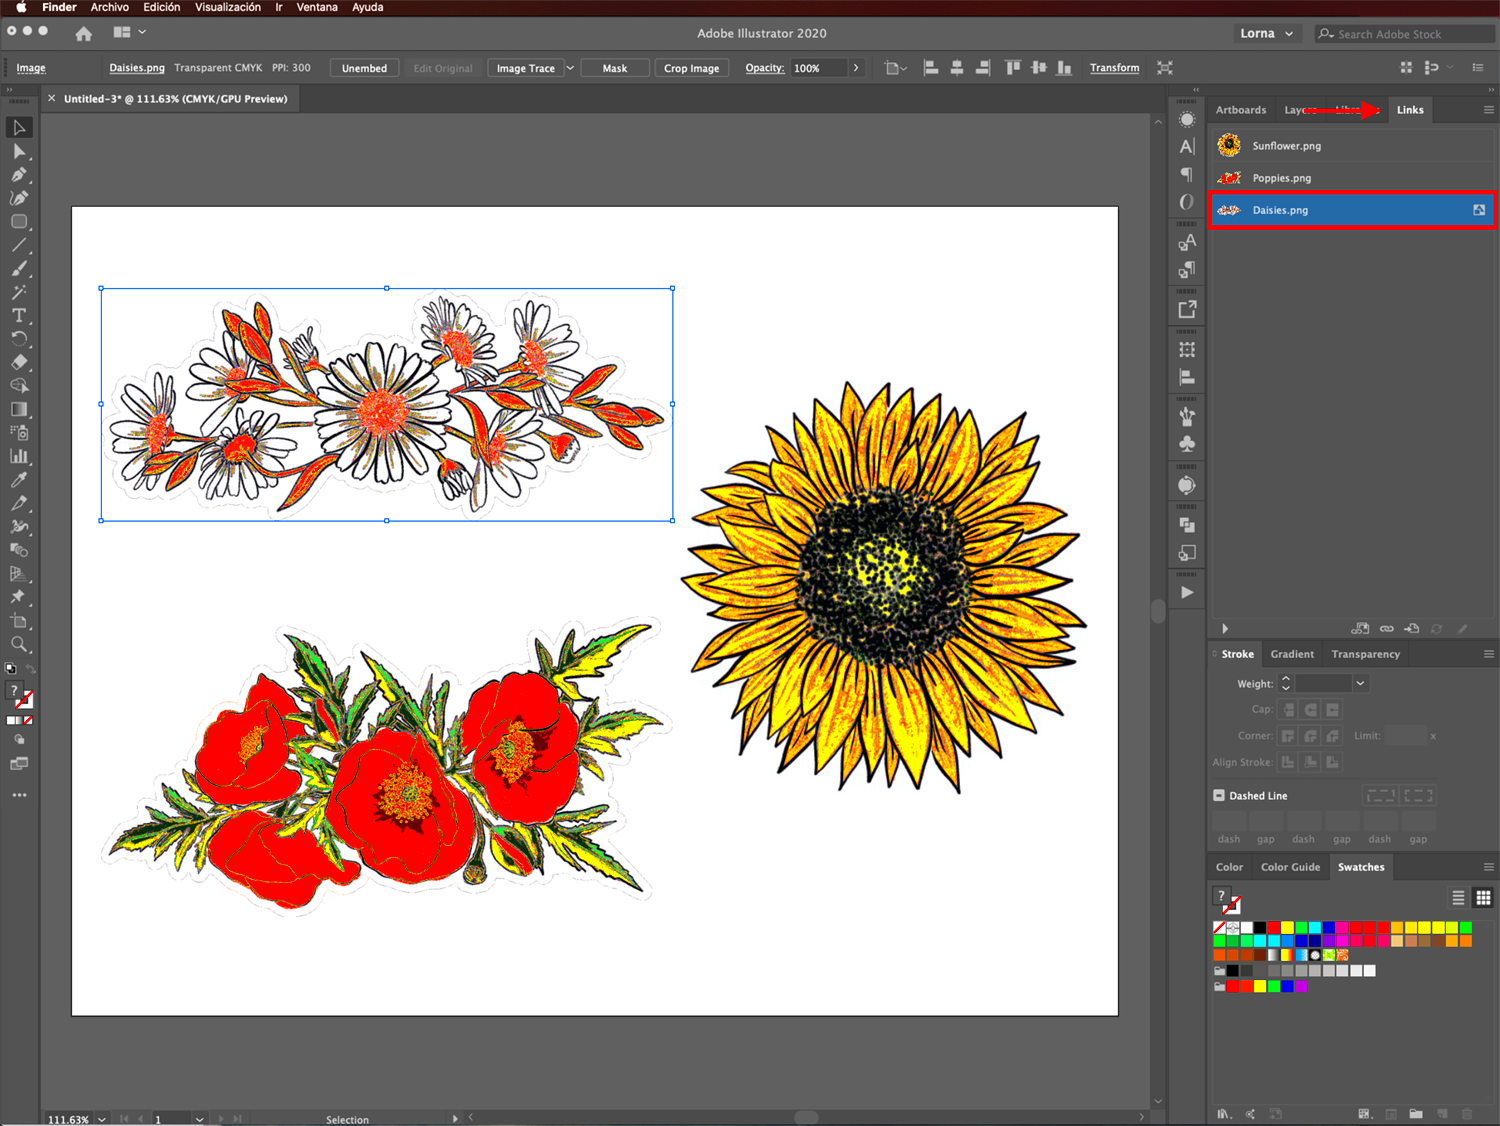
- Open the Links Panel: Go to Window > Links. This panel shows all the images in your document, including whether they are linked or embedded.
- Look for the Embed Status: In the Links panel, embedded images will have a small icon next to them. If you see a square icon, it indicates that the image is embedded.
- Select the Image: Click on the image in the Links panel to select it in your document. This lets you easily locate and assess it visually.
- Check Image Quality: Zoom in on the image to inspect its quality. Ensure there are no pixelation issues and that the resolution meets your design needs.
By regularly checking the status of your embedded images, you can avoid surprises when finalizing your project.
Also Read This: Resolving Video Export Issues on YouTube
Tips for Optimizing Embedded Images for Quality
Optimizing embedded images is vital for maintaining high quality in your designs. Here are some tips to help you achieve the best results:
- Use High-Resolution Images: Start with high-resolution images to ensure they look crisp and clear when embedded. Aim for at least 300 DPI for print projects.
- Crop and Edit Before Embedding: Make any necessary edits, such as cropping or color adjustments, in an image editing program before embedding. This helps keep your Illustrator file clean.
- Reduce File Size: If you’re working with large images, consider using formats like JPEG or PNG to balance quality and file size. Use tools to compress images without losing too much detail.
- Adjust Image Settings in Illustrator: Once embedded, you can also adjust the image settings directly in Illustrator. Use the Image Trace tool for vectorizing raster images, if applicable.
- Preview Before Finalizing: Always preview your document at 100% zoom to see how the embedded images appear in the final design. This will give you a realistic view of the image quality.
By applying these tips, you can ensure your embedded images enhance your designs rather than detract from them.
Also Read This: The Advantages of Using Imago Images Over Royalty-Free Image Websites
Comparing Embedded Images with Linked Images
When working with images in Adobe Illustrator, you have two main options: embedding images and linking images. Understanding the differences between these two methods can help you choose the right one for your projects. Let’s break down the key differences and when to use each method.
| Feature | Embedded Images | Linked Images |
|---|---|---|
| File Size | Increases the file size of the Illustrator document | Keeps the file size smaller as the image is not included in the document |
| Portability | Self-contained; no missing links when moving files | Requires you to manage separate image files; risk of missing links |
| Image Quality | Quality maintained within the document | Quality may vary if the linked file is modified |
| Editing Flexibility | Requires re-embedding if changes are made | Easy to update the image by replacing the linked file |
In summary, if you need a portable file that contains everything you need, embedding is the way to go. However, if you’re working with large images and want to keep your file size down, linking may be a better option. Knowing the differences will help you manage your projects more efficiently.
Also Read This: Saving Images from Cricut Design Space on Mac
Frequently Asked Questions about Embedding Images
When it comes to embedding images in Adobe Illustrator, many users have questions. Here are some frequently asked questions that can help clarify common concerns:
- What happens if I embed an image and then want to edit it? Once an image is embedded, you can no longer edit it directly in an external application. You will need to re-embed the new version if you want to replace it.
- Can I embed multiple images at once? Yes! You can select multiple images during the Place process and embed them all at the same time.
- Will embedding images affect my file's performance? It can, especially if the images are high-resolution. Large file sizes may slow down your system, so be mindful of the images you embed.
- How do I convert a linked image to an embedded image? Simply select the linked image, go to the Links panel, and click on the Embed button to convert it.
- Can I still use filters and effects on embedded images? Absolutely! You can apply various effects and filters to embedded images just like you would with linked images.
These FAQs can help you navigate the embedding process more smoothly and enhance your overall experience with Illustrator.
Conclusion: Mastering Image Embedding in Illustrator
Mastering the art of embedding images in Adobe Illustrator is essential for any designer looking to streamline their workflow and enhance their projects. By embedding images, you create self-contained files that maintain image quality and ease of access. Remember to follow best practices, regularly check your embedded images, and optimize them for quality.
As you continue to use Illustrator, keep in mind the differences between embedded and linked images. This knowledge will help you choose the right approach for your projects, ensuring that your designs look polished and professional.
With practice and attention to detail, you’ll become proficient in managing embedded images, making your design process smoother and more enjoyable. Happy designing!

 admin
admin


