Have you ever looked at an image and thought it would be even better in black and white or with reduced colors? Removing colors from an image can completely change its vibe and focus. Whether it’s for artistic purposes, branding, or simply to highlight certain elements, understanding how to effectively remove colors can enhance your editing skills. In this post, we’ll delve into why you might want to remove colors and how you can achieve the desired effects.
Understanding the Reasons for Removing Colors

There are numerous reasons why removing colors from an image can be beneficial, both creatively and practically. Let’s explore some of the most compelling reasons:
- Highlighting Details: By converting an image to monochrome or removing certain colors, you can draw attention to particular details. For instance, a stunning black and white photograph can enhance textures that would otherwise be overshadowed by vibrant colors.
- Creating Mood and Emotion: Colors evoke different emotions. Removing colors allows you to manipulate the emotional impact of an image. Black and white photos often convey a sense of nostalgia or seriousness, while desaturated colors can give a more muted, melancholic feel.
- Consistency in Branding: For businesses, maintaining a consistent color scheme is vital for branding. Occasionally, you may need to alter images to fit these schemes. Removing specific colors can help keep overall branding uniform across various visuals.
- Focus on Composition: Sometimes, an image may have too many colors competing for attention. Removing colors can simplify the composition, allowing viewers to focus on the structure of the image rather than being distracted by vibrant hues.
- Artistic Expression: Artists often use color removal as a technique to create a certain style or aesthetic. It can help differentiate their work or create a unique selling point in a saturated market.
Understanding why you want to remove colors will inform your approach and techniques. Keep in mind that the purpose can vary from personal preference to professional needs, and this awareness will enhance your decision-making when editing images. Whether you're creating a serene landscape or a bold graphic, the reasons for color removal can provide clarity and inspiration for your work.
Also Read This: Outlining Images in Illustrator Like a Pro
3. Tools and Software for Color Removal
When it comes to removing colors from images, having the right tools can make all the difference. Fortunately, there are numerous software options available that cater to various skill levels, whether you're a seasoned pro or just starting out. Here’s a quick rundown of some popular tools you might consider:
- Adobe Photoshop - The industry standard for photo editing. With advanced features such as color range selection, layer masks, and adjustment layers, Photoshop allows you to remove colors with precision.
- GIMP - A free and open-source alternative to Photoshop. GIMP offers powerful editing tools, including the ability to work with layers and paths, making it great for color removal.
- Corel PaintShop Pro - Another robust photo editing software that includes tools specifically designed for color adjustments and selections.
- Canva - Ideal for beginners, Canva has a straightforward interface. While not as powerful as Photoshop or GIMP, it allows for basic color removal and adjustments in an easily accessible format.
- Pixlr - A web-based photo editor that provides a user-friendly experience. It has many useful features for color removal without requiring software installation.
These tools vary in complexity and functionality, so it’s important to choose one that aligns with your specific needs. If you're looking for something quick and easy, web-based tools like Pixlr or Canva might be the way to go. However, for detailed and complex edits, investing time in learning Photoshop or GIMP could pay off in the long run!
Also Read This: how to increase dpi of image in paint
4. Step-by-Step Guide to Removing Colors Using Photo Editing Software
Now that you have an idea of the tools available, let’s walk through a simple step-by-step guide to removing colors using photo editing software. For this example, let’s assume you're using Adobe Photoshop, but many of these steps will be similar in other programs.
Step 1: Open Your Image
First things first, launch your software and open the image you want to edit. You can do this by selecting File > Open or simply dragging and dropping your image into the workspace.
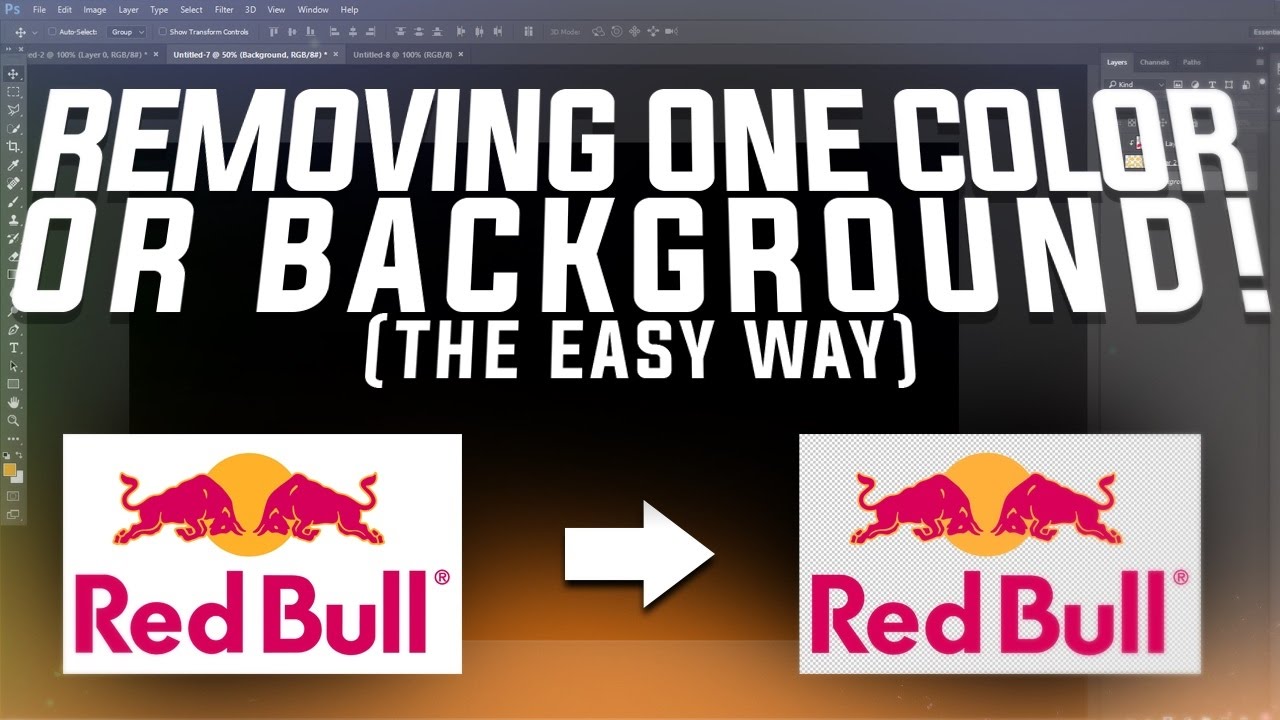
Step 2: Select the Color Range
To begin removing colors, go to the Select menu and choose Color Range. A dialog box will appear where you can use the eyedropper tool to click on the color you wish to remove. Adjust the Tolerance slider to include more or less of that color in your selection.
Step 3: Refine Your Selection
After selecting the desired color, you may want to refine your selection. Use the Quick Selection Tool or Lasso Tool to fine-tune what areas of the image you want to keep or remove. This step is crucial for ensuring that your changes look natural!
Step 4: Remove the Color
Once you’ve made your selection, hit the Delete key or go to Edit > Clear. This will remove the selected color from your image, leaving a transparent background (if using a layer). If you want to replace the color with another, create a new layer underneath your current one and fill it with your desired color.
Step 5: Save Your Work
Finally, don’t forget to save your edited image! Choose File > Save As and select the appropriate format (JPEG, PNG, etc.) based on your needs. And voilà, you’re done!
With practice, this process will become second nature, and soon you’ll be able to remove colors with ease! Don’t hesitate to experiment with different settings and tools—they’re all part of the learning journey!
Also Read This: Easy Ways to Subtract Images in PowerPoint
5. Tips for Achieving the Best Results
When it comes to removing colors from an image, achieving the best results isn't just about the method you choose. It's also about how you approach the entire process. Here are some practical tips to help you get the most out of your color removal endeavors:
- Choose High-Quality Images: Start with high-resolution images. The more detail present in your original photo, the better the results will be after color removal. Low-quality images may result in pixelation or blurriness.
- Use the Right Tools: Different software and apps offer various functionalities. Whether you’re using Photoshop, GIMP, or an online tool, familiarize yourself with their color correction features to enhance precision.
- Take Your Time: Rushing the process can lead to mistakes. Spend time examining the image and the specific colors you want to remove. Zoom in to be more accurate; this will help you avoid accidentally removing essential details.
- Experiment with Layers: If your software allows it, work with layers. This way, you can isolate color adjustments without permanently altering the image. Layers provide flexibility, allowing you to undo changes easily.
- Consider Image Context: Think about how removing a color will change the overall feel of the image. Sometimes, it’s not just about eliminating colors but also about maintaining a cohesive look. Keep an eye on how the edited image complements its environment.
- Save Your Progress: Regularly save different versions of your project. This way, you can always go back to a previous state if you don't like the direction in which your edits are heading.
By keeping these tips in mind, you'll set yourself up for success in your color removal projects, ensuring that the final result aligns with your creative vision while maintaining the integrity of the image.
Also Read This: How to Lock Images for Better Control
6. Alternative Methods for Color Removal
While software and digital tools are popular choices for removing colors from images, there are also several alternative methods—some of which might surprise you! Let’s explore these creative options:
- Manual Techniques: If you prefer a hands-on approach, consider using physical mediums. You can print the image and manually edit it using techniques like:
- Watercolor or paint: Cover areas carefully to obscure colors.
- Colored pencils: Layer colors over existing ones to mute them.
- Photo Printing: Print the image in black and white or sepia tones. This can effectively remove unwanted colors while providing a classic look. You can also use a filter on the printer settings to achieve a similar effect.
- Film Photography Tricks: For those still dabbling in film, you can experiment with different colored filters during the shooting process. This not only affects the end result but also allows for color experimentation right from the start.
- Collage Techniques: If you’re feeling particularly artistic, consider creating a collage. Cut out elements of the original image and piece them together in a way that emphasizes the colors you want while removing others.
- Using Light and Shadows: Play with lighting conditions when taking a photo. Soft, diffuse light can minimize color saturation, helping to achieve a more monochrome look right off the bat.
These alternative methods not only provide a fun twist on traditional color removal but also give you the opportunity to explore your artistic side. So, don’t be afraid to experiment and find the technique that works best for you!
Also Read This: Creating Clickable Images in Shopify for User Engagement
7. Common Mistakes to Avoid While Removing Colors
Removing colors from an image can be a tricky process, and there are several common mistakes that many people encounter along the way. Being aware of these can save you time and frustration, and help you achieve the best results. Let’s dive into some key pitfalls to avoid!
- Ignoring the Original Image Quality: One of the biggest mistakes is forgetting that the quality of your original image affects the final outcome. If your image is pixelated or low-resolution, removing color will likely make it worse. Always start with a high-quality image.
- Using the Wrong Tool: Different tools and software have different functionalities. Picking the wrong tool for color removal can lead to subpar results. Take the time to understand which tools are most effective for your specific needs.
- Overlooking Layer Management: In more advanced editing software, layers are crucial. Failing to manage layers properly can result in unwanted color bleeding or loss of detail. Always keep your original layers intact until you’re satisfied with your work.
- Not Making Backups: Before you start removing colors, make a backup of your original file. It's easy to get caught up in the editing process and wish you could revert back to the original image. Having a backup prevents potential heartaches later.
- Forgetting to Adjust Brightness and Contrast: When you remove colors, it can significantly alter the brightness and contrast of your image. Neglecting to adjust these settings can result in a washed-out or overly dark image. Always perform a final check to balance these elements after color removal.
- Using Excessive Filters: While filters can enhance your image, applying too many can lead to visual clutter. Stick to one or two adjustments that enhance your image without overwhelming it.
- Rushing the Process: Finally, one of the most common mistakes is rushing through the process. Take your time! Careful adjustments will yield a much better result than a quick, hasty edit. Try to experiment and allow yourself the time to explore different methods and tools.
By keeping these common mistakes in mind, you can better navigate the process of color removal and achieve stunning results. Be mindful of your techniques and take your time—your final image will thank you!
8. Conclusion and Final Thoughts
Removing colors from an image isn’t just an art; it’s a skill that can elevate your creative projects and enhance your visual storytelling. Whether you’re a photographer looking to achieve a certain mood, a designer working on branding, or just a hobbyist exploring new techniques, mastering color removal can be a game changer.
So, what are the key takeaways? Here’s a quick recap:
- Understand Your Tools: Spend some time familiarizing yourself with various software options, and choose the one that fits your needs best.
- Maintain Versions: Always keep your original images intact. Incrementally save as you work to preserve your creative process.
- Experiment Wisely: Don’t be afraid to try different methods of color removal. Sometimes the most unexpected techniques can yield beautiful results.
- Post-Editing Touches Matter: After removing colors, take the time to adjust brightness, contrast, and other settings for a polished finish.
At the end of the day, the best way to improve is through practice. The more you work with color removal techniques, the more comfortable you’ll become. Remember to have fun with it and let your creativity shine. Who knows? You might discover a unique style that sets your work apart!
With these effective methods and useful tips, you are now well-equipped to tackle color removal in your images. Happy editing!
 admin
admin


