Have you ever admired the elegance of pearl bracelets but thought they were too expensive to own? Well, here's a delightful surprise for you: making your own DIY pearl bracelets at home is not only fun but also quite easy! With a little creativity and some basic materials, you can craft beautiful bracelets that can complement any outfit or even make the perfect gift for someone special. In this blog post, I’ll walk you through each step of the process and provide a step-by-step video tutorial to ensure your crafting journey is smooth and enjoyable. Let's dive into the world of pearl bracelets!
Materials Needed for Making Pearl Bracelets
To create your stunning DIY pearl bracelet, you'll need a few essential materials. Don't worry; you probably have most of them at home, or they can easily be found at your local craft store. Here's a simple list of what you’ll need:
- Pearls: You can choose from freshwater pearls, glass pearls, or even plastic ones depending on your budget and desired look.
- Beading Wire: This is the foundation of your bracelet. Opt for 0.18mm to 0.3mm thickness for added durability.
- Crimp Beads: These little beads help secure the wire ends, ensuring your pearls stay in place.
- Jewelry Clasp: Choose a clasp that matches your style; common options include toggle clasps, lobster clasps, or magnetic clasps.
- Wire Cutters: These will help you trim the beading wire to the perfect length.
- Beading Needle (optional): This can be helpful for stringing smaller pearls but isn’t strictly necessary.
- Ruler or Measuring Tape: To measure your wrist and determine the correct length of wire needed.
- Chain Nose Pliers: These are great for bending and turning the wire and crimp beads.
Once you gather these materials, you’ll be all set to start crafting your pearl bracelet. If you're unsure about what type of pearls or clasp to use, consider going for a classic look with white or cream pearls, or mix things up with colored or textured ones for a more personalized touch. The beauty of DIY is that you can truly make it your own!
In the next sections, we’ll explore the step-by-step process of making your pearl bracelet, accompanied by a video tutorial, so you can watch and follow along. Get ready to unleash your inner designer!
Also Read This: Understanding Rumble’s Current Challenges with the Video Platform
3. Step-by-Step Guide to Creating Your Own Pearl Bracelet
Ready to embrace your inner jewelry designer? Making your own pearl bracelet is not only satisfying but also allows you to customize it according to your personal style. Follow this simple step-by-step guide, and you’ll be adorning your wrist with your own handcrafted treasure in no time!
What You’ll Need:
- Freshwater pearls (or any pearls of your choice)
- Beading wire or nylon thread
- A clasp (toggle clasp, lobster clasp, or magnetic clasp)
- Crimp beads
- Beading tools (wire cutters, pliers)
- Scissors (if using nylon thread)
- Measuring tape (or a ruler)
Step 1: Measure Your Wrist
Before you start stringing your pearls, use the measuring tape or ruler to find out how long you want your bracelet to be. A common bracelet length for women is around 7-8 inches, but you can adjust this based on your preference.
Step 2: Cut Your Wire or Thread
Once you have your desired length, cut your beading wire or nylon thread, leaving an extra 4-6 inches to allow ample length for attaching the clasp later.
Step 3: Attach the Clasp
Start by attaching one side of your clasp to the wire. If you’re using a toggle clasp, slide on a crimp bead, then add the clasp, and secure it with the crimp bead by flattening it with your pliers. For a lobster or magnetic clasp, the process is similar — just make sure to secure it properly!
Step 4: String the Pearls
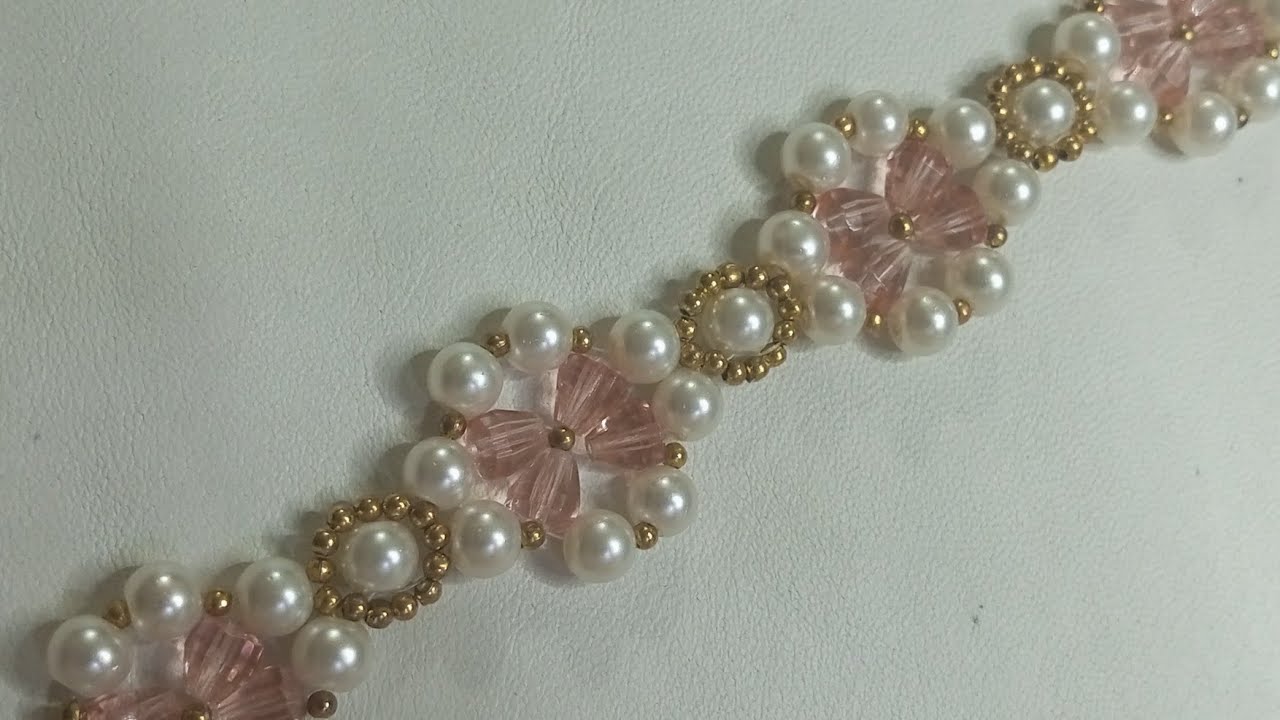
Now comes the fun part! Begin adding your pearls onto the wire. You can create patterns, alternate colors, or just go with a random assortment — it's entirely up to you! Ensure you leave a little space at the end for the other half of your clasp.
Step 5: Finish the Bracelet
Once you’re satisfied with the arrangement of pearls, it’s time to secure the other end of the bracelet. Just like before, slide on a crimp bead, thread the other side of the clasp, and then secure it with the crimp bead. Make sure everything is tight but not too tight; you want your bracelet to have some flexibility.
Step 6: Trim Any Excess Wire
Carefully cut off any excess wire or thread using your wire cutters or scissors. Make sure not to cut too close to the crimp bead to avoid loosening the bracelet.
Step 7: Final Touches
Give your bracelet a gentle stretch to ensure all beads are secure and that it fits comfortably on your wrist. Once you’re satisfied, you’re ready to rock your beautiful DIY pearl bracelet!
Also Read This: Educational and Fun Content on Dailymotion Through Stories and Tutorials
4. Watch the Step-by-Step Video Tutorial on Dailymotion

Sometimes, nothing beats a good visual guide, especially when it comes to DIY projects. That's why we've created a detailed video tutorial to walk you through the entire process of making your own pearl bracelet.
In our Dailymotion video tutorial, you can expect to see:
- Close-up shots of each step, allowing you to see exactly what materials and techniques are being used.
- Helpful tips and tricks shared by experienced jewelry makers to avoid common pitfalls.
- Creative design ideas to inspire your own unique pearl bracelet.
- A voiceover guiding you through the process, making it easy to follow along.
To access the tutorial, simply head over to our Dailymotion page and search for "DIY Pearl Bracelets" or click the link below:
Watch the Step-by-Step Video Tutorial
So, are you ready to dive into the world of DIY jewelry? With the right materials, some creativity, and this video tutorial, you’ll be able to craft beautiful pearl bracelets that make great gifts or additions to your own accessory collection. Happy crafting!
Also Read This: Is Dailymotion Safe to Watch and How to Enjoy Content Without Risks
5. Tips for Designing Unique Pearl Bracelets
Creating a pearl bracelet is not just about stringing pearls together; it’s an art! Here are some practical tips to help you design a bracelet that stands out and reflects your personal style.
- Choose a Theme: Start by thinking about a theme. Do you want a classic, elegant look or something more playful and modern? You can base your color palette on a seasonal theme or even on your favorite colors.
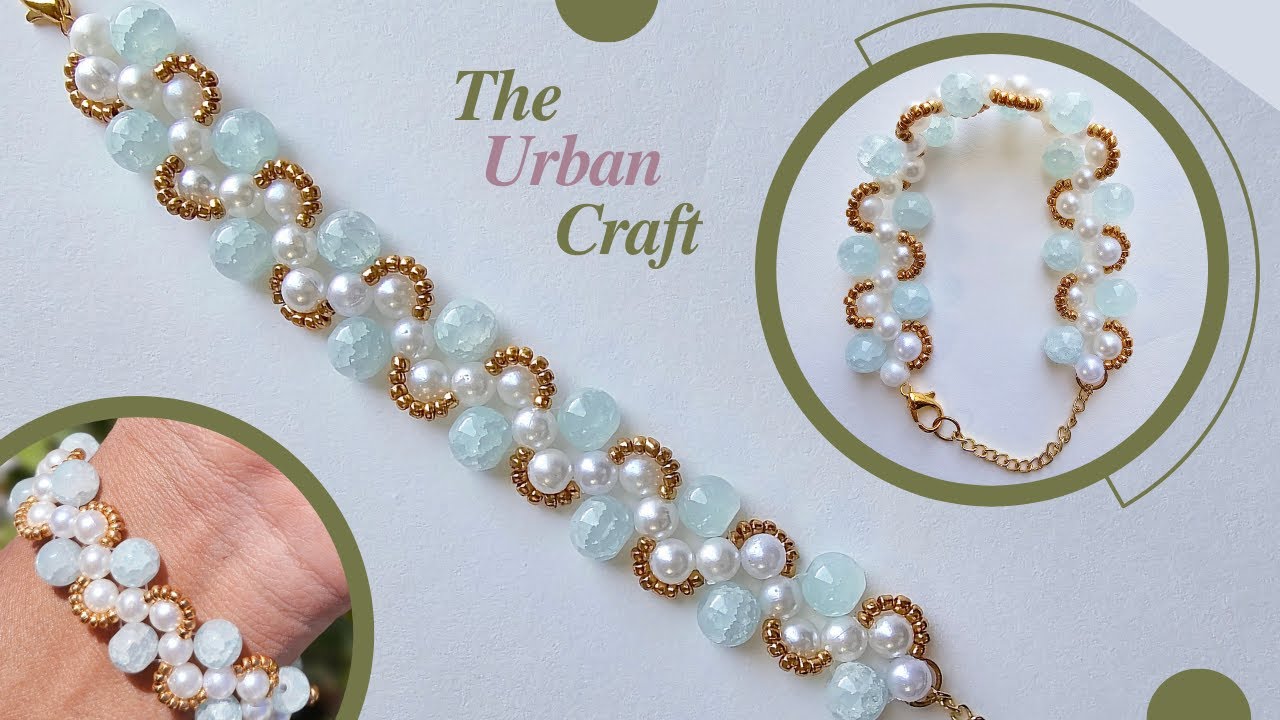
- Mix and Match: Don't limit yourself to just pearls. Incorporate various materials like gemstones, crystals, or metal beads. For instance, pairing pearls with rose quartz can create a lovely contrast and add some flair.
- Play with Sizes: Using pearls of different sizes can add dimension to your bracelet. Place larger pearls at the center and smaller ones on the sides for a balanced look. Alternatively, a graduated pattern can create a beautiful gradient effect.
- Experiment with Shapes: While round pearls are the classic choice, consider using baroque pearls for a more organic and whimsical look. Different shapes can inspire unique designs that draw attention.
- Add Personal Touches: Incorporate charms or pendants that have personal significance. This could be anything from a letter charm with your initials to a tiny symbol that represents something meaningful to you.
Lastly, remember that the best design is one that tells a story. So, have fun mixing and matching until you create a bracelet that you absolutely love!
Also Read This: How to Create Stickers at Home with Fun DIY Video on Dailymotion
6. Common Mistakes to Avoid While Making Pearl Bracelets
While making pearl bracelets can be an enjoyable and fulfilling craft, there are a few common pitfalls that many beginners encounter. Here are some mistakes to watch out for, along with tips to help you avoid them.
- Skipping Quality Checks: Always check the quality of your pearls and materials. Avoid using damaged or overly worn pearls, as they can ruin the overall look of your bracelet. Take the time to inspect each piece before using it!
- Inconsistent String Tension: Maintaining consistent tension is key. If the string is too tight, it may break; too loose, and the pearls may slide around. Practice stringing with different tensions to find the right balance.
- Neglecting Bead Spacing: Be mindful of how you space your pearls. Uneven spacing can make your bracelet look unprofessional. Use a ruler or your design plan as a guide to maintain consistency.
- Not Ending Securely: Ensure your knots and closures are secure! A weak closure can lead to a heartbreaking accident where your bracelet falls apart. Use beads at the end as stops or crimp beads to secure your knots effectively.
- Ignoring Personal Comfort: Don’t forget about comfort. Make sure the bracelet fits well and isn’t too tight or loose. Try it on frequently during the process to make adjustments as needed.
By avoiding these common mistakes, you’ll not only save yourself time and resources but also end up with a beautifully crafted pearl bracelet that you can wear with pride. Happy crafting!
Conclusion and Encouragement to Share Your Creations
Creating your own pearl bracelets at home is not only a fulfilling craft but also a chance to express your personal style. With each bracelet you make, you have the opportunity to explore different designs, colors, and materials, leading to unique creations that can truly reflect who you are.
As you conclude your DIY project, remember that the joy of crafting doesn't stop at making the bracelet. Here are a few ways to share your creations with others:
- Social Media: Post photos of your finished bracelets on platforms like Instagram, Facebook, or Pinterest. Use hashtags such as #DIYPearlBracelets and #CraftYourStyle to connect with fellow enthusiasts.
- Crafting Communities: Join online forums or local crafting groups where you can share pictures and inspire others with your designs.
- Workshops: Consider hosting a small bracelet-making workshop to teach friends and family your newfound skills, encouraging them to create their own masterpieces.
Don’t forget to document your process! Videos and step-by-step photos can help others who want to follow in your creative footsteps. The best part of crafting is the community it builds; by sharing your work, you inspire others to pick up their tools and start creating.
So, gather your pearls and string, let your imagination flow, and don’t hesitate to showcase your beautiful creations. Happy crafting!
 admin
admin


