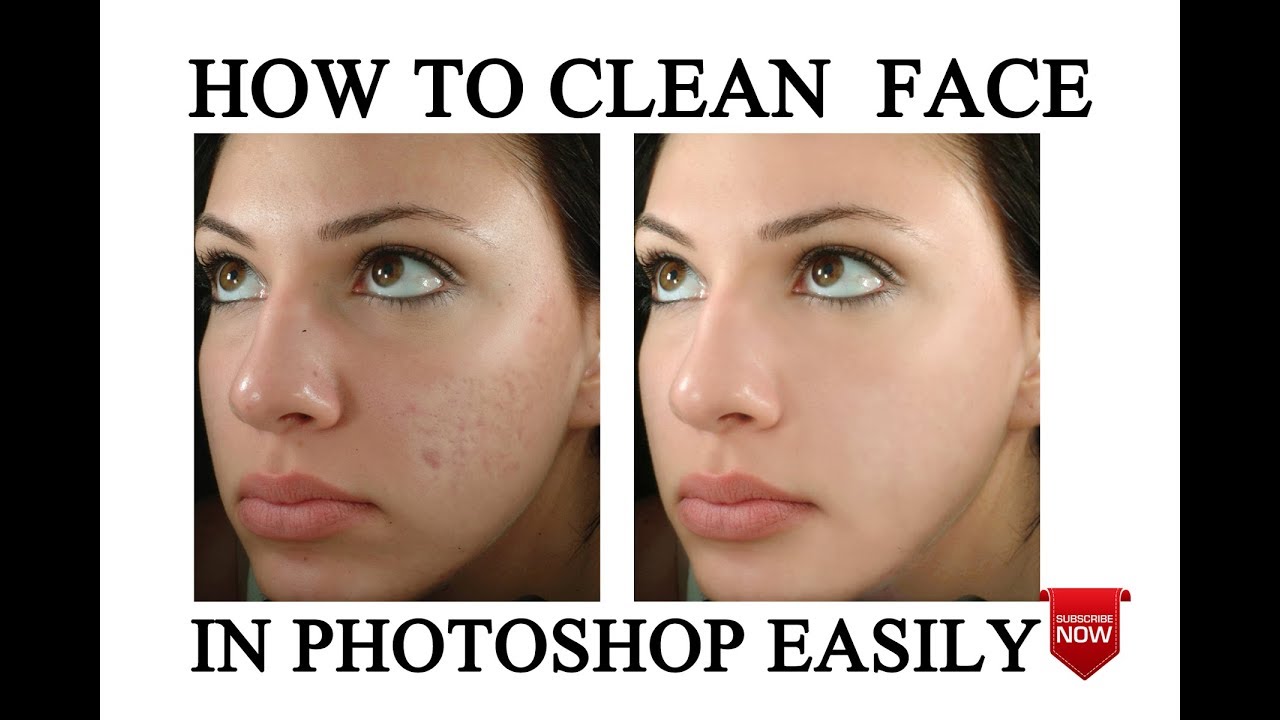
Cleaning your face in Adobe Photoshop 7.0 might seem intimidating, especially if you're a beginner. But don’t worry! With a few simple steps, you can enhance your photos and make your portraits look fabulous. Whether you're removing blemishes, smoothing skin, or adjusting lighting, this guide will walk you through the essential techniques. Let’s dive in and transform your images into stunning masterpieces!
Essential Tools for Face Cleaning in Photoshop
To effectively clean a face in Photoshop 7.0, you need to familiarize yourself with a handful of powerful tools. Here’s a breakdown of the essential ones that will help you achieve a professional finish with ease:
- Healing Brush Tool: This tool is great for removing blemishes and imperfections. It samples pixels from surrounding areas to seamlessly blend them into the spot you're fixing.
- Clone Stamp Tool: Perfect for copying one part of the image and covering another. It’s particularly useful for larger areas that need fixing, such as dark shadows or unwanted objects.
- Blur Tool: This tool softens harsh edges and can help create a smoother skin appearance. Use it gently to avoid losing important details.
- Adjustments Panel: This feature helps you fine-tune your image’s color balance, brightness, and contrast to achieve the desired look. Enhancing these elements can make your subject's face shine.
- Layer Masks: Using layer masks allows for non-destructive editing. You can hide or reveal parts of a layer, making it easier to correct any mistakes without permanently changing your image.
Before diving into the editing process, ensure you are working on a duplicate layer of your image. This gives you the flexibility to refine your edits without damaging the original photo. Here’s a quick step-by-step to set up your workspace:
- Open your image in Photoshop 7.0.
- Right-click on the Background layer in the Layers panel.
- Select Duplicate Layer to create a copy.
- Rename the new layer for easier management, if desired.
Now, with your duplicate layer ready, you can start applying the essential tools mentioned above. Remember, patience is key! Take your time to ensure that each edit looks natural and polished. You want your subject to glow without losing the authentic feel of the photograph.
Happy editing! With these tools in your arsenal, you’re well on your way to creating beautiful, clean images in Photoshop 7.0!
Also Read This: Step-by-Step Guide to Making Beautiful Tissue Flowers on Dailymotion
3. Step-by-Step Guide to Cleaning Your Face in Photoshop 7.0
So, you’ve decided to dive into cleaning up your portraits in Adobe Photoshop 7.0! That’s an excellent choice because even minor touch-ups can make a huge difference in the final look of your images. Let’s walk through a simple step-by-step guide to help you achieve a flawless finish without the overwhelm.
Step 1: Open Your Image
First things first, launch Photoshop 7.0 and open the image you want to clean up. You can do this by going to File → Open and selecting your desired photo.
Step 2: Duplicate the Background Layer
To ensure you preserve the original image, right-click on the background layer in the Layers palette and select Duplicate Layer. This new layer will be where all your edits happen. This way, if you ever want to revert back, your original image is safe and sound!
Step 3: Use the Healing Brush Tool
Now, it’s time to tackle those imperfections! Select the Healing Brush Tool from the toolbar (it looks like a band-aid). Hold the Alt key and click on a clean area of the skin to sample. Then, gently click or brush over blemishes. Photoshop will blend the sample with the surrounding area, making blemishes disappear like magic!
Step 4: Zoom In for Detailed Work
Don’t forget to zoom in for better precision! You can easily zoom in by pressing Ctrl + + (or Cmd + + on a Mac). It’ll help you get to those pesky little spots that need attention!
Step 5: Use the Clone Stamp Tool for Tough Spots
For areas that need a bit more work, like distracting scars or shadows, the Clone Stamp Tool can be a lifesaver. Select it from the toolbar and again hold down the Alt key to sample a clean area. Then, carefully paint over the area you want to fix.
Step 6: Adjust Brightness and Contrast
After cleaning up the face, it’s essential to ensure that the photo looks vibrant. Go to Image → Adjustments → Brightness/Contrast and tweak the sliders until you're satisfied with the appearance. This step can really help bring your cleaned-up features to life!
Step 7: Save Your Work
Finally, don’t forget to save your edited masterpiece! Go to File → Save As and choose a format that works for you, whether it’s JPEG, PNG, or PSD for future edits.
Also Read This: Master the Art of Baking a Vegan Chocolate Cake with Dailymotion Recipes
4. Applying Blemish Removal Techniques
Blemishes can be the bane of portrait photography, but fear not! In this section, we’ll explore some effective techniques tailored specifically for blemish removal in Photoshop 7.0. Let’s get started!
Technique 1: Spot Healing Brush
The Spot Healing Brush is your new best friend when it comes to quick blemish removal. Here’s how to use it effectively:
- Select the Spot Healing Brush Tool from the toolbar.
- Adjust the size of the brush according to the blemish you’re targeting.
- Simply click on the blemish, and watch as it disappears!
This tool is perfect for small spots like acne or freckles that you want to blend seamlessly into the surrounding skin.
Technique 2: The Healing Brush
For larger blemishes or those with more complex textures, the Healing Brush can be more effective. Here’s a quick breakdown:
- With the Healing Brush Tool selected, hold down the Alt key and click on a clean area to sample.
- Then, paint over the blemish, and let Photoshop do its magic in blending.
This technique allows for finer control and is great for correcting skin texture with a more natural look.
Technique 3: Use Layers for Precision
If you’re looking for even more precision, consider creating a new layer for your blemish removal. This way, you keep your adjustments separate, making it easy to make changes without affecting the original image. Here’s how:
- Create a new blank layer by going to Layer → New → Layer.
- Use the Healing Brush Tool on this layer.
- This allows you to adjust the layer's opacity or blend mode to achieve a more natural look.
In conclusion, blemish removal is an art that takes a little practice, but with these tips and techniques, you’ll have your portraits looking polished in no time! Remember, less is often more, so take your time and enjoy the process.
Also Read This: How to Do Eyebrow Makeup on Dailymotion
5. Enhancing Skin Texture for a Natural Look
Once you’ve removed blemishes and imperfections from the face, the next step in your digital skincare routine is to enhance the skin texture. This process helps to ensure that the skin looks natural and lifelike rather than overly smooth or artificial. Here’s a simple way to do this in Adobe Photoshop 7.0:
- Use the 'Dust & Scratches' Filter: Go to Filter > Noise > Dust & Scratches. This feature can help soften the overall skin while maintaining essential details. Adjust the radius and threshold sliders until you find a happy medium that smooths the skin texture without eliminating its natural look.
- Clone Stamp Tool: This tool can be a lifesaver! Select the Clone Stamp Tool from the toolbox, and set the brush size to match the area you’re working on. Hold down the Alt key and click to sample a clean area of skin. Then, carefully paint over uneven textures to create a consistent look.
- Reduce Noise: Sometimes, skin can appear grainy or noisy. Check this by navigating to Filter > Reduce Noise. Play with the sliders to minimize the grain while still preserving detail—less is often more here!
- High-Pass Filter for Detail: To bring back some texture and definition, duplicate the original layer and navigate to Filter > Other > High Pass. Set the radius to a low setting for best results. Change the layer blending mode to Overlay to help the skin maintain its natural look while enhancing the details.
Remember, the goal is to keep it looking realistic. Too much smoothing can create an unnatural effect. It’s like cooking; a pinch of this, and a pinch of that, aim for balance!
Also Read This: Creating GIFs from Dailymotion Videos
6. Fine-Tuning Colors and Tones
Now that we’ve worked on the skin texture, it’s time to focus on fine-tuning colors and tones. This step will help in achieving a cohesive look that gives your subject a vibrant, fresh appearance. Here’s how to get started:
- Adjustment Layers: Use Adjustment Layers to tweak colors without damaging your original image. For beginners, accessing Layer > New Adjustment Layer lets you apply many adjustments like Curves, Levels, and Hue/Saturation. These layers are non-destructive and can be easily modified or removed.
- Hue/Saturation Adjustment: This is perfect for enhancing or changing colors. Select the Hue/Saturation adjustment layer, and adjust the sliders until you achieve a skin tone that feels vibrant yet natural. You can target specific colors (like reds for the lips) too!
- Curves for Contrast: A quick fix for elevating your image is using the Curves adjustment layer. Clicking the curve line can create points to enhance brightness or contrast. A gentle 'S' curve often leads to more vibrant and three-dimensional skin tones.
- Selective Color: Want to adjust specific colors further? Go to Image > Adjustments > Selective Color. This allows you to adjust the percentage of different color components within the selected color range, helping you fine-tune those tones.
Finally, don't forget to zoom out and evaluate your adjustments! Sometimes, our eyes can become accustomed to subtle changes, and it’s crucial to maintain a fresh perspective on the overall balance of tones and colors.
Follow these steps to elevate your portrait retouching skills, and you’ll soon find yourself mastering the art of digital skin enhancement in no time!
Also Read This: Watch How to Make Pizza Dough in Urdu Video on Dailymotion
7. Saving and Exporting Your Edited Image
Congratulations! You've successfully cleaned up your face image in Adobe Photoshop 7.0. Now, it’s time to save and export your masterpiece. This step is crucial because it ensures that you don’t lose all your hard work. Plus, it allows you to share your edited images in a format that works best for your needs!
Here are the easy steps to follow:
- Check Your Edits: Before saving, make sure to review all your edits. Zoom in and look for anything you might want to tweak once more. It's best to catch any mistakes before you finalize the export.
- Save Your Project: First, save your project in Photoshop’s native format (.PSD). This way, you can return to it later if you want to make further edits. To do this, go to File in the menu, and select Save As. Choose the PSD format, name your file, and select a location on your computer.
- Export for Sharing: Now that you have your project saved, it's time to export it for sharing or posting online. To export your image, navigate to File and click on Save for Web. This option is ideal for creating images that are optimized for websites.
- Select Your Format: In the Save for Web dialog, you’ll see a few options for formats. The most common choices are JPEG, GIF, and PNG. For photographs, JPEG is usually the best choice. If you need a transparent background, go for PNG.
- Adjust Quality Settings: If you chose JPEG, make sure to adjust the quality slider. A setting between 60-80 is often a sweet spot between good quality and a manageable file size.
- Click Save: Once you've selected your format and adjusted your settings, click the Save button. Choose where to save the exported image, give it a name, and you’re done!
Now your edited image is ready to be shared! You can post it on social media, send it to friends, or use it for your personal projects. Just remember, keeping a PSD version is a great idea if you ever want to make changes down the road.
Also Read This: Understanding Dailymotion’s Video Upload Limits and Guidelines
8. Common Mistakes to Avoid While Editing
Editing can be a fun and rewarding process, but beginners often face some pitfalls along the way. Here’s a list of common mistakes to avoid when cleaning your face images in Photoshop. Recognizing these missteps can save you time and headaches!
- Over-Editing: It’s easy to get carried away with the edits. Over-smoothing the skin or excessively whitening teeth can lead to an unrealistic appearance. Always aim for a natural look, and remember, less is often more!
- Ignoring Layers: In Photoshop, layers are your best friend! Not using layers can make your edits harder to manage. Always create a new layer for adjustments so that you can go back and alter specific changes without starting from scratch.
- Not Saving Progress: Forgetting to save your work frequently is a recipe for disaster. Make it a habit to save your project continually, especially before making significant changes. You wouldn’t want to lose hours of editing due to a crash!
- Working with Low Resolution Images: Always start with the highest resolution image you can find. Working with a low-resolution photo can limit your editing capabilities and result in poor quality outputs. If possible, use RAW images for the best results.
- Skipping Practice: Lastly, remember that practice makes perfect! Don’t shy away from experimenting with different tools and techniques. Each time you edit, you’ll learn something new, so embrace the process!
By being aware of these common mistakes, you can enhance your editing skills and ensure that your results are nothing short of spectacular. Happy editing!
Conclusion and Additional Resources for Learning Photoshop
In conclusion, cleaning your face in Adobe Photoshop 7.0 can seem daunting for beginners, but by following the easy steps outlined in this guide, you can achieve impressive results. Remember that practice is key, and as you become more comfortable with the Photoshop interface and tools, your skills will improve significantly.
For those eager to expand their knowledge beyond basic face cleaning techniques, there are numerous resources available:
- Online Tutorials: Websites like Adobe's official site and YouTube offer a plethora of video tutorials that can help you grasp advanced techniques.
- Books: Consider picking up books such as “Adobe Photoshop 7.0 for Dummies” or “The Photoshop Bible” for insightful tips and in-depth knowledge.
- Forums and Community Groups: Engage with communities such as Adobe Forums or specific Photoshop user groups on social media where you can ask questions and share your work.
- Practice Projects: Challenge yourself with practice projects by using stock images available on sites like Unsplash or Pexels.
With these resources at your fingertips, you'll undoubtedly enhance your Photoshop skills and be able to tackle more complex projects in the future. Happy editing!
 admin
admin


