Welcome to the delightful world of DIY crafting! If you're looking for a fun and creative project that's sure to impress your friends and family, then making an Apple Swan is just the ticket. This charming fruit sculpture not only adds a touch of elegance to your table but is also a fantastic way to engage kids in art and creativity. Whether you're preparing for a special event or just want to make your lunch a bit more exciting, crafting an Apple Swan will bring a smile to everyone's face. So, let’s dive into this simple yet eye-catching project that combines artistry and healthy eating!
Materials Needed for Your Apple Swan
Before you start your Apple Swan project, it's essential to gather all the necessary materials. Fortunately, this craft is quite simple, and you might already have most of the items at home. Here’s a handy list of what you’ll need:
- Fresh Apples: Choose two medium-sized apples (one for the body and one for the head). A red apple can create a striking contrast!
- Knife: A sharp knife for cutting the apples. Make sure an adult handles this part, if children are involved.
- Cutting Board: To safely cut your apples.
- Small Grapes or Berries: These can serve as a decorative touch or the eyes of your swan.
- Lemon Juice: Optional, but it helps prevent the apple from browning if you plan to showcase it for a while.
- Toothpicks: Useful for securing parts together or adding extra decorations.
- Plate or Serving Tray: To display your beautiful Apple Swan once it’s complete.
With these materials on hand, you're all set to create your own stunning Apple Swan! The best part? You can easily customize the design based on your preferences and creativity. Whether you want to make a classic swan or add a twist of your own, the possibilities are endless. So, gather your supplies, and let’s get crafting!
Also Read This: Is Dailymotion Safe to Watch
3. Step-by-Step Instructions to Create an Apple Swan
Creating an apple swan might sound complex, but trust me, it's quite the fun and straightforward DIY project! With just a few simple steps, you can transform an ordinary apple into a stunning piece of art. Let’s dive right into it!
What You'll Need:
- 1 medium-sized apple (red or green, your choice)
- A sharp knife
- A cutting board
- Toothpick or skewer
- A lemon (optional, for preventing browning)
Step 1: Prepare Your Apple
Start by washing your apple thoroughly. If you want to keep it looking fresh for longer, you can also cut a lemon in half and rub its juice over the apple to inhibit browning. This step isn't essential, but it can keep your swan looking lovely longer, especially if you're making it in advance.
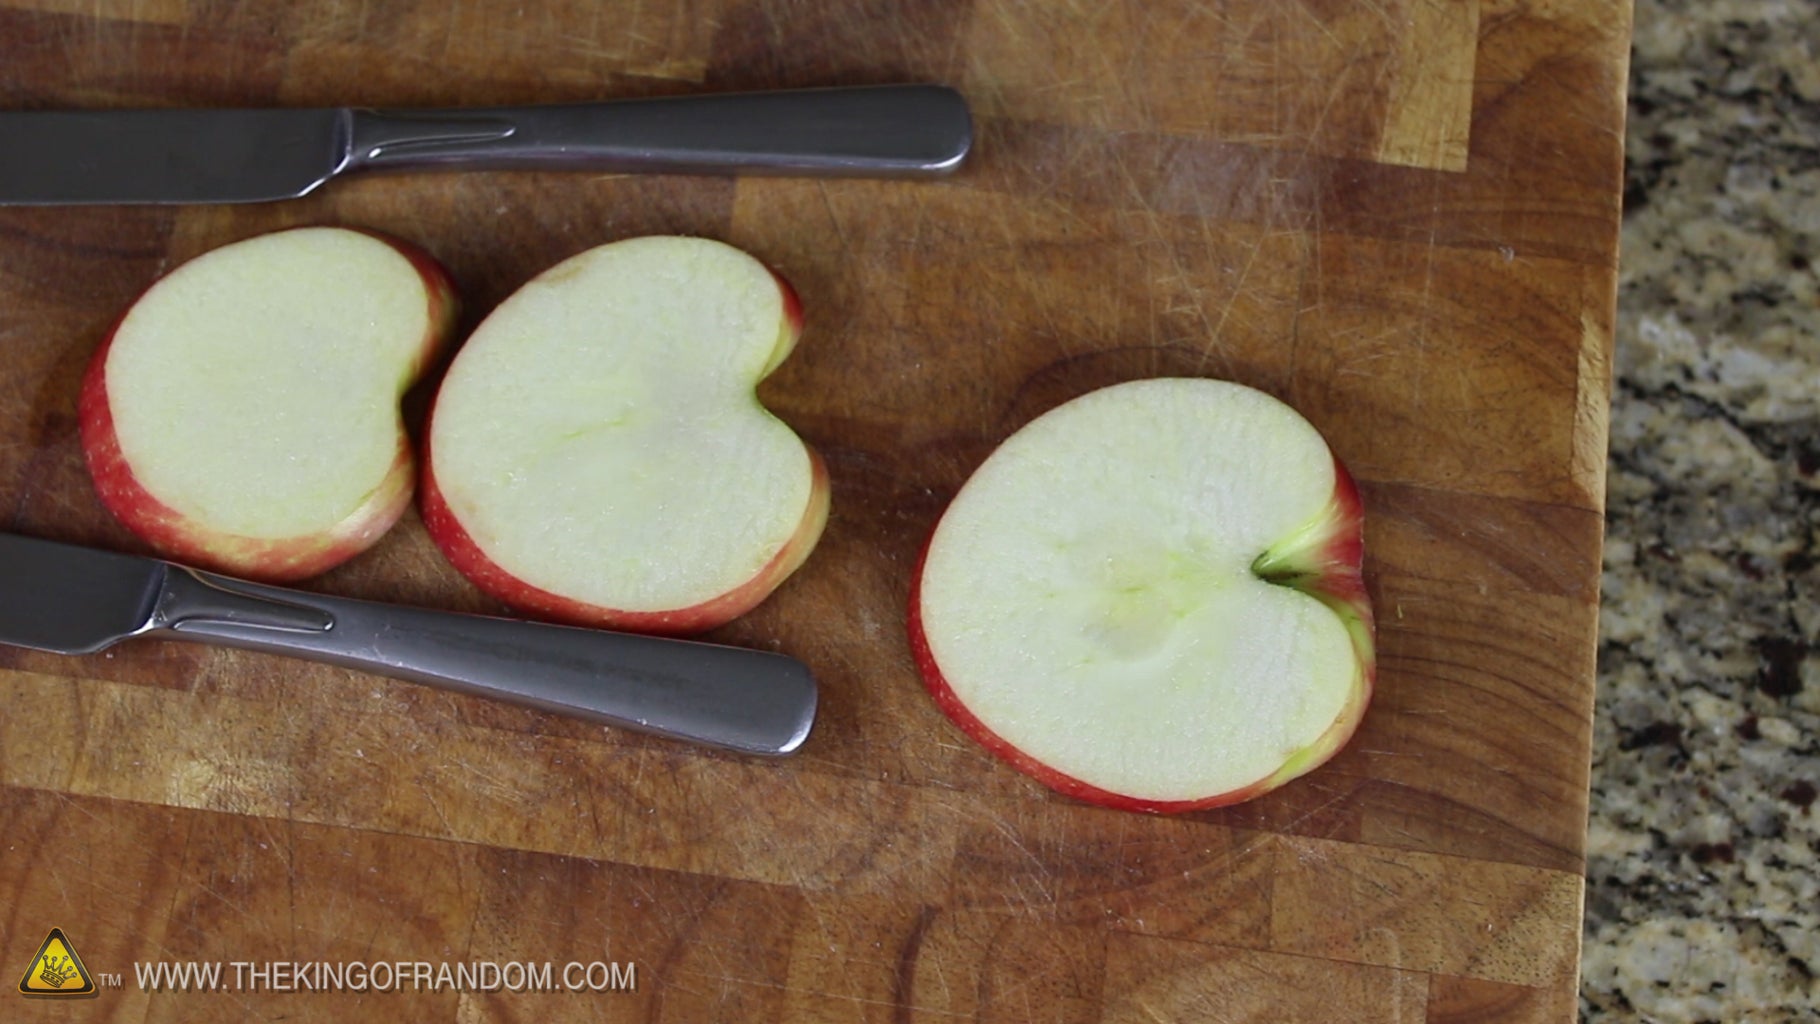
Step 2: Cut the Bottom
Place the apple on its base and cut a thin slice off the bottom. This will give it stability when you set it down. You want your swan to stand tall and proud!
Step 3: Carve the Neck
Next, you will create the neck. From the top of the apple, make a diagonal cut starting from about two-thirds down the height of the apple. Aim to carve out a wedge that you can pull away from the body. The cut should create a slant that resembles a swan’s graceful neck. Make sure to angle it well so that it curves nicely.
Step 4: Shape the Beak
After you carve out the neck, you’ll need to create the beak. Just below the tip of the neck, cut a small triangle. This will give your swan that distinctive beak shape. Make sure it’s not too big; a little goes a long way!
Step 5: Make the Wings
Using the same knife, you can create wings. On each side of the apple, make a couple of shallow incisions to indicate wings. You don’t need to cut the pieces entirely off; just carve enough to show the contours of the wings. You can even shape them like crescent moons for that added elegance!
Step 6: Assemble Your Swan
Time to put it all together! Once you’ve shaped the neck and wings, gently insert a toothpick or skewer into the bottom of the neck to secure it to the body of the apple. You can even add larger pieces of apple at the base for extra stability if needed.
Step 7: Display Your Creation!
Your apple swan is now ready to take center stage! You can place it on a serving platter or your favorite dish. If you want to go the extra mile, consider adding greens around it for a stunning presentation. And voilà! You have a marvelous apple swan.
Also Read This: How to Make Shisha Flavour: Step-by-Step Guide on Dailymotion
4. Tips and Tricks for a Beautiful Apple Swan
Now that you know how to make an apple swan, here are some tips and tricks to ensure that your creation is truly a showstopper!
Choose the Right Apple:
Not all apples are created equal! For the best results, choose an apple that is firm and has a vibrant color. Red apples tend to look more striking, but a green apple can provide a lovely contrast.
Use a Sharp Knife:
Safety first! Make sure your knife is sharp to ensure clean cuts. Dull knives can slip and cause accidents, which is the last thing you want while crafting. A paring knife is usually a good choice for this kind of detailed carving.
Practice Makes Perfect:
If it’s your first time, don’t get discouraged if it doesn’t come out perfectly. Each attempt will teach you something new. Allow yourself to experiment with cutting styles – you may discover unique shapes for the wings or neck as you practice!
Consider Adding Colors:
You can embellish your apple swan with additional fruits, like berries or even a sprinkle of edible glitter. This can add extra flair and make your swan stand out as a centerpiece.
Keep It Fresh:
If you're making multiple apple swans or plan to display the one you made for a while, remember to store them in the fridge to keep them fresh. If they start browning, just reapply a bit of lemon juice!
Let Your Creativity Shine:
Feel free to tweak the design to match your personal style! Add embellishments, experiment with different sizes, or even try combining different fruits together. The possibilities are endless!
Remember, the key to a beautiful apple swan is a mix of patience and creativity. Enjoy the process, and you’ll find that it’s not just about the finished product but the fun of crafting it!
Also Read This: A Complete Guide to Screencasting Dailymotion Videos on Windows
5. Common Mistakes to Avoid While Crafting
Crafting an apple swan can be an enjoyable experience, but there are a few common pitfalls that you might encounter along the way. Let's tackle these mistakes so you can create the perfect edible centerpiece without any hiccups!
- Choosing the Wrong Apple: Not all apples are created equal! For crafting swans, it's best to use firm apples like Granny Smith or Fuji. They hold their shape better and have a pleasant taste. Avoid soft or mealy apples, as they can easily fall apart.
- Incorrect Cutting Angles: The angle and depth at which you cut your apple significantly affect the outcome. If you cut too steeply, the body might collapse. Aim for a gentle slope, and don't be afraid to practice on a spare apple first!
- Forgetting the Lemon Juice: Once you've cut your apple, it's essential to apply lemon juice to prevent browning. If you skip this step, your beautifully crafted swan may turn a less-than-appetizing brown color. A simple rinse or light brush of lemon juice will do the trick!
- Not Preparing a Stable Base: Your apple swan needs a solid foundation to stand upright. If you don’t trim the base flat enough, your swan may wobble or tip over. Take a moment to ensure your apple's base is even and stable.
- Ignoring Details: The little touches can elevate your apple swan from okay to stunning. Skipping out on adding the eyes (like cloves or raisins) or not curving the neck properly can diminish the swan's visual appeal. Take your time with the details!
- Rushing the Process: While it can be tempting to speed through your crafting, patience is key. Allow yourself ample time to create, step back, and make adjustments as necessary. Crafting is as much about the process as it is about the final product.
By keeping an eye out for these common mistakes, you can enjoy a smoother crafting experience. Remember, practice makes perfect. So if your first apple swan isn't a masterpiece, don't be discouraged!
Also Read This: How to Hack a WiFi Password – A Guide to Gaining Access on Dailymotion
6. Creative Variations of Apple Swans
Once you've mastered the classic apple swan, why not get a little creative? Here are some fun variations to inspire your next crafting session:
- Fruit Mix Swan: Instead of just using a single apple, mix it up! Combine different fruits like pears and oranges for a colorful fruit swan. The contrast in colors can make it even more eye-catching.
- Chocolate-Dipped Feathers: For a fun twist, you can dip thinly cut apple slices in chocolate to create swan feathers. This adds both a delightful treat and a unique appearance to your creation! Just make sure the chocolate is cool enough to avoid melting the apple.
- Edible Flower Accents: Why not add some edible flowers for a floral touch? Not only do they look beautiful, but they also enhance the flavors when guests take a bite. Flowers like nasturtiums and pansies work wonderfully.
- Rainbow Swan: Use a variety of colored fruits to create a rainbow swan. You can use fruits like kiwi, berries, or even slices of peaches to form a vibrant tail. It’s a fun way to catch the eye of both kids and adults alike!
- Seasonal Themes: Tailor your apple swan to fit a theme or season! For fall, add some cinnamon dust or nutmeg; for spring, consider vibrant edible glitters or sprinkles. Get into the spirit of the season and let your creativity shine!
These variations not only make for beautiful presentations but also add an extra layer of fun to your crafting experience. So grab your apples, get creative, and let your imagination take flight!
Conclusion and Encouragement to Try Crafting
In conclusion, crafting can be a delightful and rewarding process that not only enhances your creativity but also allows you to express yourself in unique ways. Creating something as charming as an Apple Swan is a perfect introductory project that showcases the beauty of turning simple materials into stunning works of art. Here’s why you should consider diving into DIY crafting:
- Boosts Creativity: Engaging in crafts opens up your imagination, helping you discover new ideas and artistic styles.
- Stress Relief: The act of crafting can be therapeutic, providing an excellent outlet for stress and anxiety.
- Sense of Accomplishment: Completing a project gives you a wonderful feeling of achievement, encouraging you to tackle more challenging crafts.
- Family Fun: Crafting can be a great way to spend quality time with family, fostering teamwork and collaboration.
Be bold and let your creativity flow! Whether you’re a seasoned crafter or a complete beginner, remember that perfection isn’t the goal—enjoying the process is what truly matters. Gather your materials, follow the tutorial, and soon you'll have your very own apple swan to showcase. So why not give it a try? You never know what delightful creations you'll come up with!
 admin
admin


