If you're diving into the world of Cricut Design Space, you might have come across the need to curve your images for various projects. Curving text and graphics isn’t just a neat trick—it allows you to create personalized, eye-catching designs that can elevate your crafting game. In this post, we’ll break down the steps to curve images seamlessly and help you understand the basics of the Cricut Design Space interface. Let’s get crafting!
Understanding the Basics of Cricut Design Space
Cricut Design Space is the software platform that pairs with your Cricut machine, allowing you to create a wide variety of projects from vinyl decals to intricate paper crafts. Getting a handle on this tool is essential for crafting success! Let’s explore some core concepts to boost your familiarity.
1. User Interface Overview:
The design interface is user-friendly, with various panels and tools readily accessible. Here’s a quick breakdown of the main components:
- Canvas: This is your creative workspace where you design your project.
- Toolbar: Typically located on the left side, it contains tools for adding shapes, text, and images.
- Layers Panel: Found on the right, this panel helps you navigate and manipulate the order of different elements in your design.
- Top Toolbar: This features important actions like ‘Make It,’ where you send your design to the machine, and options for saving your projects.
2. Creating a New Project:
Starting a new project in Cricut Design Space is a breeze! Just click on “New Project” from your dashboard. Here’s what you can expect:
- Select a canvas size. It’s usually set to 12” x 12”, which is perfect for most projects.
- You can choose to upload an image or use the shapes and text options provided within the software.
- Don’t forget to save your project! Cricut Design Space automatically saves changes, but it’s always good to hit that save button periodically.
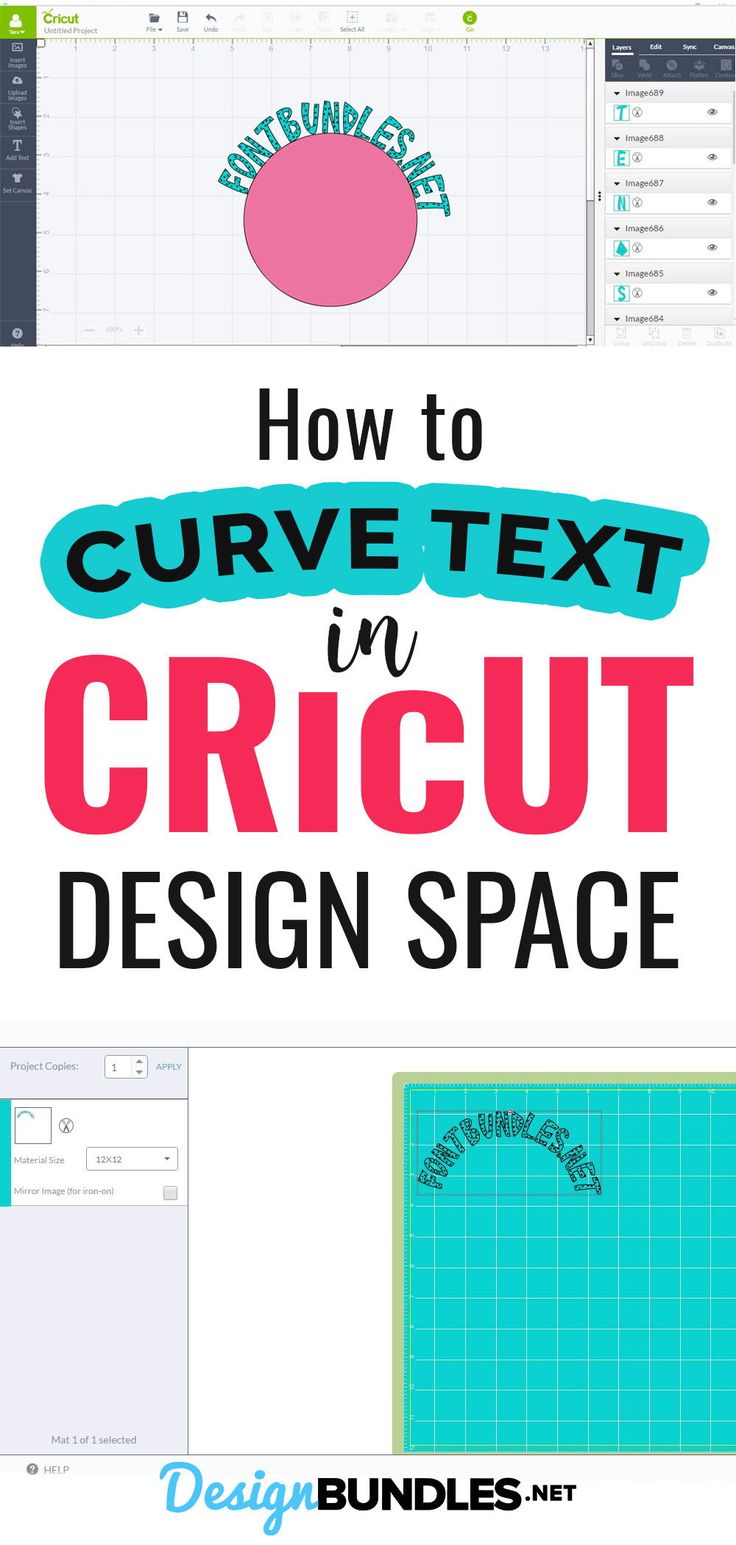
3. Curving Text and Images:
Curving text is one of the most popular features, ideal for banners, logos, and personalized gifts. Understanding how to do this effectively can vastly improve the quality of your projects. Here’s a simplified outline:
- First, add the text you want to curve by selecting “Text” from the toolbar.
- Type your desired text and select the font style.
- With the text selected, locate the "Curve" option in the Text Editing panel to adjust the curvature angle.
Want to curve images? While Cricut Design Space doesn’t directly allow curving images like it does text, you can create a curved path with shapes and adjust your images accordingly by layering. It's a bit of a workaround, but totally feasible!
4. Practical Tips:
- Always preview your design before cutting. This ensures you're happy with the layout and any curved elements.
- Explore different fonts and curves! Each shape and font gives a unique appeal to your projects.
- Practice makes perfect. The more you experiment, the better you’ll understand the features available!
Understanding these basics will not only make your crafting experience more enjoyable but will also empower you to tackle more complex designs. Don’t hesitate to explore and make Cricut Design Space work for you!
Also Read This: Discover Stunning and Unique Vectors on VectorStock
3. Step-by-Step Guide to Curving Images
Curving images in Cricut Design Space is a straightforward process that can add a unique touch to your projects, whether you’re designing for a birthday party, a holiday, or just a fun craft session! Follow these simple steps to get your images curving just the way you want them:
- Open Cricut Design Space: Start by launching the Cricut Design Space software. You can either use the desktop application or the web version. Log in to your account or create a new one if you haven't already.
- Create a New Project: Click on the "New Project" button to start with a blank canvas. This is where you’ll be adding your images and text.
- Add Your Image or Text: Click on the "Text" tool to add words or use the "Upload" button to import an image. If you're using text, remember to choose a font that will look good when curved.
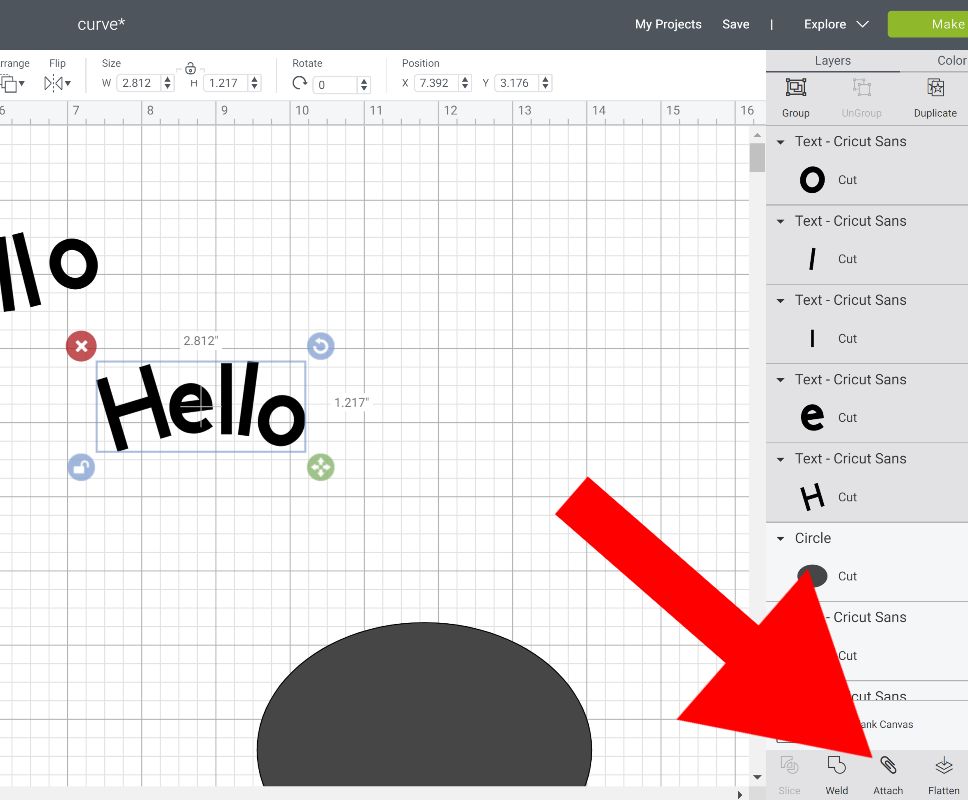
- Select the Image or Text: Once added, click on the image or text you want to curve. You'll see a bounding box appear around your selection.
- Access Image Options: On the toolbar at the top, locate the "Curve" option. If you don’t see it right away, it might be under the "Edit" menu.
- Adjust the Curve: After selecting "Curve," you'll see a slider appear. Slide it left or right to adjust the curvature of your text or image. You'll notice that the text begins to arc as you move the slider. Play around with it until you're satisfied with the curve!
- Fine-Tune Your Design: Don’t forget that you can change the size, rotate, or reposition your curved image or text on the canvas for the perfect layout. Use the corner handles of the bounding box to resize if needed.
- Preview Your Design: Click on the "Make It" button to preview your design before cutting. This is a great chance to ensure that everything looks just as you intended!
- Save Your Project: Once you're pleased with your curving, don’t forget to save your project! Click "Save" in the top right corner to prevent losing all your hard work.
And there you have it! You’ve successfully curved your image or text in Cricut Design Space. It’s a handy skill that can elevate your crafting game.
Also Read This: Mirroring an Image in PowerPoint
4. Tips for Optimal Image Curving
Now that you know how to curve images in Cricut Design Space, here are some valuable tips to ensure your designs look professional and polished:
- Choose the Right Font: Not all fonts curve well. Look for fonts with clear, bold letters while maintaining legibility. Script fonts can look beautiful when curved but may be harder to read, so choose wisely!
- Keep It Simple: Curving too much can distort your image or text. Start with slight adjustments and see how it looks before going for drastic changes.
- Experiment with Sizes: Changing the size of your image or text before curving can yield different results. Sometimes, a smaller curve is more visually appealing than one that seems overly pronounced.
- Spacing Matters: If you're curving text, pay attention to letter spacing. Adjusting the letter spacing before curving can help maintain balance and readability.
- Preview Frequently: Use the preview feature often! Zoom in and out as you work to ensure your design looks good from all angles and distances.
- Practice Makes Perfect: Don't hesitate to play around with different images and text until you feel comfortable with the curving tool. The more you use it, the better you’ll get!
- Layer Your Designs: Consider combining curved images with other design elements. Layering adds depth and interest to your projects, making them more engaging.
- Utilize the Help Resources: Cricut has incredible resources, including tutorials and forums. Don’t hesitate to seek out additional help if you're feeling stuck!
With these tips in mind, you’re now ready to master curving images like a pro! Happy crafting!
Also Read This: Mastering Adobe Stock Templates Editing in Photoshop
5. Common Issues and Troubleshooting

Curving images in Cricut Design Space can be a breeze, but there are a few bumps in the road that might make you pull your hair out. Don’t worry; you’re not alone! Let’s look at some common issues and how to overcome them.
1. Image Not Curving Properly
This is often the result of an incompatible image type. Make sure your image is a vector file (like SVG) for the best results. If you’re using an
2. Text Not Curving as Expected
If you find that your text isn’t curving the way you envisioned, check to see if it’s still licensed as a font. You might be trying to curve a text layer that’s been flattened or converted to paths, which doesn’t allow for further edits or curving adjustments. Always keep a copy of your original text layer intact so you can go back to it if needed!
3. Difficulty Selecting the Image or Text
Sometimes, it can be tricky to select the right layer in the Layers panel, especially if you have multiple layers stacked on top of one another. Zooming in or temporarily hiding other layers can help isolate the layer you want to curve. Click the little eye icon next to any layer to hide it!
4. Not Enough Space on Curved Path
At times, the curving tool may not look like it’s doing anything because there isn’t enough spacing around your image. Make sure you've selected a healthy curve radius, and if you're working with text, try changing the spacing between the characters. This can often make a world of difference!
5. Cricut Design Space Not Responding
If you ever find Cricut Design Space freezing or not responding, try refreshing the browser or restarting your computer. Ensure you’re using a supported browser, like Chrome or Safari, as this reduces the chance of issues. If the problem persists, consider checking for updates for Design Space or reinstalling the app.
Also Read This: Splitting an Image in Half: A Tutorial
6. Advanced Techniques for Custom Curving
If you’ve got the basics down for curving images in Cricut Design Space and you’re itching to push the envelope, let's dive into some advanced techniques to take your design game to the next level!
1. Using the Contour Tool
The Contour tool is your best friend for customizing curves. This allows you to hide certain parts of your design before you even start curving. If you have a complicated image and want to focus on specific elements, use the Contour tool to simplify your work. This can make it easier to manage the curvature and leads to cleaner designs.
2. Layering Curved Text
For more dynamic designs, try layering multiple texts along different curvature paths. After you curve one layer of text, simply create additional text layers and curve those in varying directions. Play around with colors and sizes to create a stunning visual effect! This technique works wonderfully for quotes, signage, and custom logos.
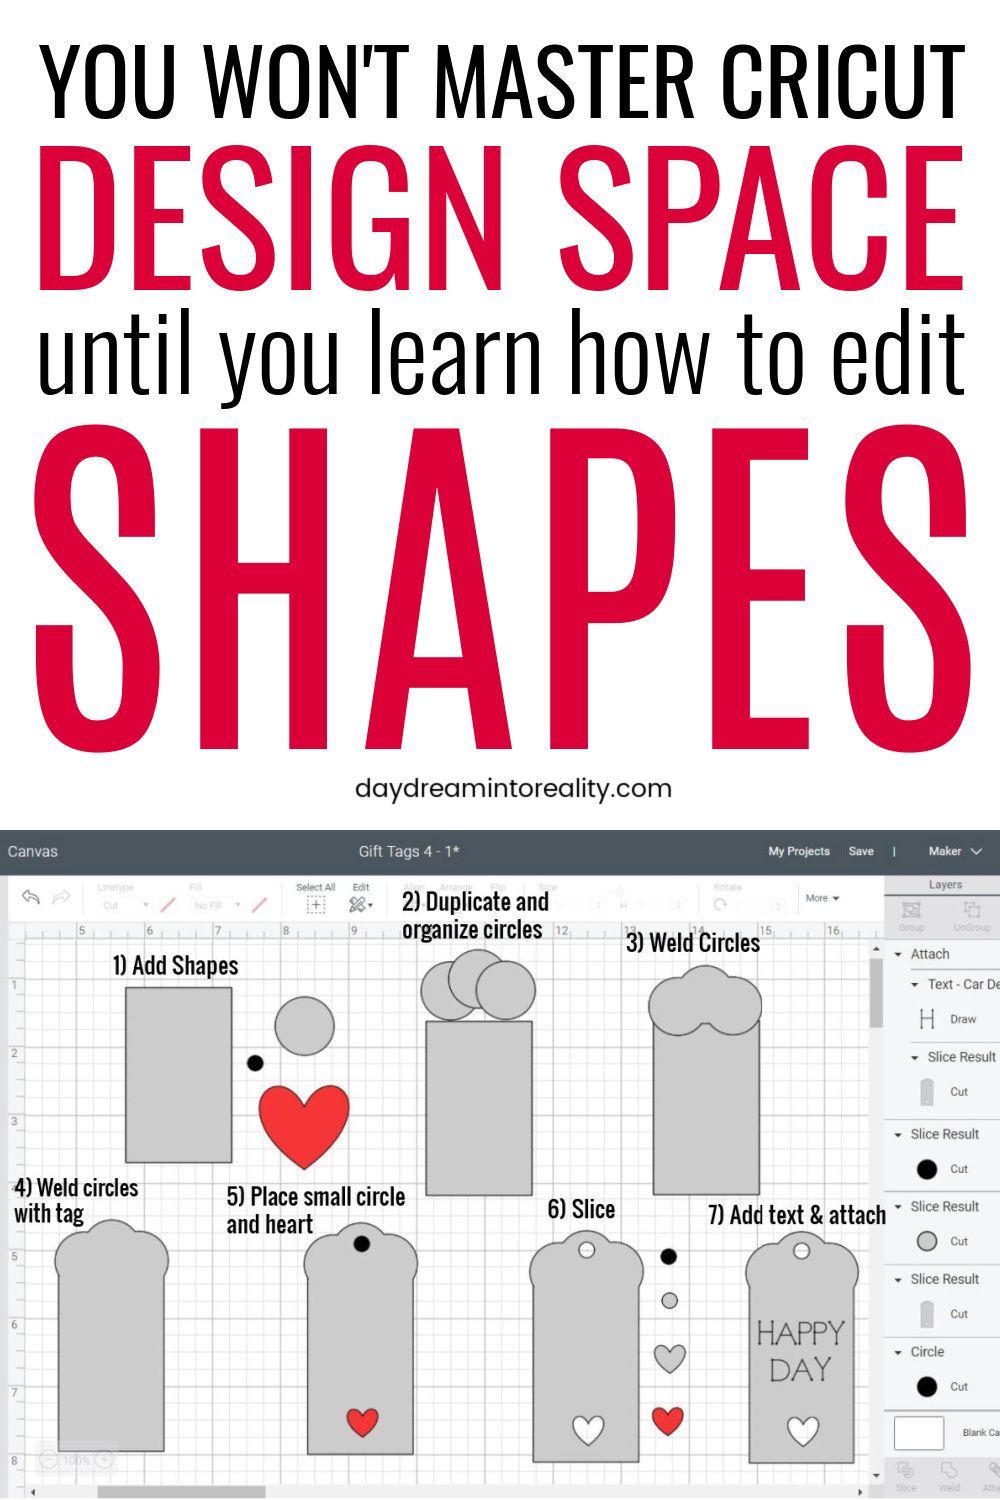
3. Curving Multiple Shapes
- Combine Shapes: Use the 'Slice' or 'Weld' tool to combine shapes and then apply curves to the entire structure. This can create unique designs.
- Path Manipulation: Instead of just curving text, consider customizing the curvature of the shape it’s on. This adds depth and dimension to your projects!
4. Experimenting with Different Fonts
Not all fonts curve the same way. Some fonts are more forgiving with curves and will produce better designs than others. Play around with various font styles—script fonts often yield beautiful curved text, while bold sans-serif fonts may not look as appealing when curved. Don't hesitate to experiment!
5. Using Design Space on Mobile
Finally, if you’re often on the go, consider using Cricut Design Space on mobile. You can still achieve many advanced techniques on your phone or tablet! Just make sure you take note of your available tools; it might take a bit of adjusting to the smaller screen, but it’s entirely doable!
By embracing these advanced techniques, you’ll unlock even more creative possibilities in Cricut Design Space. Happy crafting!
Conclusion and Final Thoughts
In this guide, we've covered the essential steps to curve images in Cricut Design Space, allowing you to elevate your crafting projects with a unique touch. Curving text and images can add creativity and personalization to your designs, making them stand out.
To summarize:
- Select your image or text: Choose the element you want to curve.
- Use the Curve tool: Access this feature from the Text editing options to adjust the curve effect.
- Fine-tune your design: Adjust the curvature and positioning for optimal results.
- Preview and save: Always preview your final design before saving to ensure it looks just right.
With these steps, you can easily manipulate the shape and layout of your images, creating designs that are not only visually appealing but also customized to your needs.
As you continue to explore the capabilities of Cricut Design Space, remember that practice makes perfect. Don’t hesitate to experiment with different shapes and styles—you might discover stunning new design possibilities!
 admin
admin


