Creating a motor fan at home can be a rewarding project, whether you're looking to cool down on a hot day or simply want to explore your creativity with DIY electronics. By the end of this guide, you'll have a fully functional fan made from accessible materials. Plus, it's a great way to learn about basic electrical concepts while having fun. Let’s get started on this exciting project!
Materials Needed for Your Motor Fan
Before you dive into the assembly of your motor fan, gathering the right materials is essential. Here’s a comprehensive list of everything you’ll need:
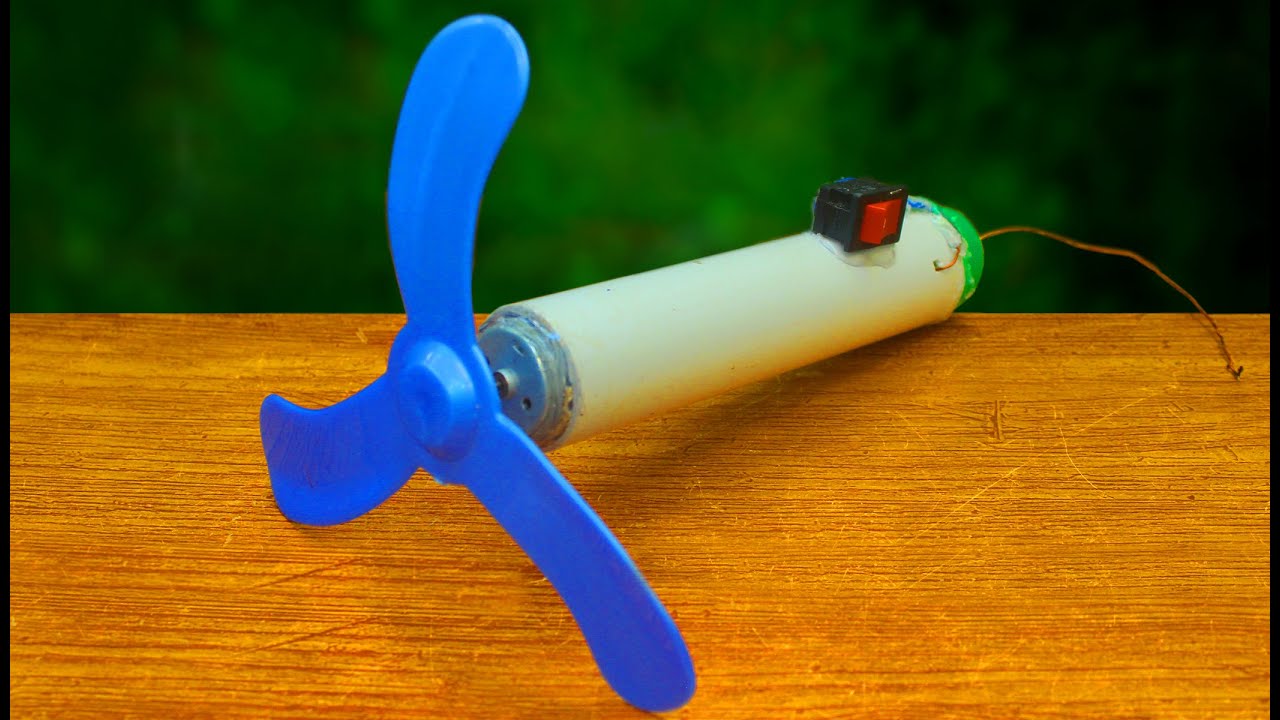
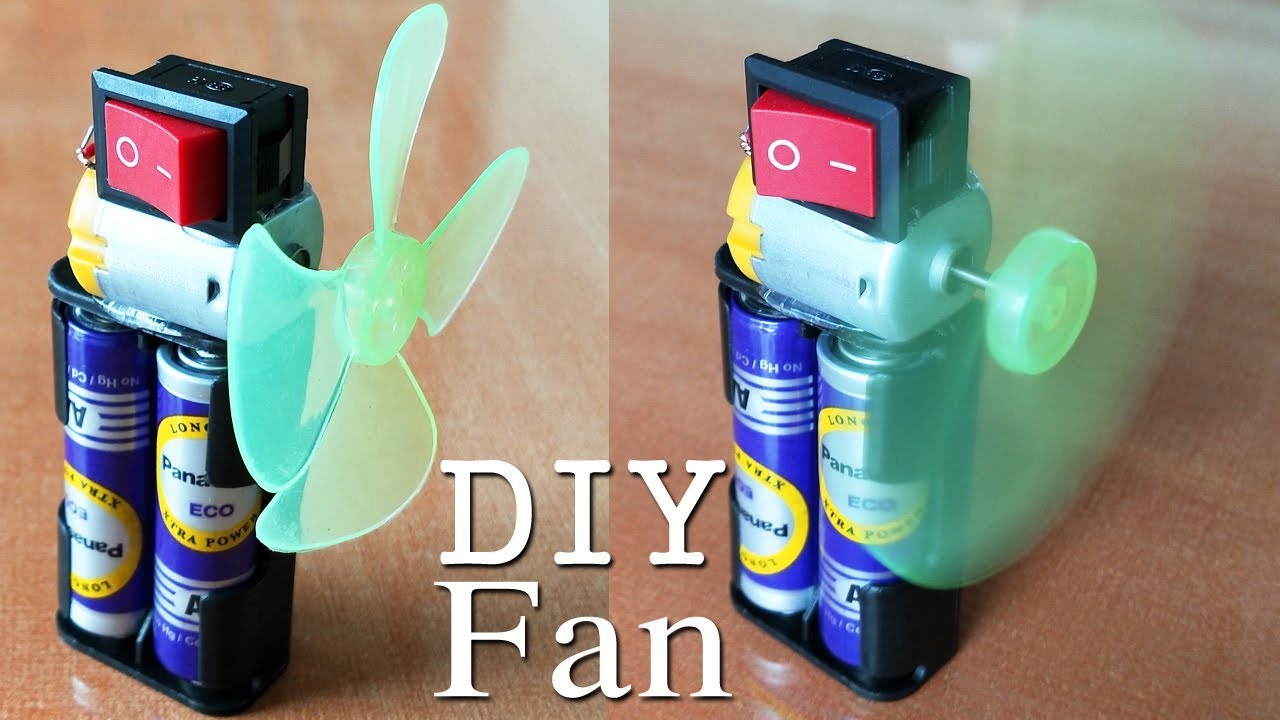
- DC Motor: A small DC motor is the heart of your fan. You can find one from old toys, or purchase one from any electronics store.
- Power Supply: Generally, 6V to 12V batteries work well for small motors. You can also use a power adapter if you prefer not to use batteries.
- Fan Blades: You can make your own using lightweight plastic or cardboard or buy pre-made fan blades online or at craft stores.
- Supporting Frame: This can be made from wood, plastic, or any sturdy material that can hold your motor and fan blades securely.
- Wires: You’ll need some insulated copper wires to connect your motor to the power supply.
- Switch: An on/off switch is not mandatory but is highly recommended for convenience.
- Screws or Glue: Use screws or glue to secure the fan blades to the motor and to attach everything to the base.
- Tools: You’ll need basic tools like scissors, a screwdriver, and possibly a soldering iron, depending on your assembly method.
Once you have these materials gathered, you're ready to move on to the assembly process. It's important to choose lightweight materials for the fan blades so that they can spin freely without straining the motor. If you're making your own blades, ensure they are balanced for optimal performance.
Here’s a quick tip: test your motor with the power supply before final assembly. This way, you can see if it spins properly and adjust your design as needed. Happy building!
Also Read This: Watch Con Air Online for Free on Dailymotion
3. Step-by-Step Instructions for Building Your Motor Fan
Now that you have gathered all your materials, it’s time to transform those components into a functional motor fan! Don’t worry if you’ve never built anything like this before—the process is straightforward, and I’ll guide you through each step. Let's get started!
- Prepare Your Workspace: Ensure you have a clean, well-lit area to work in. Lay out all your materials and tools so they are within easy reach.
- Attach the Blades to the Motor:
Take your fan blades and carefully attach them to the motor shaft. Ensure they are secured tightly. Some motors come with screws or nuts specifically for this purpose, while others may require you to use adhesive. Whichever method you’re using, double-check that the blades rotate freely.
- Mount the Motor:
Next, it’s time to mount the motor onto a solid base. If you’re using a piece of wood or plastic, make sure it’s sturdy enough to handle the vibration of the motor. Use screws to secure the motor in place, and make sure it’s level to avoid any wobbling.
- Set Up the Power Supply:
Connect your power supply to the motor. If you’re using a battery, make sure to connect the positive and negative ends correctly. For those using an AC adapter, ensure it matches the motor’s voltage requirements to prevent any damage.
- Add Safety Features:
Consider adding a protective cover around the blades to prevent any accidents. You can use a wire mesh or plastic enclosure to ensure that fingers or objects don’t accidentally come into contact with the moving blades.
- Test Your Fan:
Now it’s the moment of truth! Once everything is securely in place, flip the switch or connect your power supply. Watch your fan blades spin! If it doesn’t work at first, double-check your connections and ensure everything is properly installed.
- Final Adjustments:
If the fan isn't circulating air as expected, you may need to adjust the angle of the blades or increase the distance from the wall. Sometimes a minor tweak can significantly improve performance.
Congratulations! You’ve built your very own motor fan. Take a moment to appreciate your handiwork before moving on to the next section, where we’ll discuss some tips to enhance your fan’s performance even further.
Also Read This: How to Make Crochet Baby Frocks: Fun DIY Tutorial on Dailymotion
4. Tips for Enhancing Fan Performance
Building a motor fan is a great accomplishment, but you might be wondering how to get the most out of your creation. Enhancing your fan's performance can not only improve airflow but can also increase its lifespan. Here are some handy tips to help you out:
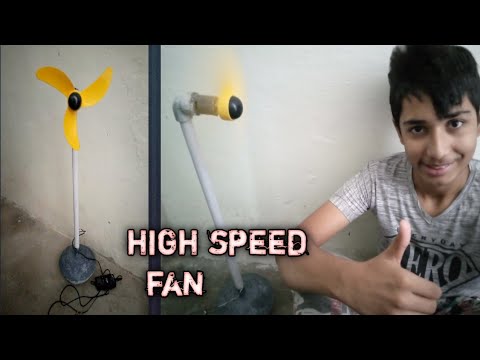
- Optimize Blade Design: The shape and size of your fan blades greatly impact airflow. Consider experimenting with different blade shapes or sizes for better efficiency. Fans with longer blades typically move more air.
- Use Higher Quality Bearings: If your fan starts to make noise or the blades feel stiff, consider upgrading to better bearings. High-quality bearings reduce friction and allow the blades to spin more freely, which means better airflow and lower energy consumption.
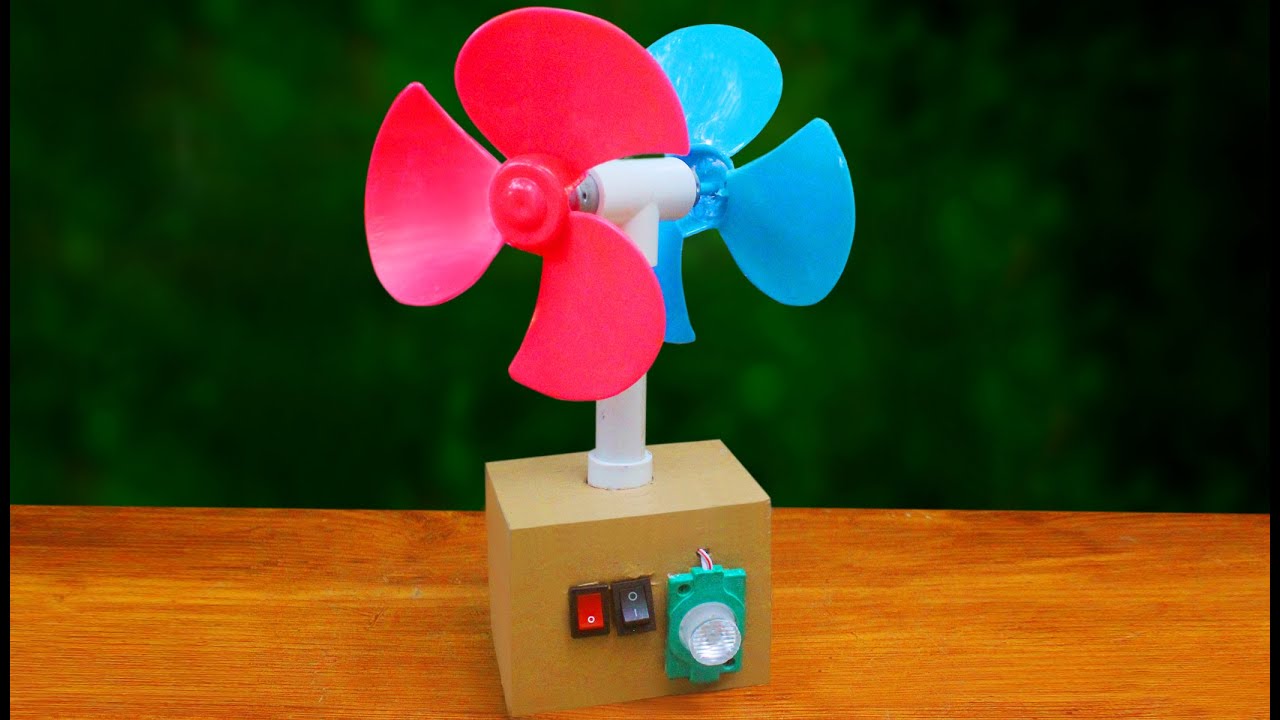
- Incorporate a Speed Controller: By adding a speed controller switch, you can adjust the fan's speed according to your needs. This can help you save energy and give you more control over the airflow, making your fan more versatile.
- Ensure Proper Power Rating: Double-check that your power supply matches the requirements of your motor. Using insufficient power can lead to subpar performance, whereas using an overload can damage your motor.
- Keep it Clean: Dust and debris can accumulate on the fan blades and motor, reducing efficiency. Make sure to wipe the blades regularly and keep the motor free of dust for optimal performance. A clean fan is a happy fan!
- Positioning Matters: Think about where your fan is placed. Positioning it higher or at a slight angle can often enhance circulation, allowing the air to flow more freely throughout the room.
By following these tips, you can enhance the performance of your motor fan, ensuring it runs effectively for years to come. Whether you're cooling down a room or simply enjoying a breeze while working, your DIY fan will definitely be a rewarding addition to your home!
Also Read This: How to Wear Lenses on Dailymotion
5. Common Mistakes to Avoid
When embarking on your DIY journey to create a motor fan, it’s essential to avoid some common pitfalls that can derail your project or even lead to safety hazards. Here’s a handy list of mistakes to watch out for:
- Ignoring the Specifications: Each motor has specific voltage and power ratings. Using a motor that's not suitable for your needs can cause overheating or even failure. Always double-check the manufacturer's specifications before you begin.
- Using Incompatible Parts: Ensure your fan blades and motor are compatible. If the blades are too large or too heavy for the motor, you risk damaging the motor or reducing efficiency. Always match the blade size to the motor’s capacity.
- Improper Wiring: This is a critical area where mistakes can lead to malfunction or safety hazards. Make sure you follow proper wiring diagrams and use insulated connectors to prevent shorts.
- Neglecting Vibration Dampening: A motor fan can be noisy if it’s not properly mounted. Consider using rubber grommets or padding to dampen vibrations and reduce noise. Ignoring this can lead not just to discomfort, but it may also indicate a poorly secured setup prone to failure.
- Forgetting to Test Before Full Assembly: It's easy to get caught up in the excitement of assembling your fan, but always run tests on individual components before putting everything together. This will save you time and headaches in case repairs are needed.
- Overlooking Cooling Needs: Your motor needs to stay cool to function properly. Make sure there is adequate airflow around it and consider adding additional fans or heat sinks if necessary.
By being mindful of these common mistakes, you can enhance both the functionality and the longevity of your DIY motor fan. Remember, a little precaution goes a long way!
Also Read This: How to Create a Server in Counter-Strike 1.6: Complete Tutorial on Dailymotion
6. Safety Precautions When Working with Motors
Working with motors can be quite rewarding, but it also comes with its own set of risks. Prioritizing safety is crucial for a successful and enjoyable DIY experience. Here’s what you should consider:
- Wear Protective Gear: Always don your safety glasses and gloves when working on motor projects. This protects your eyes from dust and debris, as well as your hands from sharp edges and electrical shocks.
- Work in a Well-Ventilated Area: If you're using any adhesives, solder, or other materials that can release fumes, ensure your workspace is well-ventilated. Open windows or use fans to disperse any potentially harmful vapors.
- Disconnect Power: Always disconnect power before working on the motor. Whether it’s unplugging it or turning off the circuit breaker, preventing electrical hazards is paramount. This simple step can save you from serious injuries.
- Keep Your Work Area Tidy: A clutter-free workspace minimizes the risk of accidents. Ensure tools, wires, and components are organized and stored safely to reduce the likelihood of trips or falls.
- Double Check Connections: Before applying power to your assembled fan, double-check all connections. A loose wire could lead to shorts or component failures, jeopardizing your safety and project success.
- Know Your Limits: If at any point you feel unsure about the process or the materials involved, don’t hesitate to seek advice from more experienced DIYers or professionals. It’s okay to ask questions!
By adhering to these safety precautions, you can ensure a safer environment for your DIY motor fan project. Your health and safety are the most important tools in your DIY toolkit!
Also Read This: How to Avoid Ads on Dailymotion: A Quick Guide
7. How to Personalize Your Motor Fan
Now that you’ve got your motor fan up and running, it’s time to make it truly yours! Personalizing your motor fan not only enhances its appearance but can also improve its functionality. Here are some creative ways to put your unique spin on your DIY project.
1. Choose Your Color Scheme: One of the simplest ways to customize your fan is by painting it! You can either spray paint the metal parts or use acrylics for finer details. Consider using heat-resistant paint to prevent any damage from the motor’s heat. Think about your room’s color palette—do you want it to stand out or blend in? Pick colors that will complement your decor!
2. Add Decorative Elements: Get crafty with stickers, decals, or even washi tape! You could decorate the edges of the blades or the base with fun patterns. If you’re feeling adventurous, a layer of decoupage could add a beautiful touch. Just ensure that anything you add doesn’t interfere with the fan's operation.
3. Customized Blades: If you’re handy with woodworking or 3D printing, consider making custom blade designs. Not only can they look stunning, but different blade shapes can influence airflow, allowing you to experiment with efficiency and style.
4. Functional Enhancements: Think about adding features that make your motor fan more user-friendly. Perhaps incorporate an adjustable speed control using a simple potentiometer. You could also add LED lights that illuminate the fan when it’s running—a cool effect that can also serve as a night light!
5. Themed Designs: Do you love a particular theme? Whether it’s retro, industrial, or something whimsical like a nature theme, align your fan’s design with something you’re passionate about. This could mean painting flowers on the fan or using vintage-style components.
Personalizing your motor fan not only signifies your creative touch but also keeps it functional and aligned with your preferences. Enjoy the process of making it uniquely yours!
8. Conclusion and Final Thoughts
Congratulations! You've reached the end of this DIY journey into the world of motor fans. By now, you should have a solid understanding of the materials needed, the assembly process, and how to personalize your fan to suit your style. Making your own motor fan can be an incredibly satisfying experience and offers numerous benefits.
Not only do you gain a functional and practical appliance, but you also unleash your creativity and resourcefulness. You'll have something that is not just a fan, but a reflection of your personal taste and skills. Plus, there’s something genuinely fulfilling about making something with your own two hands.
Remember: Safety should always be your first priority. Working with electrical components can be risky, so take all necessary precautions! Double-check your connections, make sure everything is properly insulated, and, when in doubt, consult with someone who has more experience in electrical work.
As you continue on your DIY adventures, don't hesitate to seek inspiration from other projects and share your own ideas with the community. Every fan you make can be better than the last, and the more you experiment, the more skilled you'll become.
Thanks for reading through this guide! We hope you found it informative and that it ignited your passion for DIY projects. Now, go ahead, fire up that creativity, and enjoy your new motor fan!
 admin
admin


